- 1. Record your computer screen and webcam simultaneously.
- 2. Allow you to customize screen capture and frame rate .
- 3. Powerful editing tools and effects to enrich your video clips.

Adding L-Cuts and J-Cuts using DemoCreator

Movies and TV shows are made by the efforts of highly professional experts. As a beginner in videography, you may wish to achieve the same level of expertise in your work.
Although it may seem like a challenging task, it is not impossible. We will give you all the information and tools you need in order to fulfill your purpose.
In this article, we will talk about one of the most basic video editing techniques, which is J-cuts and L-cuts.
Part1. What is J-cuts and L-cuts?
In the most basic definition, J-cuts and L-cuts are variants of a split edit. Split edit is a film editing technique where the audio and the video transition at different times from one shot to another.
J-cut Transition
When a scene transitions from one shot to the next, and the audio of the next scene precedes the picture change, it is called a J-cut transition.
L-cut Transition
It is called an L-cut transition when a scene transitions from one shot to the next, and the audio of the previous scene carries over into the next despite visual changes.
How do they work?
The aforementioned split edit variants are used for transitioning between footage within the scene instead of directly using transition effects such as fade, wipes, etc.
The reason behind using this technique is to maintain visual continuity. Different scenes feel more connected and bound together, which makes the whole film or video more appealing.
However, before we jump into how to use these effects, we must know the basics.
Part2. Components of J-cut and L-cut
There are three essential components that make up a J-cut or an L-cut. These include:
- Primary Footage: This is the main footage that will show up in your video.
- Primary Audio: This is the audio that you want to play over the scenes. It is the audio of the primary footage.
- B-roll: This is an independent clip without audio.
All three of these components are arranged in a specific manner in order to create an L-cut or a J-cut.
Part3. Creating a J-cut
If you wish to create a J-cut, it is pretty simple. All you have to do is separate your primary footage and primary audio into different tracks of the timeline. Then add the b-roll to the timeline.
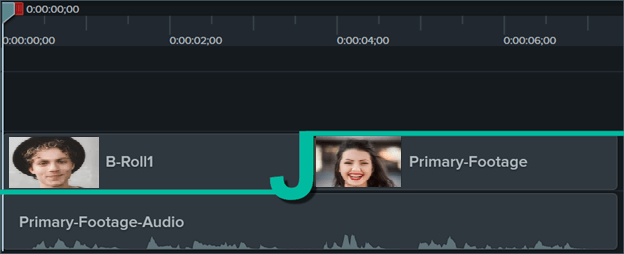
Your primary audio will stay consistent, whereas your b-roll will be placed before the primary footage. In this way, the scene will cut from b-roll to the primary footage while the primary audio plays on in the background.
Part4. Creating an L-cut
Just as you create a J-cut, L-cut is its opposite. You only have to switch the positions of the primary footage and the b-roll.
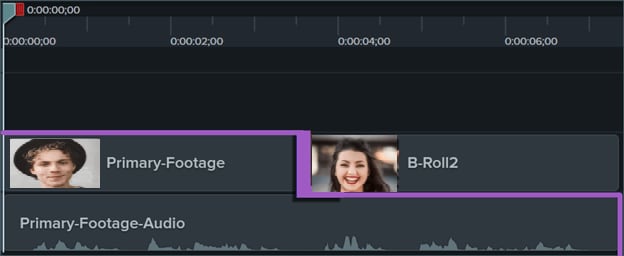
In L-cut, the primary footage comes before the b-roll, and the primary audio carries on to the second shot.
Part5. How to Apply L-cut and J-cut Transitions in DemoCreator?
If you are new to the world of videography, you might be confused about which video editor to use. We recommend that you use Wondershare DemoCreator in order to fulfill your requirements.
DemoCreator is an easy to understand and user-friendly video editor and screen recorder. It provides a multitude of editing options that can enhance your videos to a great extent.
One of such editing options is the L-cut and J-cut transitions. Although they are not a built-in feature, you can still apply them in your videos using DemoCreator.
Step-by-Step Guide
Here is a step-by-step guide for you to follow to apply the L-cut and J-cut transitions to your video or film.
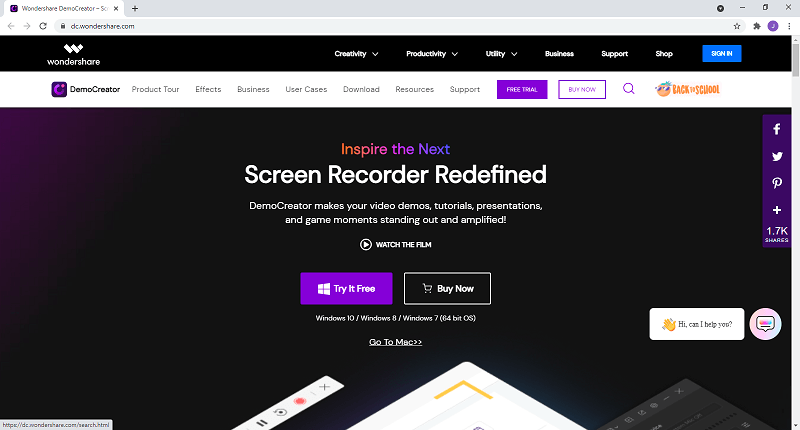
Step 1: Download Wondershare DemoCreator.
Go to the official website of Wondershare and download DemoCreator for free. It is compatible with Windows 10, Windows 8, and Windows 7, as well as macOS.
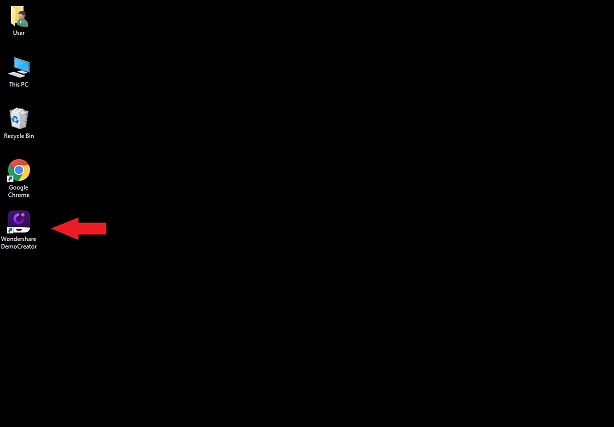
Step 2: Open DemoCreator.
Once the software is downloaded, click on the desktop icon to open it.
Step 3: Open Video Editor.
A pop-up window will appear.
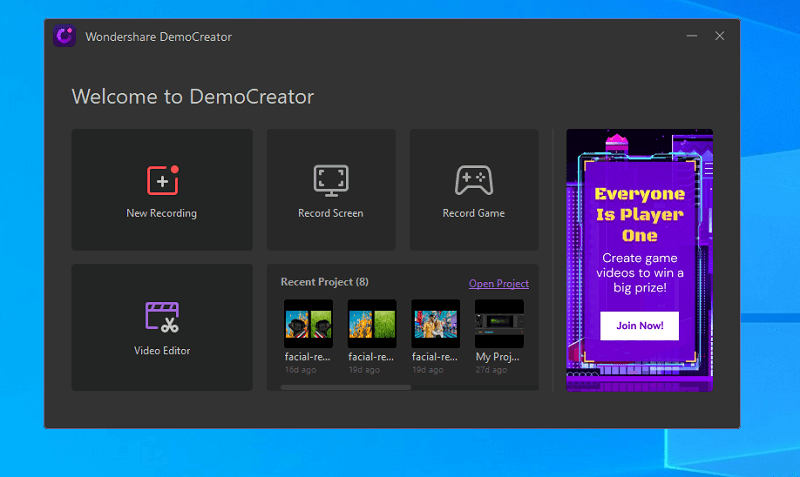
If you already have your clip recorded and captured, click on "Open Project" and choose your files. However, if you have to record a video, click on "New Recording" to start your work. After you are done recording, end the recording, and you will automatically enter the video editor.
Step 4: Gather the Components.
Once you have your primary footage and audio in the timeline, add your b-roll to the timeline as well.
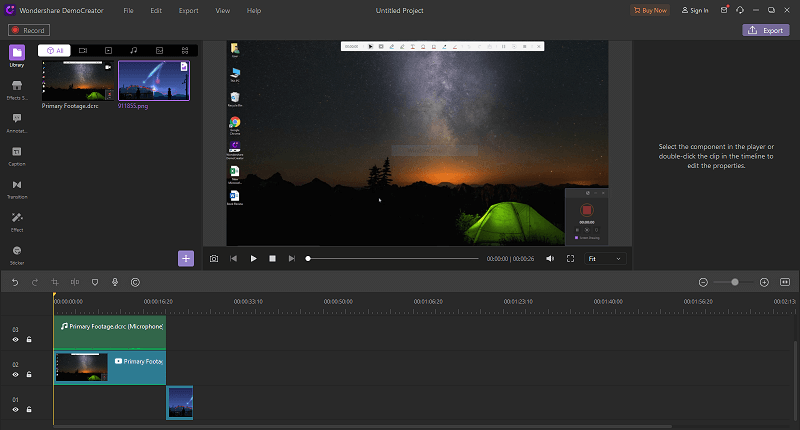
Step 5: Adjust the Positions.
Now, it is just a matter of positioning the clips correctly, as shown in the examples beforehand.
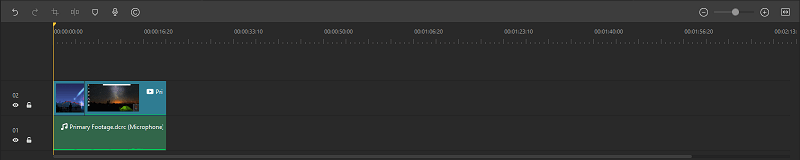
An L-cut Transition
This is what your L-cut transition should look like.

A J-cut Transition
This is what your J-cut transition should look like.
Step 6: Save and Export.
Once you have all the editing done, save and export your file by clicking on the “Export” icon on the top left corner of the screen.
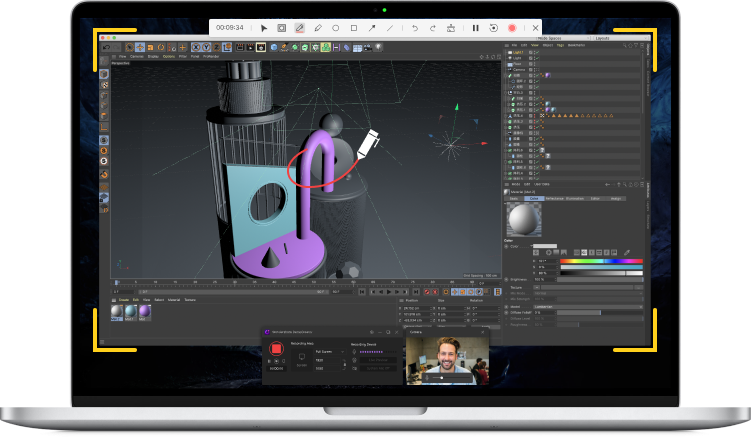
The All-in-One Screen Recorder & Video Editor
- Record desktop screen,audio and webcam simultaneously
- Edit videos quickly with a wide range of professional tools
- Built-in plentiful video effects
- Export to MP4, MOV, MKV, GIF and multiple formats
 Secure Download
Conclusion
Cuts and transitions can make or break your videos and films. So, it is vital that you have a good grasp of the concept of their application.
DemoCreator provides you with different transition effects and allows you to easily edit and apply different cuts (L-cut, J-cut) to your videos.
We have rightly guided you towards the art of video editing, and we wish you the best of luck!