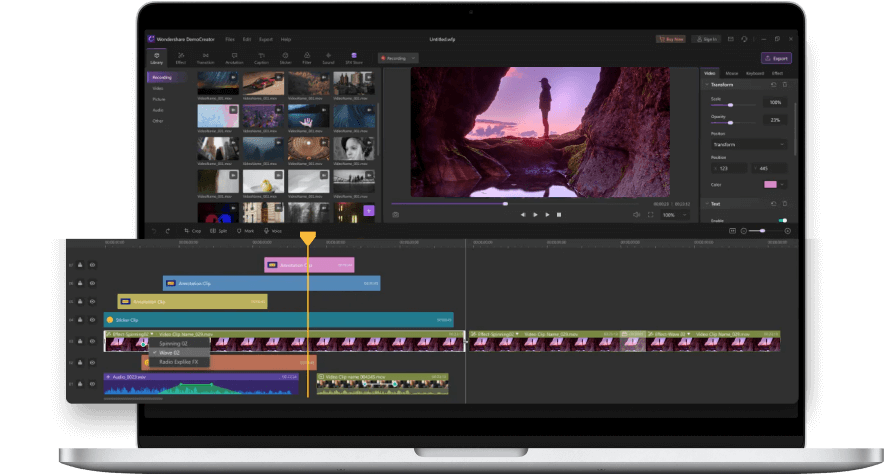
Wondershare
DemoCreator
- 1. Record your computer screen and webcam simultaneously.
- 2. Allow you to customize screen capture and frame rate.
- 3. Powerful editing tools and effects to enrich your video clips.


How to Merge MP4 Video Files for Free: 7 Stepwise Solutions

A while back, I wanted to merge a couple of MP4 videos into a single file that made me realize that a lot of other people can also encounter a similar issue. Ideally, you can combine MP4 files using any reliable online or desktop solution on your Mac and Windows PC. While there are both free and paid solutions to merge videos, I will focus on 7 tried-and-tested tools in this guide that are sure to come in handy to you.

Part 1: Merge and Edit your Videos Likes a Pro with DemoCreator: Windows and Mac Solution
The simplest and the most effective way to combine videos is by taking the assistance of Wondershare DemoCreator. It is an all-in-one solution to record our system’s screen and edit our videos by applying some of the most advanced features.
Since DemoCreator has a user-friendly interface, you can use it to combine MP4 files, trim them, change their aspect ratios, and do so much more. It is a timeline-based editor that would let you work on all kinds of video and audio tracks seamlessly. Here are some simple steps that you can take to merge MP4 files and perform other edits on them via DemoCreator:
 Secure DownloadSecure Download
Step 1: Import the Audio and Video Tracks to be Merged
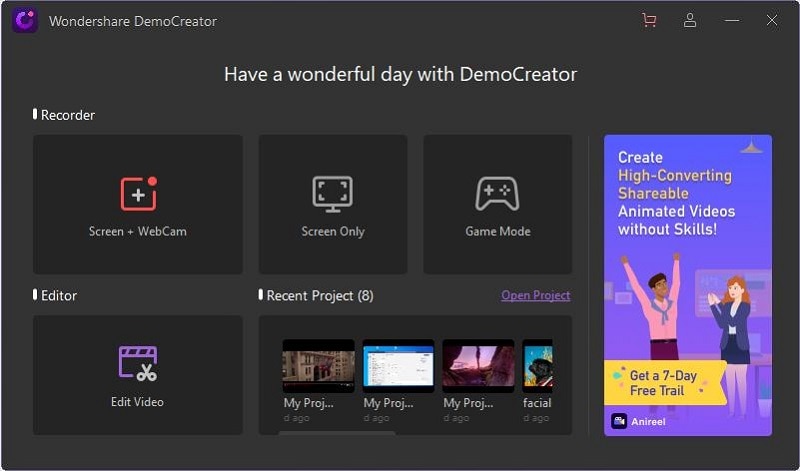
You can start by installing Wondershare DemoCreator on your system and launching it whenever you want to merge videos. From its welcome screen, you can just click on the “Edit Video” button to launch its video editor.
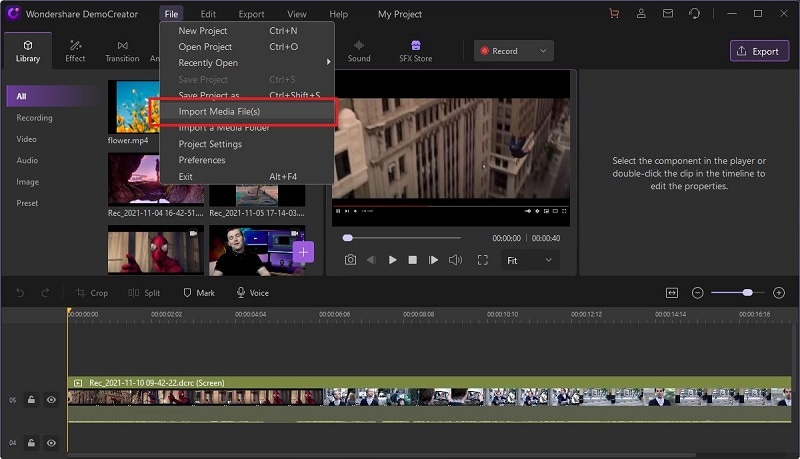
Now, you can just drag and drop any image, audio, or video file from your system to its interface. You can also go to its File > Import Media File button to browse and load any media file on your system.
Step 2: Merge and Trim your Videos
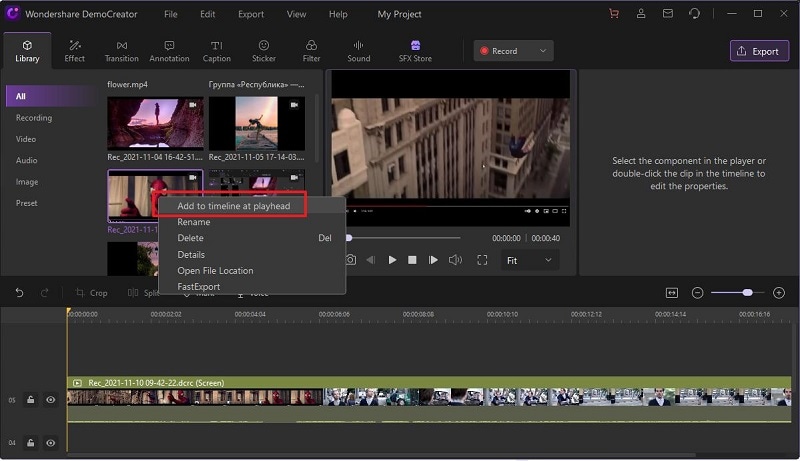
After adding your media files to DemoCreator, you can just drag and drop them to the timeline at the bottom in a preferred sequence. You can also right-click the media and choose to add it to the playhead from here.
Once the media files are placed accordingly, you can move the cursor at the bottom and highlight the clip. Afterward, you can just move it in any direction to manually trim the unwanted parts of the added clips.
Step 3: Rotate, Crop, or Scale your Videos on DemoCreator
Apart from that, there are tons of other options to edit your videos in DemoCreator. For instance, once you have selected the video, you can go to its properties to find options to scale or rotate the video. You can also use other features to alter the playback speed of the video here.
In case you want to crop out any part of the video, then just click on the crop icon above the timeline at the bottom panel.
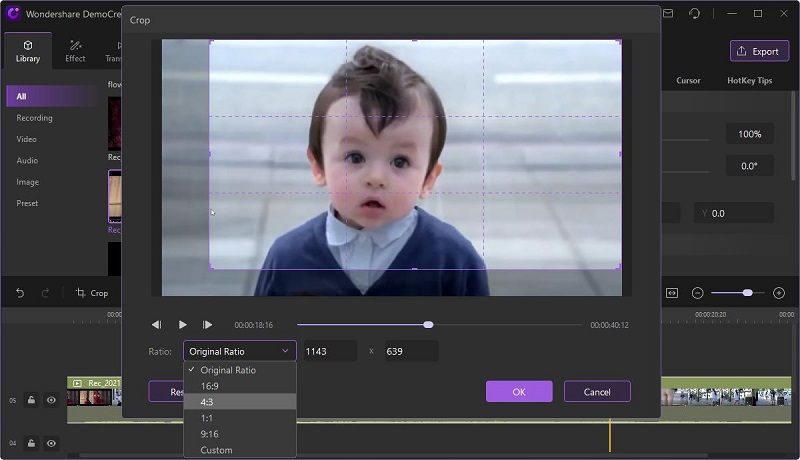
This will open a new window, letting you manually crop the parts of the video you want to keep or remove. There is also a dedicated option at the bottom panel to alter the overall aspect ratio of the video.
Step 4: Add, Detach, or Edit Soundtracks
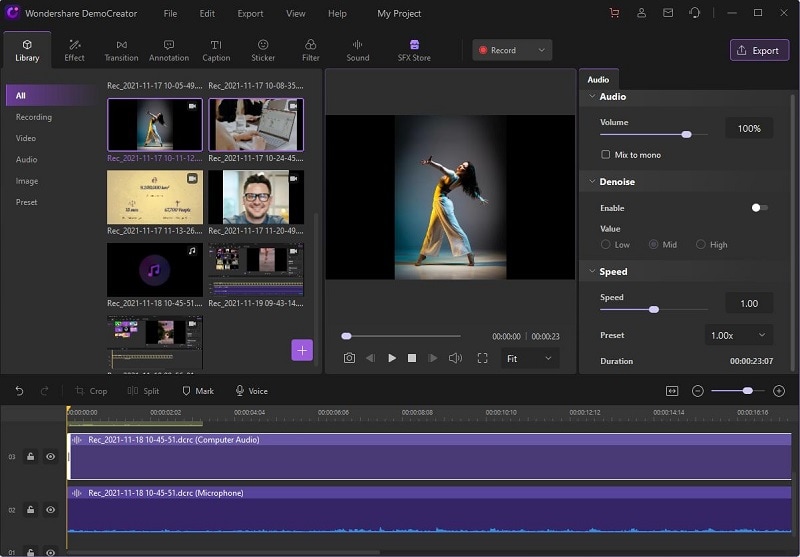
You can just drag and drop any audio file on the timeline to add it to your video project. If you want, you can right-click the audio component to simply mute or detach it. There is also an “Edit Audio” feature here that you can select to customize its audio levels.
Once you select the audio component, you will get dedicated options on the side. From here, you can directly denoise the audio component, change its playback speed, and perform other edits.
Furthermore, you can click on the voiceover button to start recording voiceovers for the video on the native interface of DemoCreator. You can also find tons of readily available sound effects on DemoCreator that you can directly import to your projects.
Step 5: Access Other Advanced Features of DemoCreator
Apart from that, there are tons of other features that you can access in DemoCreator. For instance, you can go to its sidebar to explore and add transitions, captions, animations, filters, and so on to your projects.
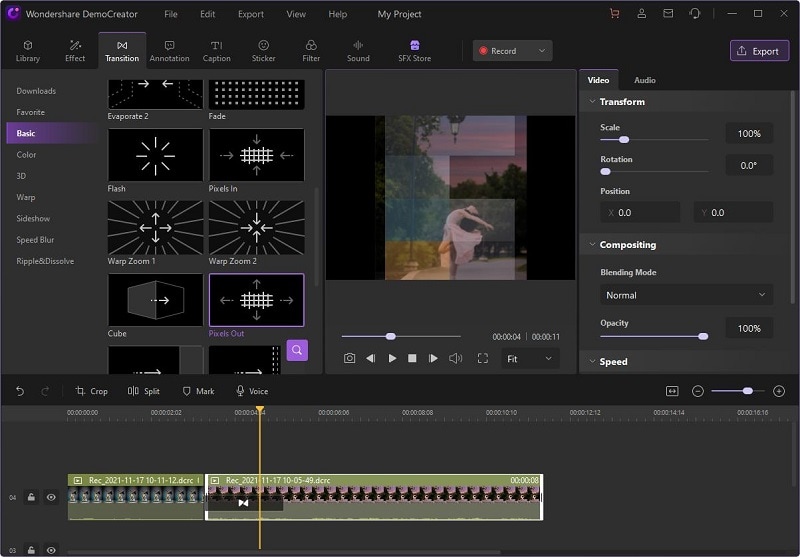
DemoCreator has also integrated an inbuilt Effects Store that you can browse to include numerous effects, templates, and other assets to your videos.
Step 6: Preview and Export your Videos via DemoCreator
That’s it! Once you have merged your videos and performed all edits, you can preview the results. Lastly, you can click on the “Export” button from the top and simply save the merged video file in a preferred format. You can browse to any location on your system where you wish to export the merged video clip from DemoCreator.

The Best Video Editor to Merge Your MP4 Videos Files
Secure DownloadSecure DownloadPart 2: How to Merge MP4 Files on a Windows PC: 4 Smart Solutions
If you own a Windows PC and are looking for some lightweight solutions to merge videos on it, then you can use the following native or third-party applications:
Solution 1: Merge Videos in Windows 10 For Free with the Photos App
In case you have a Windows 10 PC, then you might be familiar with the Photos app, which is an inbuilt tool to view photos and videos on the system. Though, the application also has some smart features that you can use to merge MP4 files or perform a few edits on them.
Step 1: Load your MP4 files on the Photos App
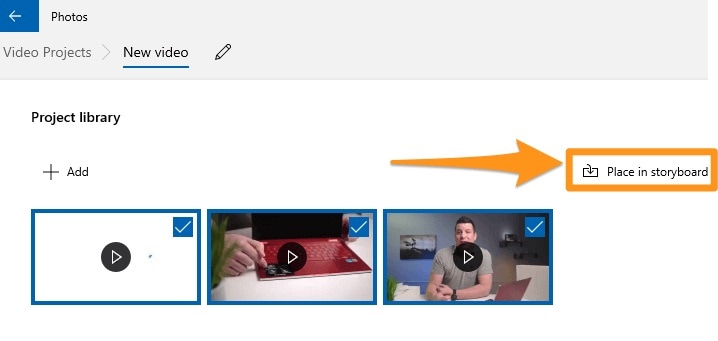
To begin with, you can just launch the Photos app on your system and choose to work on a new video project.
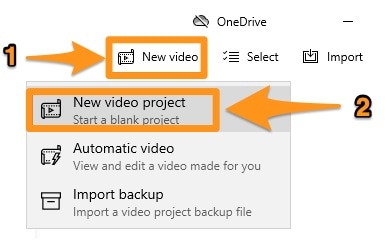
As the dashboard of the Photos app is launched, you can click on the “Add” button to manually load the videos you want to merge.

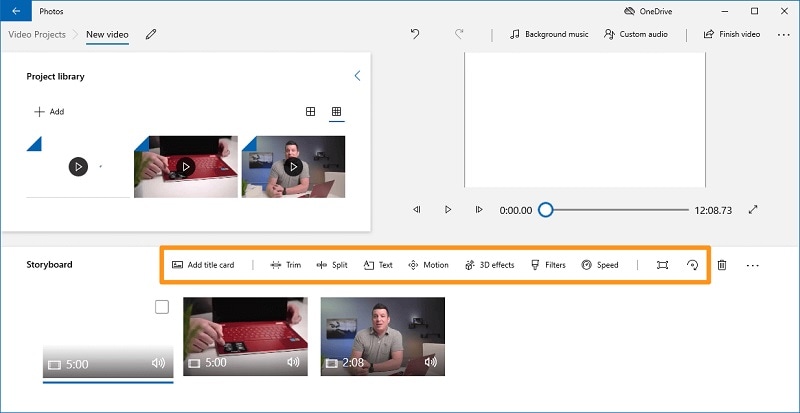
Step 2: Merge and Edit your Videos
Following this approach, you can simply combine videos by just importing them to the Photos app. You can go to its storyboard at the bottom panel to change the sequence of the added videos.
If you want, you can also access the inbuilt features of the Photos app to perform minor edits on your videos and add several filters on them.
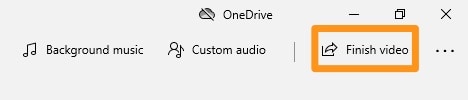
Step 3: Export the Merged Videos from the Photos App
Lastly, you can just click on the “Finish Video” button panel from the top corner to export your videos in a preferred format on your Windows 10 PC.
Solution 2: Merge Multiple Videos using the Windows Movie Maker
Windows Movie Maker has always been a vital part of earlier Windows versions like 7, Vista, or 8. Therefore, if you are using a newer version of Windows, then you can first download this legacy software for free from any third-party source. Afterward, you can follow these steps to combine MP4 files with the Windows Movie Maker:
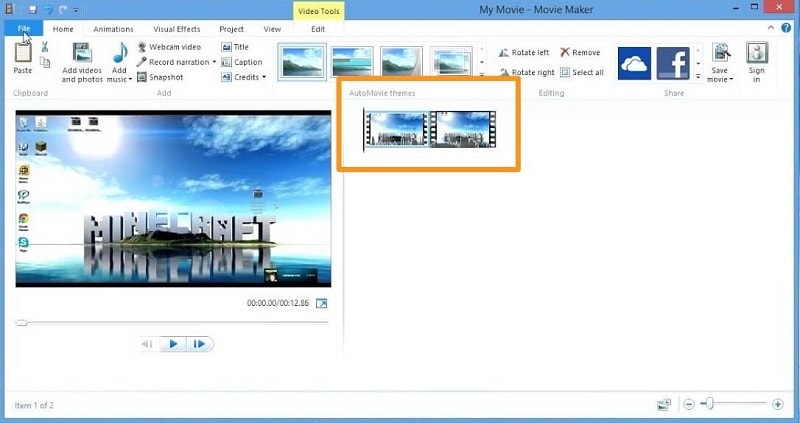
Step 1: Load the Videos to Merge on the Movie Maker
Install and launch the Windows Movie Maker on your system and click on the “Add Videos and Photos” button from the toolbar. This will let you browse and select the videos to be merged on the application.

Step 2: Adjust the Placement of the Added Videos
After loading your videos, you can check their thumbnails on the side. You can drag and drop the thumbnail of the videos accordingly in a preferred sequence.
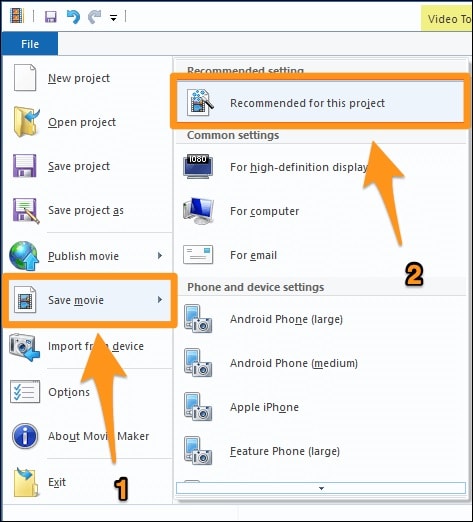
Step 3: Export the Merged Videos on your Windows PC
To merge videos, you can export the file from Windows Movie Maker. Just go to its Menu > File > Save Movie and select a preferred format and resolution to save your video.
Solution 3: How to Merge Videos for Free with the VLC Media Player?
VLC Media Player is one of the most popular media players that can be used on multiple platforms. The good news is that the VLC Media Player can also be used to merge MP4 files and export them on your system for free. The process is quite simple and can be implemented by following these steps on any system (Windows or Mac).
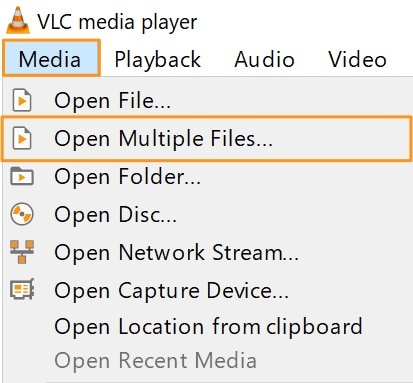
Step 1: Load your Videos on VLC Media Player
At first, you can launch VLC Media Player and go to its Menu > Media > Open Multiple Files to load all videos from your system.
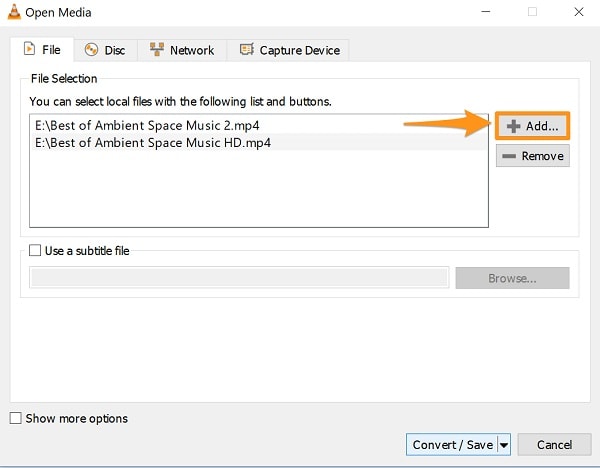
Step 2: Adjust the Placement of the Added Video
This will automatically open a new window where you can change the sequence of the loaded videos. You can add more videos from your system here or can remove any clip.
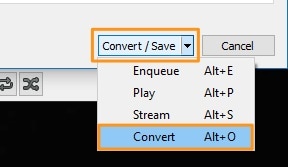
Step 3: Export the Merged Video to your System
Afterward, you can just click on the “Convert/Save” button from the bottom panel to save the merged video to your system’s storage.
Solution 4: Merge and Edit your Videos with Adobe Premiere Pro
Adobe Premiere Pro has come up with a more advanced solution to combine videos on a desktop. There are tons of inbuilt features in Premiere Pro that would let you merge, crop, rotate, trim, and perform numerous other edits. Here’s how you can combine MP4 files easily using Adobe Premiere Pro.
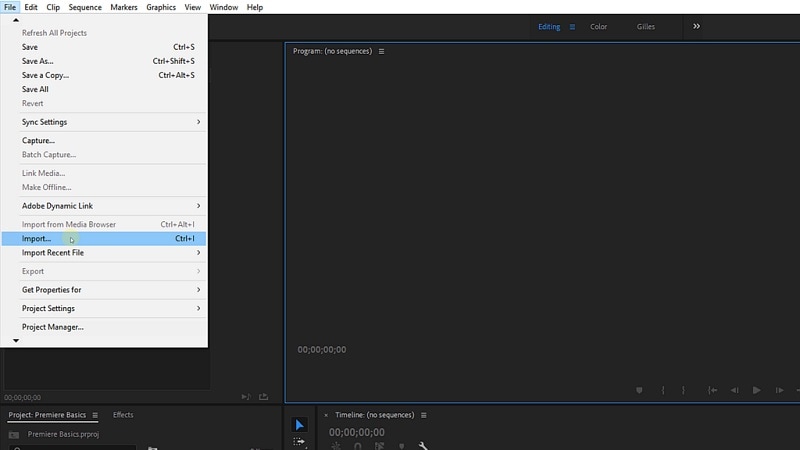
Step 1: Import Videos to be Merged on Adobe Premiere Pro
Firstly, you can launch Adobe Premiere Pro on your system and just go to its File > Import feature to load the videos to be merged.
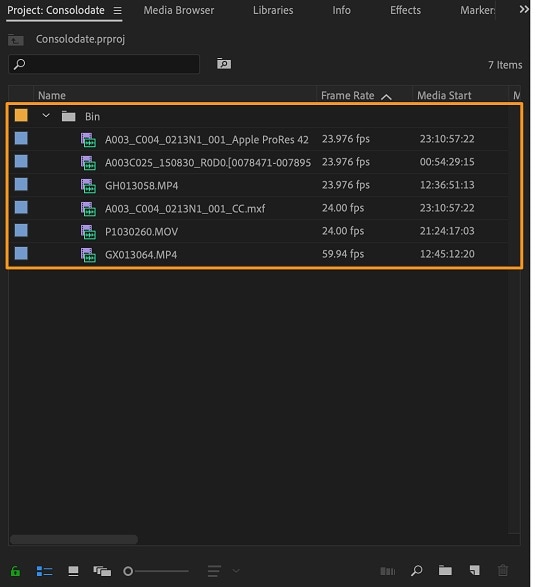
Step 2: Merge and Edit your Videos on Premiere Pro
On the console of Premiere Pro, you can check all the videos that you have added and can drag and drop any file to adjust its placement.
Please note that Premiere Pro is a timeline-based editing tool that would let you adjust the overall placement and features of the media files easily. Just press the Shift key to hold and adjust the placement of any audio or video track on the timeline. You can perform several other edits or apply transitions to your videos on Premiere Pro.

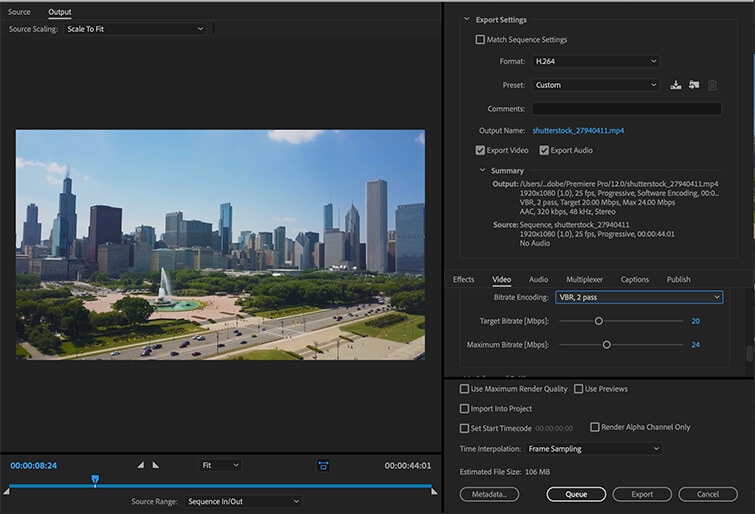
Step 3: Export your Videos from Premiere Pro
Once your videos are merged, you can go to the “Output” section of the application to export your video file in a preferred format and aspect ratio on your system from Premiere Pro.
Part 3: How to Merge Videos on Mac with the QuickTime Media Player?
Mac users can also take the assistance of the QuickTime Media Player to merge videos, which is the inbuilt media player for Apple devices. Therefore, without installing any third-party application, you can use it to combine videos on your Mac for free.
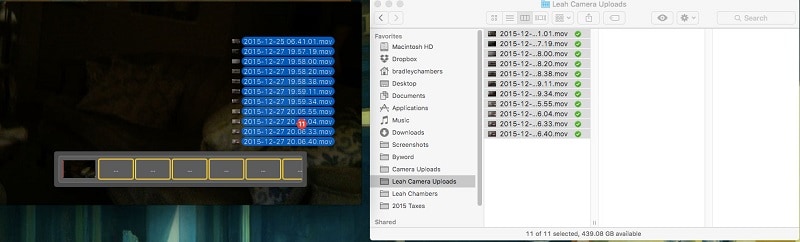
Step 1: Load the Videos to be Combine on QuickTime
You can first go to the Finder and launch the QuickTime Media Player on your Mac. Afterward, you can locate the videos to be merged and drag and drop them to the interface of the QuickTime player.
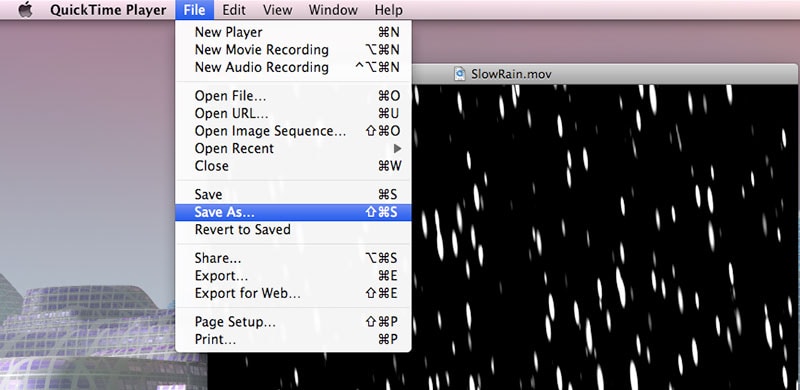
Step 2: Save your Merged Videos from QuickTime
Once all the videos are loaded, they would be listed as a single playlist on QuickTime. Now, to merge videos, you can go to Finder > File > Save As and choose to save the entire playlist of merged videos as a single file on your Mac.
Part 4: How to Merge Videos Online with Wondershare UniConverter?
Developed by Wondershare, UniConverter is a popular desktop and online tool that can help you convert files from one format to another. If you want, you can use its online application to merge videos in different formats for free. Here’s how you can also try the online tool of UniConverter to merge MP4 files easily.
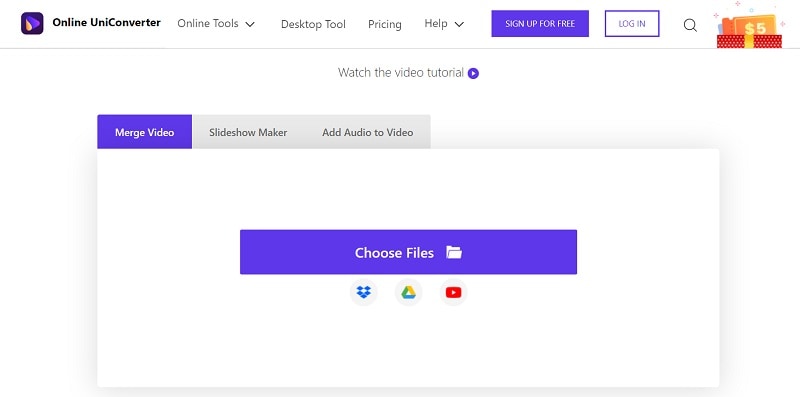
Step 1: Go to the Website of UniConverter and Load your Videos
To start with, you can just go to the official website of the Wondershare UniConverter Video Merger tool. Here, you can choose to browse files from your system or just load videos from Dropbox or Google Drive.
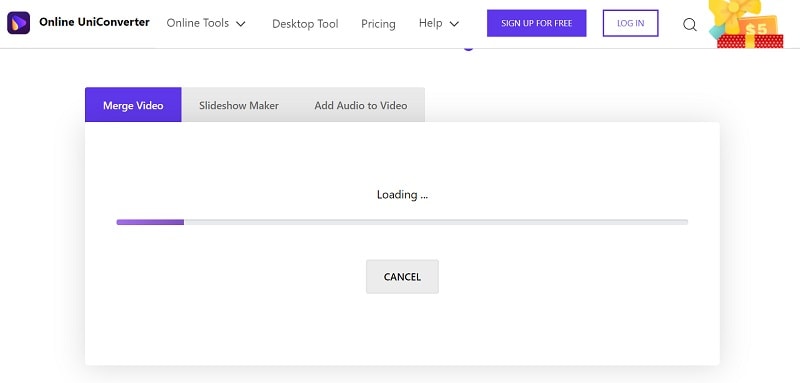
You can then just wait for a while as your selected videos would automatically be loaded on UniConverter.
Step 2: Edit your Videos to be Merged on UniConverter
The video that you have added on UniConverter would be listed at the bottom panel. You can add more videos here or can just change their overall sequence.
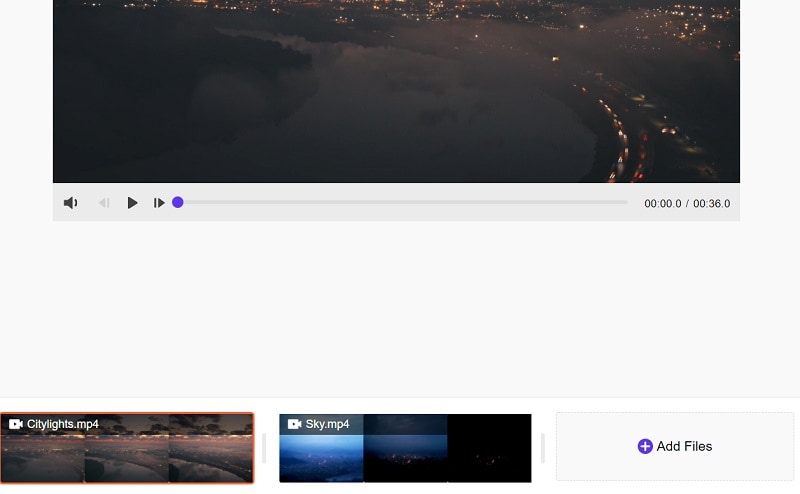
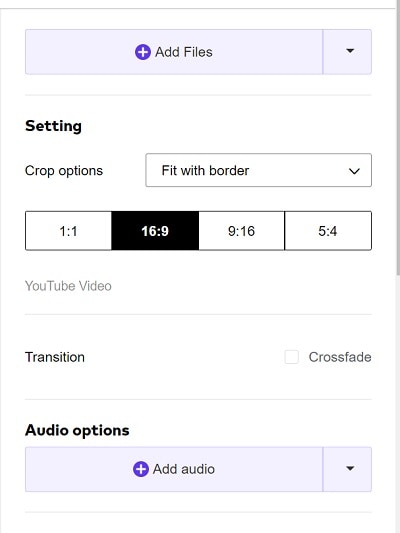
On the side, you can find dedicated options to edit the loaded videos, change their aspect ratios, add transitions, and do so much more.
Step 3: Export your Merged Video file from UniConverter
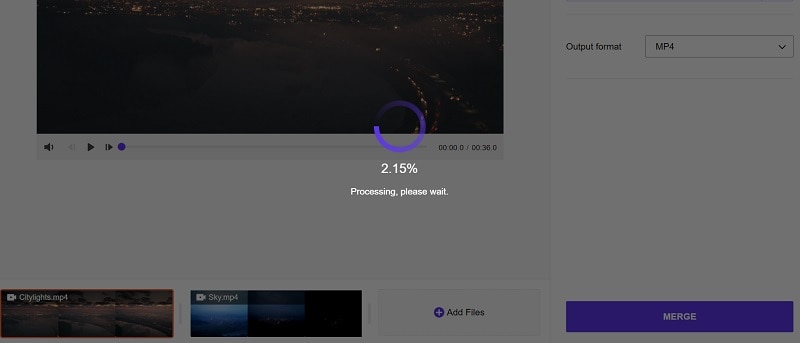
After making all the changes, you can click on the “Merge” button from the bottom to combine videos. The application will automatically process your videos and would let you save them as a single media file on your system.
Conclusion
That’s a wrap, everyone! I’m sure that after reading this guide, you can easily combine MP4 files on your Windows or Mac systems. To make things easier for you, I have listed 7 different solutions to merge videos using online or desktop solutions. Since most of these tools are free, you won’t encounter any issues with combining videos on your system. Though, if you are looking for a complete solution to edit your videos or record your screen, then Wondershare DemoCreator should be your go-to pick.


