

Loom is a popular screen recording software that allows you to capture your screen, webcam, and audio simultaneously. It’s a convenient tool for creating video tutorials and presentations or simply recording your computer screen. People use Loom for various purposes, such as developing training videos or recording product demos.
However, like with any software, there can be times when Loom encounters issues, and one of the most common problems is when the camera is not working correctly. This article will guide you through different methods to troubleshoot and fix the issue when the Loom camera is not working, ensuring you can easily continue creating high-quality screen recordings.
In this article
Part 1. Troubleshooting & Fixing Loom Camera Issues (Official Methods)
In this section, you will explore the official methods recommended by Loom’s website to resolve camera issues. These methods are directly from the source, ensuring you follow the most up-to-date and reliable solutions.
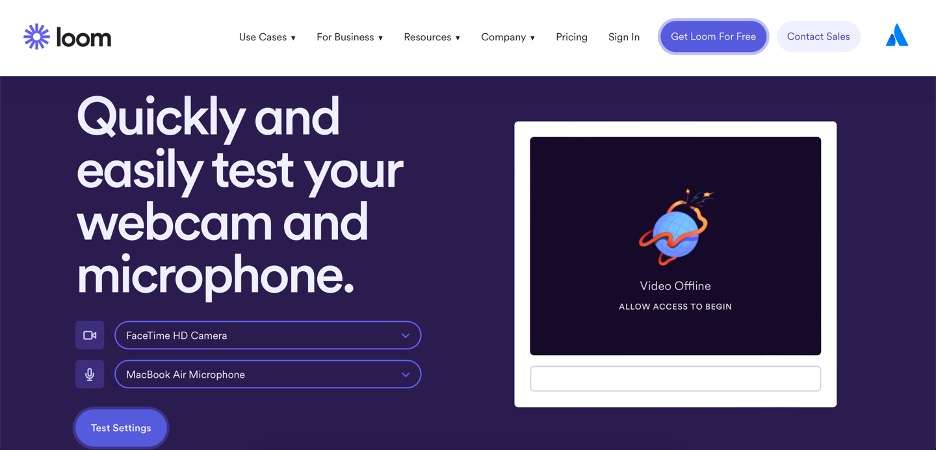
Working With Loom’s Test Site
The first step is to check if your microphone and camera are working correctly on the test site provided by Loom. If they are not functioning properly on the test site, here are the recommended steps:
- Check your computer’s system preference. Navigate to the Sound or Camera settings and ensure your microphone is not muted, and your camera is not disabled.
- Restart your computer. A simple restart can sometimes resolve many software-related issues, including camera problems.
Working With Loom Apps
If your microphone and camera are working correctly on the test site but not within the Loom application, follow these instructions based on the Loom product you’re using:
For the Loom Chrome extension:
- Navigate to your Personal Library.
- Click the secure lock next to the Loom URL and select Site Settings.
- Locate the “Camera” and “Microphone” settings, and ensure that “Allow” is selected for both.
- Once done, restart your Chrome browser.
For the Loom desktop app (Mac)
- Go to your computer’s System Preferences.
- Select Security & Privacy.
- Find the options for Camera, Microphone, and Screen Recording, and ensure that Loom is listed as an allowed application for all three.
- Restart your computer and reinstall the Loom app if Loom is not listed.
- If the issue persists after reinstallation, contact Loom’s Support team for further assistance.
By following these official methods, you can troubleshoot and potentially resolve the Loom camera not working issue. If the problem persists, don’t hesitate to contact Loom’s support team for additional guidance.
Part 2. Other Methods When Loom Camera Is Still Not Working
If you’ve followed the official methods from Loom’s website and your camera still needs to be fixed, don’t worry. There are several other troubleshooting steps worth a try to resolve the issue. These methods address situations where the camera itself might be the culprit.
Option 1: Reconnect Camera
Sometimes, the simplest solution can be to disconnect and reconnect your camera. If you’re using an external webcam, unplug it from your computer and plug it back in. This action can help reset the connection and resolve any temporary glitches or communication issues between your computer and the camera.
Option 2 (for Laptops): Restart PC
If you use a laptop with an integrated webcam, try restarting your computer. A complete system restart can often clear any temporary software conflicts or issues preventing the camera from functioning correctly within Loom.

Option 3: Relaunch Loom
If restarting your computer doesn’t work, close Loom completely and relaunch the application. This can help reset any temporary glitches or issues within the Loom software. This can resolve Loom not working or Loom recording not working issues with ease, too. It’s an all-around way to resolve problems.
Option 4: Reinstall Camera Drivers
Outdated or corrupted camera drivers can sometimes cause compatibility issues with applications like Loom. Try updating or reinstalling your camera drivers to ensure they’re functioning correctly. You can typically find the latest drivers on your camera manufacturer’s website or using your computer’s built-in device manager.
Option 5: Common Issues for Camera Settings
Check your camera settings to ensure they’re configured correctly:
- For Windows: Go to Settings > Privacy > Camera and ensure the “Allow apps to access your camera” option is turned on.
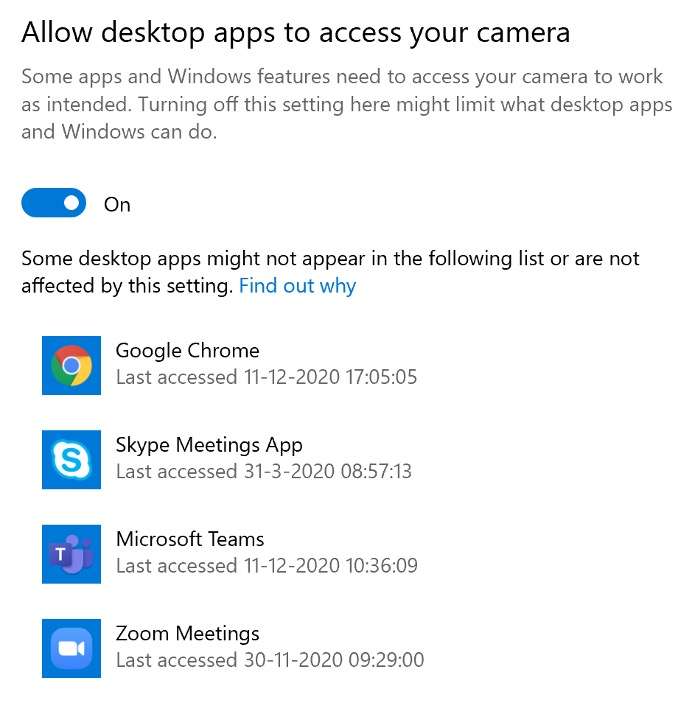
- For Mac: Go to System Preferences > Security & Privacy > Privacy > Camera and ensure that Loom is listed under the “Allowed Apps” section.
Option 6: Trying Out Another Camera
If you have access to another camera, try using it with Loom. This can help confirm whether the issue is specific to your current camera or a more general software/hardware conflict. If the alternative camera works, you may need to replace or seek further assistance for your primary camera.
By methodically working through these additional troubleshooting steps, you’ll increase your chances of resolving the Loom camera issue and getting back to creating high-quality screen recordings.
Part 3. Alternative Recording Software: DemoCreator
If you’ve tried all the troubleshooting methods mentioned above and the Loom camera is still not working, consider an alternative screen recording software. While Loom is popular, other powerful tools can provide a seamless recording experience.
One such alternative is Wondershare DemoCreator, a versatile screen capture tool that offers a number of features to meet your recording needs. DemoCreator is a comprehensive screen recording solution compatible with Windows, Mac, and web browsers.
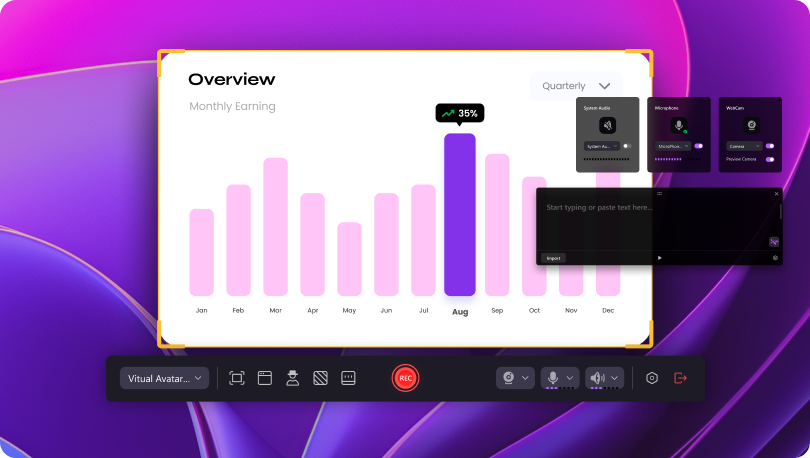
It is designed to provide high-quality recordings for various purposes, from creating tutorials and product demos to capturing gameplay and video presentations. Here are some of DemoCreator’s key features:
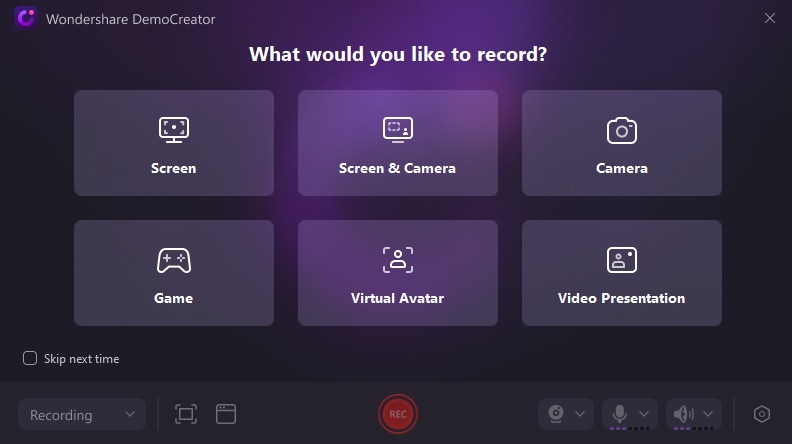
- Six distinct recording modes: Screen Recorder, Screen & Camera, Camera Recorder, Game Recorder, Avatar Recorder, and Video Presentation. The Screen Recorder mode is handy for capturing your screen and webcam simultaneously.
- Dedicated video editing tools: DemoCreator offers powerful editing capabilities, including AI-powered features, to enhance and polish your recorded footage.
- Instant sharing options: Once you’ve created your recording, DemoCreator allows you to share it seamlessly with free cloud storage and integration with popular social media platforms.
- High-quality screen recording: With the ability to capture up to 4K/8K resolution and up to 124 frames per second, DemoCreator ensures that your recordings are crisp and smooth.
Using DemoCreator’s Screen Recorder & Camera Features
One feature of DemoCreator is its ability to record screens without problem. It also allows you to use your camera while doing so, too. For example, here’s how to use DemoCreator’s Screen Recorder features:
Step 1: Download, install, and launch DemoCreator. Select Video Recorder.
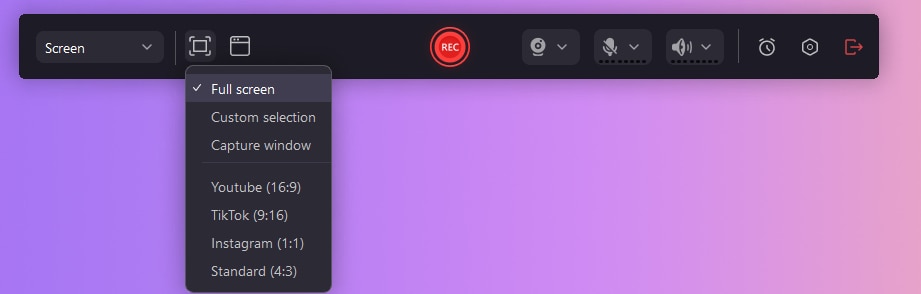
Step 2: On this menu, select Screen.
Step 3: Choose the portion of the screen you want to record and click on the Camera icon. This will enable your camera to appear on the recording.
Step 4: You have two options for configuring your export settings.
- The first option is Fast Merge (Quick Export), combining the webcam footage and desktop screen recording into a single video file.
- The alternative is Track Separation, which keeps the webcam and desktop recordings separate video tracks. Choose the option that suits your needs most.

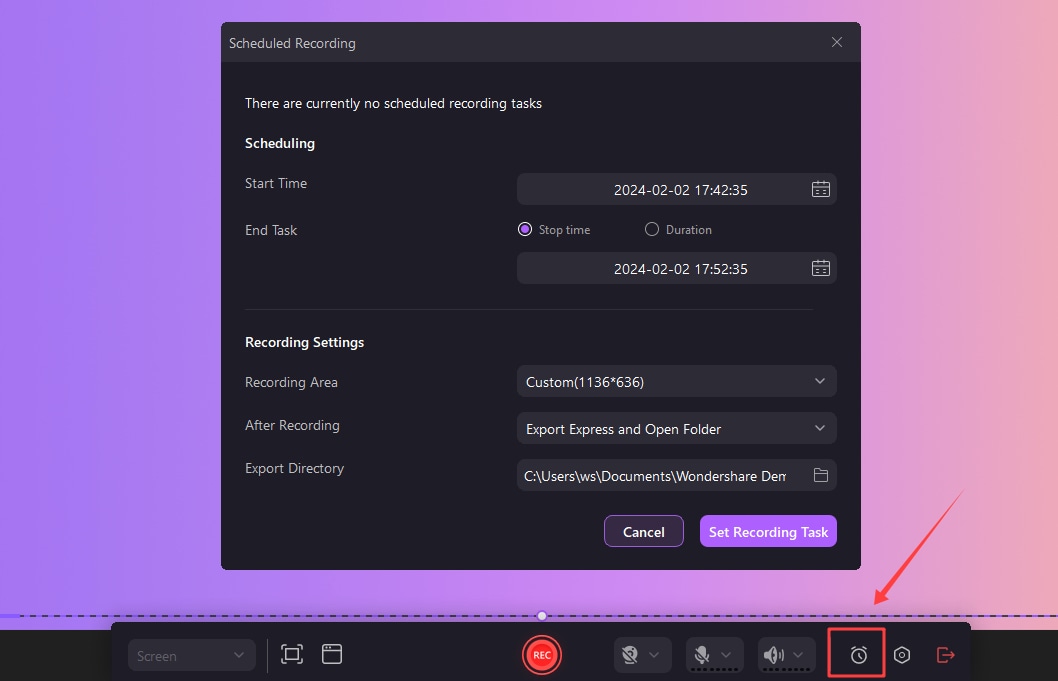
Step 5 (Optional): You can schedule recording tasks with the Scheduling feature to remove the hassle of manually setting up the screen recorder again.
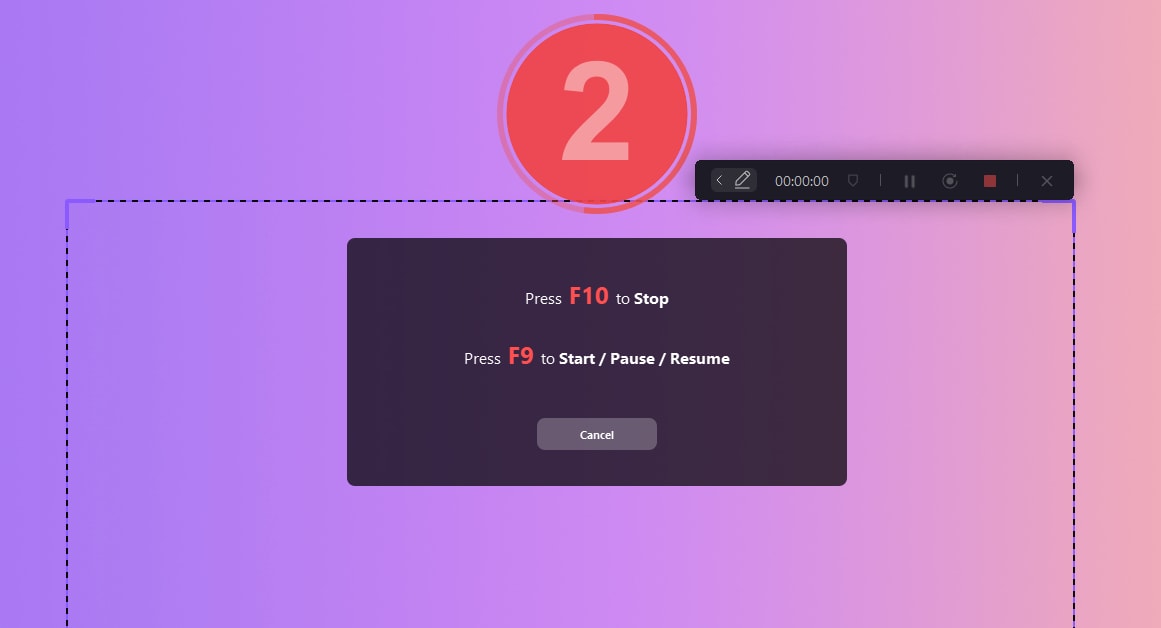
Step 6: Click the red Rec button or F9 on your keyboard to start recording. Hit F10 to finish.
Conclusion
This article discusses various troubleshooting methods and fixing issues when the Loom camera is not working. It covered the official methods recommended by Loom and additional techniques you can try, such as reconnecting the camera, restarting your computer, relaunching Loom, reinstalling camera drivers, checking camera settings, and trying a different camera.
If none of these methods work, it may be time to consider an alternative screen recording software. One option worth exploring is DemoCreator, which offers a range of features, including dual-screen capture, making it a versatile tool for recording video content.
