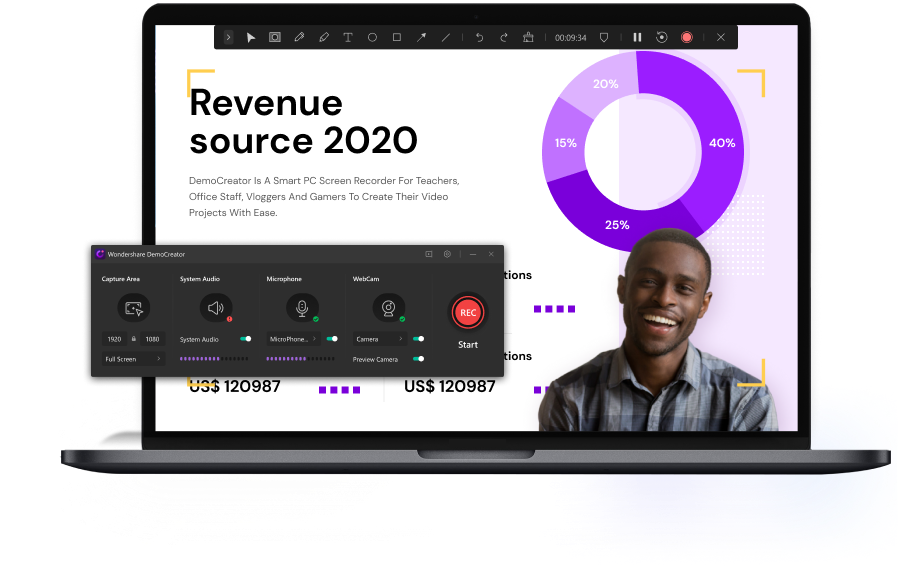
Wondershare DemoCreator
- 1. Create annotated screen recordings.
- 2. Record customized screen and audio and edit directly.
- 3. Capture webcam video and export it to social media platforms.

How to Record Desktop Screen with OBS

Video games, tech, and how-to videos are three kinds of most popular videos on social media channels, such as YouTube. Thus, people may find that it is quite necessary to record their desktop screens and capture their gameplay or instructional steps.
Today we will see how to OBS (Open Broadcaster Software) to capture video and audio from your PC. In case you have little knowledge about OBS, it is an open-source software developed by volunteer contributors around the world which is totally free. OBS can mix a variety of audio and video sources to a single output for creative video with an open canvas approach. Let’s dive into the world of OBS screen recorder.
- Part 1: Getting started with OBS
- Part 2: Setting up OBS
- Part 3: Recording with OBS
- Part 4: The best alternative to OBS: Filmora Scrn
Getting started with OBS
The first step to recording your desktop with OBS is to download the software from the official page. OBS is open-source, free, and works across Windows 7, 8, and 10. The newest version of Windows is, in fact, very decent for desktop recordings so you may want to consider upgrading.
Once you have installed OBS and run it for the first time, you will be greeted by a black screen and a host of options in the toolbar. Before we get into more detail on how to set up OBS, there are two terms you should know:

- Sources: where the video will come from.
- Scenes: how the final captured video will appear.
Setting up OBS
When you first fire up OBS, you will be asked whether you wish to run the setup wizard or not. Essentially, this will allow you to quickly set up certain things but you will not have as much control over the setup as when doing things manually.
Setting things up is not hard at all so I would suggest doing it manually instead. After rejecting the offer for help, you will be greeted with the main OBS screen. The display window will be entirely black as you will not have selected a source yet.
The only thing that OBS selects by default is the scene. The default scene takes up the entire screen, which means that if you choose to record your entire desktop, it will simply fill up the entire video. If you want to add more sources, like your webcam feed, then you can add more scenes too later on.
To add a source, all you have to do is click on the plus (+) icon on the Sources window at the bottom of OBS. To record your desktop with OBS, select the "Display Capture" option from the list.
In the window that pops up, just click on OK, unless you want to change the name of the feed, an entirely optional step that is not necessary at this point.
Once you click on OK, OBS will instantly show you a preview. Here, you can also choose whether or not your cursor will also be displayed. In case you have multiple displays, you can also choose which one to capture.
Now that video is all sorted, you may wish to configure audio too. The Mixer window at the bottom of OBS shows you the current audio sources. By default, the program will enable both sounds coming from your desktop and your microphone. If you would like to disable either one, clicking on the speaker icon will mute it so you won't have to worry about it.
Recording with OBS
You are now ready to actually start recording your desktop. Just click on the "Start Recording" button and OBS will start recording right away. Similarly, you will need to click on the "Stop Recording" button to stop. If you wish, you can also set up hotkeys via the Settings menu.
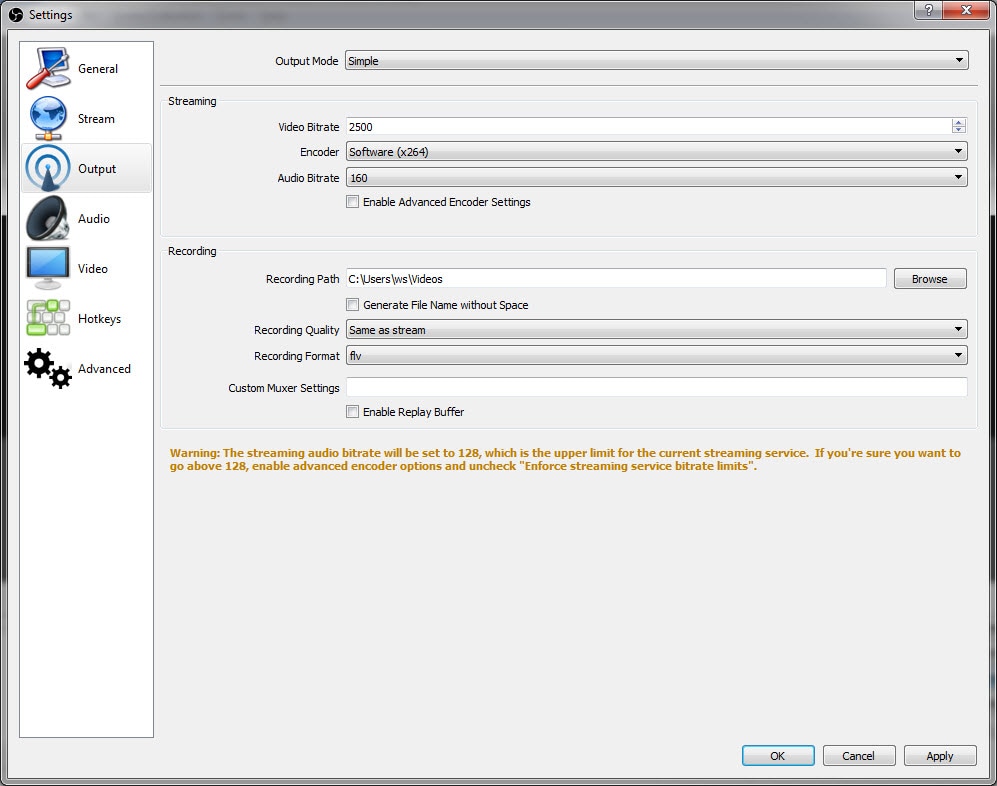
Recordings are automatically placed in the Videos folder in your Windows libraries. Videos are saved in the .flv format. However, all of that can be changed by going to Settings > Output. There, you will be able to change the recording path, quality, and format.
The best alternative to OBS: Wondershare Filmora
If OBS looks a bit complicated to you, then you can opt for a more straightforward program instead. One of the best alternatives to OBS is Filmora screen recording tool, a recently-released screen recording, and video editing program all rolled into one.
 Secure DownloadSecure Download
With Filmora, you will be able to easily record video from both your desktop and your camera in a format that is very easy to use and set up. The program supports recording from 15 to 120 FPS, can export to MP4, MOV, and GIF formats, and features a simple but powerful video-editing suite where you can add custom annotations, cursor effects, and more.

The Best Desktop Screen Recorder
Secure DownloadSecure Download
Other Popular Articles From Wondershare


