
This article is for anyone looking to start a side hustle and explore the potential of making money online. We are specifically going to talk about becoming a Udemy instructor.
In this article
Part 1: How to Sign Up to Become an Instructor on Udemy
Before we start your transformative journey as a Udemy instructor, let's address the basics. How do you sign up to become an instructor on Udemy? Well, it's simple.
Head to Udemy’s teaching page and click this “Get Started” button. Now, you need to enter your full name and email address. Then, select a suitable password and hit the sign-up button. Udemy will ask some basic questions about your previous experience as an instructor. Just answer this survey. As you can see, the Udemy dashboard has been created.
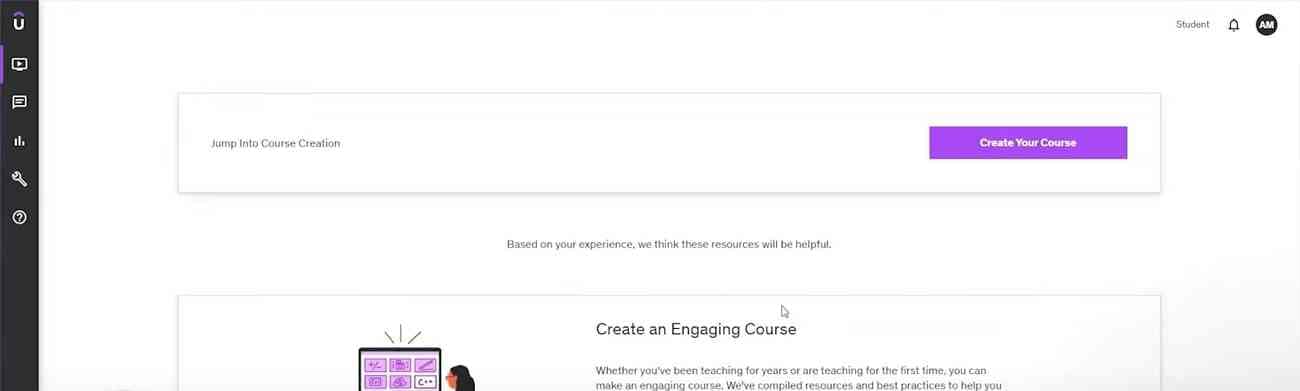
Now, once you have created your course, you can just publish them here right away. So you've set foot in the world of Udemy and geared up your dashboard. But here's where the real work starts. Turn your knowledge and passion into structured, impactful lessons. You can start by following four simple steps:
Step 1: Choose Your Topic
First and foremost, pinpoint what you're passionate about and what subject or skill you could talk about for hours. It could be anything from digital marketing, coding, and cooking to even mindfulness meditation. The key is to select a topic you're confident about and generally eager to share with others. Remember, authenticity is key, and students can sense genuine passion.
Step 2: Identify Your Intended Learner
Once you've decided on your topic, it's time to think about your audience. Who are you teaching? Are they beginners just dipping their toes into the subject? Or are they advanced learners looking to refine their skills? By identifying your target learners, you can tailor your content to suit their needs and expectations better.
Step 3: Create your Learning Objectives and Course Outline
Now, this step is crucial. Your learning objectives act as the foundation of your calls. These are the tangible skills or knowledge that students will gain by the end of your course. Once you’ve listed these down, start fleshing out your course outline. Think of this as a roadmap that guides students from where they are now to where you want them to be by the end.
Step 4: Create and Practice Your Script
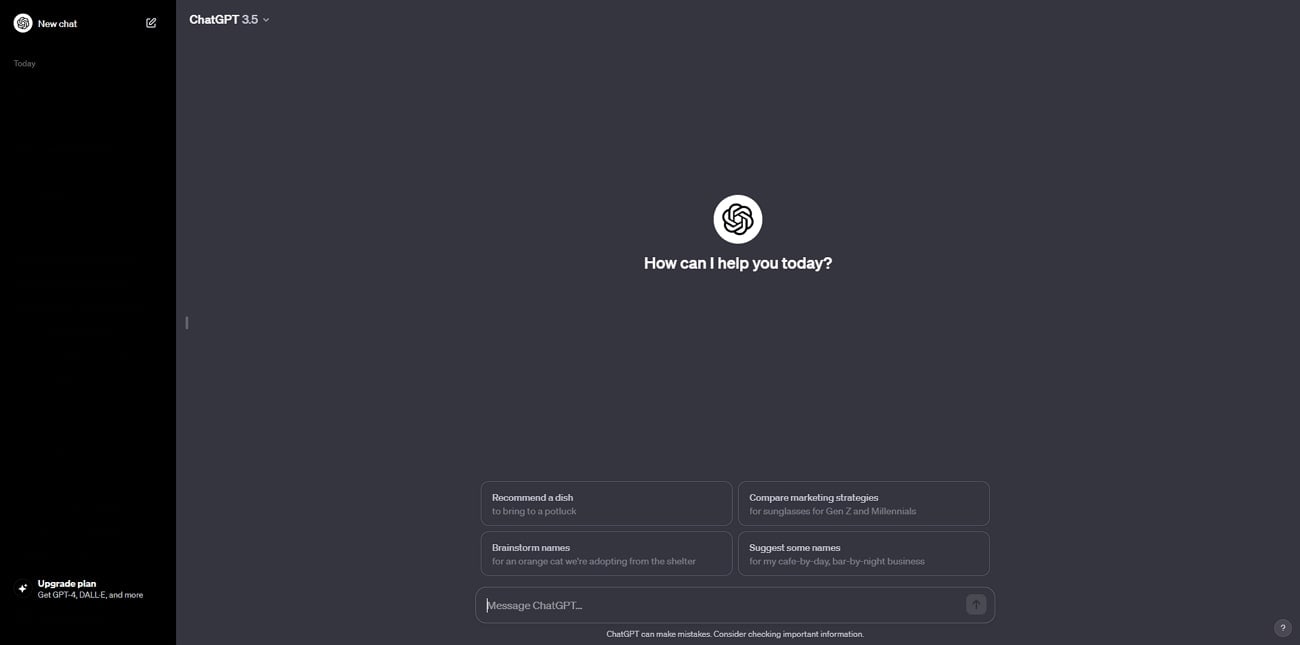
Once you've got your outline, it’s time to script your lesson. Focus on making your content clear, concise, and engaging. Here's a little tip: ChatGPT is a super helpful tool in a system with script writing. It's like having a brainstorming buddy on standby. Once your script is ready, you only need to practice. It'll help ensure a smooth delivery when you start recording. Once your course outline is ready, you want to transform it into visual and audible content. Now, let's move on from planning to execution.
Part 2: Produce Your Course with Wondershare DemoCreator’s All-in-One Recorder
When it comes to actually recording your course, the choice of tool can significantly impact the overall quality and reception of your content. That's where Wondershare DemoCreator steps in. You can easily download DemoCreator from the official website.
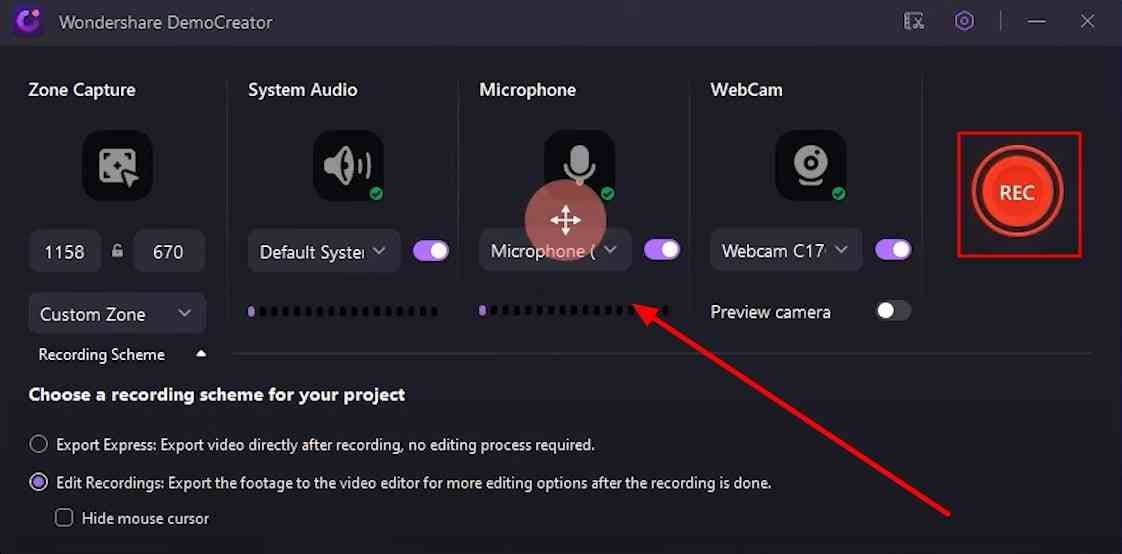
Upon launching DemoCreator, you'll be greeted by this opening interface. Select this “New Recording” button to open the all-in-one recorder of demo Creator. Before you hit the “Record” button, take a moment. Are you capturing everything in these settings? You can record system sounds for the software walkthroughs and microphone audio for your narration. This dual audio recording ensures your tutorials are both informative and engaging.
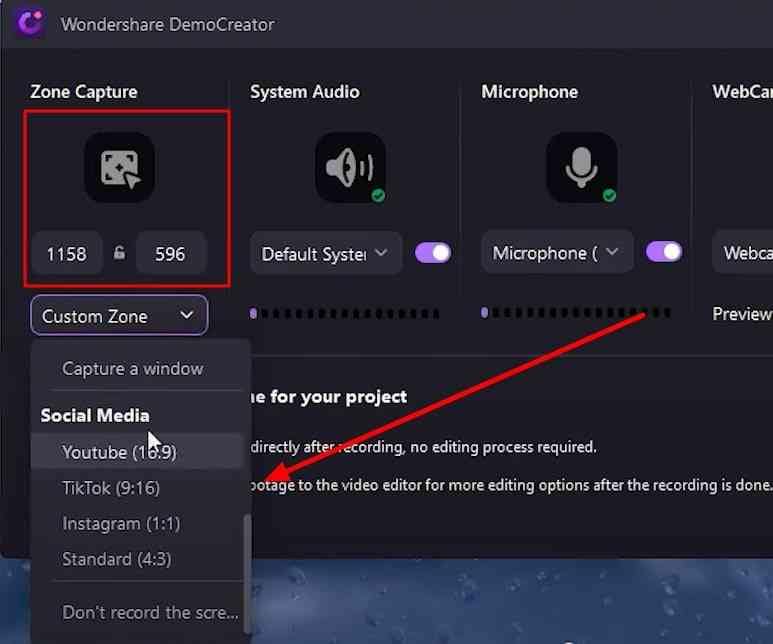
Next, every video doesn't need the whole screen. Maybe you just want to show one part of it. With DemoCreator, you can record your full screen or just a small piece if you're making videos for different websites like Instagram or YouTube. There are already sizes set up for you to pick from.
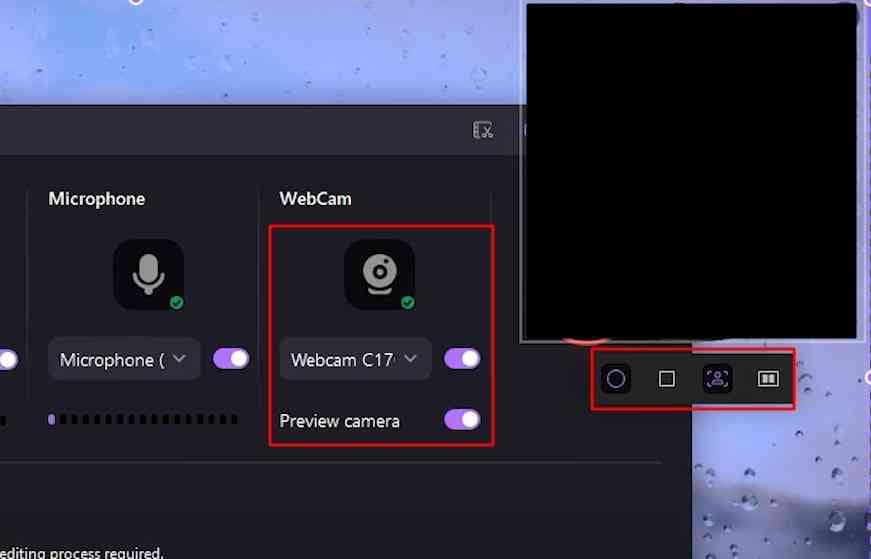
You can show your face while you teach. Just turn on the webcam options on DemoCreator. It feels like you're right there with your students. You can even change your webcam screen's shape, size, or location. The latest AI option automatically removes your background.
When ready, click on this start recording button. When the countdown flashes, your recording will automatically start.
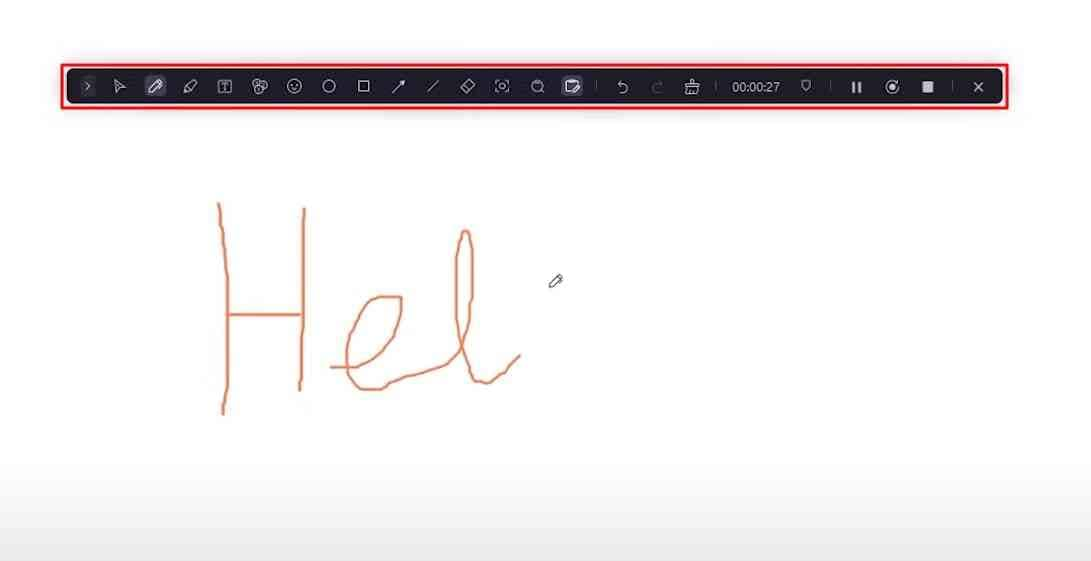
Now comes the live drawing tools of DemoCreator. If you've ever been frustrated with static and unengaged video lectures, this live drawing underlines or even draws to keep your audience’s attention intact. See that there's also a whiteboard feature. You can use it to give some extra explanation.
Once you've covered your topic comprehensively, end your recording from here. You can also press the F10 key button to stop the recording.
Part 3: Polish Your Course with Wondershare DemoCreator’s Editor
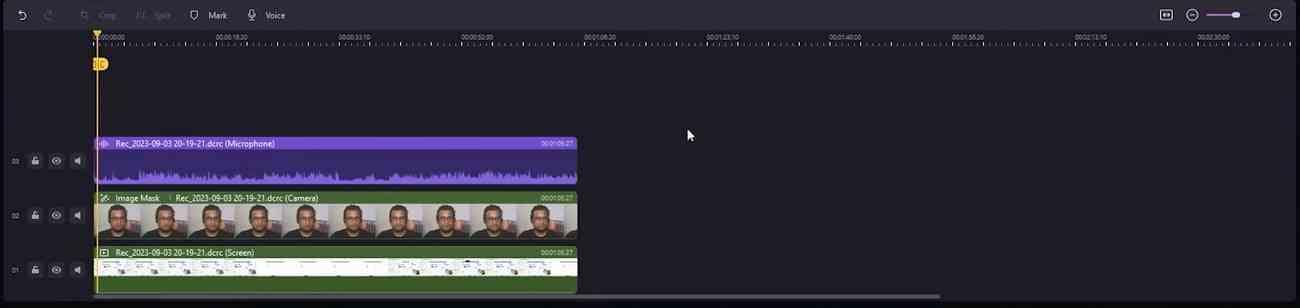
When you stop recording, the recorded files will automatically be imported into the DemoCreator video editor. First, your screen recordings and webcam videos are neatly separated on the timeline. This dual-track system makes editing a breeze, especially when you want to synchronize both.
How to Use Cursor Effects in DemoCreator
Now, let's see the “Effects” section. There are many effects, such as Cursor effects, Text Behavior, and Clip Motions. The cursor effects in DemoCreator can draw attention, guide your viewer’s gaze, and accentuate points of interest. This is invaluable, especially for software or Apple walkthroughs.
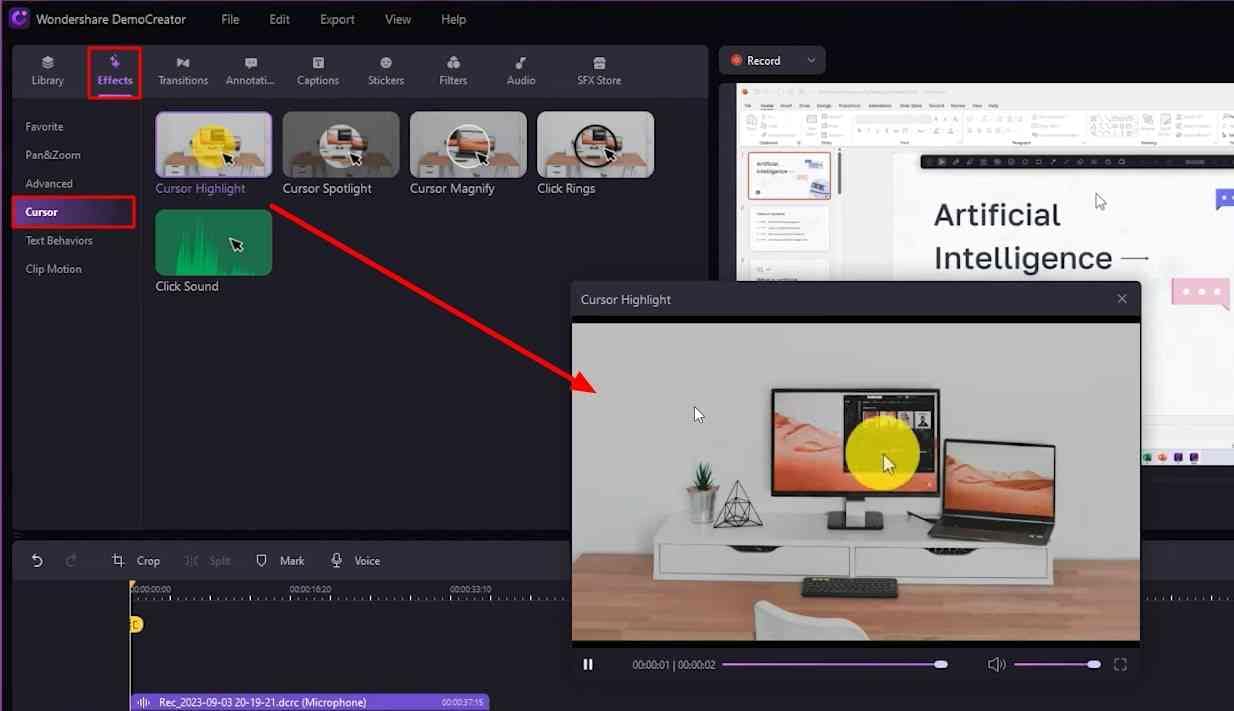
Following the cursive path is crucial. Just drag and drop it into the timeline. Now, isn't that fantastic? Moreover, if you click the double arrowhead, you can access the “Annotation,” “Captions,” “Stickers,” and “Filters” sections.
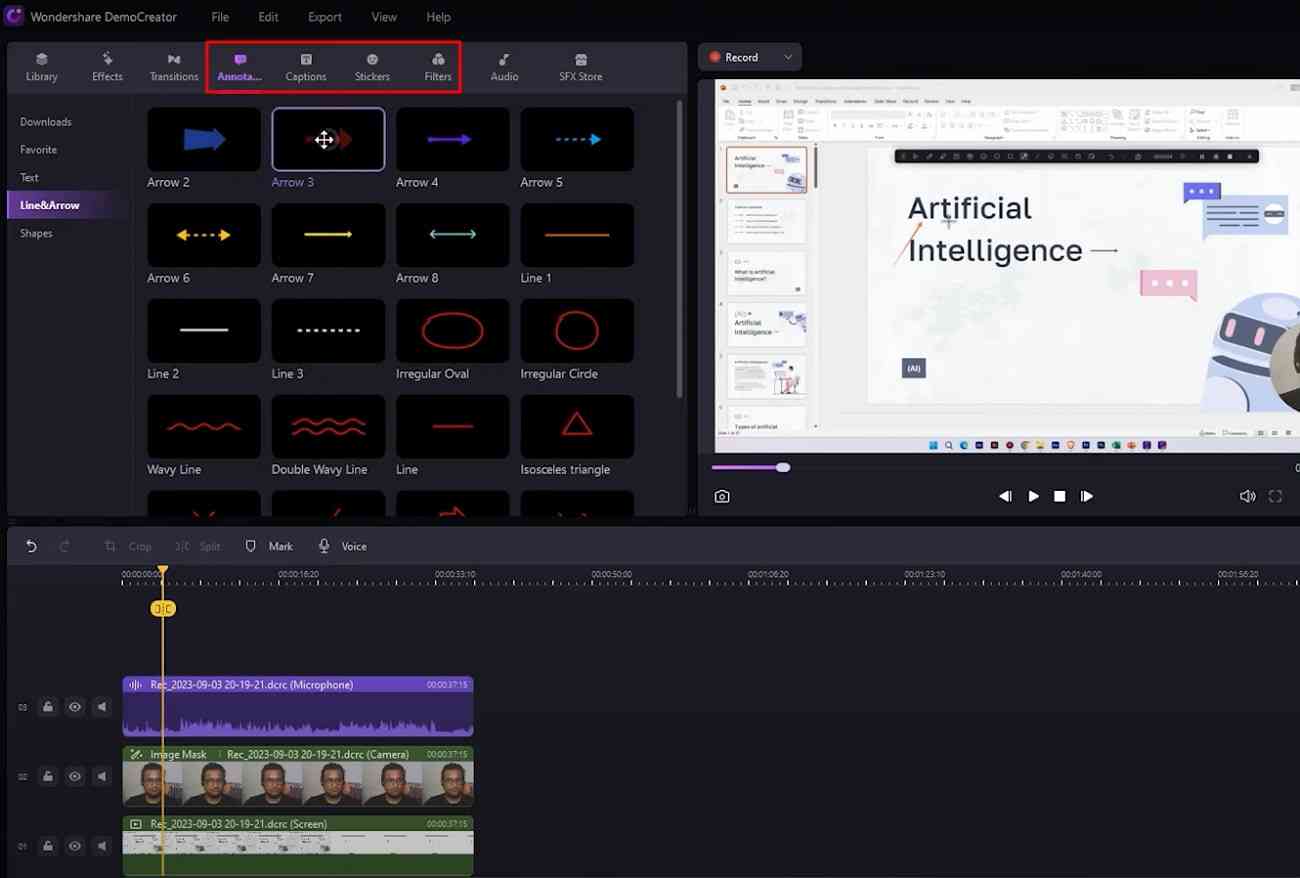
So, whether it's highlighting a crucial step, adding a note, or simply drawing an arrow, you have a whole palette at your disposal. Once you've got your course ready to rock and roll, don't wait any longer. Publish it on your Udemy instructor account.
Part 4: Publish Your Course on Udemy
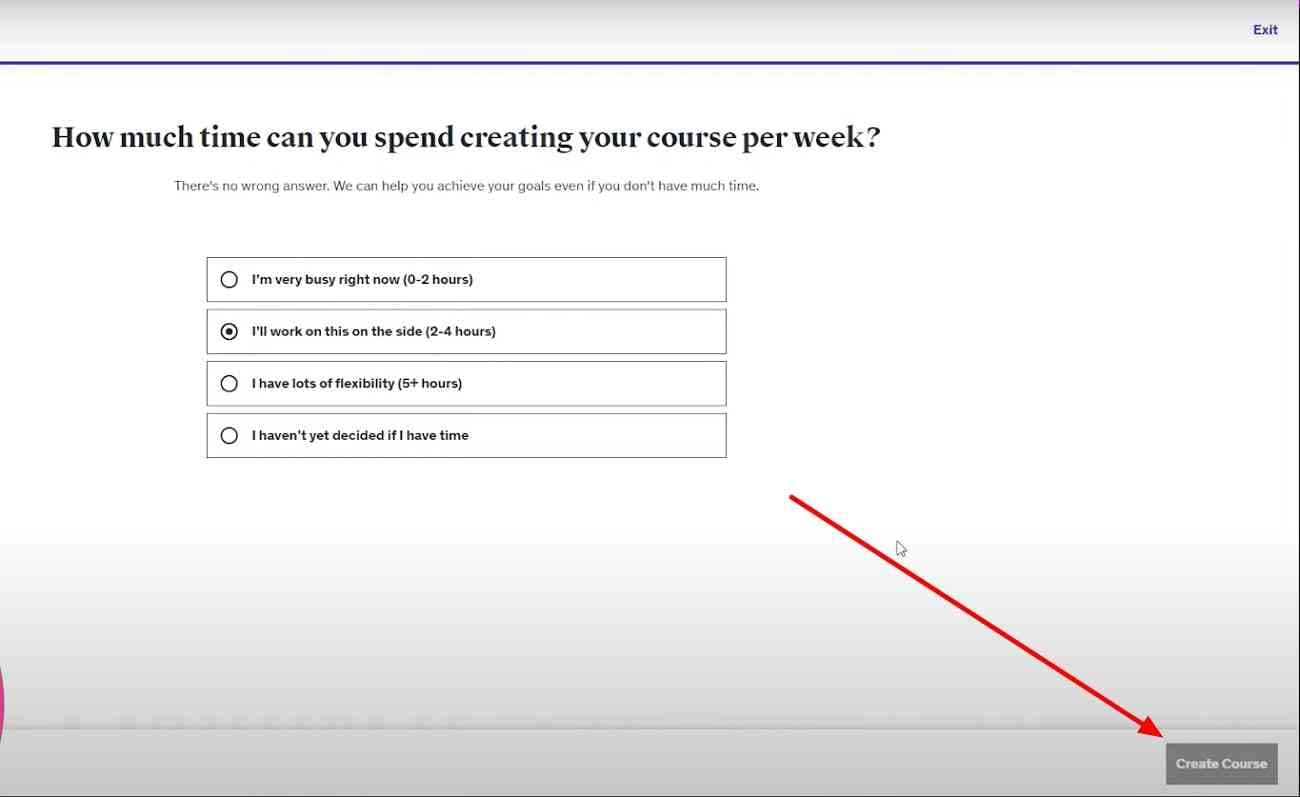
Go to the dashboard of your account and click on the “Create your Course” button. Now, Udemy will ask you 4 questions. First, select what type of course you're making, then hit “Continue.” Simply select a suitable title for your course, the type of course, and how much time you can dedicate to it. When all these four steps are completed, hit the “Create Course” button. You'll arrive at this interface.
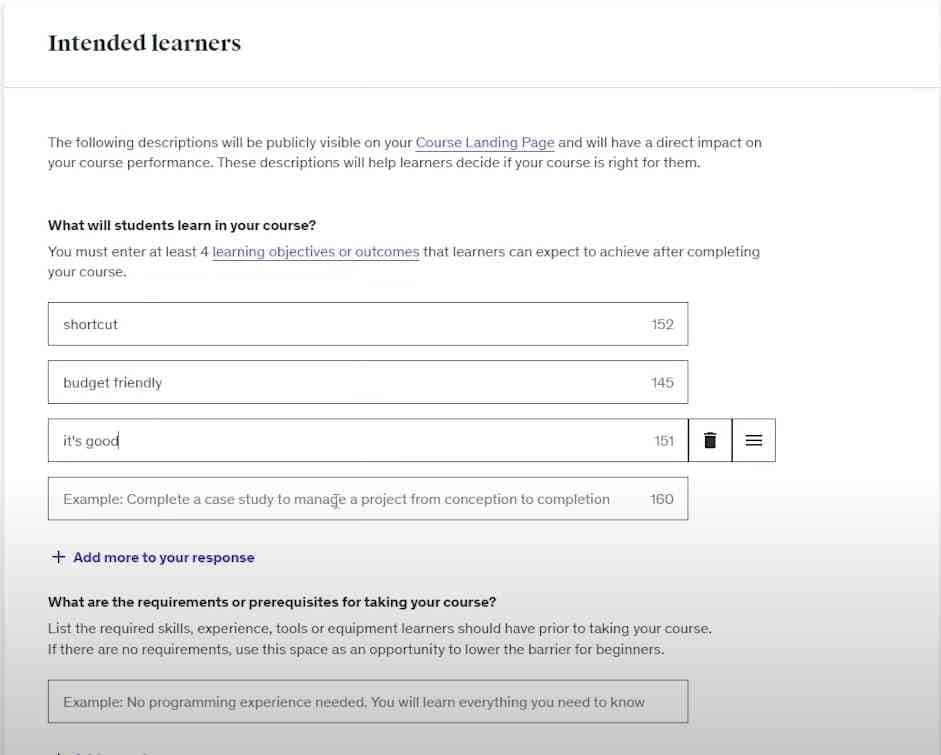
Intended Learners
First, from the “Intended Learners” section, fill out the learning outcomes and other info in the required sections.
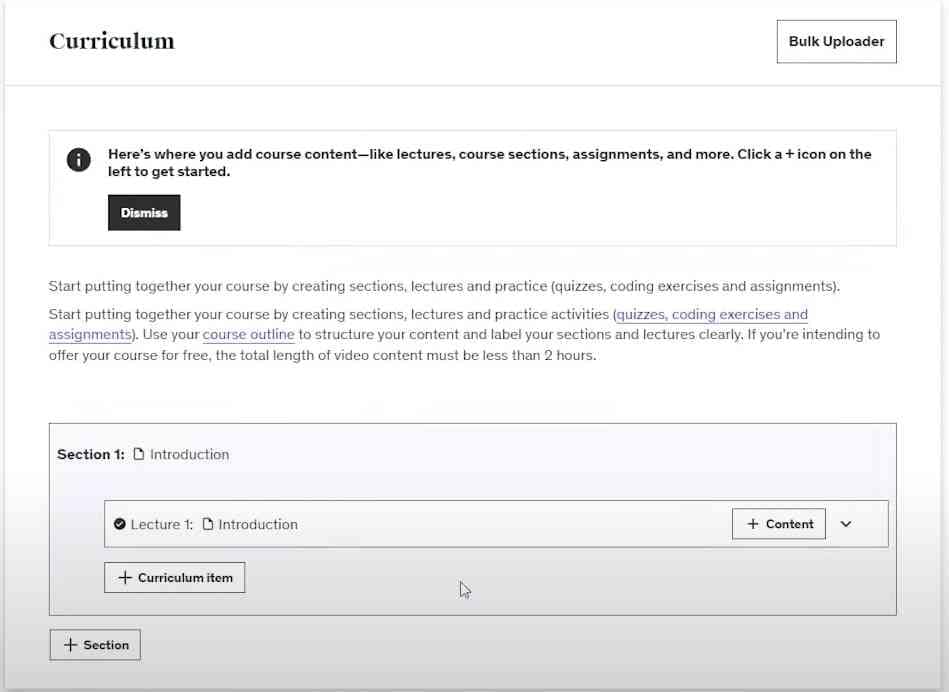
Curriculum
Then, upload your course to the “Curriculum” section. Udemy offers features like quizzes, assignments, and coding exercises. These aren't just bells and whistles. They're powerful tools to enhance your learning. Utilize them to make your calls Interactive and engaging. After that, move on to the “Course Landing” page.
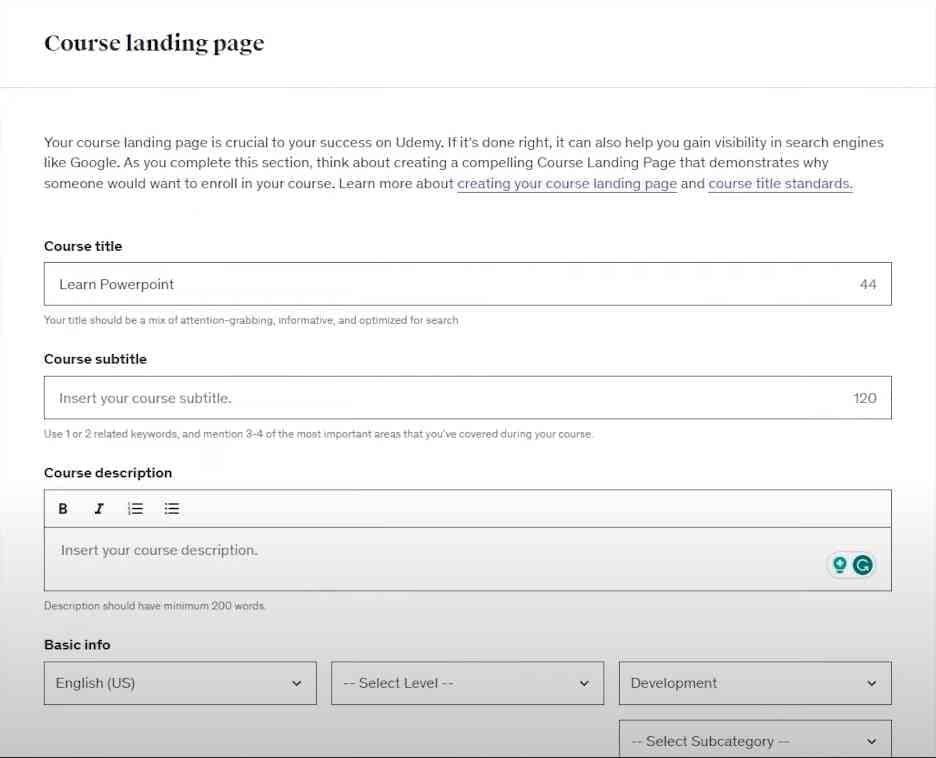
Course Landing Page
This is the face of your course. Now, ensure you have an appealing course image, a catchy title, and a compelling description. These are the first things potential students will see, so make them count.
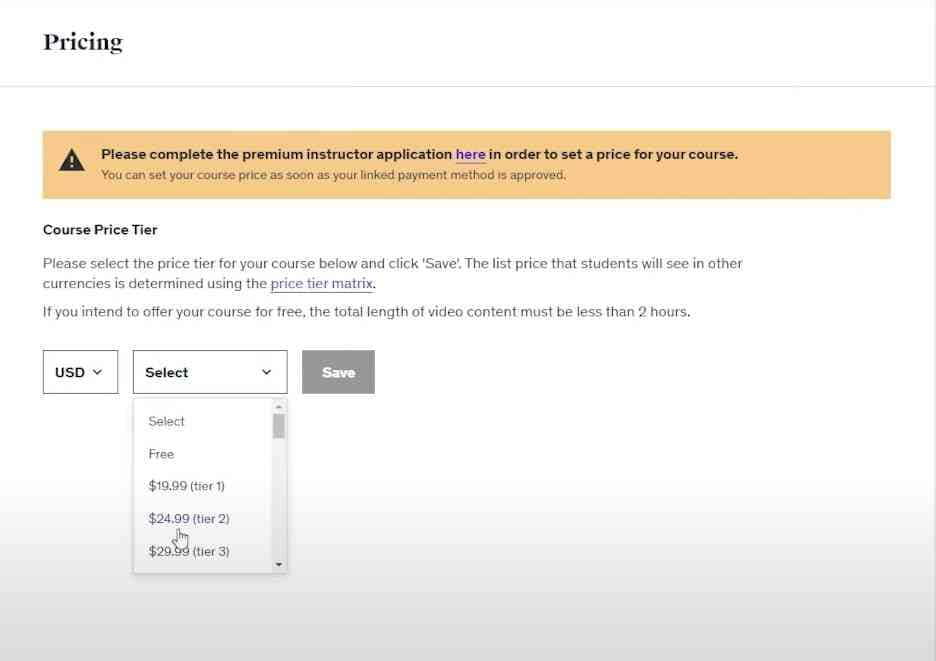
Set the Pricing
Then, decide if you want to offer your course for free or set a price. Remember, the value you provide should be reflected in your pricing. Udemy often has promotions, so keep that in mind when setting your price.
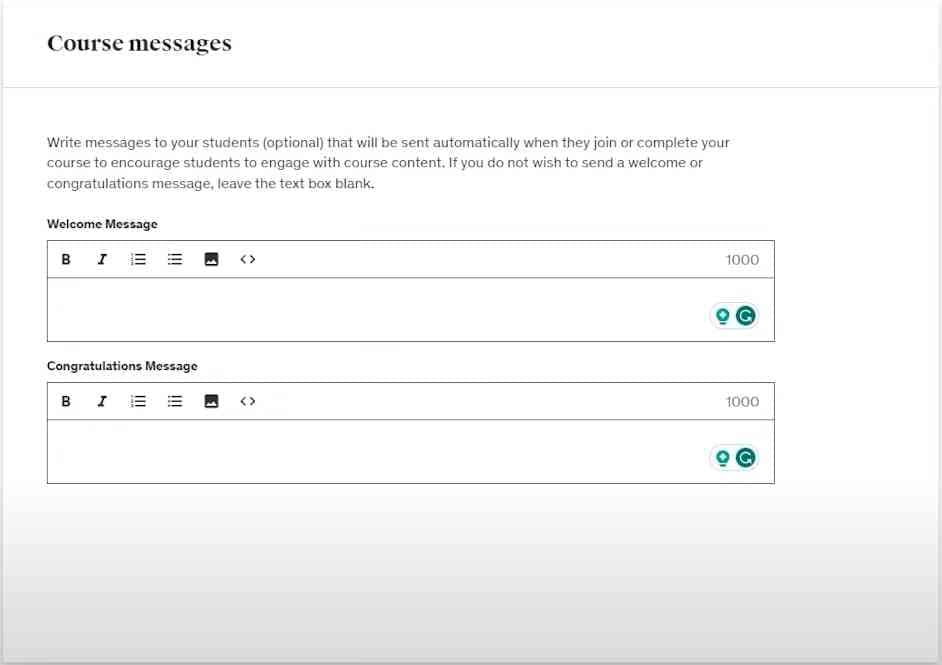
Write Course Message
Lastly, write some encouraging messages to welcome and congratulate your students.
Publish Your Course
Hit “Publish” after double-checking everything and “Submit” for the review button. After Udemy reviews your course, it will be available for everyone worldwide. Remember to spread the word about your course on social media or your personal network. You can even start some ads if you feel it.
Conclusion
What a journey we've been on today. To quickly jog your memory, we first walked through the simple steps to sign up as an Udemy instructor. From there, we explored the art of crafting a compelling course using Wondershare DemoCreator. Finally, we showed you how to publish your course on Udemy. Remember, teaching is an art, and with Wondershare DemoCreator, you have a powerful Ally to ensure your tutorials are top-notch.


