
If you're an online course creator who publishes courses on Udemy, this article is for you. Today, we’ll be talking about how to create a Udemy course. Before we get into the step-by-step method to create the Udemy course, let's talk a little about the platform.
In this article
Part 1: What is the Online Learning Economy and Udemy Platform?
Online learning is a thriving activity mostly driven by online courses. It only works for online learners and is also a way to make passive income for course creators. There are many marketplaces for selling online courses, but Udemy is the largest platform.
As of May 2022, Udemy has more than 52 million students, 196,000 courses, and 68,000 tutors teaching courses in over 75 languages. This produces many opportunities revenue-wise and explains why Udemy continues to thrive in the industry.
Part 2: How to Create a Udemy Course: Step-by-Step Guide
The first step is to decide what your course will be about. Well, it may seem obvious, but it goes beyond saying okay, I'll create a course on video editing. You need to match your expertise and course idea with the level of demand while paying attention to your competitors. You can use the Udemy Marketplace Insights tool to identify your audience. Map out goals, find keywords to rank for, and understand the competition.
Step 1: Set up the Groundwork
The next step is to set up the groundwork. There are a few pointers to help you lay out the foundation. If it's your first course, keeping the content length between 4 to 6 hours is advisable. Keep each video 2 to 10 minutes long. You can make them longer; just try to keep things short and crisp. It’s better if you script your content.
However, if you’re an experienced pro and prefer going off the cuff, just create bullet points in the presentation. Now, deciding how you want to visually present your content is one of the most important parts. You can make slide screencasts, just appear yourself, or combine all of these together. The best approach is to combine them all; you can use a screencasting tool like DemoCreator.
Step 2: Film Your Course Video with DemoCreator
Wondershare DemoCreator is one of the most popular screen recorders for its versatile use and valuable features. Let's look at the step-by-step method to record your Udemy course video with DemoCreator:
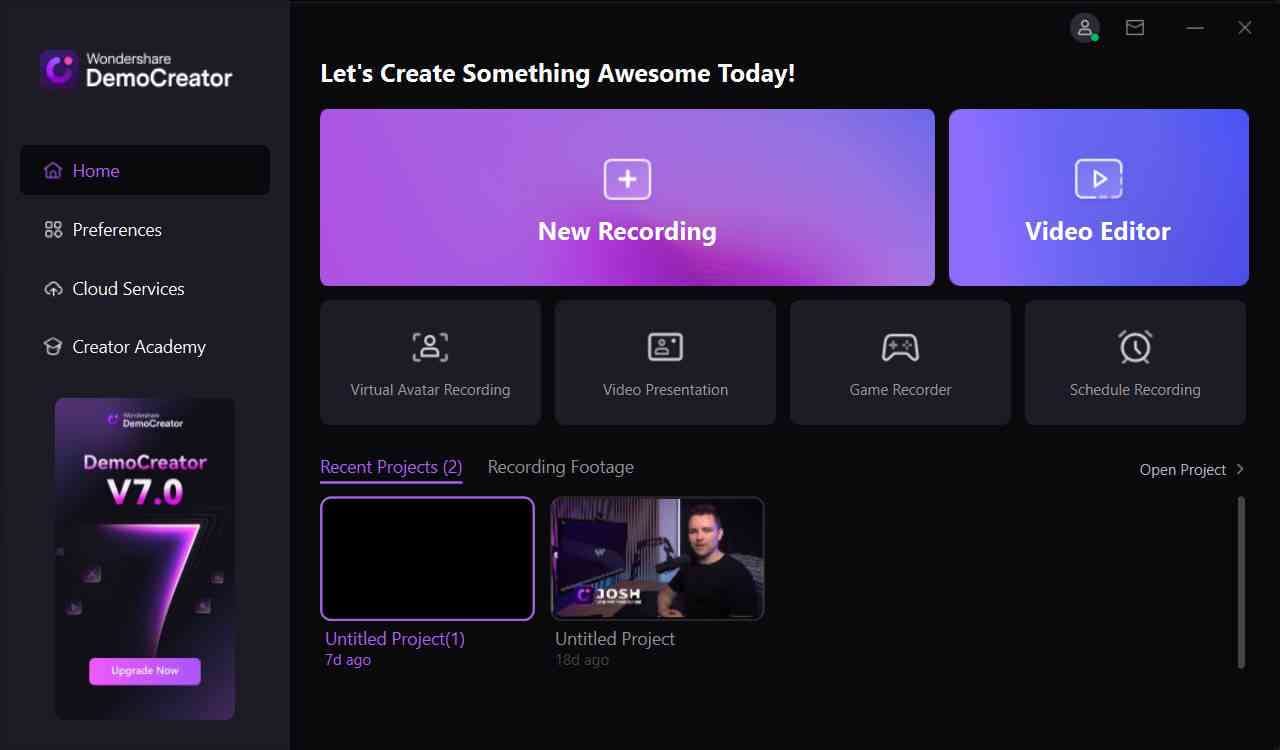
First off, make sure you’ve got DemoCreator installed on your computer. Open DemoCreator and select one of the recording modes, as we need to film a video where you'll be using your slides while you explain everything. We need to embed your face cam video. To do that, choose “Video Presentation", where you can set everything according to your needs.
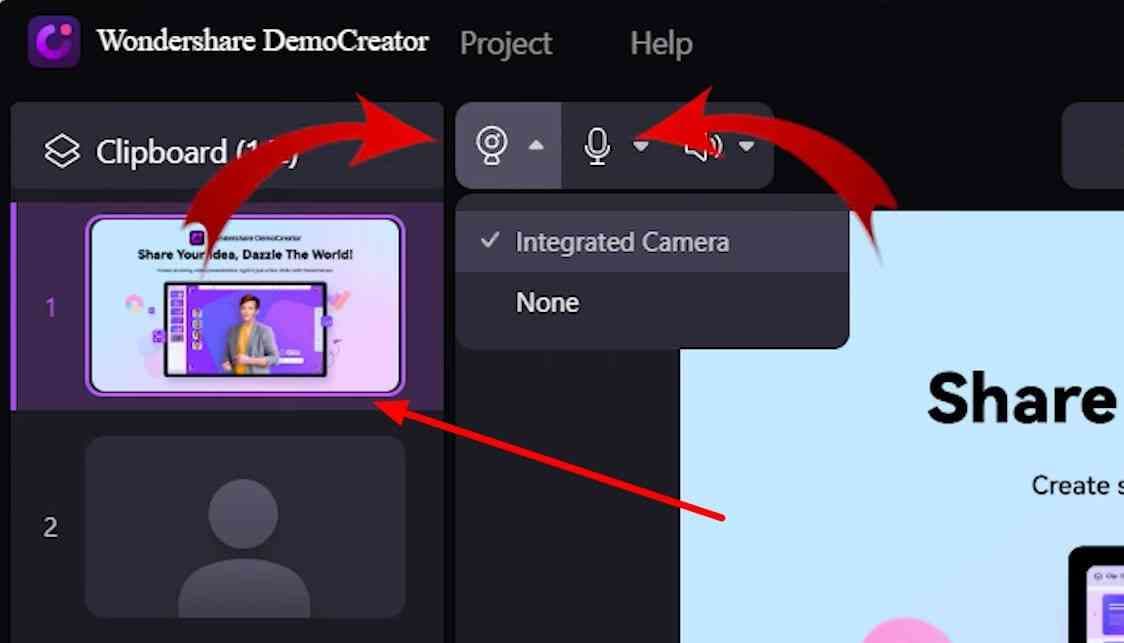
Now copy your slides and add the clipboard on the left side panel of the screen. Webcam and Microphone recordings are added to the screen recording by default. You can either change the input camera and microphone or disable them. Use the webcam and microphone icons next to the clipboard menu to do so.
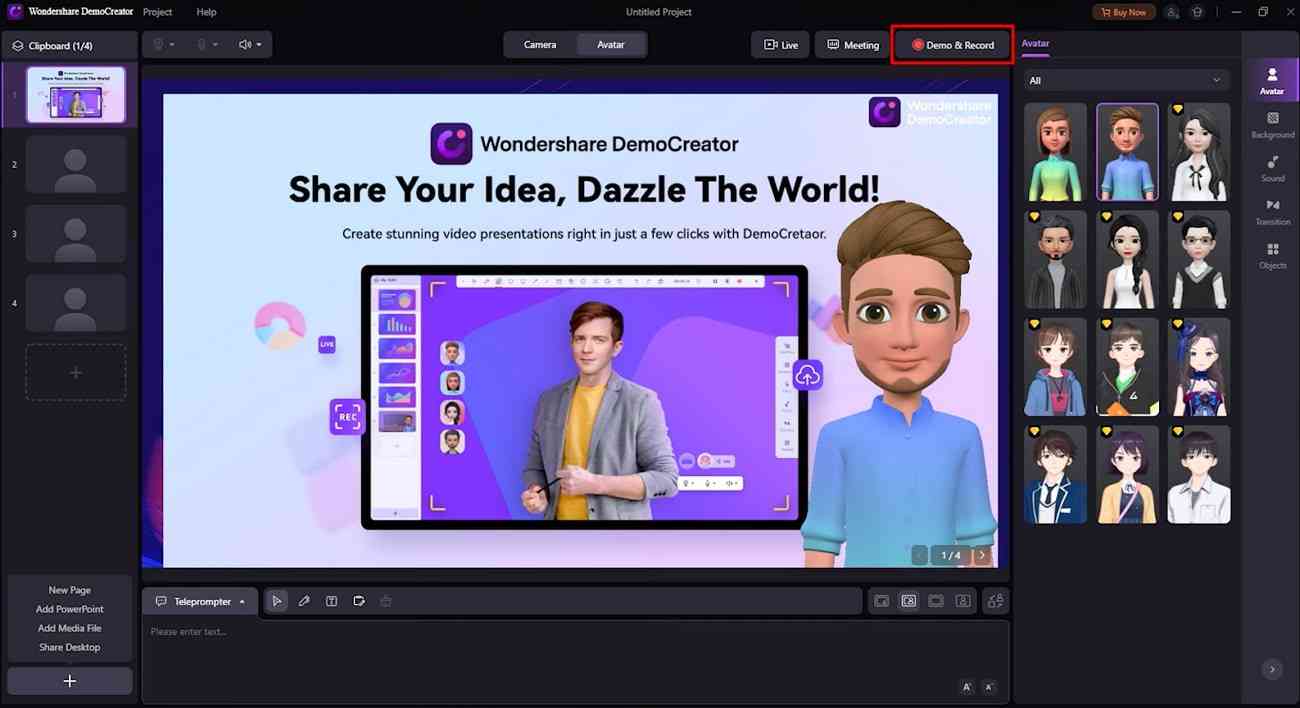
Once everything is set, you can hit the “Demo & Record” buttons to start recording the screen with your webcam video. The recording starts after a countdown of three seconds. Once you finish your first-course video, hit the “Stop” button to stop recording. The video will then open automatically in the video editor, where you can polish it.
Step 3: Polish Your Course Video with DemoCreator Editor
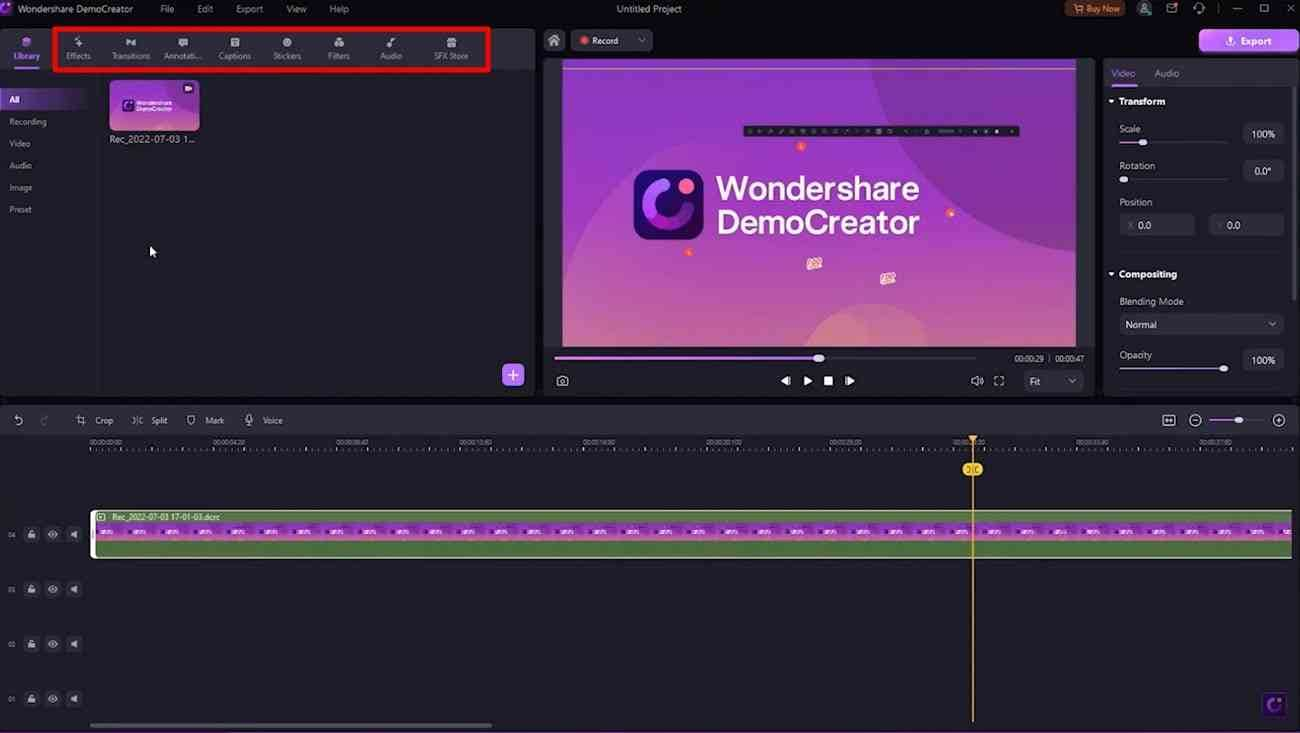
DemoCreator’s built-in editor offers a variety of editing tools to add more clarity to the course content and video, making the subject easier to understand. When the video is in the editor, you can explore and apply its various editing tools, such as effects, transitions, annotation, captions, stickers, filters, and more.
Step 4: Upload Your Videos to Udemy
After editing your videos, it's time to upload them on Udemy. You can use Udemy’s bulk uploader to get everything up at a go.
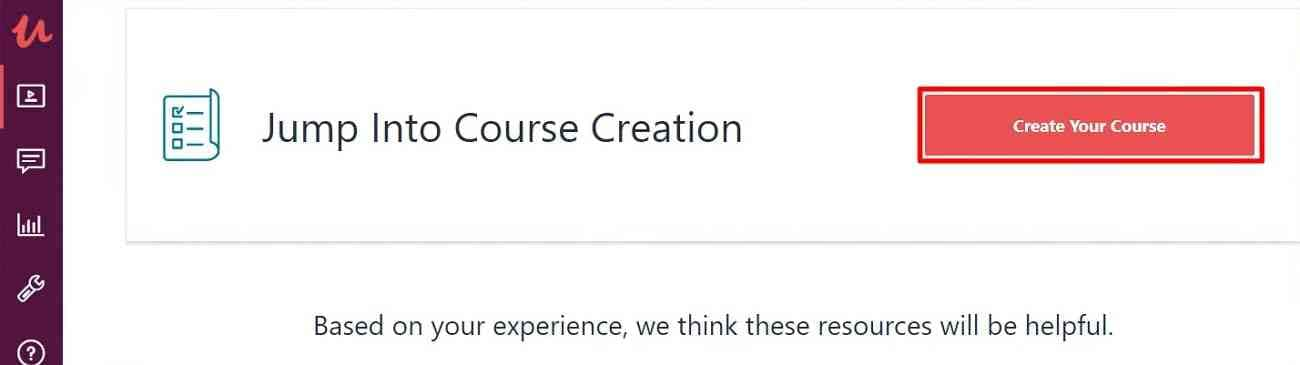
Go to Udemy and create an account. After logging into your profile, click “Teach on Udemy.” On the next page, click “Become an Instructor” and answer all questions. Click “Create Your Course” on the next page and complete the forms.
After adding the title, you'll move on to a new page. Hit the “Create Your Content” button to upload your videos. To upload your videos simultaneously, click Udemy’s “Bulk Uploader” button. Familiarize yourself with the environment to see how it looks and works before uploading your content.

Step 5: Create Your Course Landing Page
After uploading your videos, you need to create your course landing page. It plays an important role in your success on Udemy because this is where your potential students learn about your course and you.
Course Title, Subtitle, Description, Course Image, Preview Video, and Instructor Profile are the most attention-worthy components. You need to write a concise, catchy, and realistic title. See how top-performing courses have written their titles.
Next, you need to briefly describe the course in the subtitle with the target keyword you are using. Moving to the description, ensure it's detailed and gives a complete knowledge of what students will get from it.
The course image is simply a thumbnail of your course, and the preview video could be an intro video to your course. An instructor profile is where you have a chance to sell yourself. Not just to brag about your experience and accomplishments but also to tell them the value you provide as an instructor.

Step 6: Submit Your Video for Review on Udemy
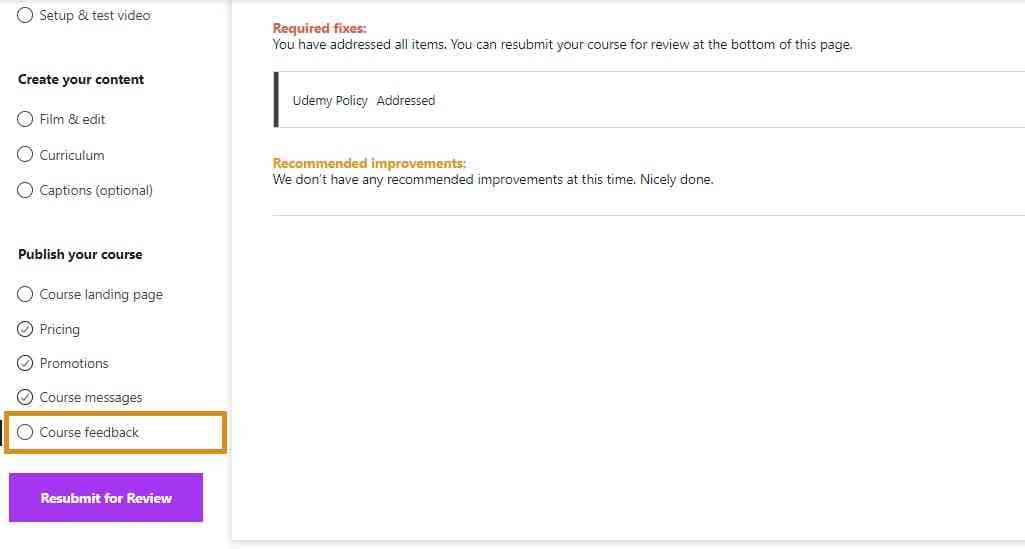
After doing all these steps and ensuring nothing is left, hit “Submit For Review.” Once you submit your course, Udemy’s team reviews the submission. You'll be notified whether your submission is approved or if any changes need to be made.
Conclusion
As you get familiar with how to create a video on Udemy, become an instructor and start teaching. In your journey, utilize Wondershare DemoCreator for effortless course creation. Make your lessons easy to understand and quickly reviewed by Udemy through DemoCreator. Besides, you have learned how to polish the course content with the DemoCreator editor. So, without further delay, jump to make videos and contribute to the economy.


