Split YouTube Video in 4 Easy Steps and Share Directly

Internet is turning into a mainstream learning strategy utilized by a large number of teachers across the globe and YouTube, being part of the largest online traffic website, forces you to know how to split a YouTube video for better learning. As opposed to up close and personal exercises, instructors and speakers are caught up with chipping away at acclimating to their new far-off learning conditions by making video instructional exercises and classes. Almost 300 hours of new video content gets transferred to YouTube consistently. That is somewhere near 430,000 hours every day. Thinking about how to keep up? To stand apart from the group, you should convey reliably captivating videos that not just hold the consideration of your intended interest group yet additionally make them buy-in for additional.
In this scenario, instructors are confronted with new difficulties. Internet instructing can regularly turn into a long and troublesome cycle since enormous videos are famously hard to transfer and share. Anyways, YouTube videos split in two gives you a specialized solution as a whole. On the off chance that your video cutting doesn't hit the correct casing or your shots aren't consistently woven together to frame a strong entire, the outcomes are an unpolished video, and likely a separated crowd as well. This makes altering a fundamental piece of the video creation measure. With that being said, here we’re introducing the variety of interlinked solutions to that YouTube split video into parts queries. Follow up for more.
Part 1. How to Split YouTube Video into Parts with DemoCreator
On the off chance that that seems like you, you're in the ideal spot, as we're jumping into every one of the activities to draw in your optimal watchers with a channel depiction that sticks out. There are numerous items and apparatuses out there that can help you make a split-screen video, yet we favor the Wondershare DemoCreator toolkit among the pile of others. It has a straightforward interface and intuitive features so you can rapidly make a YouTube split the video into parts with as numerous or as a couple of customizations as you'd like.
Here we’re enlisting the steps required for how to split YouTube vidoes with the detailed brief. Follow to perform it on your own.
Step1. Download and Install DemoCreator
The foremost step to perform this handy task is to have this software in your utilities and for that, we’ve enlisted the links to download both the Mac and Windows versions of this application: Right after the download finishes, you can open the launcher and install it inside your system. You can choose the default installation to ease yourself further.
 Secure DownloadSecure Download
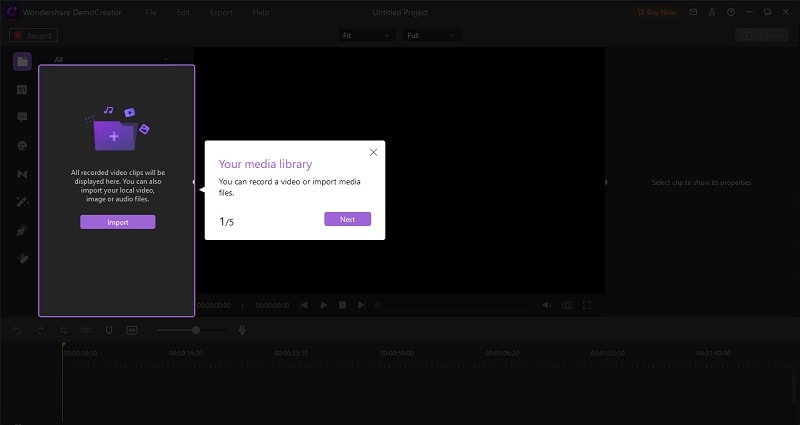
Step2. Import the YouTube videos
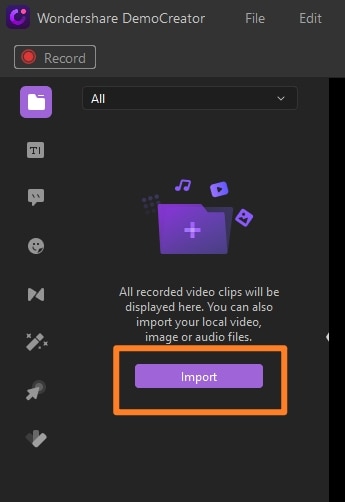
In the next step, import your YouTube videos directly to the DemoCreator by hitting this “Import” button as shown below. You can import any format of video to this intuitive platform without any hassle.
Step 3. Drag the video to the timeline
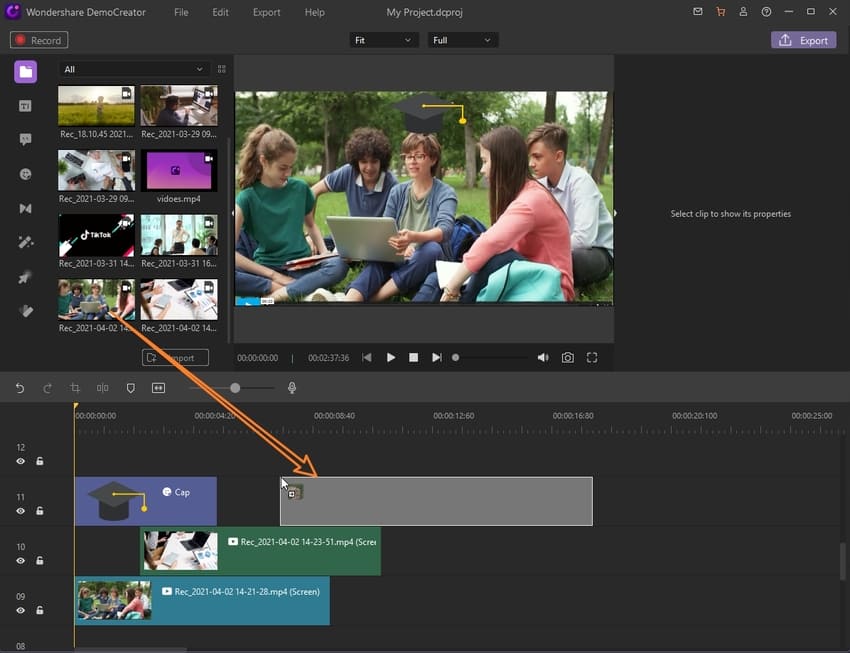
Now after the import, you need to drag your imported video to the Timeline underneath to edit them accordingly.
Step4. Split Video
In the timeline, select the added video to open the editor on the right side of the software interface to perform the split-related editing. You can simply hover your mouse on the video and right-click on it to select the Split button from the list as shown below:
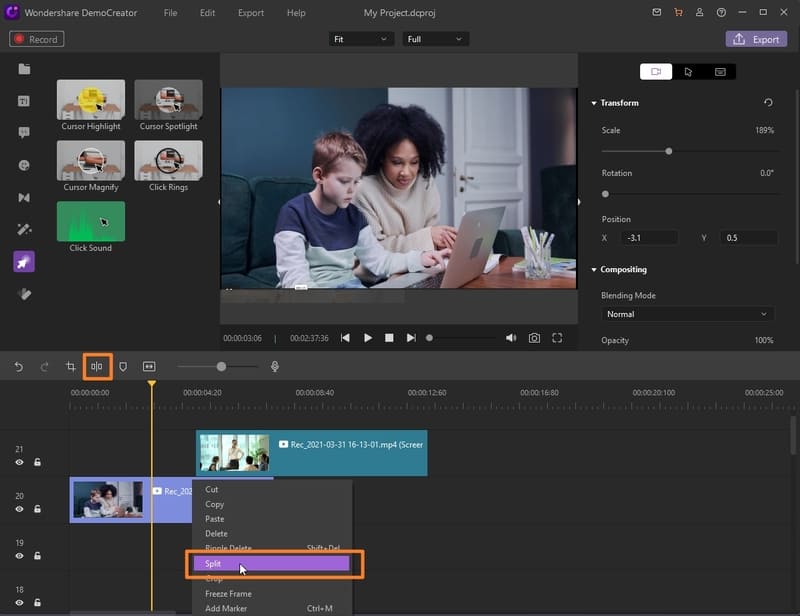
You can check the split operation for precise splitting by previewing the video inside the DemoCreator preview window as shown below:
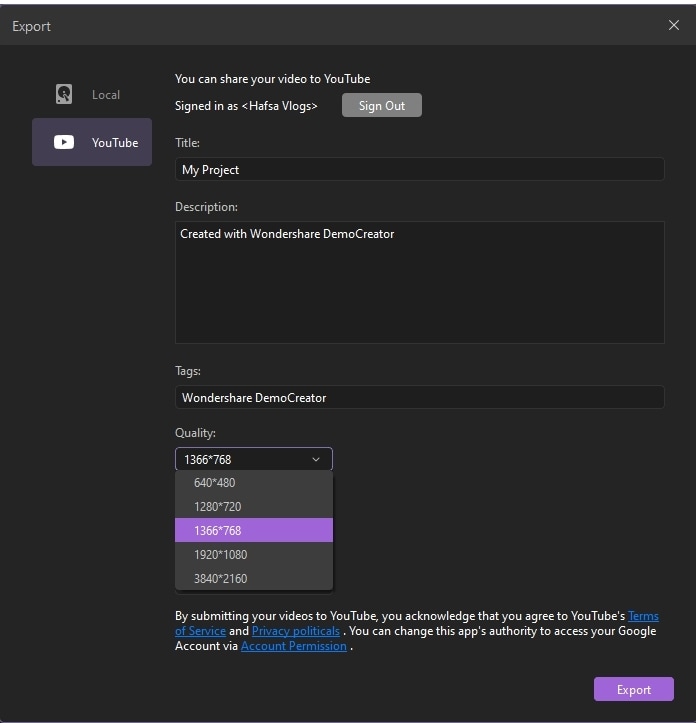
Step5. Export the video or publish directly to YouTube
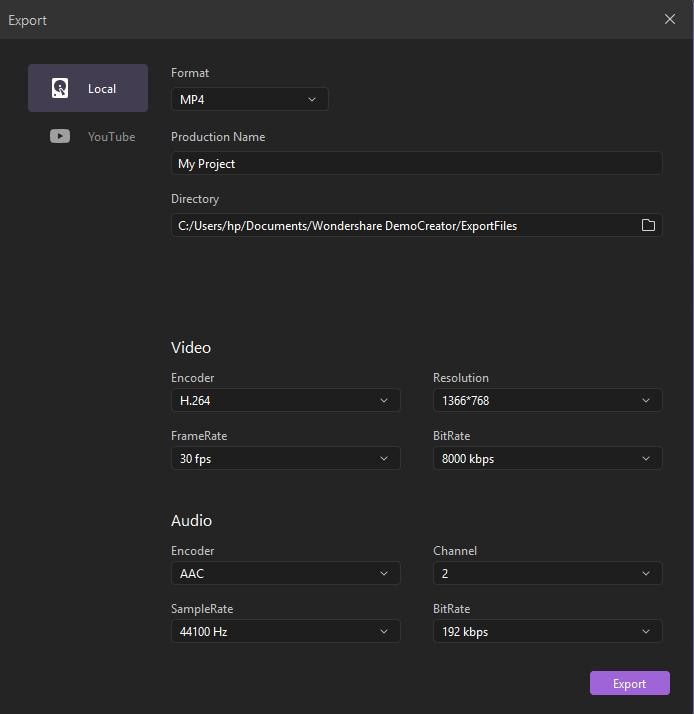
In the final step, right after you’ve edited and split your video, now is the time to export it to your desired location. Be it inside the PC or to direct your YouTube channel. DemoCreator has all these options summed up. To opt for your desired exporting option, hit the Export button in the top right corner of the interface.
On the other hand, you can proceed to the YouTube menu bar to export it to YouTube directly.
Pro tip: How to split YouTube video to mp3?
Meanwhile DemoCreator, at its very best utilized, can also perform the YouTube split video into parts including mp3 format with a swift approach. You can eventually perform this feature with your video’s high-intended quality assured. To perform this task, head to the steps below:
- Drag your downloaded YouTube video to the timeline to include the different sections of the video automatically.
- Right-click on the video inside the timeline and select Detach Audio from the list of options as shown below:
- Furthermore, select the video part inside the timeline and hit Del from your keyboard to make your file purely mp3.
- Lastly, hit the Export button and save the file in mp3 format from the Export window. Then select “mp3”, then your video can be export to mp3.

Part 2. Cut and Download YouTube Videos
While performing a variety of operations to your YouTube videos. You can also do a quick download and cut to your YouTube favorite videos with a quick turnaround. To know how to make a split-screen YouTube video with the best possible time, here are the detailed steps for you to follow alongside:
- Inside YouTube, select your favorite video which you want to download and cut consequently. Copy the URL of the video by right-clicking and selecting the Copy video URL option to copy it accordingly.
- Now revisit the YTcutter page and paste the copied link from YouTube in the required section of the website.
- Simply proceed to cut the video and download it in its actual format easily.

Part 3. Edit and Improve the YouTube Videos
Later on, we’ve enlisted the need-of-the-hour steps to perform the YouTube videos split into two or more clips. Afterward, if you’ve performed the splitting operation on your YouTube videos, you can utilize this intuitive design software for a pile of more features as well. The DemoCreator feature-rich video editor can furnish your videos to a whole new level so you can use them for your purposes. Here’s how you can perform the altering process via the DemoCreator toolkit:
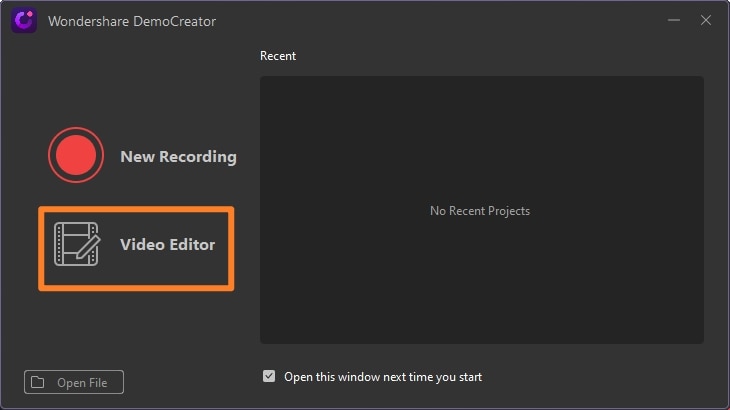
Step1. Launch DemoCreator Video Editor
To proceed with the video editing phenomena, you need to launch the video editor of this software from your Desktop and if you haven’t downloaded the software, you need to visit the links we’ve enlisted above and download and install the software.
Step 2. Import and add Videos to Timeline
As stated before, you need to import the downloaded YouTube videos and add them to the timeline to polish them further.
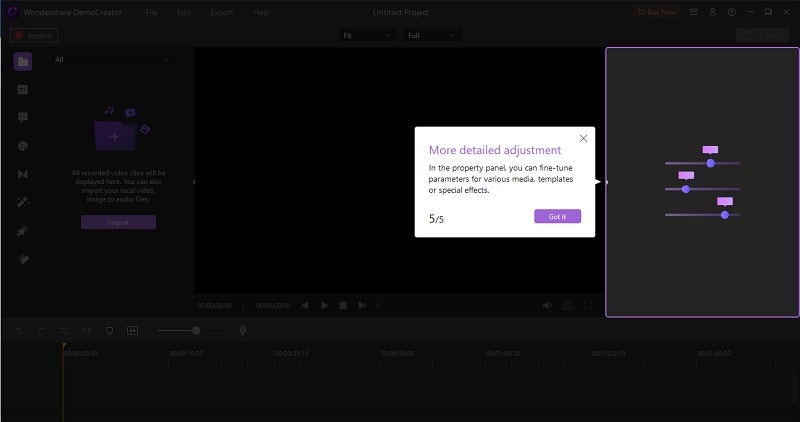
Step 3. Perform the Editing
Now select the video and you can perform the basic to pro-level editing operations without any prior expertise in this regard. To go for the basic editing to your video, refer to the right-side of the DemoCreator UI and perform some basic altering including crop, cut, split, and much more from this section handily:
Now if you want to perform some pro-level editing to your videos, then do the following:
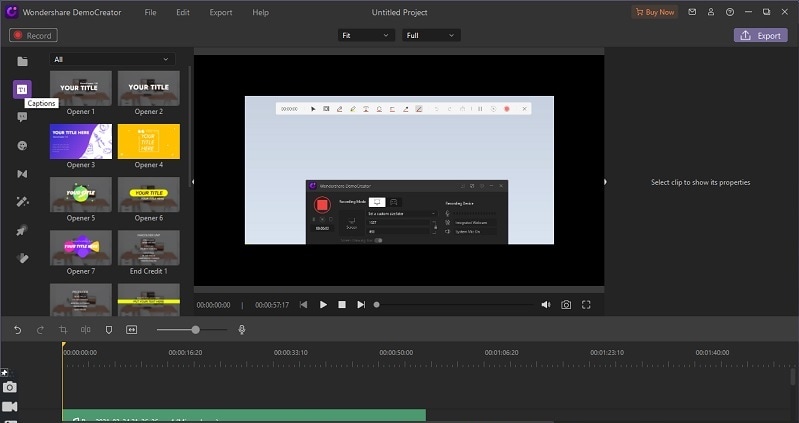
- Titles: To add some texts and animated titles to your videos, hit the Captions menu bar from the left side of the software interface as follow:
- Annotations: If you want to perform some drawing and include some shapes inside your videos, then refer to the Annotations menu as shown below:

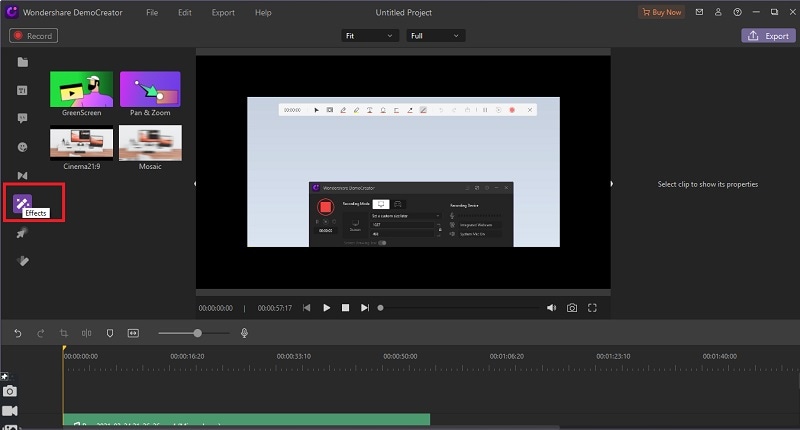
- Effects: Some super-catchy and cool effects are what make your videos eye-catchy and compelling. To add some favorite effects, refer to the Effects menu as shown below:
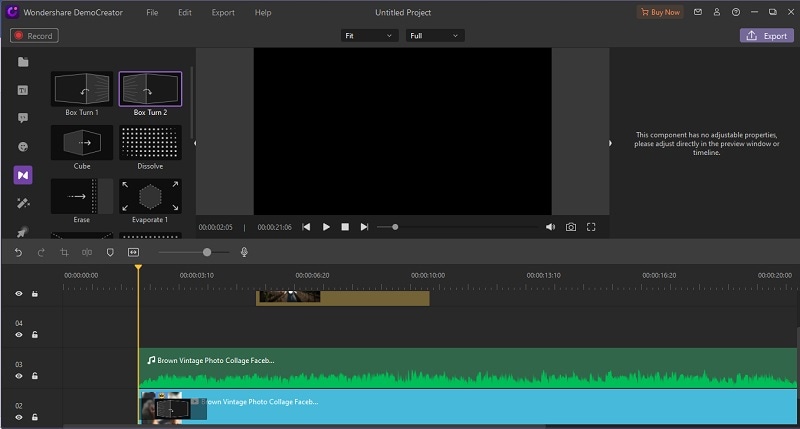
- Transitions: If you’ve various clips added into the one, then add the transitions in-between the clips to make them worthy to watch. Refer to the Transitions menu to pick your desired transition as shown below:
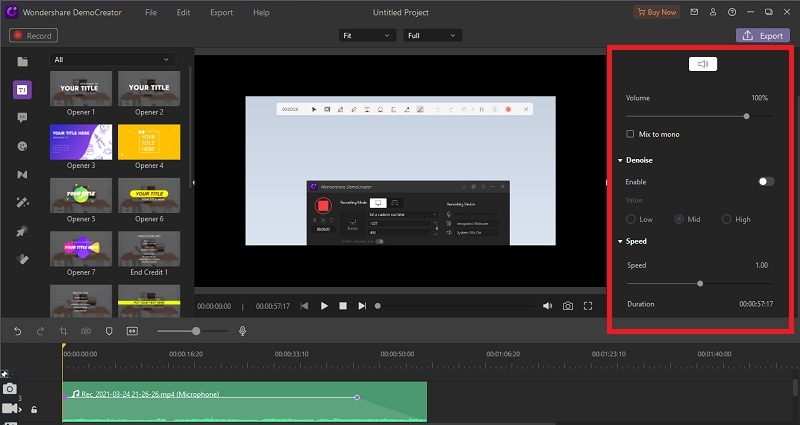
- Audio Editing: With DemoCreator, you can eventually do some audio editing to your video’s audio part and perform that, hit the audio part of the video and refer to the Audio Editor of this application as shown below:
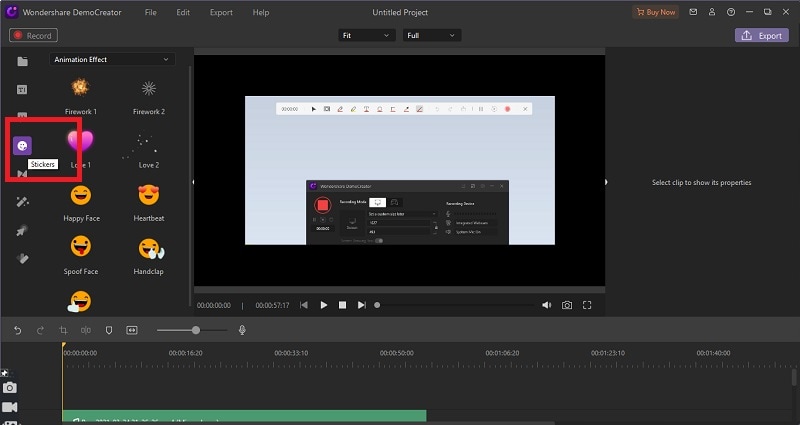
- Stickers: You can also add a couple of stickers to your videos to make them look easy to hold attention to, and to do that, hit the Stickers menu from the menu list and pick your favorite one from the library as shown below:
Conclusion:
As the element becomes boundless content that would ordinarily be part of independent recordings may prompt longer aggregate recordings. It will likewise prompt a pattern in which makers present their recordings with a format of the content and counsel on parts they can jump to if they're after something specific. Here comes the need for how to split video for YouTube. When a YouTube channel turns out to be adequately huge, many channel proprietors will start to consider making a subsequent channel. With this comes numerous advantages, at the expense of the capability of parting your watcher base somewhat, and simply being more work. Eventually, DemoCreator makes it look easy with its intuitive and well-organized interface even for beginners. So, try it out without any prior experience.


