
Welcome to the exciting world of gaming content creation! Now, you may have noticed that there's a lot of financial opportunity in content creation, especially when it comes to gaming channels. Some people are making an astonishing amount of money. Take Tyler Blevins, also known as Ninja, for example. Last year, he pulled in approximately 17 million U.S. dollars from his YouTube channel. And he's not the only one; there are many individuals making a substantial amount of money from their gaming channels.
And we've launched this series of episodes so that you can also make money from content creation. In this article, we'll guide you through the process of starting a successful gaming YouTube channel. Whether you're a seasoned gamer or just starting out, the tips and tools we'll explore will help you elevate your content and engage your audience.
In this article
Part 1. Finding Your Niche
The key to a successful gaming channel is finding your niche. We'll delve into three main types of gaming content, each catering to different interests and audiences. And remember, the more focused your channel is, the easier it'll be to attract a dedicated audience.
So, let's discuss three main types of gaming content you can concentrate on:
1. Game highlights sharing
First up, we've got game highlights. Now, this is perfect for those incredible moments when you're gaming and you think, "Wow, I wish I could share this with people!" Maybe you pulled off an amazing in-game stunt. Or perhaps you carried your team to victory in an online match. Sharing highlights is a fantastic way to showcase your skills and entertain your audience at the same time.
2. Game reviewer
Second, you could become a game reviewer. This is great if you have strong opinions about games and you're fluent enough to express them. You could talk about game mechanics, graphics, storyline, or anything that could help someone decide which games are worth their time and money.
3. Game tutorials
Lastly, there's the option of making game tutorials. This is ideal if you're the kind of person who loves the details and mechanics of a game. And also if you're good at explaining complex topics in an easy-to-understand manner. Tutorials offer immense value to viewers who are looking to improve their own gameplay.
So, spend some time thinking about what really excites you. Once you've figured that out, you're already one step closer to making your gaming channel a success.
Part 2. Find A Recording Software
Awesome, you've pinpointed your niche and you're all set to get the ball rolling. Now comes the game-changer. capturing your gameplay. Let's zoom in on the nifty "game recorder" feature in Wondershare DemoCreator.
Why go for the DemoCreator game recorder? Well, it's built to snag your gameplay straight from your computer, using some behind-the-scenes magic. This means you can record your gaming sessions in real-time without any hiccups. Your game stays super smooth.
Alright, it’s time to break down the steps and show you how to unleash the power of this game recorder feature in DemoCreator.
step1Choose the Gameplay
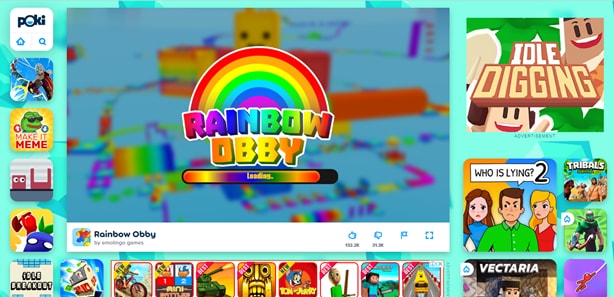
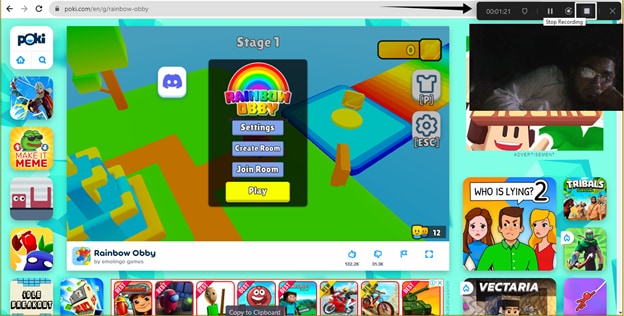
Before you do anything else, you need to launch the game you want to record. Whether it's software gameplay or an online match, make sure the game is up and running. (Start some game)
step2Record Gameplays with DemoCreator
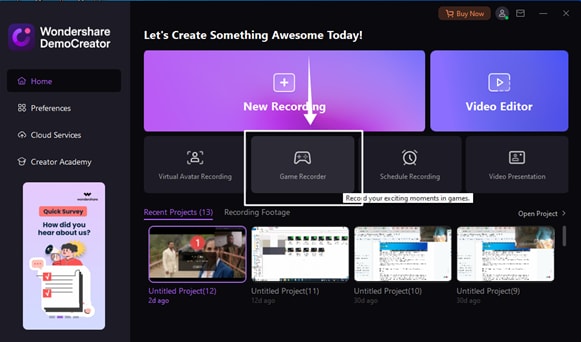
Now download and install DemoCreator on your computer. Then, select this “Game Recorder” feature in the main interface of DemoCreator.
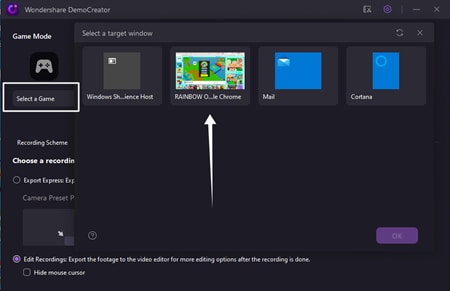
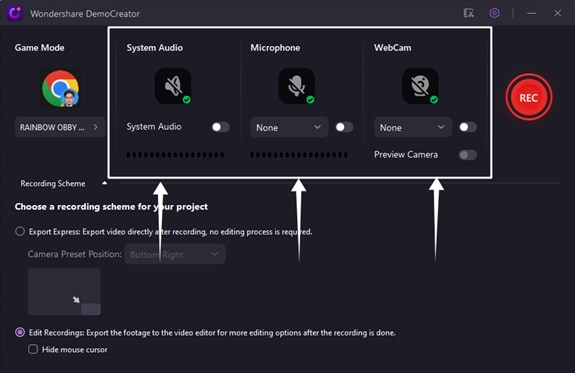
Wait for the Game Recorder to open. Once it does, click on this button to select the game window you wish to record. Afterward, press "OK". Now, the recorder is precisely instructed on what to capture.
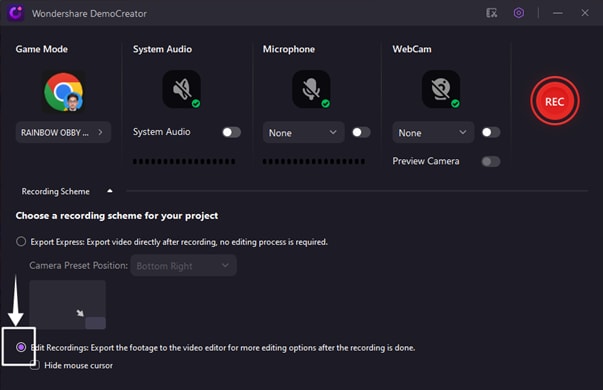
Also, set this recording preference. The recorded footage will now be directly exported to the DemoCreator video editor when it is finished.
Tips: Change Device Settings
Before you hit that record button, you have options for including camera footage, your microphone audio, and the system's audio. For voice commentary or just capturing the in-game sounds, make sure your microphone and system audio settings are properly configured. Just toggle on these features to enable them.
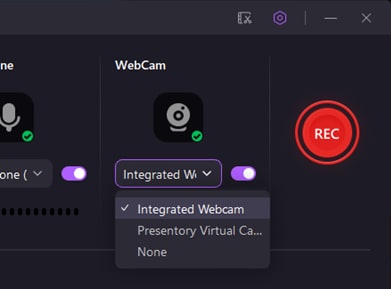
If you want your viewers to see your reactions, set up your camera and select it in this webcam option. (Toggle on the webcam and show the dropdown.)
You can grab this webcam overlay and place it where you want. By grabbing its borders, you can also adjust the size of the overlay to suit your preference. There are also options to choose a circular overlay, enable AI recognition, or mirror your camera display. (Perform and show these functions)
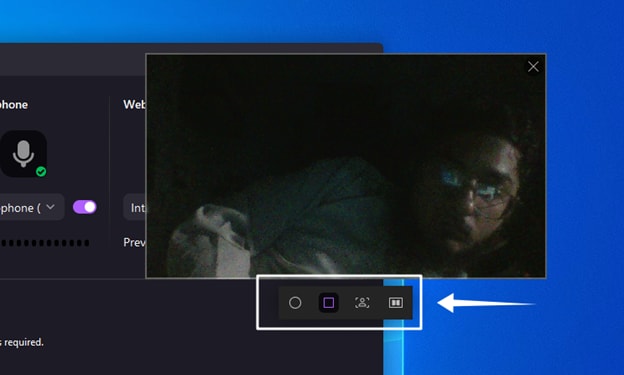
These options are all customizable, so take a moment to make sure everything is set up how you like it.
Once everything is in place, it's time to start your recording. Just click on this red “Recording” button.
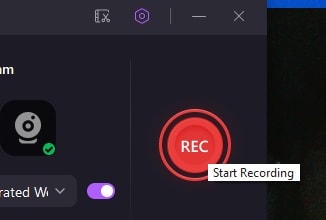
From there, the DemoCreator takes care of the rest. You can now start playing your game. During the recording, you can pause it from this toolbar. There’s this option to restart the recording if it doesn’t go as you plan. When you are done, click on this “Stop” button to finish your recording.
And there you have it! Your recording is now being imported to the DemoCreator video editor. Now it’s time to talk about some editing!
Part 3. Edit Gameplay Videos with DemoCreator
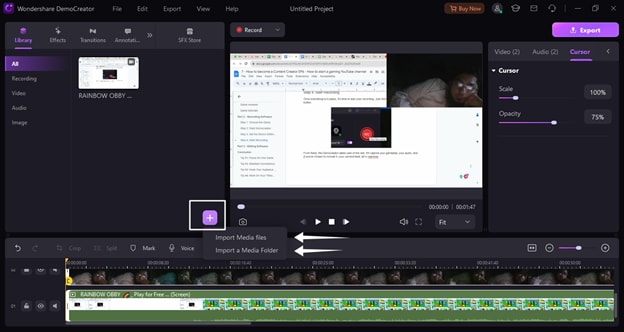
This is the video editor of DemoCreator. And your recorded video is already here in the library section. Click on this “plus” sign to import other media files if you want to use them.
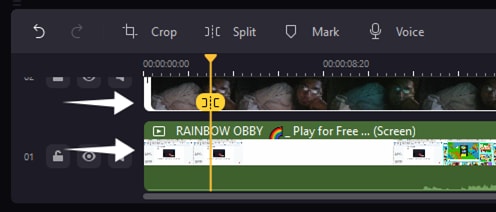
The screen recording of your video, the webcam recording, and the audio recording files have been separately placed on this timeline.
You can cut, trim, add text, and do so much more here. But today, we're focusing on something very specific: the SFX store, where you'll find a wide range of gaming effects to enhance your videos. Click on this SFX store and select the “Game” option from this sidebar. Here, you can see there are many gaming effects available.
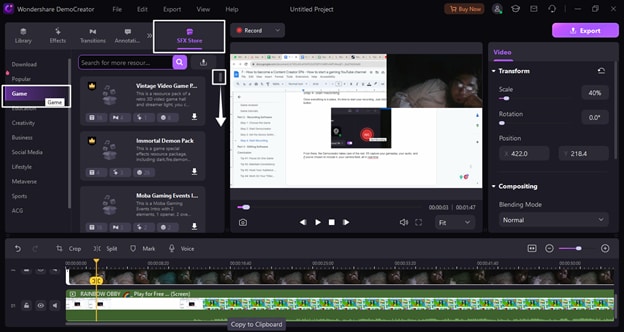
This is where you can really spice up your videos. Simply click on this download button of the effect you want to use and wait until it’s downloaded. Once done, drag it into your timeline and place it where you want the effect to appear.
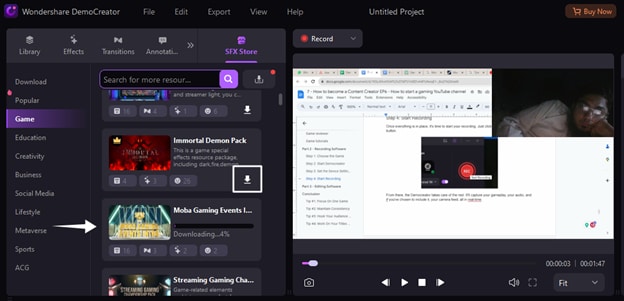
Don't underestimate the power of a good gaming effect. These SFX effects can add a whole new layer of excitement for your viewers.
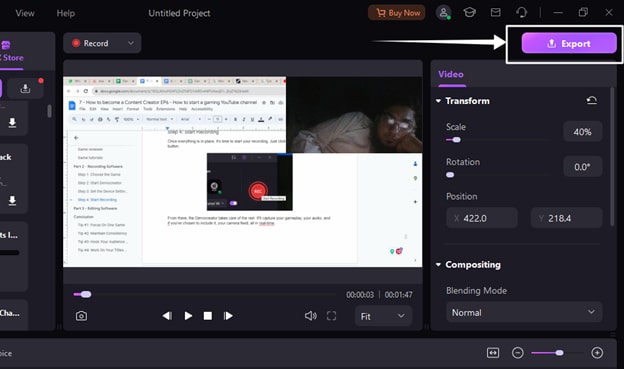
When you are done, you can click on this “Export” button to get your edited video.
And that's it! You are now completely prepared to start your gaming YouTube channel. If you found this tutorial helpful and want more content like this, go ahead and hit that subscribe button on our YouTube channel. And also, ring the bell so you never miss an episode. See you next time!


