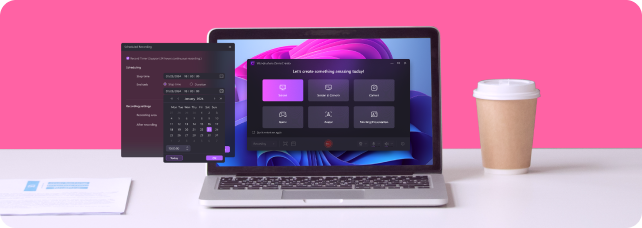
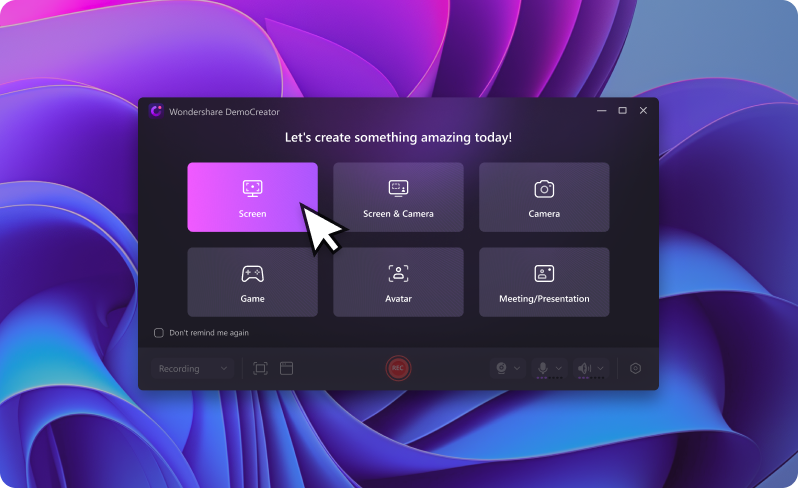
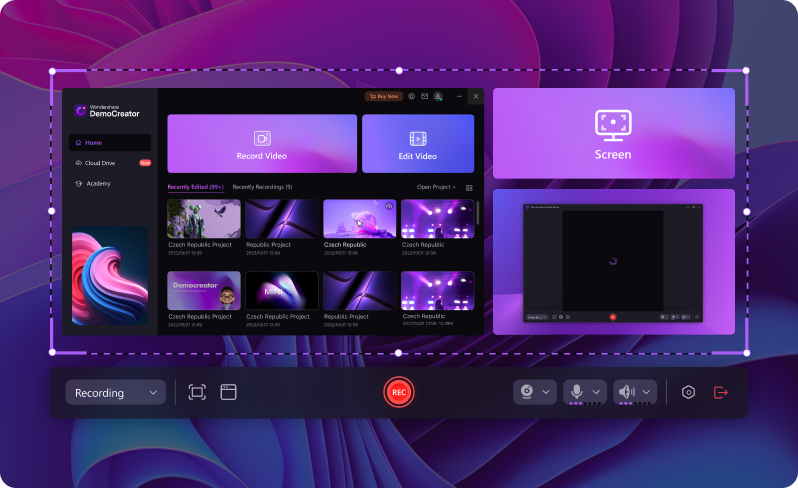
Wondershare DemoCreator
Screen Recorder For All Your Recording Needs
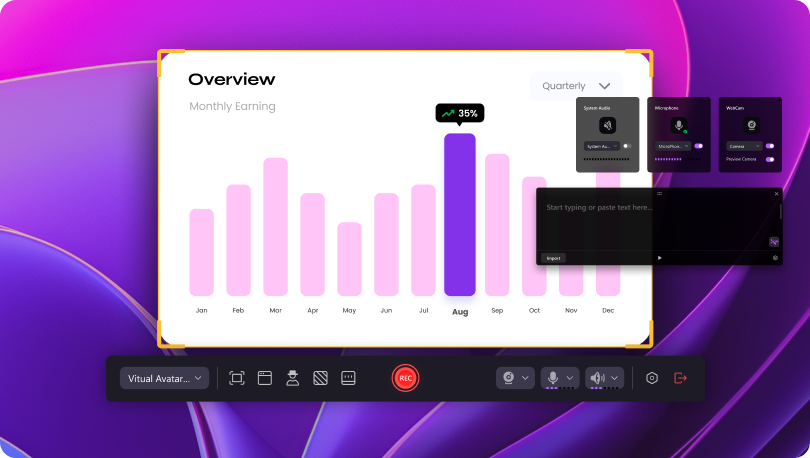
Screen Recording Made Simple
Seamless Audio Inclusion
Record Screen with Sound
Face-to-Screen Connection
Record Screen with Webcam

Powerful Features for Effortless Screen Recording
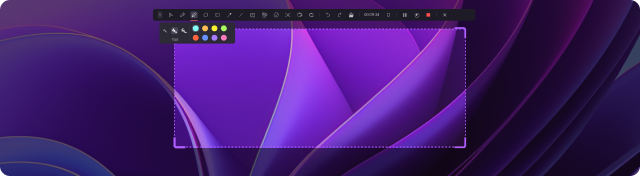
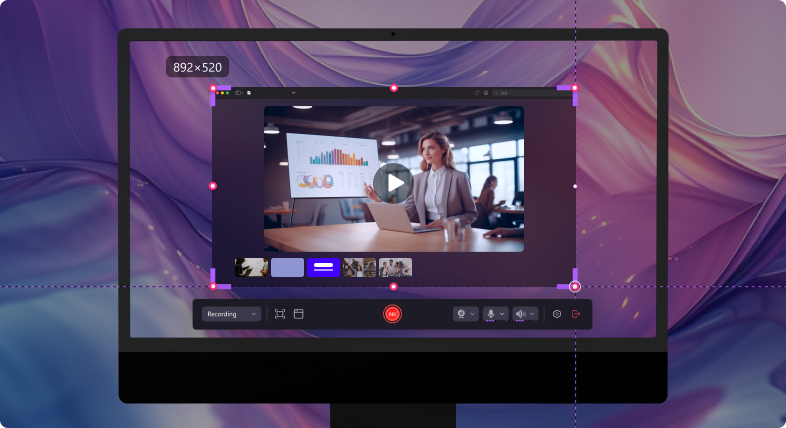
Easy Screen Area Selection
Choose what to record easily—full screen, a specific window, or screen record a specific area on Windows. Our screen recorder adapts to your needs, ensuring your capture precisely matches what you want.
Full-screen Recording
Cross-screen Recording
Custom area Recording
Window Recording
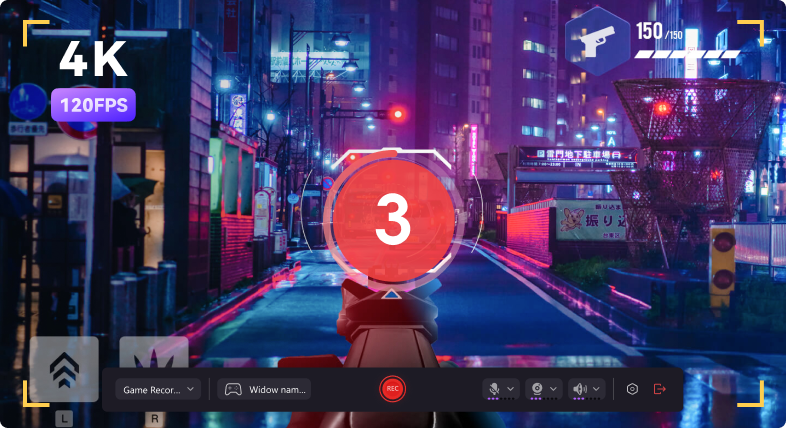
Smooth & Clear Recording
Capture every detail in clear 4K/8K quality, both visually and audibly. Our screen recorder records up to 120 frames per second, ensuring your recordings are smooth and high-definition. With AI Voice Cleaning, background noise is automatically removed, and your voice is enhanced for a polished and professional sound.
4k/8k
120 FPS
Long Recording Time
AI Voice Cleaning
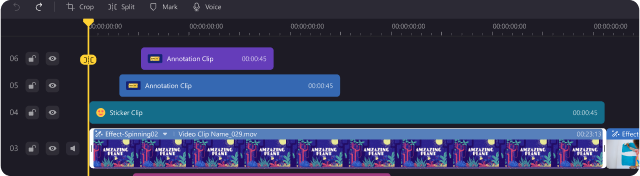
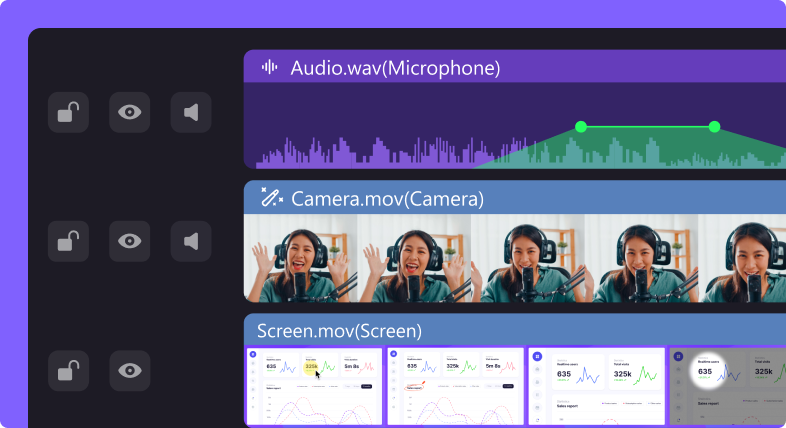
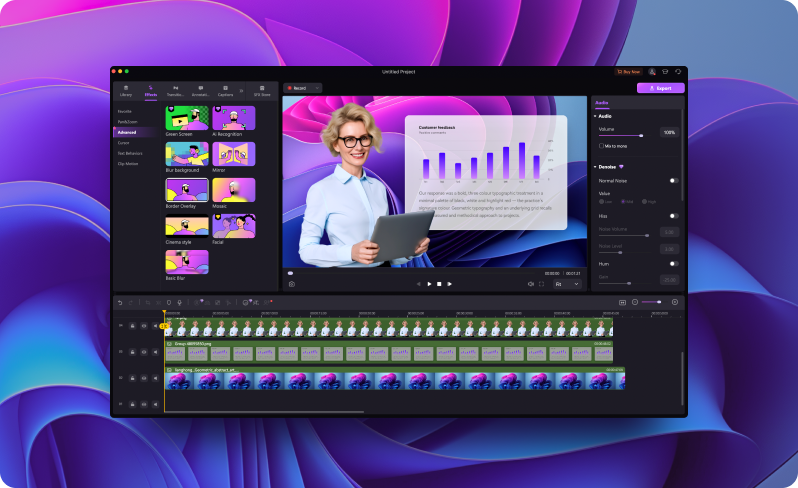
Multi-Track Recording
Record with flexibility. Our screen recorder allows you to capture video, audio, and camera separately, giving you control over each track for enhanced editing possibilities.
Camera Track
Audio Track
Video Track
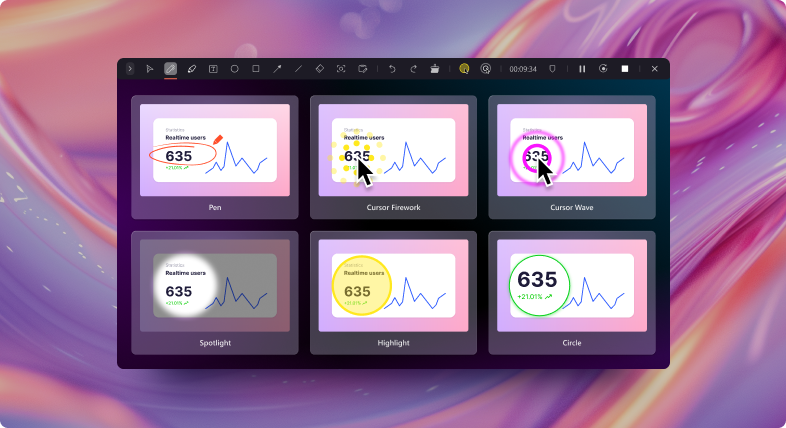
Free On-Screen Annotations
Enhance recordings with on-screen elements. Our screen recorder supports annotations, spotlight effects, and cursor enhancements, effortlessly adding attractiveness to your content.
Shapes
Whiteboard
Free Drawing
Cursor Effects
Plan Your Recordings with Scheduled Mode
Set up your recordings in advance with our scheduling feature. Our screen recorder makes it easy for you to be organized and take advantage of every important capture.
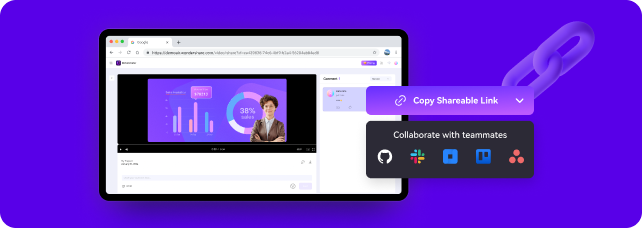
Cloud Storage and Security Link Sharing
Easily upload your recorded videos to the cloud, share them with encrypted links, and receive feedback on the cloud. Additionally, you can share your content directly on social media platforms.
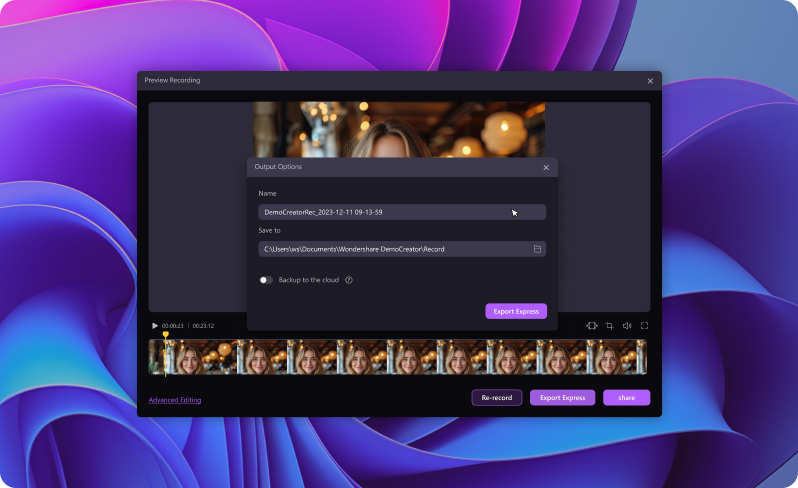
Record Your Screen in 3 Simple Steps
With these three straightforward steps, you can quickly and seamlessly capture any screen content you need.
Live Presentations from Home, from the Office,
from Anywhere
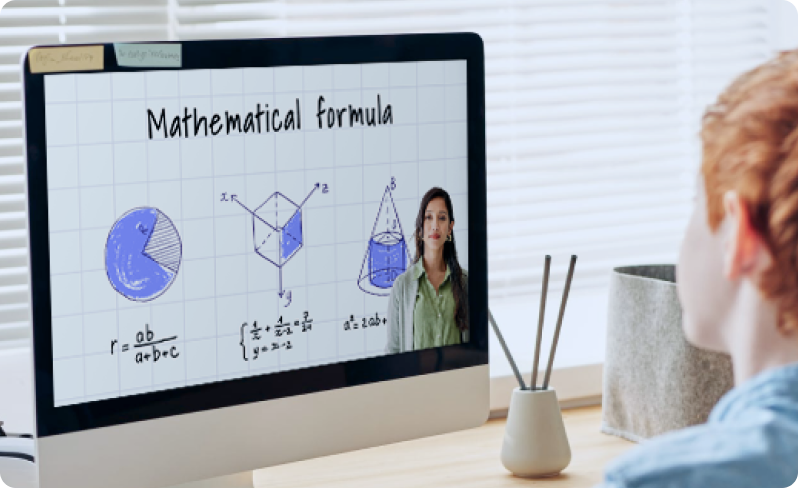
Enhance Education with Our Screen Recorder
Make teaching more engaging with our simple and effective screen recorder. Add on-screen annotations and dynamic whiteboard features to your educational content.
Simplify Technical Support
Troubleshoot effectively by recording your screen interactions. Our screen recorder makes it easy to create step-by-step guides for seamless technical support.
Showcase Software Easily
Present your software solutions easily using our screen recorder. Demonstrate features, workflows, and user interfaces with clarity and precision.
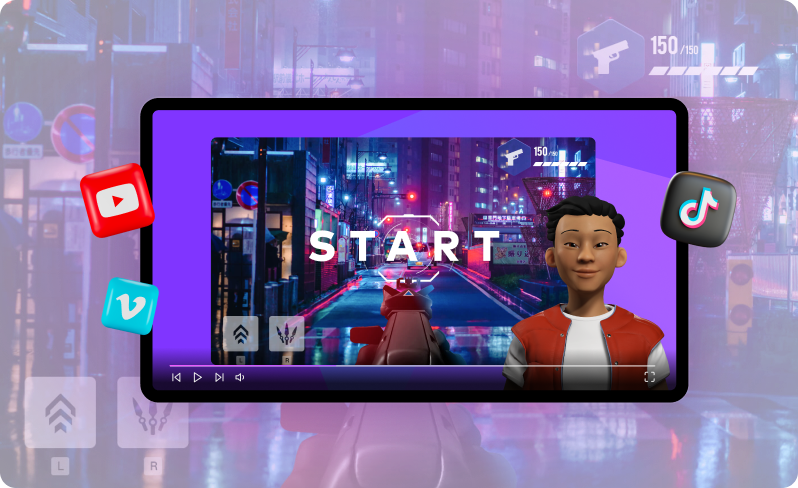
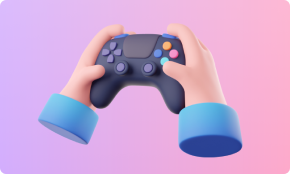
Capture Gaming Moments Easily
Document your gaming triumphs effortlessly with our screen recorder. Ensure you capture every exciting moment with unparalleled detail.