How to Record Roblox on Mac

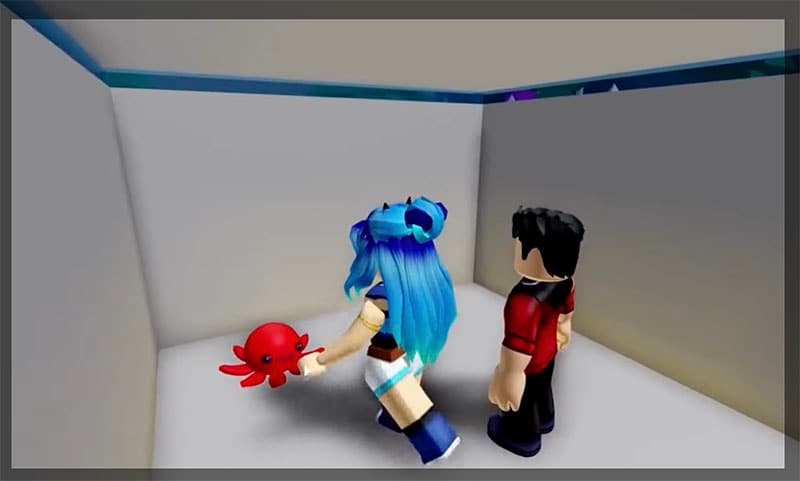
Roblox is a gaming platform or Studio that lets users create their own game and also interact with other studio users in real-time. There will be times when you are into a game, and you believe that there are going to be some cool moments that are worth sharing. Not only this, you might have garnered an online audience, and you want to share the gameplay with them. You might be wondering how to record Roblox on Mac so that you are able to share the gameplay online.
These recordings might not only be needed for the gameplay, but there will be times when you will need to share a small tutorial or guide with your friend. There are multiple scenarios where you will need to record the screen. Now, in case you are wondering about the process, we are going to jot down a few of them for you.
Way 1. Record Roblox with its Built-in Recorder
Before you start searching for the tools to record, you should look inside the Roblox interface. The dashboard that you will get here is highly intuitive, and the recording feature is also quite easy to use. Though the feature is made available in the Studio, it isn't a perfect one. For all the professionals out there, you will need to find some alternative. Before discussing the other methods, let's dive into the steps you need to follow to record on the Studio using the native recorder.
1. Make sure that the app that you have downloaded is successfully installed with all the packets. You will need to launch the app and start the game you want to record.
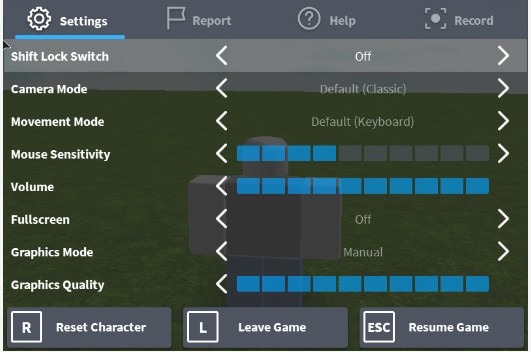
2. On the top-left, you will get a Roblox icon that you will need to click on to find the Settings page. A new window will appear, and you will need to click on the Record button that is present on the top-right on the horizontal list of options. There will also be a button to just capture the screenshot of the gameplay. Right below it, you will get a Record Video button.
3. Once the recording is started, it will be indicated by a very thin red-color border around the screen. The border will not distract you from the game and will be a subtle indication that the gameplay is being recorded.
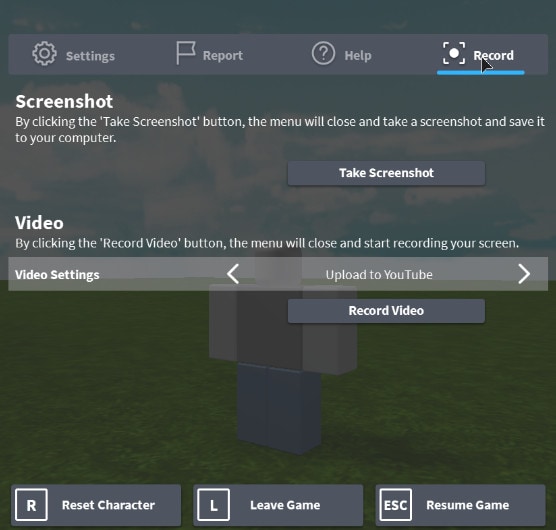
4. If you want to stop the recording, all you need to do is reach the same Roblox icon on the top-left and then navigate to the Record button on the top-right.
5. Hit the Stop Recording button.
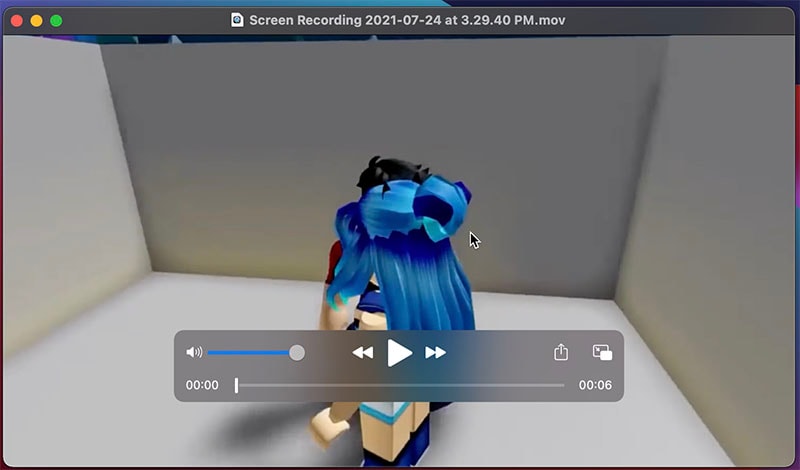
6. You will get a small pop-up on the bottom-right that will tell you that the video is recorded, and you can click on the Open Folder to view it.
7. However, if the pop-up is missed, you can find the recorded footage in the Videos' section of the Mac. All the footage will be saved in the Roblox folder.
Way 2. Record Roblox on Mac with QuickTime
Moving on, if you are not finding the quality of the native recorder good enough, there are always more options than you can go for. Mac computers are considered to offer users a full package, and it's said because you will find a native app for all the tasks. To answer the question of how to record Roblox Mac, there is nothing easier and convenient than QuickTime. In this section, we are going to discuss the steps that you need to follow to start recording the Roblox gameplay.
1. On the Mac, launch the QuickTime player by right-clicking on the icon from the app tray.
2. Before hitting the record button, you will need to open the Studio and find the game that you are going to play. It's time to start the recording.
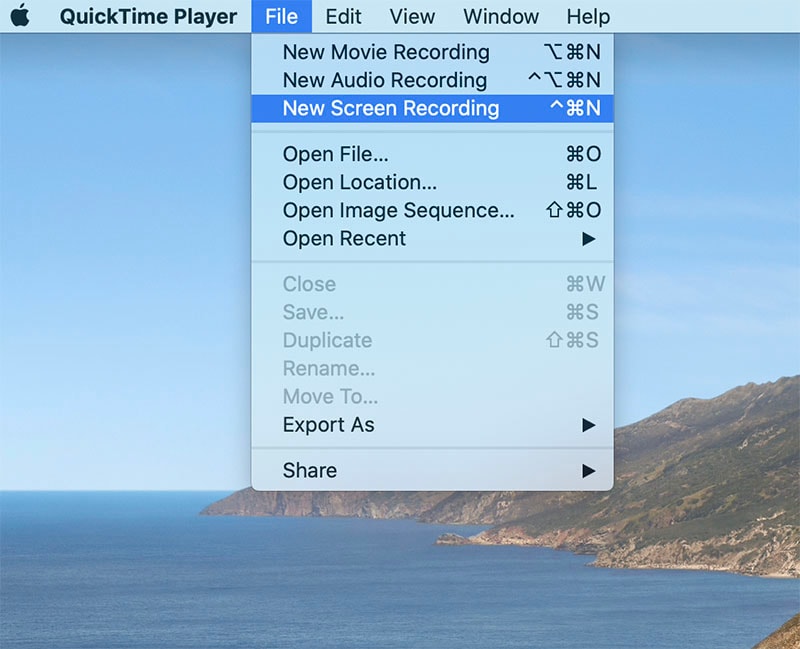
3. Click on the New Screen Recording, or you can also click on the Open button. It will give you a number of options on the taskbar. Click on the File tab and hit New Screen Recording.
4. It will give you a compact control center that will provide the controls related to the mic and mouse clicks. There will be a drop-down menu right next to the record button.
5. Select the mic that you are going to use. Also, you will get the option to include the mouse clicks. Launch the game and hit the Record button.
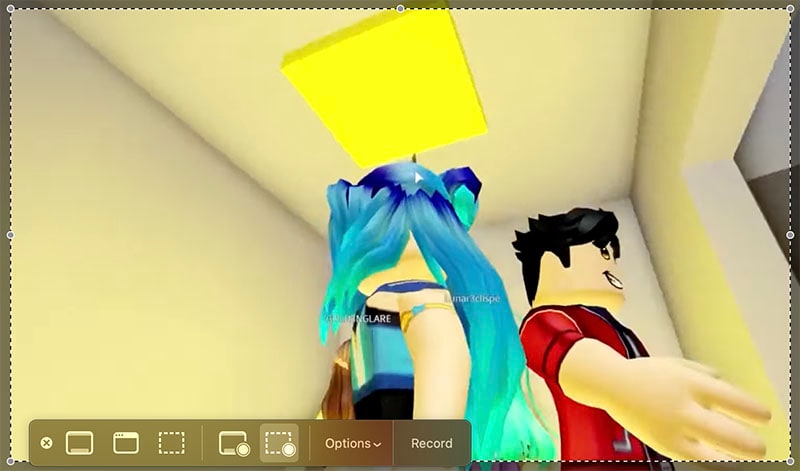
6. It will give you the option of selecting the area to record. To select the full screen, you will have to drag and drop the pointer from one corner to another.
7. Once selected, you will get the Start Recording button. It will start the recording, and once you are done, you will get to either stop the recording from the same control center.
Way 3. Best Roblox Game Recorder for Mac
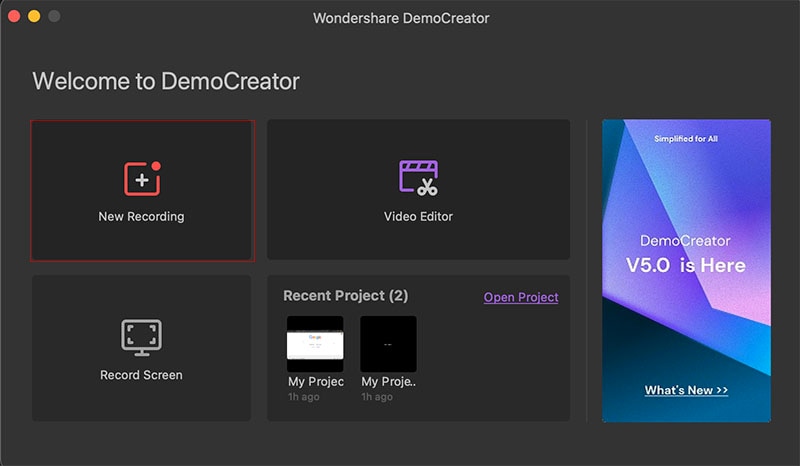
No matter how much easier and convenient you find these in-built tools to be, there will also be some kind of limitations that will restrict you from extracting the full potential of the recording. You can settle for a feature-rich third-party app, Wondershare DemoCreator. The app will also offer you an integrated editor where you will get to tweak all the things related to the video. The interface that you will get here is also highly intuitive, and you will find detailed onscreen instructions.
The software will offer you all the options to add a webcam and a high-quality mic. The webcam will let you connect with the audience more effectively. You can also define Wondershare DemoCreator as the macOS recorder for Roblox, and in this section; we are going to jot down all the steps that you will need to follow to start the gameplay recording right away.
 Secure DownloadSecure Download
1. Launch the app, and you will get a compact dialog box with two options, a) new recording, b) getting to the video editor. You will need to click on the first option to get into the new recording dialog box.
2. Hit the "New Recording" button, and you will get another dialog box with more features, and the options that you will get here will let you select the screen size. Below the screen size selector tool, you will get the checkbox to use the annotation tool.

3. Next to it, you will get to set up other recording features such as a microphone and webcam along with the system sounds. Once all the preferences are done, you will need to launch the game and hit the Record button. You will also get the hotkeys that will be used to start/stop the recording. F10 and F9 will be used for the same.
4. Once you have stopped the recording, it will automatically take you to the editor.
Way 4. Record Roblox on Mac with OBS
Now, when we have discussed almost all the options to record the gameplay, what we have missed is the one that can stream the gameplay live for you. Open Broadcaster Software is an open-source platform that offers a wide range of features to help you in sharing the content with the audience. For beginners, the interface might get a bit complicated. Users will get to add a number of sources and scenes that will become quite helpful in streaming the gameplay.
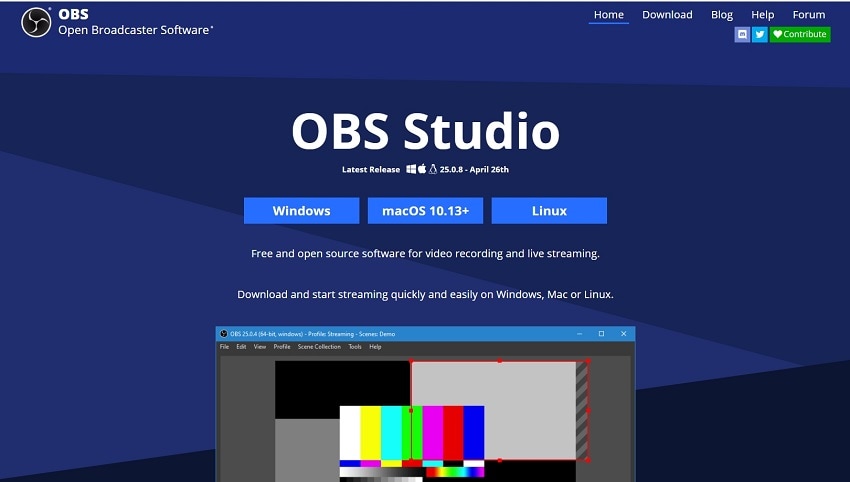
1. Go to obsproject.com and find the Download button that will ask you to select the requirements.
2. Click on the macOS button or click on the Apple logo. You will get the option to download the Installer. Follow the onscreen instructions to complete the installation.
3. Launch the OBS Studio. It will ask you for a few permissions, and then you will get to start the recording. Here are the detailed steps that you need to follow.
4. The portal will also prompt you to select whether you want to configure it for the primary purpose of recording or streaming. Hit Next, and then, you will select the configuration in which you want to record/stream. Hit the drop-down menu to select the FPS.
5. You will then be greeted by a dashboard that will have a plethora of features. You will get to add the scenes as many as you want, and you will also get to name them accordingly. Next up, you will get to add sources, it can be different screens or windows. Make sure that the Roblox Studio is up and running. You will have to select it as a source to record the gameplay.

6. Next to the sources, you will get the Mixer. Here, OBS will allow you to configure all the audio settings.
7. There will also be the option of setting up the default actions for the scene transitions. To further tweak the advanced settings, you will need to go to the Settings tab.
The Bottom Line
If you are onto the project of record streaming audio online setup, we assume that you have found it to be the best guide that is present online. The gameplay content is seen to be quite rich in terms of graphics. Moreover, the native recorder might not just be able to cut it. The best option that we will recommend using is none other than the feature-rich Wondershare DemoCreator. We hope that the guide we have compiled could be of any help to you.


