
[2025] Top 10 Best Game Recorders for Android Without Lag

2025-03-11 14:26:44 • Filed to: Creative Recording Tips
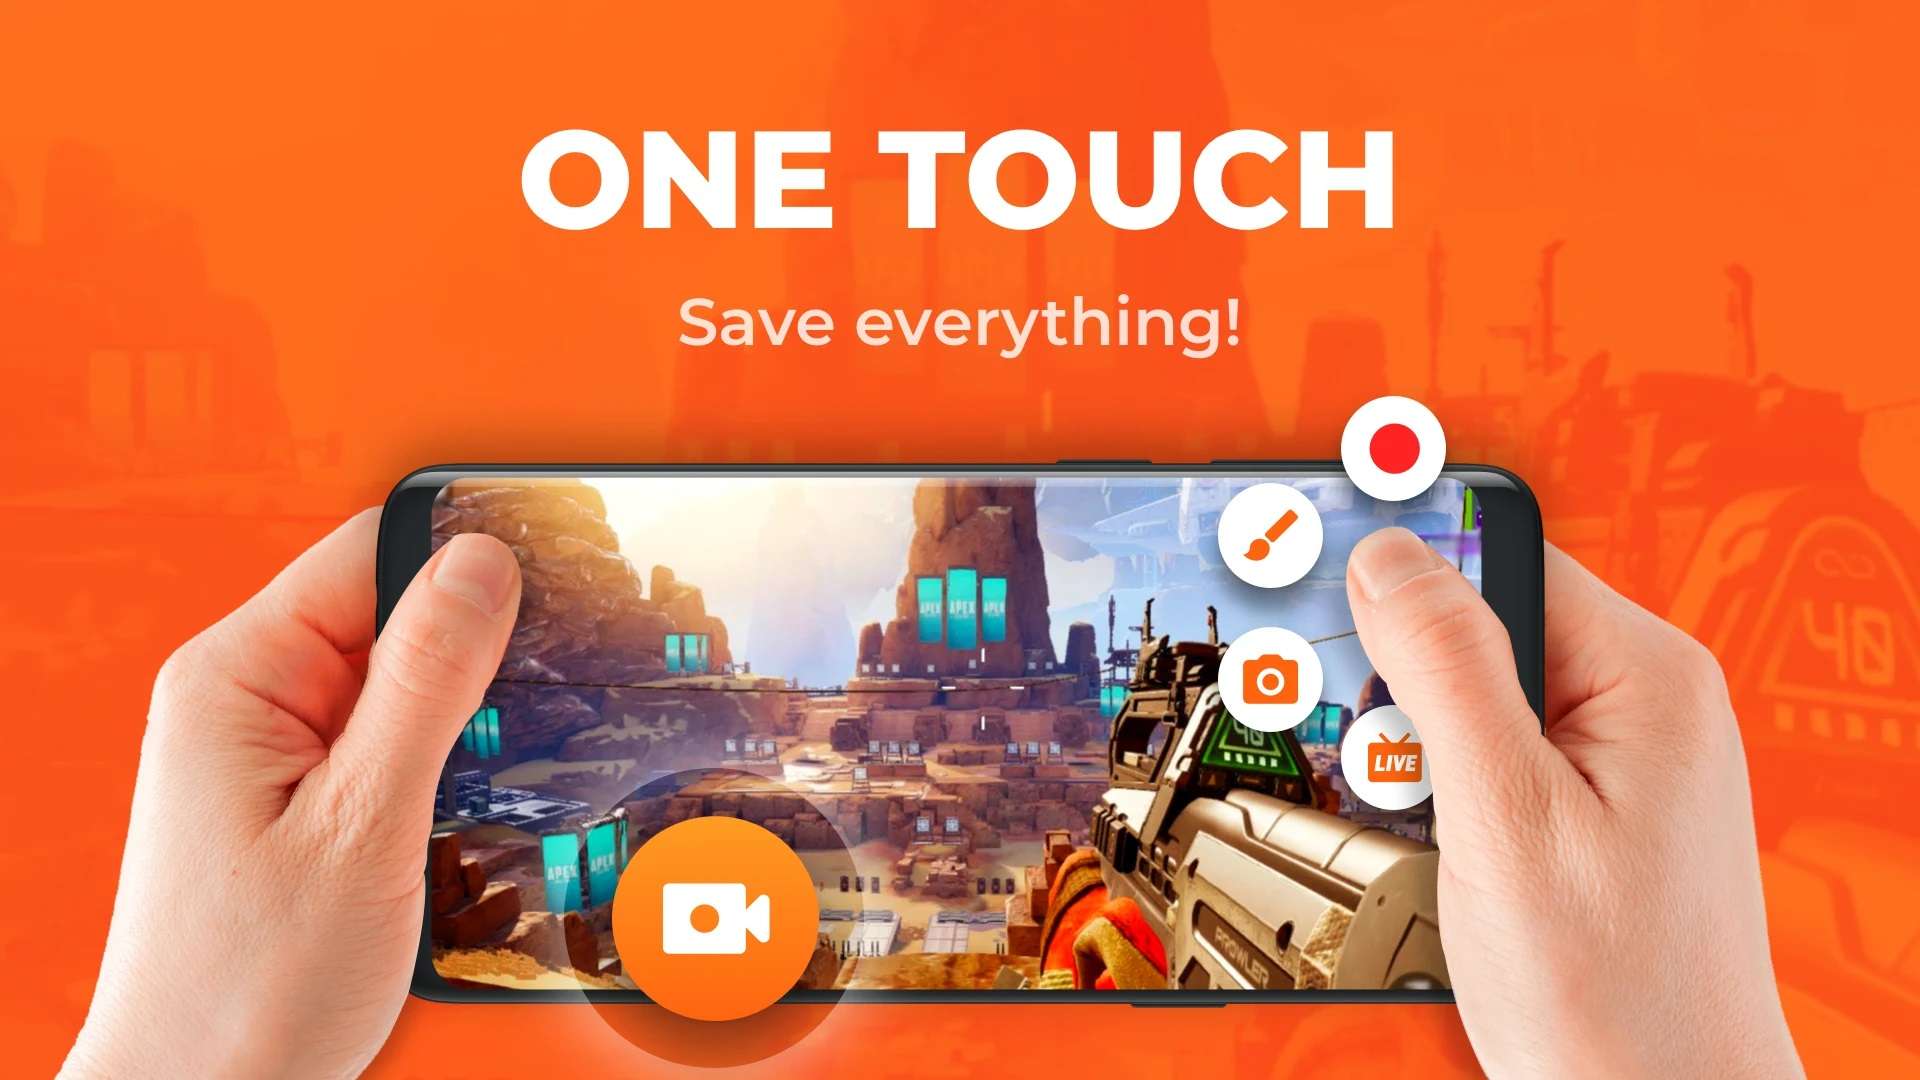
Nowadays, mobile games are of high quality and get the young generation addicted to them, thus recording game videos is demanding. If you are looking for the best screen recorder for gaming Android, we picked the top 10 for you, each offering a unique set of features to cater to a diverse range of gamers. Whether you're a casual player or an aspiring content creator, these tools empower you to preserve and share your gaming prowess with the world, turning every victory and achievement into a lasting memory. Capture the excitement of your gaming adventures with your favorite game recorder for Android—
In this article
Part 1: Overall Comparison of Top 10 Game Recorders for Android
| AZ Screen recorder | ADV Screen Recorder | Mobizen Screen Recorder | Rec. (Screen Recorder) | One Shot Screen Recorder | DU Recorder | Riv Screen Recorder | Super Screen Recorder | XRecorder | ScreenPal | |
|---|---|---|---|---|---|---|---|---|---|---|
| Price | Free, IAP | Free, IAP | Free, IAP | Free, IAP | Free | Free | Free | Free | Free, IAP | Free, IAP |
| Rating | 4.7 stars | 4.3 stars | 4 stars | 4.2 stars | 4 stars | 4.5 stars | 3.9 stars | 4.6 stars | 4.8 stars | 4.4 stars |
| Friendly Interface | √ | √ | √ | √ | √ | √ | √ | √ | × | √ |
| Easy to use | √ | √ | √ | √ | √ | √ | √ | √ | √ | √ |
| Customization Options | √ | √ | × | √ | × | × | × | × | × | × |
| Frequent Updates | √ | × | √ | × | × | √ | × | √ | √ | √ |
In assessing the landscape of each game recorder for Android, we've examined a wide array of options, highlighting their key attributes and functionalities. As we delve into a detailed exploration of the top 10 best screen recorders for gaming Android, you'll gain insights into their respective strengths and limitations.
Part 2: Detailed Description of Top 10 Game Recorders for Android
1. AZ Screen Recorder
If you have Android Lollipop or higher, you might consider using AZ Screen Recorder. This free app lets you record high-quality gameplay on your Android device without overlaying a watermark. It lets you record your screen to HD and FullHD videos and it is the only screencast app in the Android market that can be paused and resumed while recording. It also allows you to record audio from a microphone and automatically mixes the sound in. It also allows you to overlay video from your front-facing camera so your viewers can see your reactions to epic gameplay moments. This app also has an editing feature that allows you to trim videos and draw on your recording for the creation of helpful tutorials.
Hot Topic: How Do You Record on Roblox in Easy Steps [Desktop & Mobile]
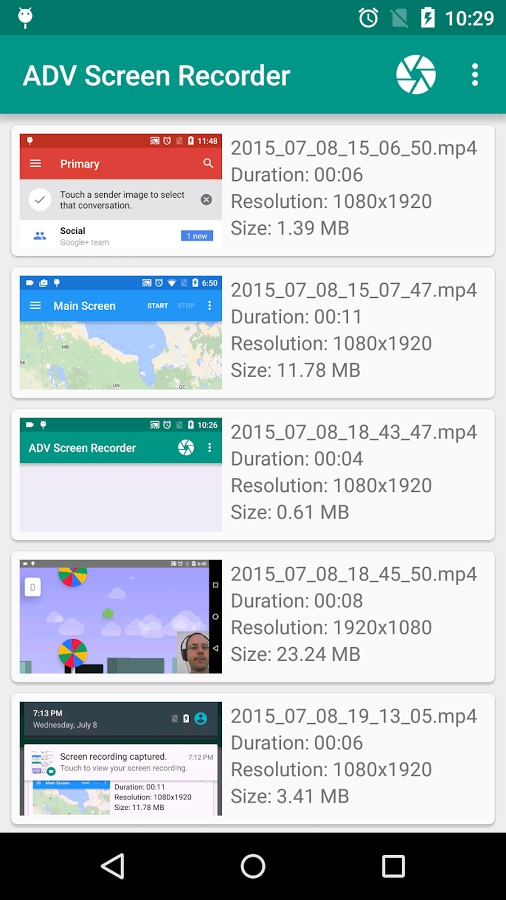
2. ADV Screen Recorder
ADV Screen Recorder serves as a comprehensive and unrestricted game recorder for Android. Notably, it enables real-time overlay of drawings or text and facilitates showcasing reactions through front or back-facing cameras during gameplay. With its advanced engine, pausing recordings becomes a seamless process. This user-friendly app stands out by avoiding screen-obstructing menus and not requiring rooting. Furthermore, ADV Screen Recorder doesn't impose needless restrictions, making it an excellent choice for straightforward screen recording. While some in-app purchases grant access to extra features, this app offers a built-in editor for video trimming and adding text and banners.
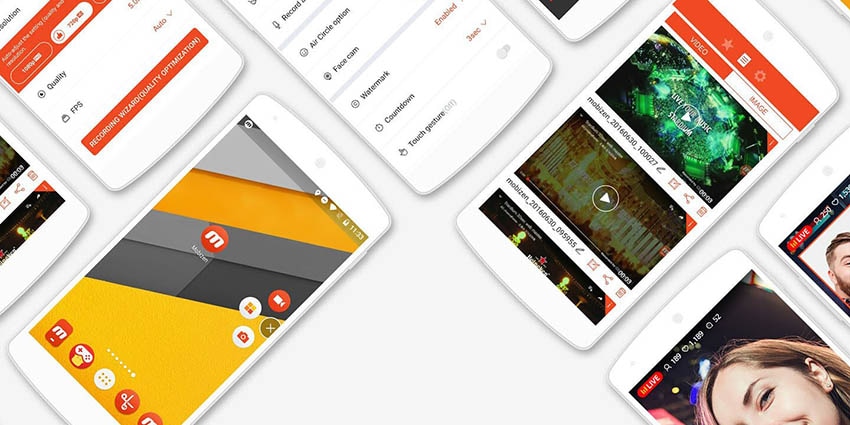
3. Mobizen Screen Recorder
Mobizen claims that this is the easiest to use, most convenient screen recorder totally free on Android. With full HD recording, 1080p resolution at 60 frames per second, you will be recording videos that will be a visual pleasure to all of your viewers. One of the best parts of this app is that all features are available at no cost. You can record your screen, capture, edit your videos, and have a resulting high-quality video with no watermark. Mobizen allows you to record long, high-quality videos on an external SD card.
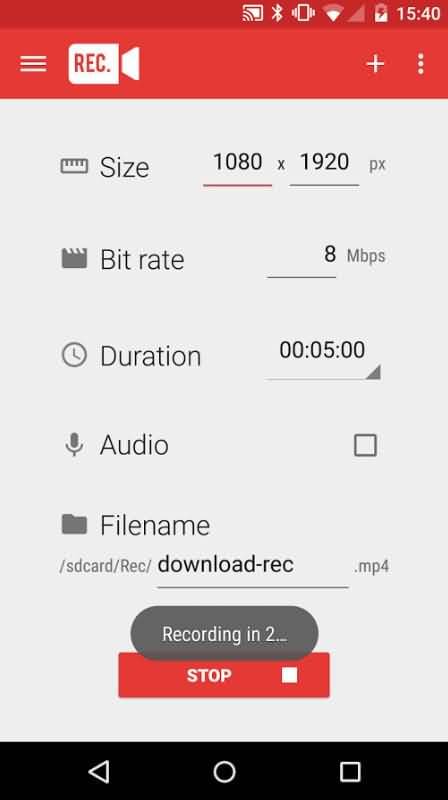
4. Rec
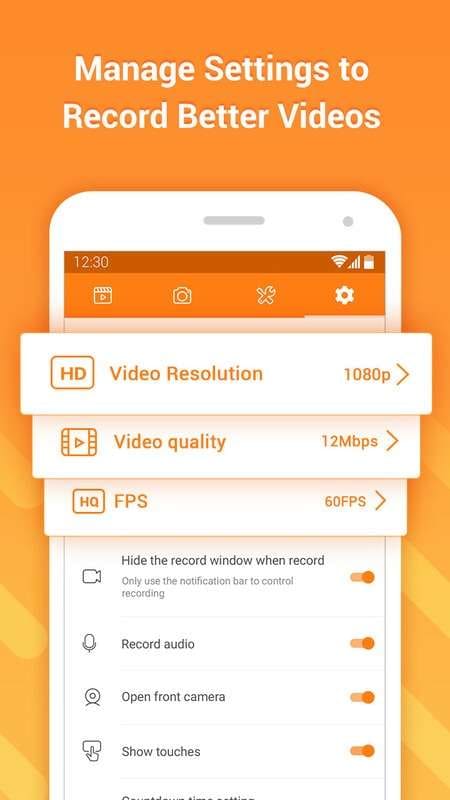
Rec allows you to record high-quality videos at custom resolutions, bit rates, and durations without requiring you to root your phone as long as you have Android 5.0 or above. You can record up to one hour of video and audio using the microphone. The interface is easy to understand, and you can shake your device to quickly stop your recording. You can set custom presets with your most-used settings, and automatically record screen touches during your gameplay.
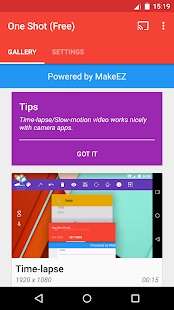
5. One Shot Screen Recorder
One-Shot Screen Recorder claims to offer quality, stability, and ease of use. Instead of having to swipe down on your notification bar to stop recording, which is required in many screens recording apps, you can simply hit your power button to stop recording and have a video without any extra, undesired footage at the end. This app also works in coordination with YouTube's required settings for upload so you can upload your high-quality video instantly without any need for post-production. This screen recorder, unfortunately, does overlay a watermark on the video unless you opt for the paid version.
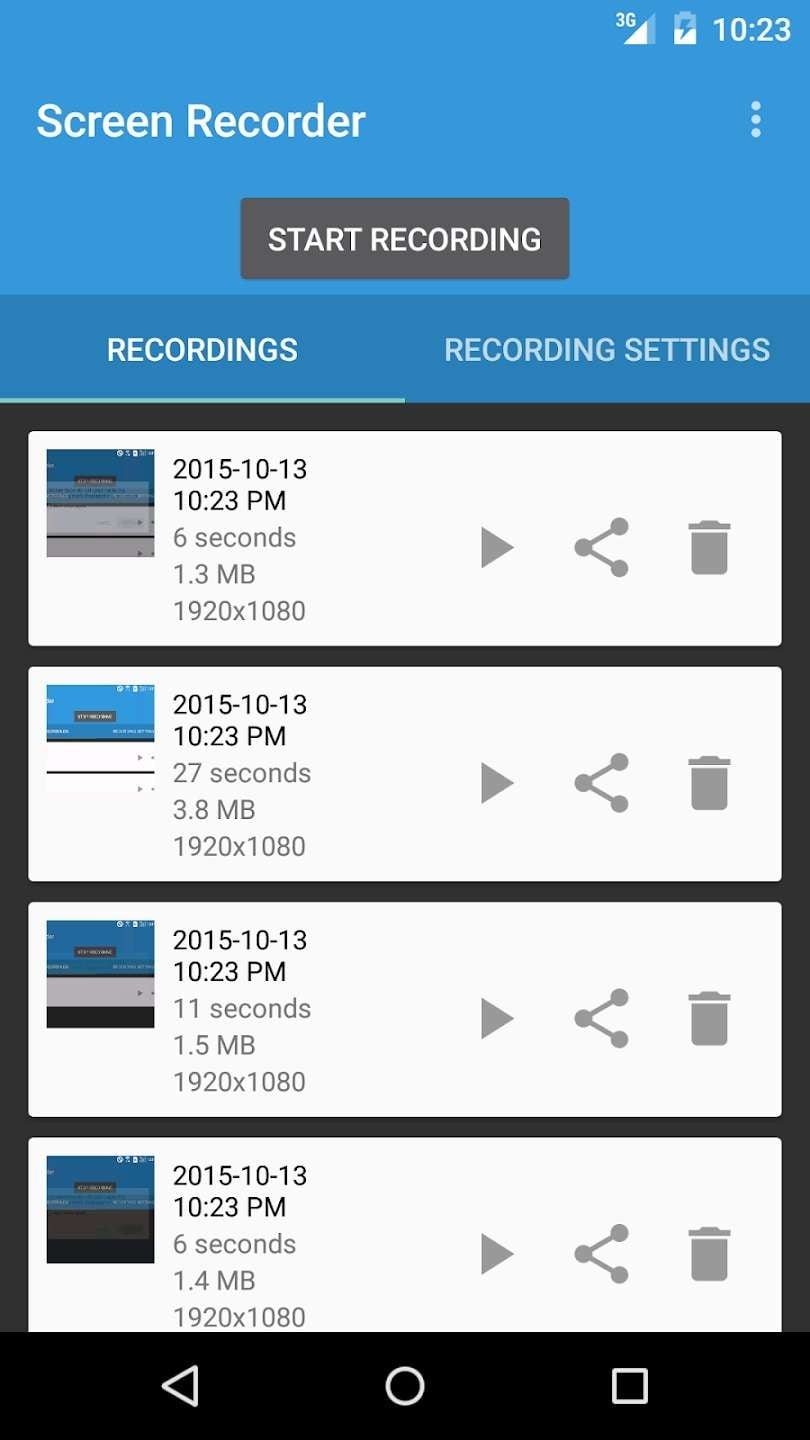
6. DU Recorder
This app stands as one of the most favored choices for recording mobile games on both iOS and Android devices. Its user interface boasts simplicity and convenience. Despite being free to use, there are no compromises made on its feature set. It provides you with the flexibility to imprint your personal watermark onto each of your recorded videos. The application's usability is smooth, allowing for recording control through a floating circular interface. Moreover, you have the capability to designate specific areas on the screen during recording to highlight particular elements. This tool grants you complete customization, giving you the authority to adjust everything to your liking, from video bit-rate to resolution – every aspect is at your discretion.
7. Riv Screen Recorder
Riv Screen Recorder presents itself as a straightforward and user-friendly gaming screen recorder for Android devices running Android 5.0 or newer. Unlike some other screen recorders, it doesn't necessitate rooting your device to function. This app encompasses a diverse set of capabilities, including options to adjust resolutions and orientations, select from various bitrates, utilize a delay function for scheduled recording commencement, and even capture audio alongside the video recording.
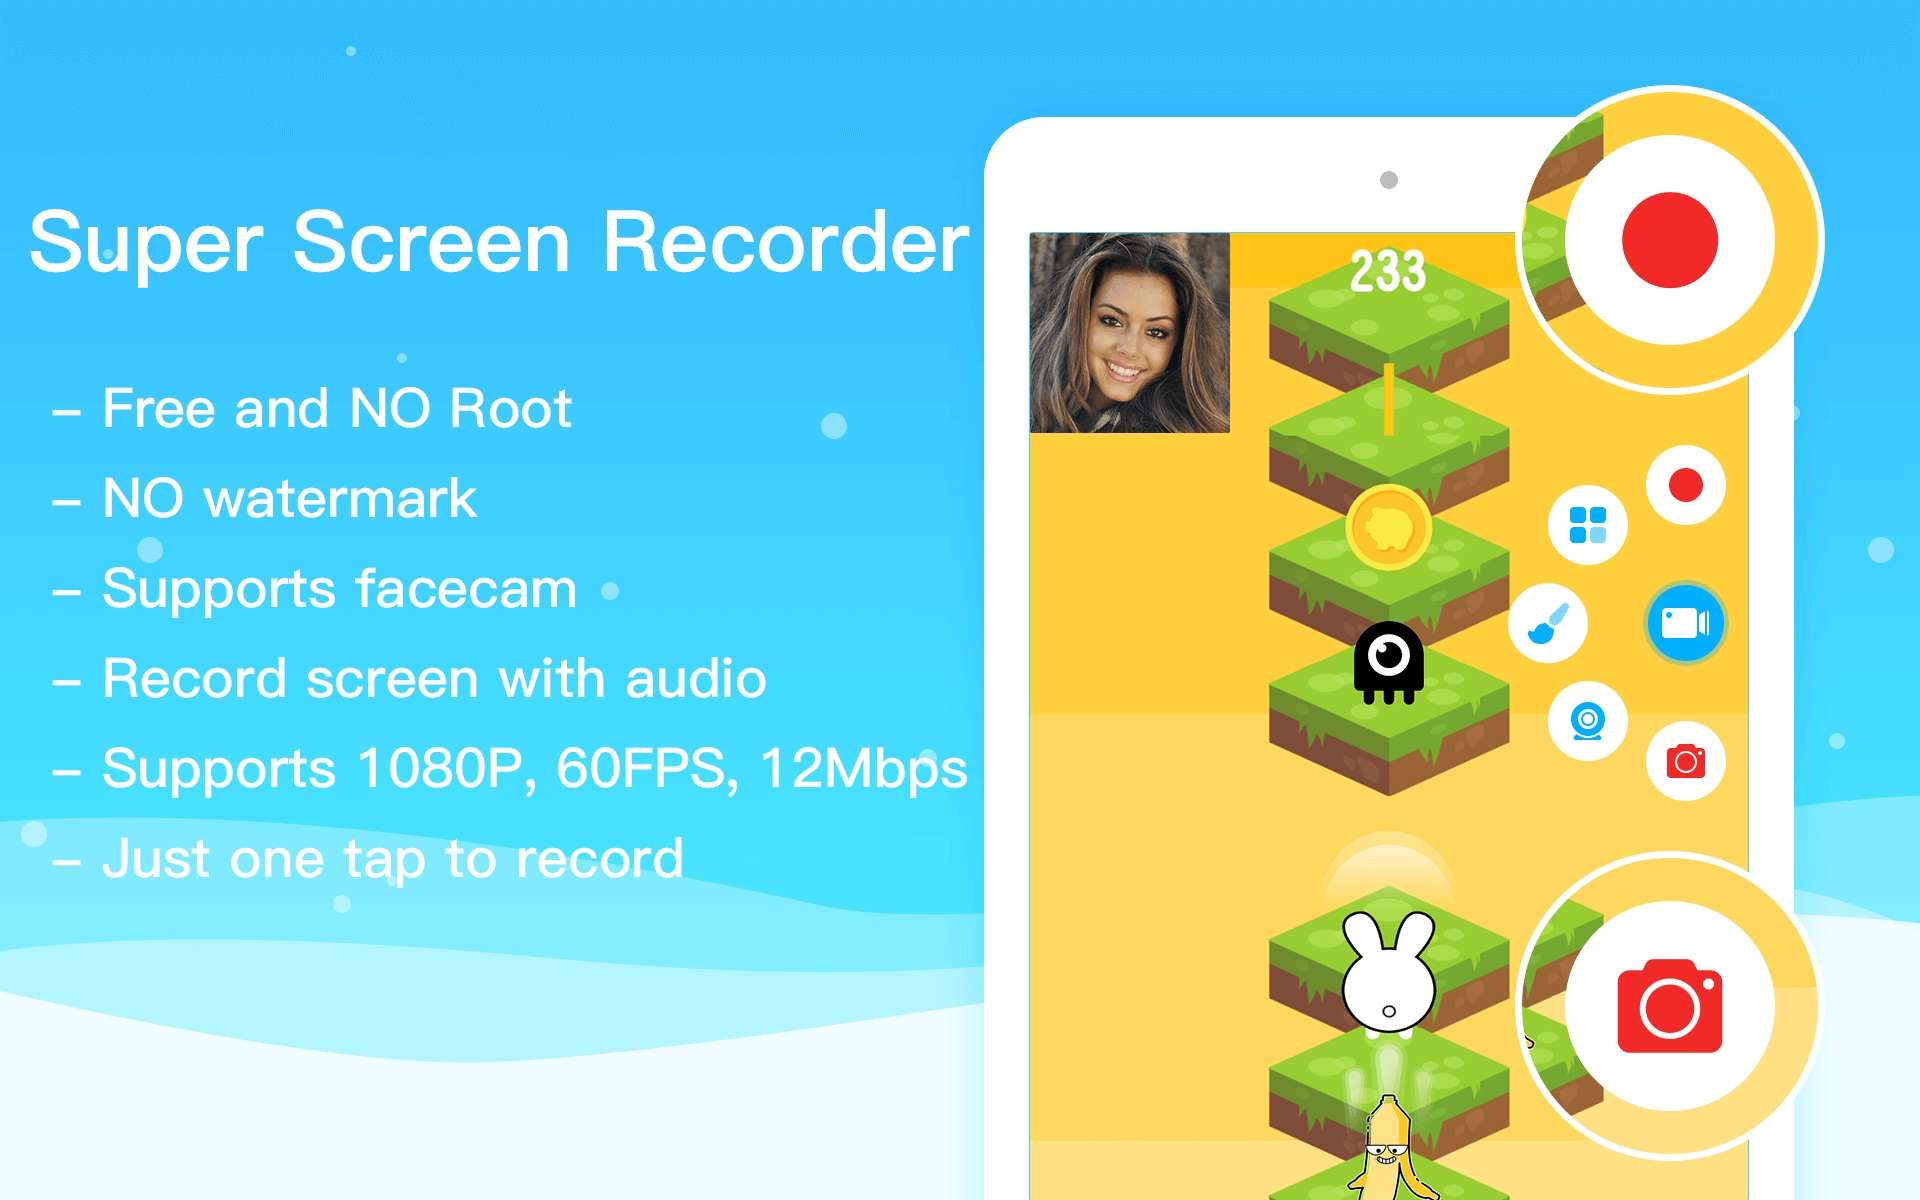
8. Super Screen Recorder
Super Screen Recorder stands out as a compelling option for users seeking the best gaming screen recorder for Android. It offers seamless video capture on both phones and tablets, boasting a user-friendly experience while remaining entirely free from watermarks, time constraints, or the need for device rooting. Its utility extends beyond recording, encompassing live streaming, screenshotting, and even basic editing capabilities. Notable features include recording in resolutions up to 2K at 60 FPS, a built-in facecam recorder and editor, as well as internal audio recording. While it excels in delivering high-quality recordings and a range of valuable features, some users might experience performance slowdowns on specific devices.
9. XRecorder
XRecorder stands out as a versatile tool for Android users aiming to capture top-quality screen videos and screenshots effortlessly. With a single tap, it enables the creation of smooth, high-definition videos from Android screens, accompanied by internal audio recording capabilities. Notably, it facilitates direct streaming to YouTube, making it an ideal choice for gamers and content creators. The app's features encompass a built-in editor for tasks like trimming and merging, support for full HD recording up to 1080p, and a convenient countdown timer. While it excels in delivering high-quality videos and concurrent audio-video recording without watermarks or the need for rooting, some users might notice that the interface has a slightly dated appearance.
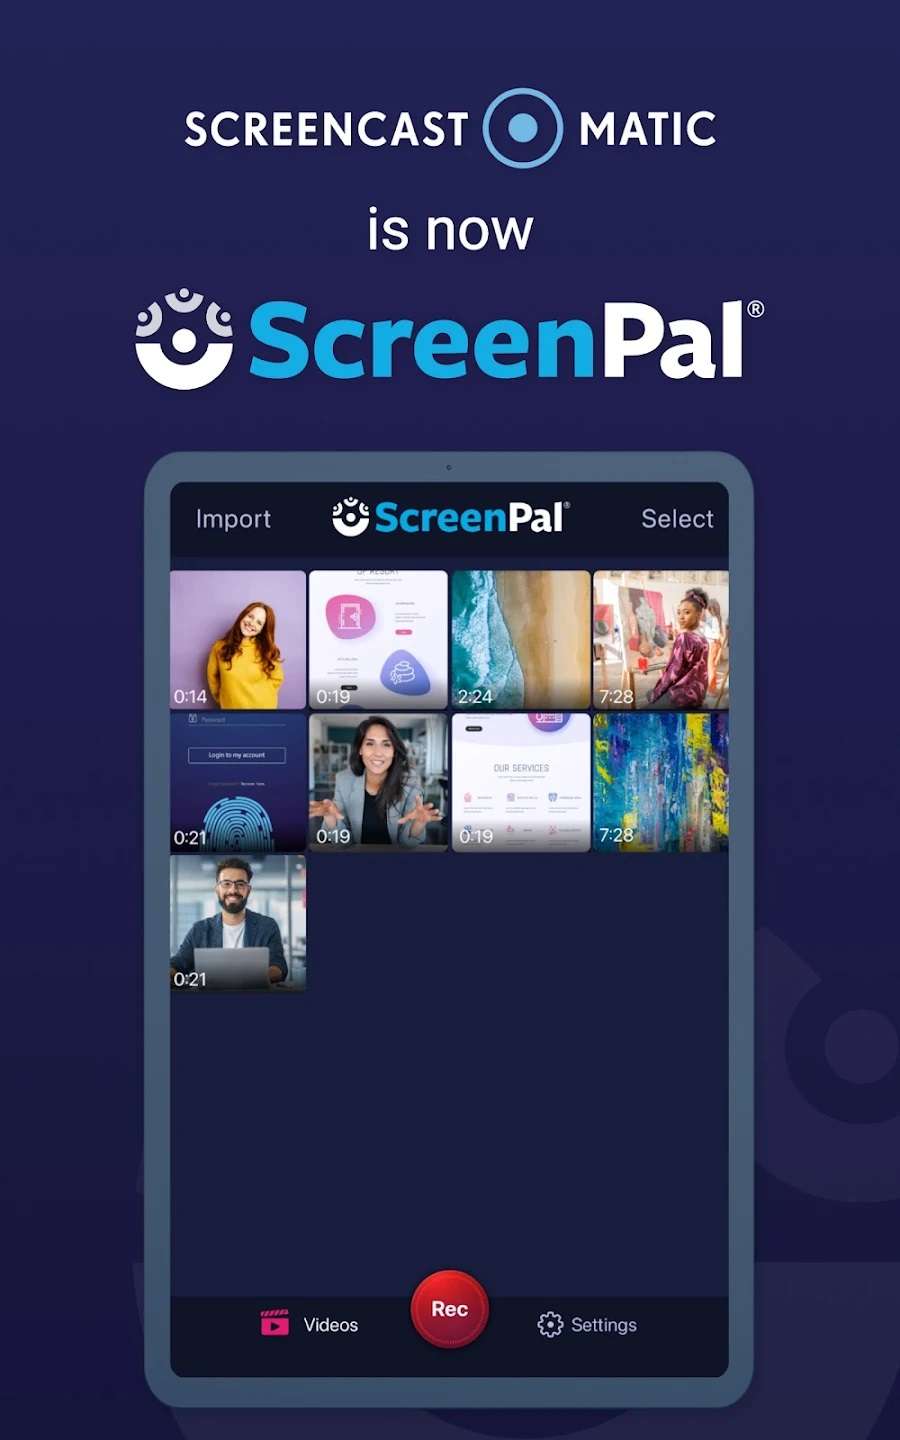
10. ScreenPal
ScreenPal caters predominantly to professionals by providing an array of advanced features, which might not be as relevant for casual users. Conversely, free apps serve basic screenshot and screen recording needs, yet they often lack sophisticated functionalities. In this spectrum, ScreenPal stands as a middle ground, offering a free version replete with more valuable features than its competitors, and a subscription model that unlocks unique and potent tools. Its key attributes encompass simultaneous screen and camera recording, an intuitive video editor, and the capability to blur sensitive screen areas. The app boasts user-friendly overlay controls and facilitates online storage and publishing, but has limitations such as exporting images solely as PNG files and lacking scrolling capture functionality.
Part 3: Recommended Desktop Screen Recording Tool: DemoCreator
Here are a few handy tools for recording your Android phone screen. But for video production, it's easier to use a computer. Finally, I would like to introduce a computer screen recording tool: DemoCreator
Key features of DemoCreator:
- Simple and intuitive user interface.
- Supports all popular file formats.
- You can use all the features in the Free Trial Version.
- Supports a powerful video editing toolkit, so you can edit the recorded screen directly.
Whether, a screen recorder for Mac or Windows, the Wondershare DemoCreator interface is easy to understand and you can start the process with just one click. Many such attractive and simple features make DemoCreator one of the best software to make your recording and editing journey enjoyable, comfortable, and worth giving a try.
Try It Now - It's Free!
 Secure Download
Secure Download
Try It Now - It's Free!
Secure Download
Secure DownloadConclusion
The information above was supplied entirely by the developer's description of each app in the Google Play Store. Most of these apps may have embedded in-app purchases. All of these apps are free, but some of them offer both a free version and a premium version with extra features. The top-rated game recorders for Android are XRecorder, AZ Screen Recorder, and Super Screen Recorder for their user-friendly interface, options for customization, and frequent updates.
If you want to use a desktop screen recorder with more powerful game video effects, we recommend Wondershare DemoCreator.

The Best Webcam Game Recorder
Record customized screens with audio and edit them in different tracks.
Capture gaming videos, tutorials, and presentations and then edit them in one tool.
Supported screen recording high FPS video and editing it directly.
Built-in unlimited editing templates, special effects, and other sources.
Supported export to MP4, MOV, MKV, GIF, and other formats.
Free Download
Secure Download
Secure DownloadFree Download
Secure Download
Secure Download


