How to Edit YouTube Videos
YouTube is the largest video sharing platform presently on the internet and content is uploaded to YouTube each and every minute. If users want to stand out with their videos, there are some basic editing procedures that need to be performed. In case the user does not own any video editing program, a few editing procedures can be performed in the intrinsic YouTube editor which is called YouTube Studio. Presently in Beta, it offers some simple tools for video editing tools such as video trimming. In this article, we tell you how do you edit YouTube videos?
If a YouTube creator's perspective is taken, they will always agree that editing becomes an important part of the post-production process. However, editing is a lot more than what is at the surface. Without the proper tools for video editing tools, they really won't be able to create content that stands out. Here we explain how to edit YouTube videos through the YouTube editor or thorough the other alternatives.
Using YouTube's Intrinsic Video Editor
A common question has been that can you edit videos on YouTube? The answer is Yes. The YouTube video editor works in the following manner
Step 1 - Opening YouTube Studio video editor.
- The user needs to navigate to YouTube in their browser and for the most effective results Google Chrome must be used as the features might not work in the other browsers properly.
- The user then needs to click on the avatar which is there on the right of the screen where there is an option to choose the YouTube Studio
- The Videos icon needs to be clicked in the pane which is to the left of the screen. There will be a list of all the published or draft videos on YouTube.
- The video title which needs to be edited needs to be clicked
- The editor icon needs to be clicked on the left of the screen.
Step 2- Trimming the beginning and end of a video.
- The user needs to open the video which needs to be edited in the YouTube Studio video editor
- The user needs to click the Trim icon which is under the video preview
- The user then needs to drag the blue bars which are on the right and left edge of the timeline of the videos for setting the starting and ending point of the video
- The bottom of the screen will have a bar and the Preview icon needs to be clicked.
- Additional changes can continuously be made and then the Edit Trim icon needs to be clicked for reentering the edit mode and the Preview pane needs to be clicked for making more changes.
- After changes are done in the video and the edits need to be saved for the published video "Save" needs to be clicked which is at the top of the screen. The changes cannot be saved until the Preview button is clicked at the bottom of this screen.
Step 3 - Cutting a section out of the middle of the video
- The video needs to be opened
- The user needs to click Trim or Edit Trim under the Preview video
- The user needs to then position the vertical bar in timelines where the edit needs to begin
- Split at the bottom of the screen in a bar needs to be clicked
- Clicking on the vertical bar and dragging it across the timelines for ending the cut. There is a dark region that should be visible that identifies where videos need to be cut. The split can be fine-tuned by dragging the two bars in the timeline
- Clicking Preview for implementing the change.
- Once the changes are made to the video, the edits are saved and the top of the screen needs to be saved.
Step 4 - Blurring an object or person in the video.
- The user needs to open the video he wants to edit in the editor
- The timeline has an Add Blur option that needs to be clicked. YouTube will be opening the old video manager because this feature isn't yet available in the YouTube Studio (BETA)
- There is an option of Edit next to the Blur Faces or the Custom Blurring option. The app then begins to automatically scan the faces and blurring begins in it and if the custom option is chosen, there is an option to draw the boxes of things that need to be blurred.
- After this the video is saved, the user needs to click "Return to YouTube Studio" button.
Alternatives to YouTube Video Editor
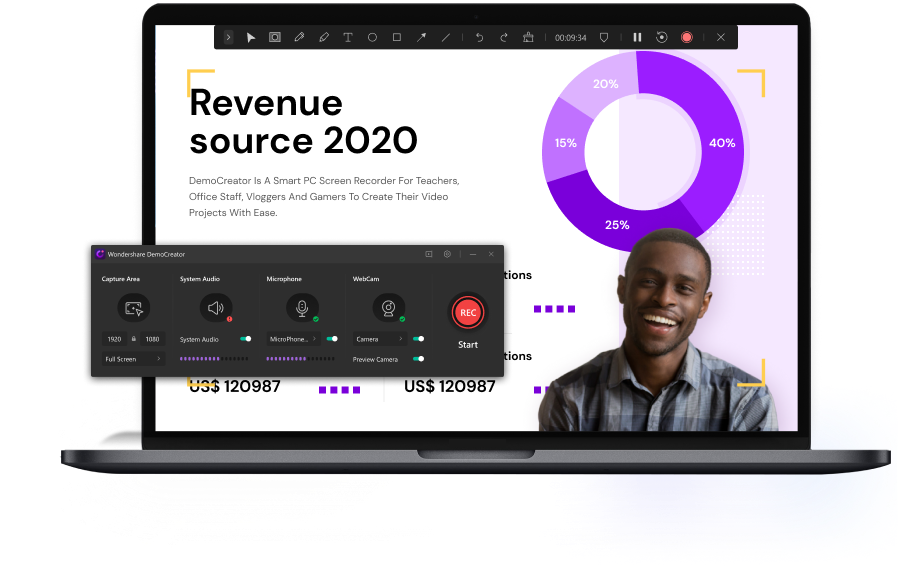
The YouTube video editor doesn't provide all the features so the question arises, how to edit your YouTube videos without the use of YouTube video editor? There are many options available but here we will recommend Wondershare DemoCreator. This can be used for trimming, cutting, and splitting the video with many handy tools. Further, it offers over 50 royalty-free music that is available for use. A lot of filters and effects are also available which give a professional look to the videos. The videos can then be uploaded to YouTube directly. The editing techniques remain the same but here we will cover how the videos can be edited on this software. The skills can also come in handy when it comes to the other video editing programs.
The following steps need to be followed
Step 1: Click on the New Project in the welcome screen of the software and then allow the editor to load. Once there is access to the video editor, the product needs to be registered by clicking on the Register button.
 Secure Download
 Secure Download
Step 2: Go to the File menu and find the Project Settings option which needs to be clicked. Then choose the aspect ratio which you will have to finalize for your video. There are multiple options for aspect ratio including the 4:3 aspect, 16:9 standard, or the other uncommon options for videos that may be square-shaped or vertically oriented. There is also an option for a custom ratio which will help the user design the aspect ratio as per their needs.
Step 3: The upper left corner has an import button in the video editor. Clicking on this will select the files which need to be imported and then navigate to the locations where the file is saved. The audio-video or image footage can then be imported by clicking on the import button.

Step 4: The import menu also has the Instant Cutting tool. Instant Cutter is the tool that allows all trimming of 4K and the other larger files extremely fast and easy. The files which are imported are going to be stored in the Media tab of DemoCreator which is below the import button. This makes life easy as it is difficult to keep looking for files that have to be added on the timeline.
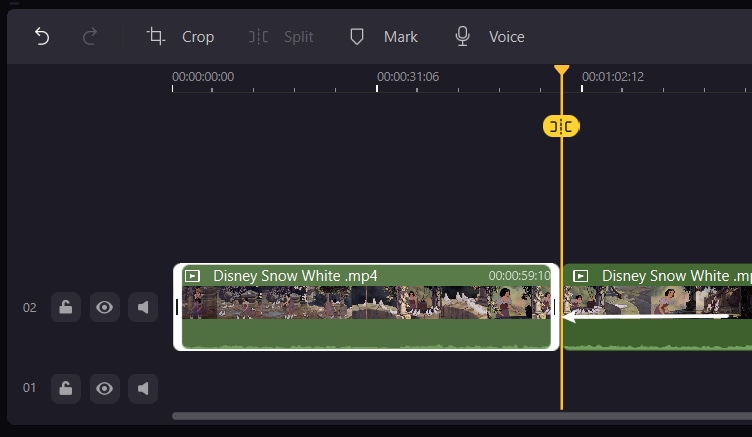
Step 5: The audio and video files are then placed on the timeline and the redundant parts are removed from the files. The raw footage usually contains footage that needs to be edited and is kept as a part of the shooting process or is a mistake. Therefore the cutting process is essential and can be done simply by dragging the video from the media tab to the timeline

Step 6: With the unwanted parts now done away with, the user can then proceed to do other functions like adding the audios and video files, adding music, and inserting transitions in between the clips or use of many visual effects.
Step 7: The output window allows the user to select the format in which they want to share the video. This is critical as the video can then be rendered and exported into the different formats suitable for devices such as smartphones, consoles, computers, or PS4s.
 Secure Download
 Secure Download
Conclusion
Through this article, we have tried to answer a common question that has been arising among the current generation of content creators, what do YouTubers use to edit videos? YouTube is a platform that has become the go-to place for artists, content creators, and even other professionals to showcase their skills to the world. A YouTube video can reach places and there are many instances that have been seen where people have become household names with the use of this platform. The difference mostly lies in the quality of content where the YouTube videos which are edited better are expected to be appreciated a little more than the others which are made in a usual way. Content creation is crazy which doesn’t look like it is going to stop any time soon and the need for video editors is only going to grow. In case you stumble upon some more video editors, do let us know.


