

How to Cut in Adobe Premiere Pro

To perform cut audio from video in Premiere Pro, clients always need an interface that they can work easily with for the greatest usefulness and proficiency. That is the reason Adobe Premiere Pro is continually refreshed to make its interface more responsive. Adobe Premiere Pro is a work area video altering application for experts and fans. This product, utilized by Hollywood laborers, allows clients to transform crude film into shocking, realistic items. Changing recordings starting with one configuration over then onto the next can cause misfortunes in outlines or defilements. To keep away from that, Adobe Premiere Pro is upgraded to help more local video document designs. This allows clients to add recordings from their cameras straightforwardly without going through the course of change.
The Premiere Pro can be utilized for all normal video altering errands fundamental for creating a broadcast-quality top-quality video. Here, you can learn how to cut audio and video in Premiere Pro. It tends to be utilized to import video, sound, and illustrations and is utilized to make new, altered adaptations of video, which can be sent out to the medium and organization essential for dissemination. While making recordings utilizing Premiere Pro, different videos and still pictures can be altered together. Titles can be added to recordings, and channels can be applied alongside different impacts. With Adobe Premiere Pro, editors approach devices that empower them to accomplish something other than fundamental altering. The application likewise gives them the necessary resources to change the tone, tweak the sound, and the sky is the limit from there.
3 Methods to Cut Video in Premiere Pro
Premiere Pro instructional exercises are your pass to dominating Adobe's altering application like a genius, regardless of whether you're consolidating sound, actually pictures, or liveliness. Adobe Premiere Pro is one of the most outstanding cross-stage applications for altering video, and it has a large group of provisions that can assist you with accelerating your work process while making shocking substances. However, some of them go unseen without instructional exercises to direct you.
However, the product accompanies its own awesome basic manual for raising you to an acceptable level with the nuts and bolts; odds are you'll need to find out additional. That is the place where the instructional exercises underneath come in.
1. By Using Razor Method:
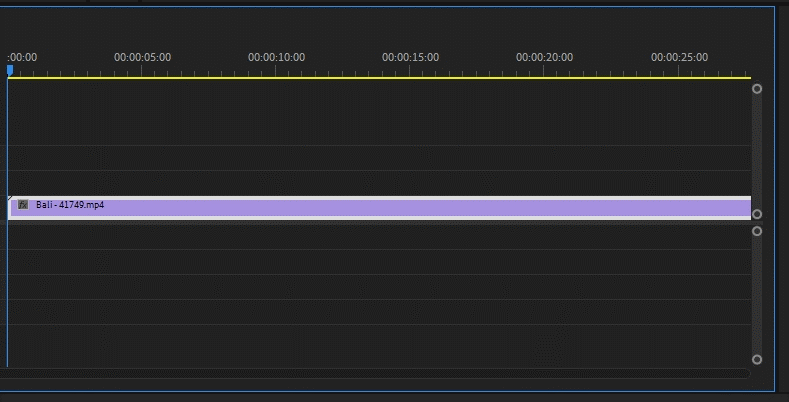
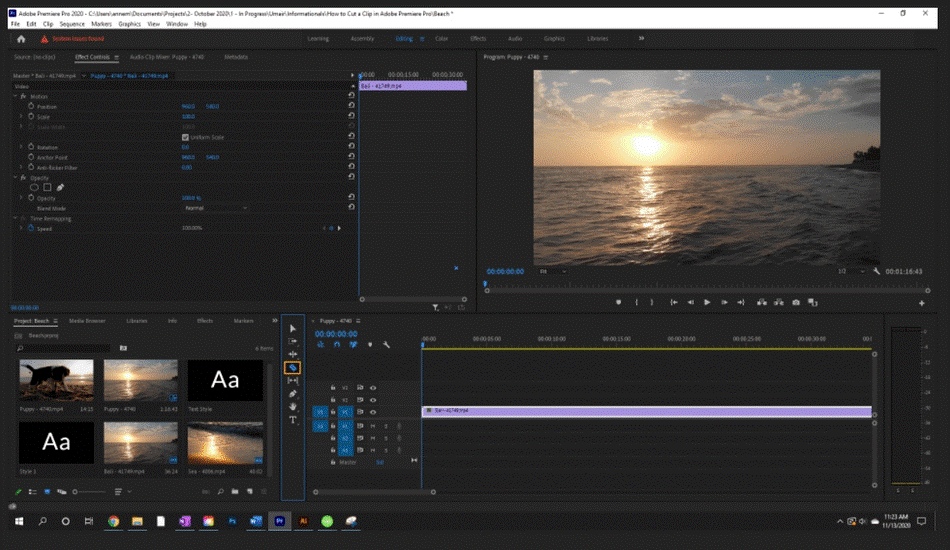
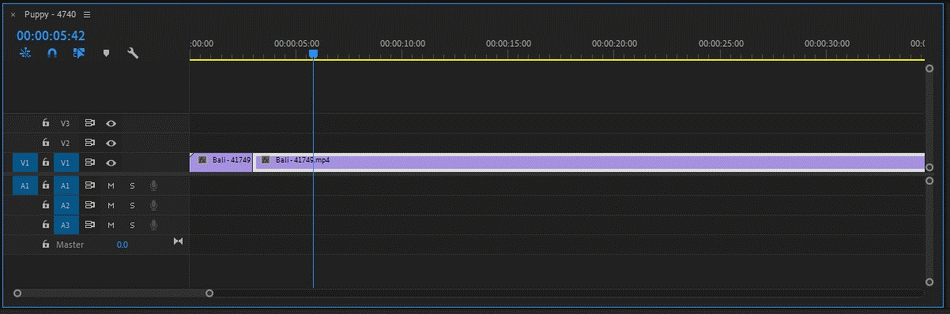
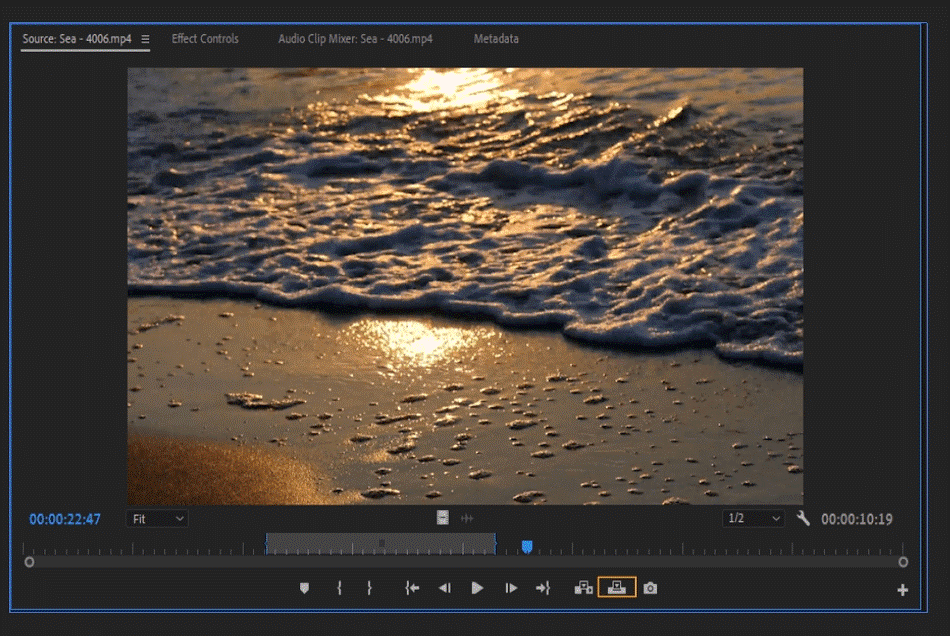
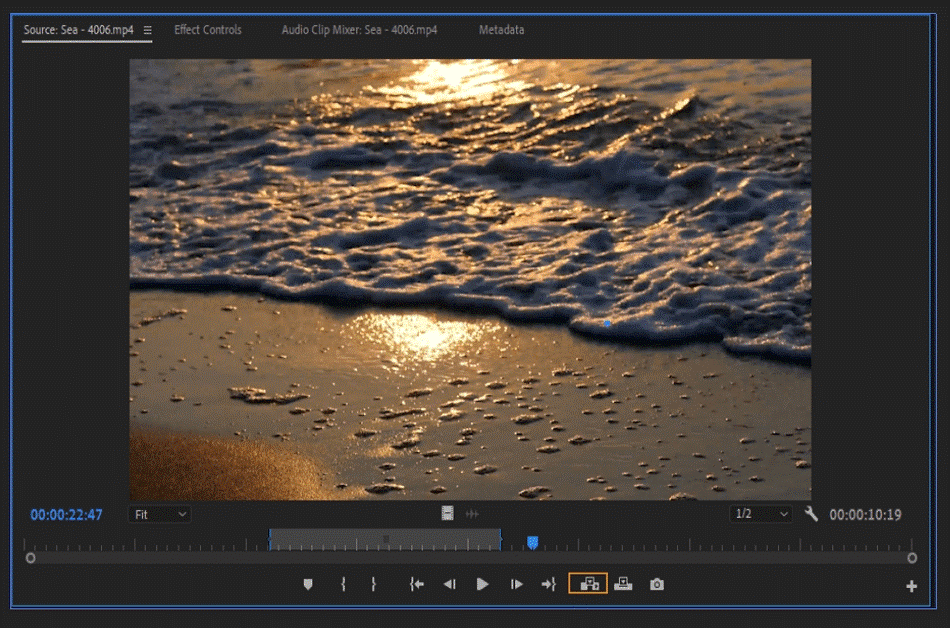
For this instructional exercise, we're making a limited-time video to exhibit the excellent island of Bali. Adobe Premiere Pro altering apparatuses assist you with editing cuts inside the timetable. Learning the intricate details of these altering apparatuses can assist with making video altering quicker and more proficient, which makes correspondence with your crowd more ideal. Here, we have an incredible nightfall shot with the light ricocheting off the waves. Be that as it may, the clasp is excessively long. To cut the clasp:
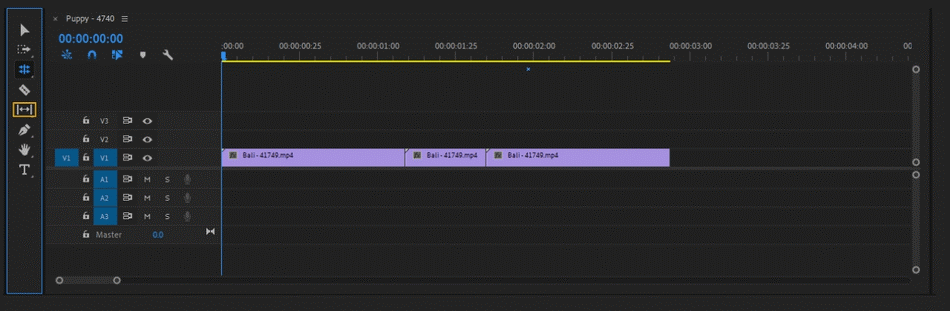
Step 1: Select the clasp from your course of events. At the point when chosen, the clasp will have a white boundary around it to imply its determination.
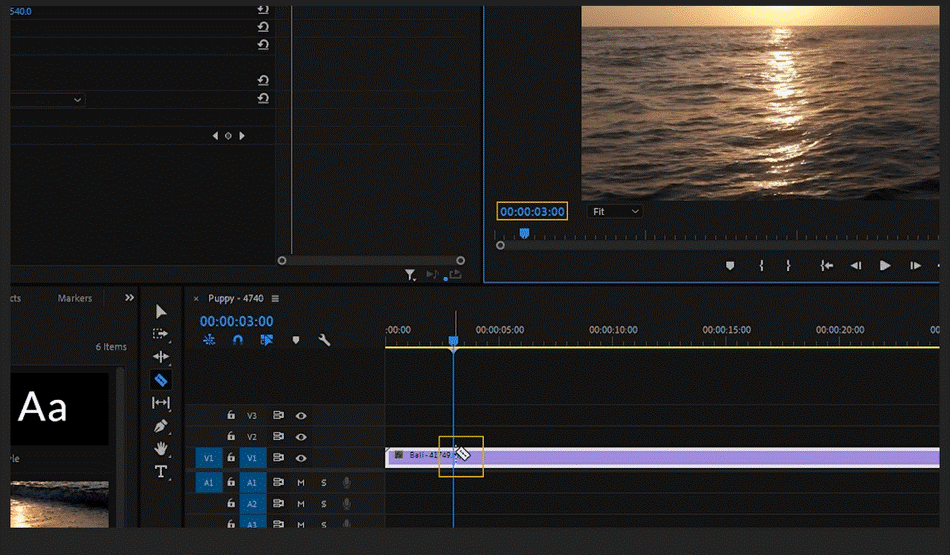
Step 2: Select the Razor instrument or press "C" on your console. To cut the clasp, you can drift the razor and split the clasp anyplace, making numerous cuts, any place you need. Assuming you need a more exact cut, move the playhead to where you need the finish of the clasp, then, at that point, float the razor over to make your cut.
Step 3: So now, you need to cut the clip right to the 3-second tenure and for that, type this number inside the playhead position of the interface as shown in the attached image. Also, you can afterward click on the razor clip and make it cut like a pro.
Step 4: Presently, the clasp is parted. From here, you can erase the other segment by choosing the clasp and erasing it by squeezing erase button. Presently, you are done, and you have a perfect, trimmed clasp.
2. By Moving Edit Tool:
A decent spot to begin is by gaining straightforwardly from the product's producer. Adobe offers over 100 video instructional exercises on its site, and there are possibilities for both novices and experienced clients who are now acquainted with Premiere Pro. The instructional exercises cover an enormous scope of regions, including changing to Premiere Pro from other software; bringing in media; working with titles and illustrations; sound blending, and adding advances.
Step 1: Moving Edit Tool
This apparatus will manage the end and start of a clasp while keeping the absolute term of the two clasps unaltered. To utilize, click between the two clasps you need to change and haul to change the video. To choose the Rolling Edit apparatus, either press "N" or snap the Rolling Edit symbol shown beneath.
Step 2: Set in and Out Points in the Source Monitor
Open the source film. To do this, select the clasp inside the Project board by double-tapping it. The chosen clasp will have a white box encompassing it. The clasp will appear now in the Source Monitor. In the event that this board is appearing, go to Window > Source Monitor > and select the clasp you need to see.
Step 3: Preview the Selection
As it rolls or with the video stopped, select an in point, either tapping the left section or squeezing the "I" key. Select an out point utilizing the "O" key. You can generally change these focuses by re-doing the In/Out focuses or hauling the section closes where you need the clasp to start and end.
Step 4: Apply the Cuts
To embed the clasp, you can all things considered either by overwriting the current timetable utilizing the overwrite symbol. Or then again use "." Key to overwrite.
Supplement the clasp into the current course of events utilizing the addition symbol. Or then again utilize the "," key to embed. Furthermore, with that, your trimmed clasp is in your course of events, completed and all set.
3. By Using Built-in Cut Method
Cut-ins and cut-outs of Premiere Pro are momentary changes in the outlining of a shot. The two strategies are identified with the essential concentration or activity of a scene and can be utilized to improve the significance or ease the monotony of long scenes. Cut-ins and out are frequently used to show an occasion happening close by the fundamental activity of the scene. A Cut-in is a cut that movements from the primary subject (A-roll) to an occasion happening inside a similar scene. For instance, if your principal scene affects two individuals shaking hands, a potential cut-in may be nearby of the handshake.
Step 1:Drag with the slip device to alter a solitary clasp without influencing different clasps around it. You keep a similar span while sliding the in and out focuses prior to or later from the source cut. To utilize the slip instrument, press "Y" or press the symbol demonstrated underneath.
Step 2: A Cut-out is removed from the principal activity to other concurrent occasions. For instance, in the location of the two individuals shaking hands, a potential removal may show others going into the room. When holding this order, you will consequently cut the chosen cut at the playhead. In the event that you add a shift in addition to this order, you will cut every one of the clasps in the arrangement.
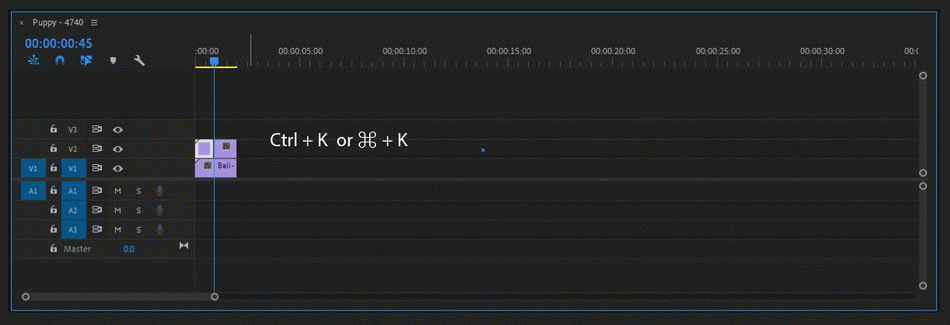
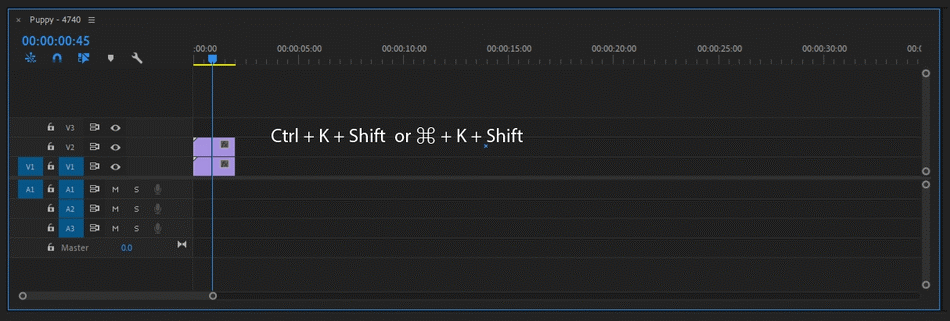
Step 3: Alternatively, Cut-ins and cut-outs once in a while add emotional substance, yet as a rule, control the pacing of longer scenes, acquaint new components with the fundamental scene, or stress components currently present. By utilizing Ctrl + K (Windows) or Command + K (Apple) easy keynotes.
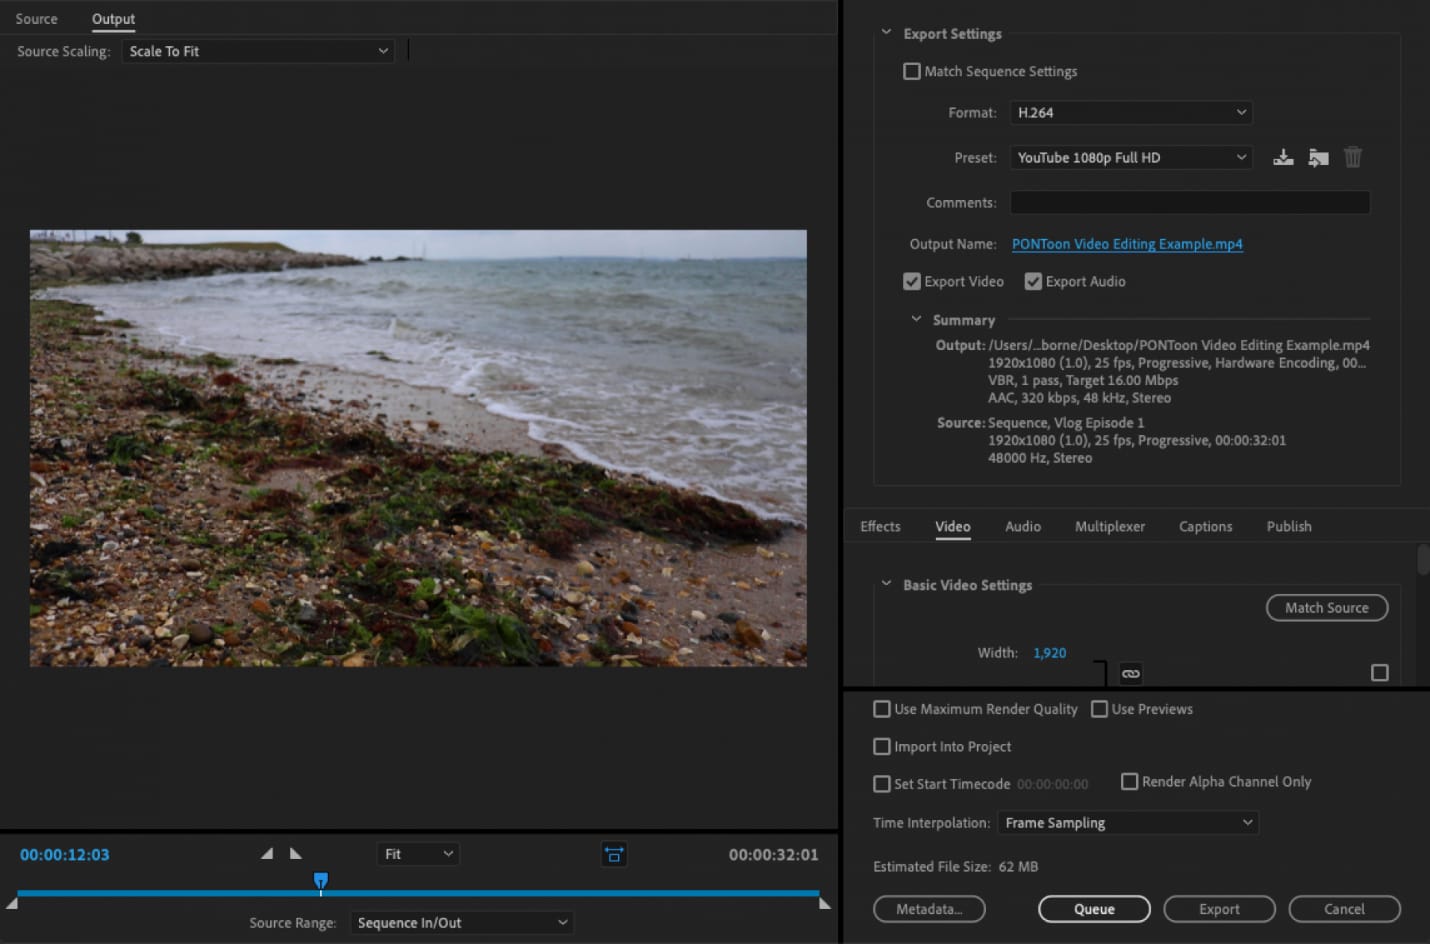
Step 4: Since you've done all that, you'll need to trade your task into an organization that can be transferred to the web or downloaded onto a media drive. By and by, the choices introduced by Premiere Pro for sending out your recording can be unquestionably overpowering. However, generally, there are a couple of choices that you'll require if trading your video for utilizing on the web:
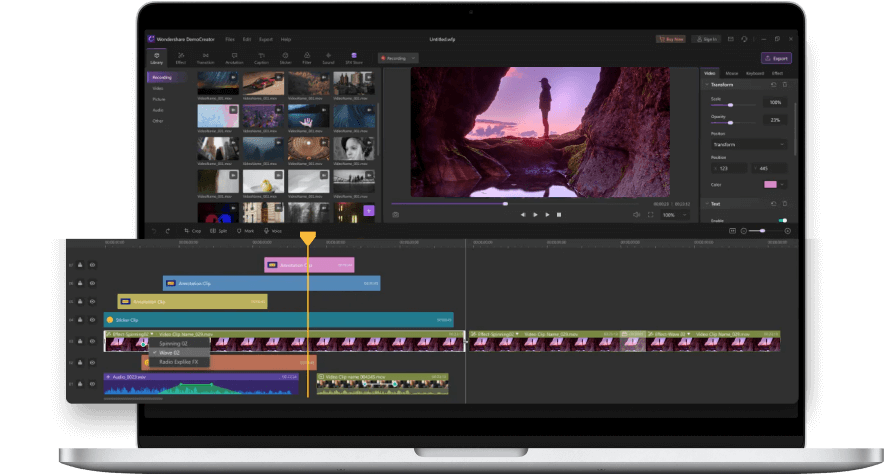
Wondershare DemoCreator as an Alternative Tool for Beginners
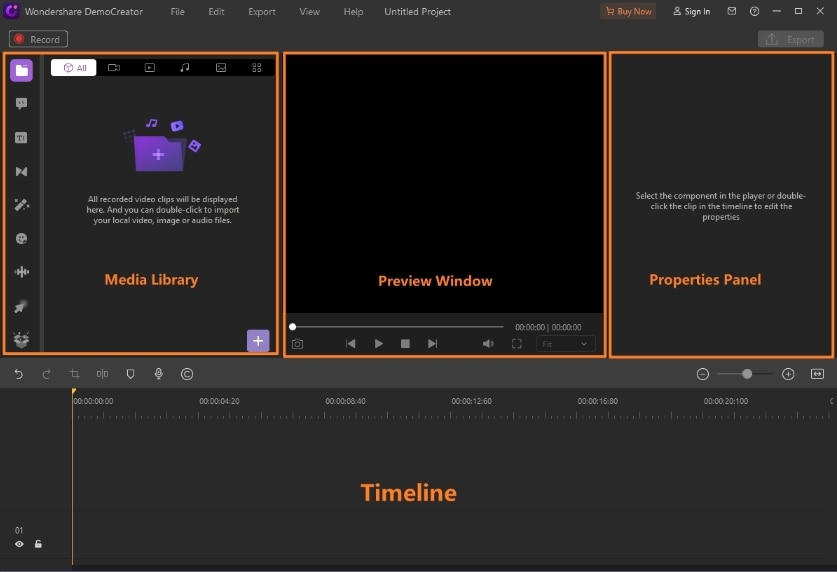
Bringing polished skill into the image, Wondershare DemoCreator is one of the most broadly and expertly utilized applications in the altering field and industry. In this product, you can anticipate that the user interface should be up to your assumptions in case you are an expert. Directly from the start, there is a great deal to investigate and look over. In this product, you can expect the accompanying provisions, for example, upgraded title proofreader, video veiling, energized overlays sending out documents in 5.1 encompass sound, among some more. Discussing the help presented by this product, it offers 4K, HD, and 360-degree video and offers a lot of dynamic change impacts, tracks straightforwardness, stops movement liveliness, precise shading reviewing.
With Wondershare DemoCreator, one can utilize the supervisor for cross-stage uses and activities. This implies that you can really save your advancement on Mac; however, at that point, access the similar document from Windows and keep altering the record too. Isn't it just astounding? Wondershare DemoCreator is a decent shot in case you are a fledgling. With a simple to-utilize interface and open-source, it becomes more straightforward first off to comprehend the working and usefulness of the product. In this product, you can expect instruments, such as multi-track layers, overlay pictures, and watermarks, changes, 3D impacts, Chroma Key, transcode, among others more.
Step 1: Import your Videos
In the first step, hit the Import button inside the video editor and import your video files on the go.
 Secure DownloadSecure Download
Step 2: Crop the Video
Now, to perform the resizing by crop, drag your file to the timeline and right-click on it, and select the Crop option from the list as shown here:
Right after that, drag and update the crop size of your video from here. Right after that, as soon as you've polished your video very well, now is the time to introduce it to the viewers or save it for your usage later.
Secure DownloadSecure DownloadStep 3: Change the Aspect Ratio
Now in the next step, if you want to change the Aspect Ratio of the video. Open the Crop window by clicking on the video file inside the timeline, and then select the Ratio drop-down option from there.
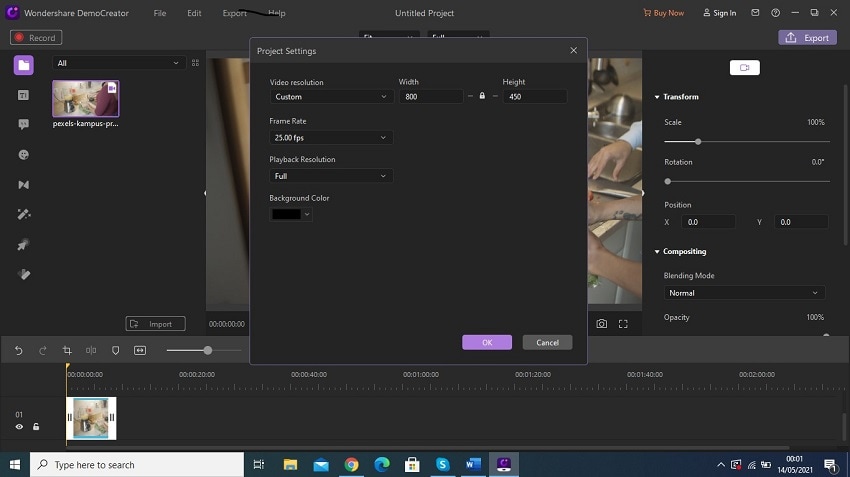
Secure DownloadSecure DownloadFrom there, you can change the aspect ratio of the video file by selecting one of the options it includes. The best part is, you can also select the Custom option from the list and enhance the Aspect Ratio according to your customized ratio.
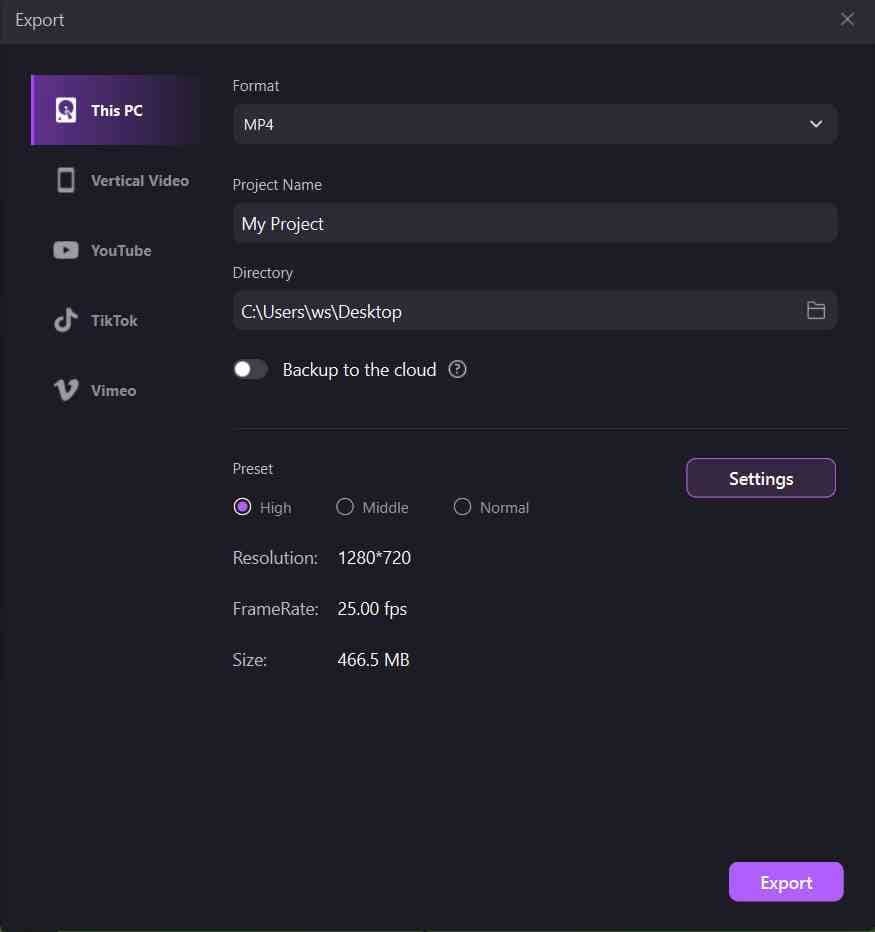
Step 4: Export/Share the Resized Video
Now to export it to your computer, simply hit the Export button at the top-right corner of your software interface. It will open up the Export window, which has plenty of export options for you to opt for.
Secure DownloadSecure DownloadConclusion:
With Adobe Premiere Pro, you gain admittance to different usefulness for both essential and progressed video altering. It allows you to alter different video cuts simultaneously and, as soon as possible, exchange bits starting with one video then onto the next set. It comes at an extreme expense and an expert range of abilities. Rather than with nothing to do searching for Premiere Pro for Windows, you can utilize this program, predominantly its assortment of shading video impacts, and further develop colors in the recording easily. But with DemoCreator assistance, you can change the shading tone, change the equilibrium of tones, convert shading video to monochrome, just as change the splendor and difference of the frames, but with full ease and handiness.
