Record Skype with OBS – A Detailed How-to Guide

A majority of work has been shifted to the virtual setup in this pandemic and to make a smooth shift, there are certain tools that you will need to have at your disposal. Not just the office-goers, but students have also been taking their classes and tests in the online mode only. The world is opening in a phased manner but a majority of firms have permanently opted for the virtual setup, especially to save costs. Among various tools, one that is essential to have is a screen recording tool. You might want to record virtual meetings for future reference and to do that, you will have to record Skype with OBS, a feature-rich open-source platform.
The interface that you will get here might feel a bit complicated to the beginners. However, the features that you will get here are totally unmatched with any of the other apps that you can find. It's a completely free tool that also has no restrictions or limitations when it comes to resolution, recording length, or any other aspect. In this guide, we are going to discuss the steps that you need to follow to record any and all desktop activities.
How to Record Skype with OBS on Windows
The thought must have crossed your mind where you wanted to record all the virtual meetings that you host or participate in, well it's no more thought. You have landed on the correct page. There are various apps that you might have already used and faced a lack of features that you need. OBS is the answer to all your questions. In this section, we are going to discuss the detailed steps that you need to follow on a Windows machine.
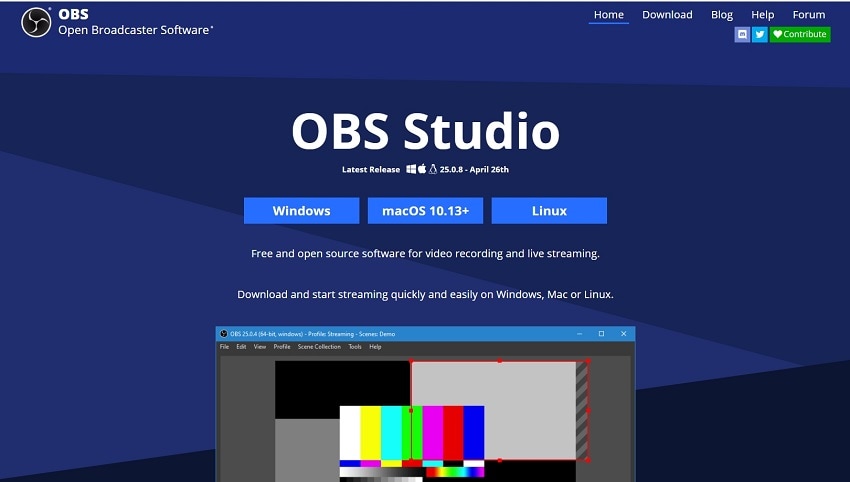
Launch a browser and navigate to the OBS Studio official website. Click on the Download button and follow the onscreen instructions.
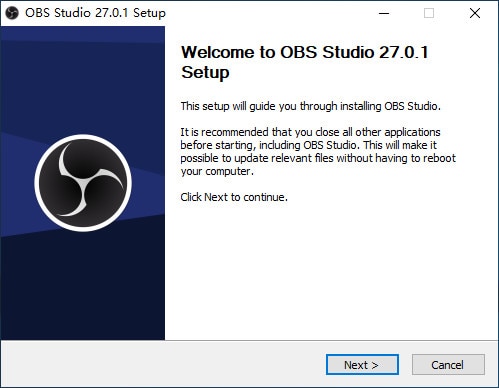
Once installed, launch the app and it will greet you with an interface that has a wide range of options. It will ask you for confirmation about the auto-setup wizard.
Hit Yes and you will be greeted by a dialog box. Continue with the configuration options that you want to set. If you are not going to use the streaming feature, go with the second option.
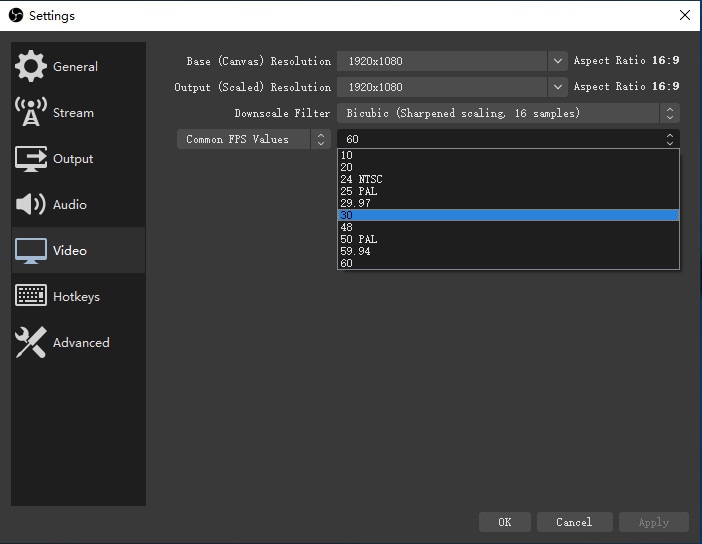
Set the preferred resolution along with the FPS and hit “Next”. The Studio will perform a set of tests, and it will get the app ready for you to start using.
After the test, it will ask you to apply the settings. If you aren't satisfied, you can hit the ‘Back' button to re-configure.
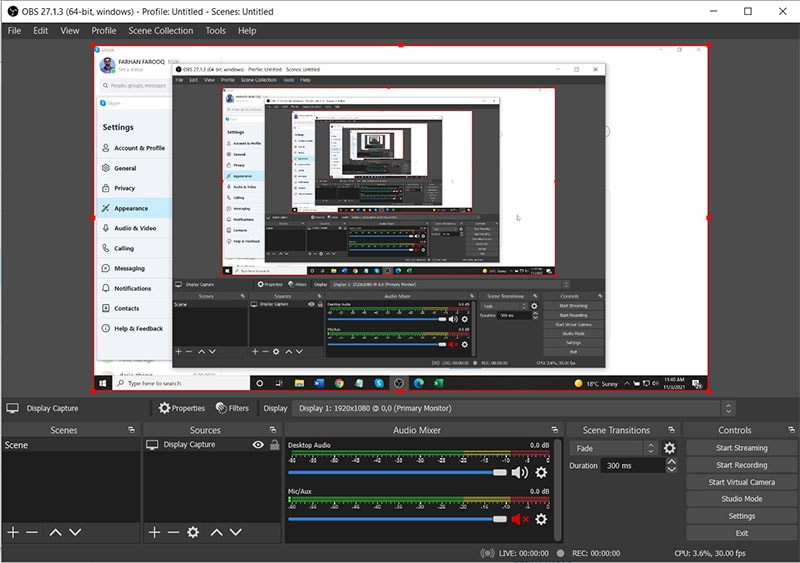
It will greet you with all the options that you will need while recording. The first one will be the Scene button, where users will require adding one or more. Right next to it, you will have the Source section where you have to add the various inputs.
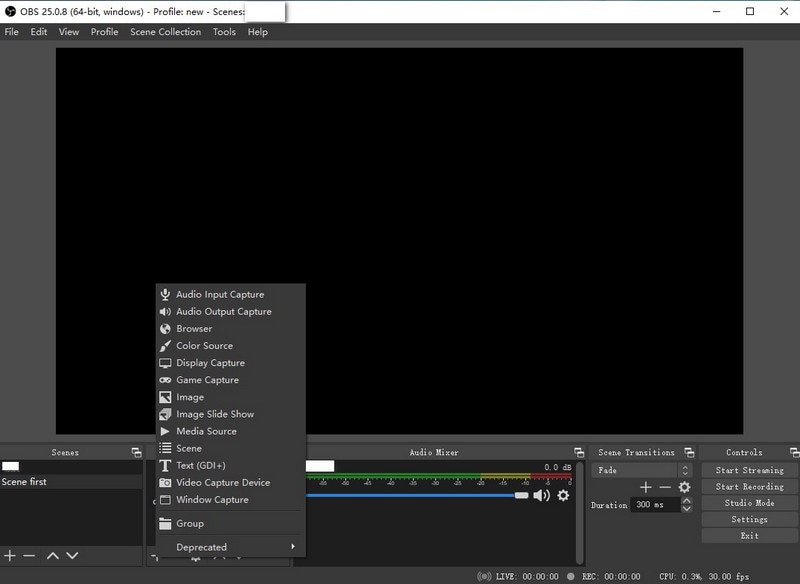
The Audio Mixer section will let you tweak the audio levels of the desktop audio and mic. Right next to the sliders, there will be a gear icon that you can click on to further configures these audio settings.
There will also be a screen transition feature where users will get to add an animation while switching between the scenes. It will also let you set the length of these transitions.
Apart from these basic settings and configurations, you will also get to configure a range of options from the Settings tab.
Users will also get to set the hotkeys so that they don't have to reach for the mouse for each input. Setting up the hotkeys will allow you to start/stop the recording or streaming straight from the keyboard.
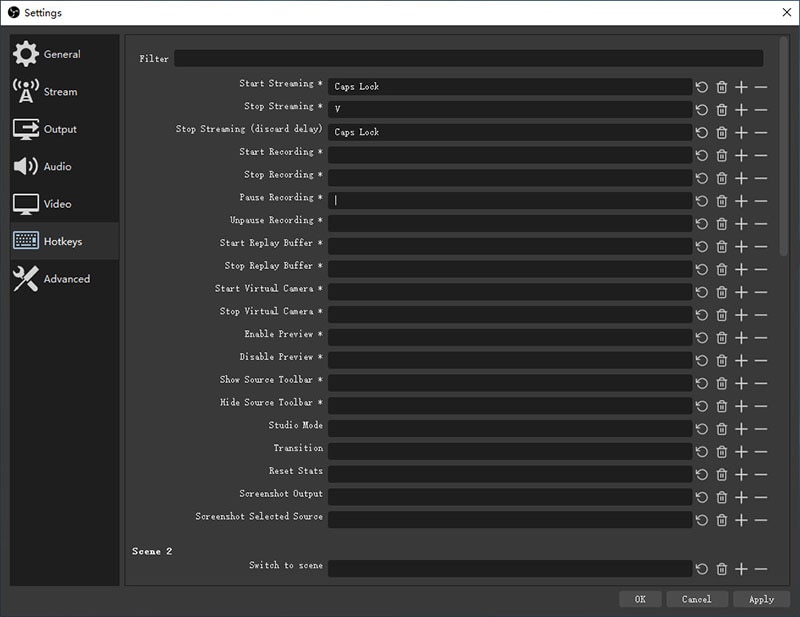
The Settings section will also let you configure the output format along with all the resolutions.
Once the configuration is done, launch the Skype app, and before establishing the call, hit the Start Recording button. It will give you a buffer time of 3 seconds, and the recording will be started. Once done, you can hit the Stop button to save the record Skype call with OBS.
How to Record Skype with OBS on Mac
No matter whether you are using a Mac or Windows, the steps that you will need to follow are quite similar. The virtual calls might be needed for any future reference, and while you are on it, the resolution and audio that is recorded should be crisp enough. The webcam and the mic that you are using should be good ones so that you are able to establish better communication with the team. The Mac users will also be able to download the app without any hassle, and the setup will also not take much time to complete. Let's dive in through the steps you need to follow to record the screen using OBS Studio.
From the official website obsproject.com, you will need to go to the Download section, click on the Mac button and follow the onscreen instructions to start the download.
Once done, you will need to launch the setup file and follow the onscreen instructions to get through the installation process. It will greet you with a similar UI with Windows.
The settings portal will allow you to tweak the configuration based on the requirements. Before that, you will get the Scenes and Sources tab, where users will need to add the inputs and multiple scenes (if any).
The Audio Mixer section will allow you to set the audio levels for the system sounds along with the mic. The gear icon right next to it will further offer a range of settings that are focused on advanced tweaks.
Now, move to the Settings section; it will greet you with a new dialog box with a plethora of features. The General tab will include setting up the theme and language. You can also enable the checkbox that will keep checking for any available updates.
Under the Output tab, you will get a dropdown menu to select Advanced or Simple. Keep it Advanced, and below that, you will get a dedicated tab for all 4 output methods. These are Streaming, Recording, Audio, and Replay Buffer.
As we are discussing Recording, you will get to select the Path along with the format.
The Settings button will also give you the option to set up the Audio settings along with certain hotkeys. These hotkeys will allow you to control the recording without reaching out to the mouse.
The Advanced tab will let you configure a range of options such as Color Format, filename formatting, delay in streaming, and more.
Once everything is configured, it's time to launch the Skype call and press the Start button. You can also trigger it by using the hotkeys that you have just configured.
When you add a source, the dialog box that has appeared up will also give you a checkbox to enable recording the pointer movements. If the preview that you are getting isn't fit the screen, you can drag and drop the corners to bring the whole screen into the frame.
OBS Alternative to Record Skype Calls
Though the app has a wide range of features, and we hope that we have fully answered how to record Skype audio with OBS Studio along with the meeting session, there might still be a few things that you want to have in your screen recording tool. To solve that particular issue, users will have to resort to a third-party application. The app that we are going to recommend is Wondershare DemoCreator, and it is fully compatible with both operating systems.
The interface that you will get here is also highly intuitive, and you can go through all the features without any hassle.There is one case where this application truly shines. It comes integrated with an editor that will help you in giving a professional look to the recorded footage. There will be a range of templates and annotation tools that will also help in establishing better communication with the audience. Let's dive into the steps that you need to follow.
 Secure DownloadSecure Download
Launch the app, and based on the system specifications, it might take some time to load up.
It will greet you with a compact dashboard with two options; Recorder and Video Editor. Click on the Capture button, and it will open up another dialog box with a plethora of new features.

The dashboard will provide you the options to select the resolution along with the area that you want to record. Users will also get to set a custom ratio.
Right below it, there will be an option to enable the drawing tool that will help you annotate on the screen to establish better communication.
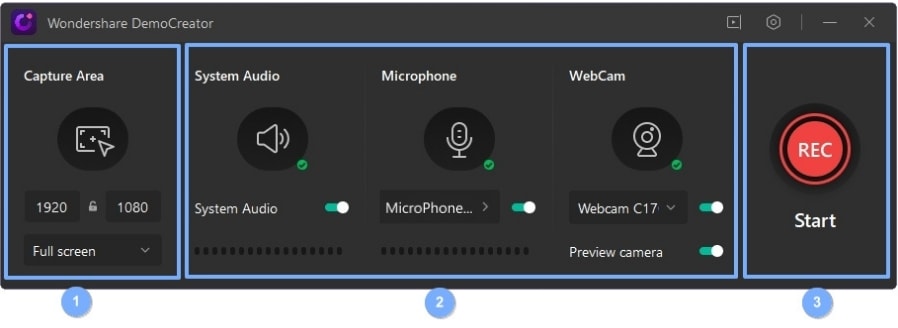
Next to it, there will be mic and webcam settings to enable it. You will have the option of enabling the system sounds.
Once done, hit the Record button, and the recording will start in 3 seconds. Users can also use the hotkeys F9 and F10 to start/stop and pause/resume the recording.
Conclusion
The users who have recently shifted to the virtual workflow might be facing some issues that are related to certain tools. The need for having a screen recording tool is quite in demand, and we hope that this guide has answered all the questions that you have on how do I record Skype with OBS? OBS Studio is a tool that is available completely free of cost and is an open-source one. If you are looking for more features, Wondershare DemoCreator is the app you can go for. It is highly feature-rich, and with an integrated editor, you will get to produce professional content.


