How to Record Games on PC for YouTube

The gaming sector has been evolving rapidly right from the beginning. Games that were rare and difficult to find at some point have now become mainstream. In addition to this, technological advancement has led to many alterations to a number of games positively. The innovations in the industry have completely changed the gaming experience. Yet, there are still some people who are not aware of these innovations. In addition to this, there is a large amount of population that is aware of the current situation but is not able to take full benefit of it.
And this is the reason as to why some gamers have come up and decided to record their gaming experience and share it on YouTube for other users and fans so that they can benefit from it. This particularly applies to the Android and PC games, since a huge chunk of user-base play 1080P games running on these devices.
If you are one of the users who wish to record their games for fans and share it to YouTube, you are at the right place. Today we will how to record your computer screen while playing a game. This will help you solve your confusion. Read below to know more.
Part 1: Record Games on PC for YouTube with DemoCreator
DemoCreator Video Recorder is the best software that can be used for recording PC games for YouTube. The tool is capable of capturing your gameplay, adding markers to essential point during the play, and editing the captured gameplay recording without any trouble.
Here is a detailed guide on how to record games on PC for YouTube using this tool:
Step 1: Open the app and tap on Get Started option to adjust your recording factors (audio settings, size of recording region, webcam, and so on). If you wish to utilize the default parameters of recording, tap on Quick Capture.

Step 2: Next, select whether to capture a customized area of your screen, your full screen, or a particular target window. You will also be required to tell if you will be recording a game. Select your frame rate (up to 120 fps).
Step 3: You can also select whether to capture audio from both your microphone and computer. By default, both will record, but you can alter that by choosing Don't Capture option next to both the option.
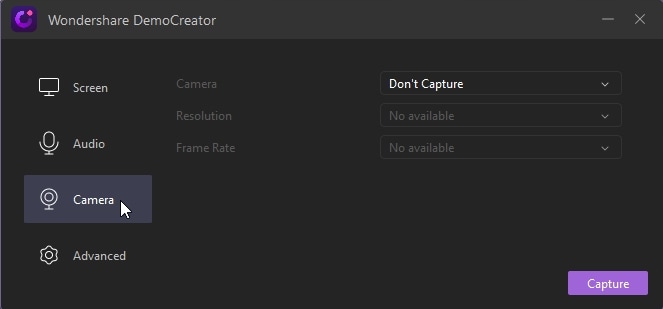
Step 4: Users can also capture from a webcam apart from recording their screen. From the Camera section, users can select their camera. Next, they need to select the resolution they need want to record at (1080p or 720p). Now, select a frame rate for recording your camera.
Step 5: Moving to the Advanced section, users can select where to save their recordings. You can also turn on GPU acceleration and select if you want not to hide your controls while capturing or not. In addition to this, you can also select different encoder such as FastJPG or AVC. Lastly, users can also set up hotkeys.
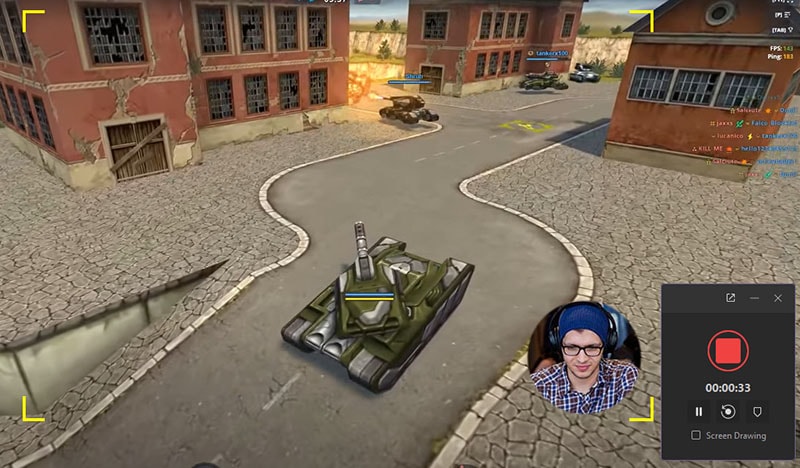
Step 6: After adjusting all the parameters, you can tap the Capture option to begin capturing of the screen. You can also fine-tune your settings in the Recorder screen.
Step 7: Tap on the Start Capturing option or use the shortcut key F10 to start the capturing. If you wish to end the recording, press F10 key again.
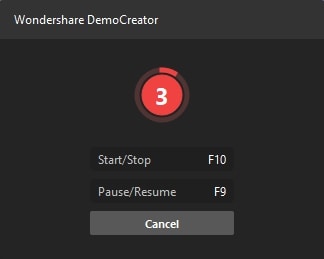
Step 8: Once you click the Start Capturing option, the app will set a 3-second timer before it begins capturing your screen.
Step 9: To stop your recording, tap on the Pause Capturing option or simply press shortcut key F9. You can unpause recording by again pressing F9. When you are done capturing you can save them to your PC or export your videos to the Video Editor.
 Secure DownloadSecure Download
DemoCreator is a 1080p game recorder that allows you to record high-quality games at almost 120 fps. In addition to this, users can also capture system audio, video, mic, and webcam simultaneously. Adding more to the list, the app is able to record the whole screen or only a specific portion of the display. Users can add fade in and fade out effect as well as change video speed with a simple drag. Additionally, users can also record voice narration and detach audio during editing. Not only this, users can utilize the Blur effect to blur the sensitive data or to get rid of the watermark. Last, but not least, users can also use this tool to create PowerPoint presentations video, record tutorials, and share their opinions easily with others.
Secure DownloadSecure DownloadPart 2: Other Screen Recording Software to Record YouTube Game on PC
Sometimes users prefer to have a second opinion and always tend to find an alternative, even though the software in-hand is best in the industry. If you are looking for other recording tools, you can always use the below-listed software solutions.
1. Windows 10 Game DVR
Windows 10 comes with a native gameplay capturing function dubbed as Game Bar and Game DVR that is quite good and is comparatively simple to use. It is not without its issues, however, and most of the times it is very confusing. In the Game DVR settings user will see options for capturing mic at the time of gameplay, and below that they can select to record video at 60 or 30 fps. In the Settings app's left rail, below Game DVR, there is also a Broadcasting menu bar. Users can alter all the options here for sending their stream out onto Mixer - game streaming platform of Microsoft. Regrettably, the tool does not tie into more popular platforms such as YouTube and Twitch.
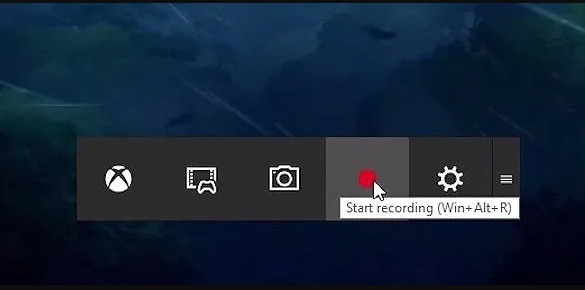
The Game DVR will work for you, mostly, but not knowing whether it is working or not for a specific game means it is a bit riskier than compared to third-party apps. It is also restricted to Windows 10 devices, which leaves out anybody still uses Windows 7 or 8.1. The fact that it is only good for Mixer platform and not YouTube or Twitch is also a drawback for anybody seeking to get into game streaming. Simply put, Game DVR is good at performance, the interface is also easy to understand, and it has the basic tools to create a YouTube video.
Pros
- When it works it's very easy to use
- Built-in to Windows 10
Cons
- Inconsistent performance
- The Game bar interface doesn't always show up
2. QuickTime
Most screen recorders can capture your computer screen and webcam footage at the same time. This lets viewers to see both your onscreen actions and your beautiful face at the same time. But if you have got a Mac device, you do not require spending in a third-party software because you can make streaming videos with the help of QuickTime, a free screen recorder.
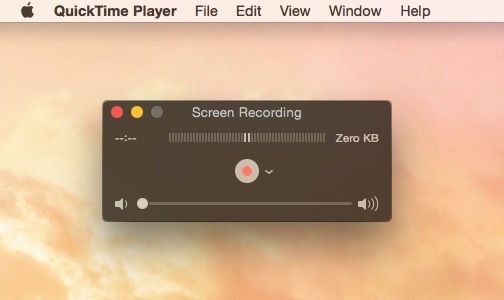
QuickTime Player is macOS' default media player. The player has some powerful recording features. With the recording tools, users can make brief tutorials for their audience that shows common tasks they require knowing how to complete on their devices.
Pros
- There is no time limit for recording.
- Comes with so many basic editing functions
Cons
- Can support MOV file format only
- Users cannot make adjustments for audio volume
- System audio recording is not possible
- Do not offer any enhanced editing feature
3. Camtasia
Camtasia is a tool that captures the computer screen and everything that is taking place on the screen. The tool saves it in a video file but it does not just stop there. The app also offers all the production and video editing features to make high-quality clips in any format. The app provides all the features users will need to make all types of video tutorials and game plays. The app also allows recording anything that comes on the screen, irrespective of the resolution of the screen, as well as capturing audio directly from the microphone at the same time. Moreover, users can record from a video camera connected as a webcam or directly from their webcam.
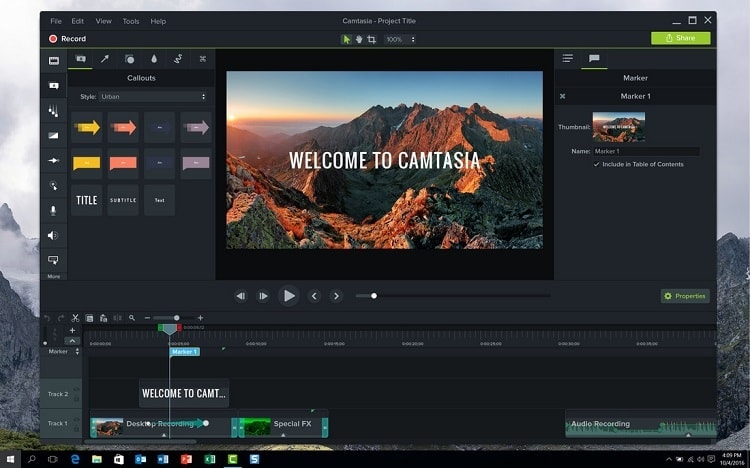
The app also allows you to edit the footage and work with different kinds of input formats, relying on your camcorder or digital camera. Users can also work with many multimedia sources, such as sound and images.
Pros
- Possibility of organizing media
- Multi device fast recording/editing
- Cloud connectivity
- Different output formats
Cons
- Limited customization
- Constant crashes and bugs
- Poor keyboard commands
- No keyframe tracking
- Export issues
4. Movavi
Movavi is best for newbies trying to edit video. With the app, users will find templates for intro video that they can customize as per their requirements. In addition to this, users also get build in sound effects and music. The app's sound effects are very helpful. Movavi has humor, clapping, and may more sound effects, which makes editing simpler. Also, the app has callouts. Users can use pointers, arrows, and square while editing. All callouts have built-in animation and are better than other apps in the market.
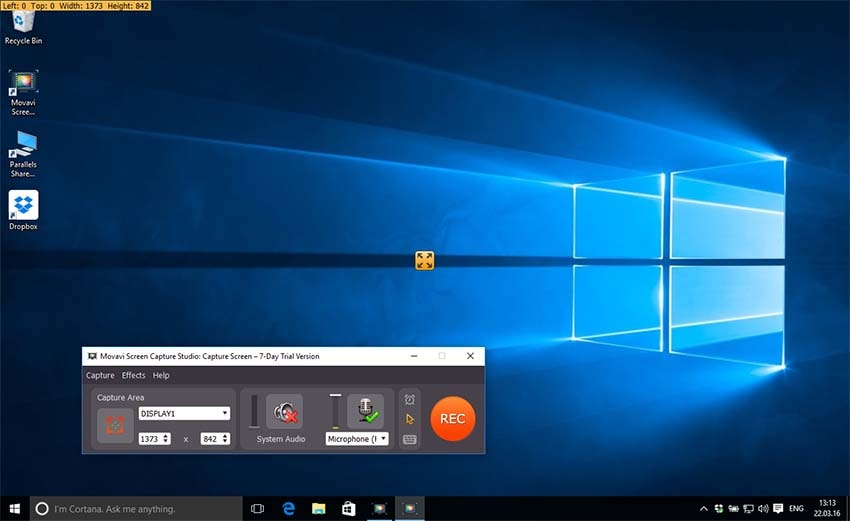
The keyframe is used to move the position of the objects in the app. The app contains inbuilt keyframe tools. In addition to this, users can use the transition wizard, which is an amazing shortcut to use Transitions with one click on all cuts. Just choose the duration, transitions, and image slide duration, and then users are good to use it. Also, from adding Equalizer to removing background noise, the app can perform all types of audio editing. Mixing and splitting with another audio are available.
Pros
- Faster editor
- Premium dashboard
- Easy to use
Cons
- Few templates for text templates & transitions
- Not a lot of control over color Tuning
- The free trial isn't good
- Not available for Mac
Conclusion
In a nutshell, you just had a look at how to record your computer screen while playing a game and share it on YouTube. We sincerely recommend you to try DemoCreator, the best computer screen recorder that helps to capture high-resolution games. Being the best 1080p game recorder, the app is also able to edit videos and share on YouTube directly. We also different option if you wish to try. The option includes Windows 10 Game DVR, QuickTime, Camtasia, and Movavi.If you have other YouTube video recorder recommendations, leave them below in the comment part.


