

How to Record Screen on Windows 10 PowerPoint

Windows 10 PowerPoint is an incredible presentation tool that gives you complete control over each presentation segment. It gives you the freedom to select font size and color, set each slide's duration, and import images. Most people find this presentation software beneficial because the modification is easier, compared to other visual aids like charts. Additionally, you can re-order the presentation by dragging and dropping slides. However, PowerPoint forces you to reduce complex subjects to simple bullet points, making it hard to show issue complexity. Despite this setback, Windows 10 PowerPoint is still beneficial because it has a screen recording function. So, you can screen record on Windows 10 PowerPoint for free with the embedded screen recorder. Unfortunately, you are quite limited since it is not designed for this purpose. So, if you need to do a lot more than just screen record on Windows 10 PowerPoint, then you can try a third-party recorder.
Below is a step-by-step guide on how to screen record on Windows 10 PowerPoint.
- Open PowerPoint or an existing presentation.
- Access the "Insert" tab and choose "Screen Recording".
- A dock will appear, whereby you should choose "Select Area," or simply hit the "Windows" key + "Shift" + "A."
- The crosshairs tool will show up, and so you should click and drag to choose a part that should be recorded.
- Both mouse pointer and audio are recorded by default. However, to exclude them, click the dock buttons to switch them off.
- Start recording using the "Record" function or by simply hitting "Windows" key + "Shift" + "R." This keyboard shortcut is also applicable when you want to Pause and Resume the recording. Note that you can switch over to a different window or software and PowerPoint will proceed with recording.
- After the recording is complete, move the mouse pointer back to the dock and it will reappear. So, end the recording by clicking the "Stop" function or by using the "Windows" key + "Shift" + "Q."
- By right-clicking on the still shot video and selecting "Save Media As," you will be able to save the recording to your computer. Select the name and file location in the dialog box and click "Save."
With the procedure above, you now know how to record your screen on Windows 10 PowerPoint, which is useful when you need to demonstrate a process as part of your PPT presentation. However, the PowerPoint screen recorder does not have the capabilities of a full-featured screen recording software like Wondershare DemoCreator.
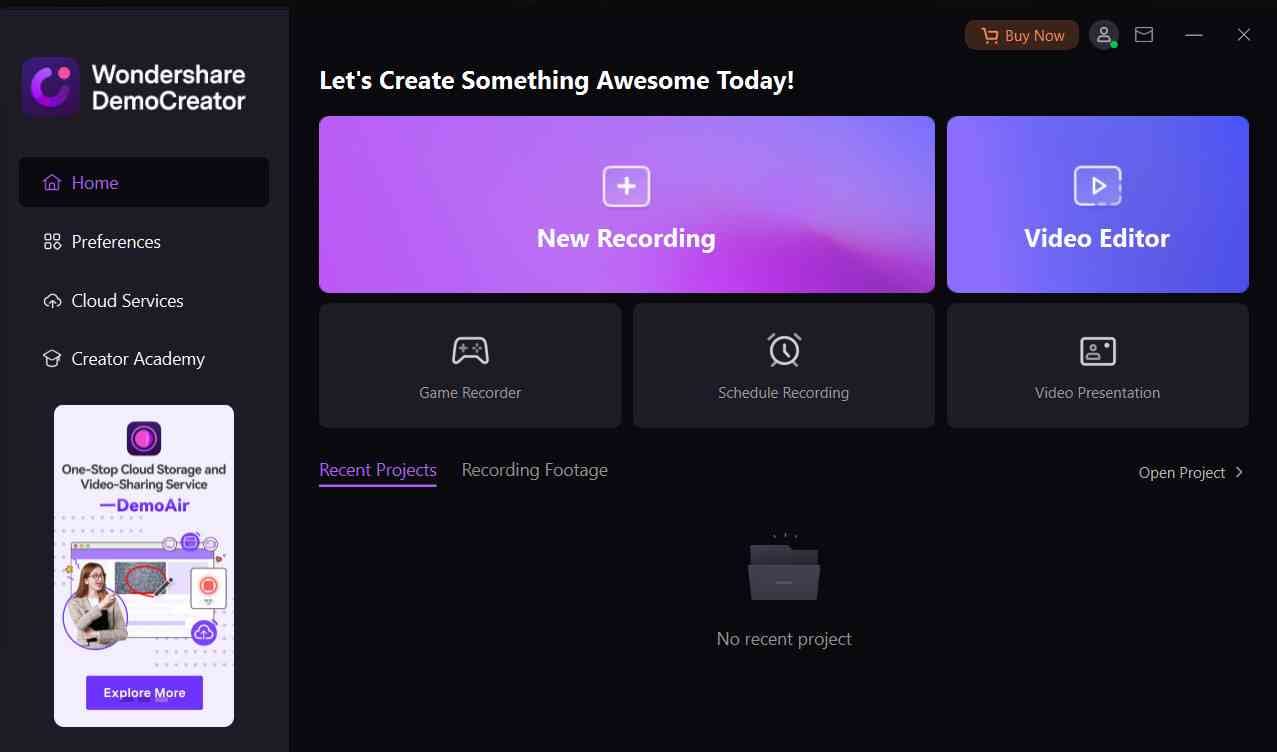
Having established that PPT is not reliable, can you screen record on Windows 10 without a PowerPoint screen recorder? Yes, you can use Screen Recorder Wondershare DemoCreator, a tool that is designed for this purpose.
 Secure DownloadSecure Download
So, how do you screen record on Windows 10 PowerPoint using Wondershare DemoCreator? Follow the steps below to find out.
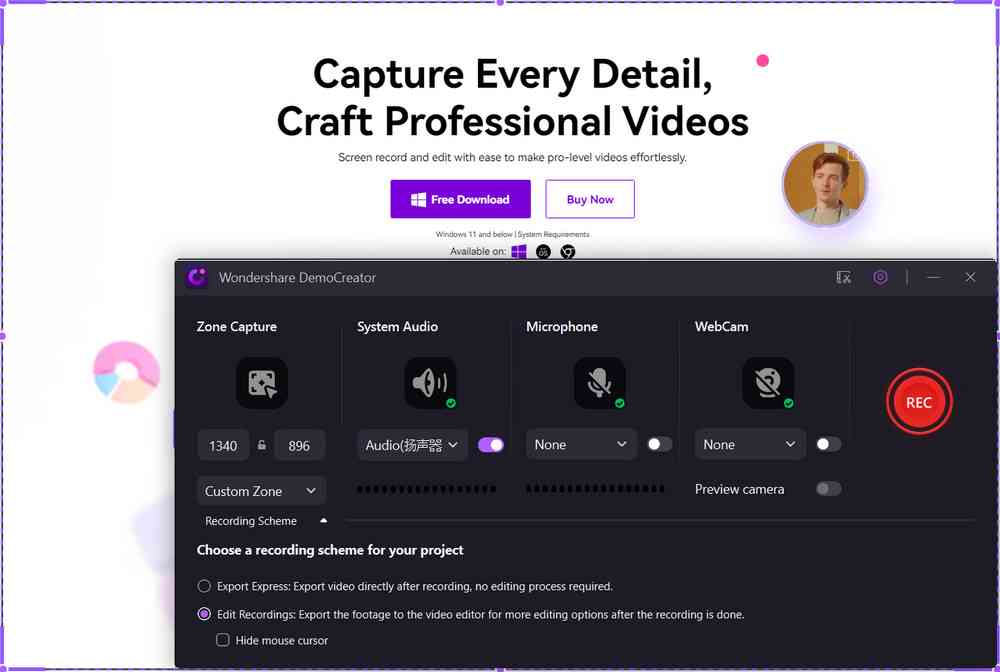
- Download and Install Wondershare DemoCreator screen recorder and then launch it on your PC.
- This software allows you to choose the capturing area at "Screen," whereby you select between full screen-type recording, target window recording, and customized recording.
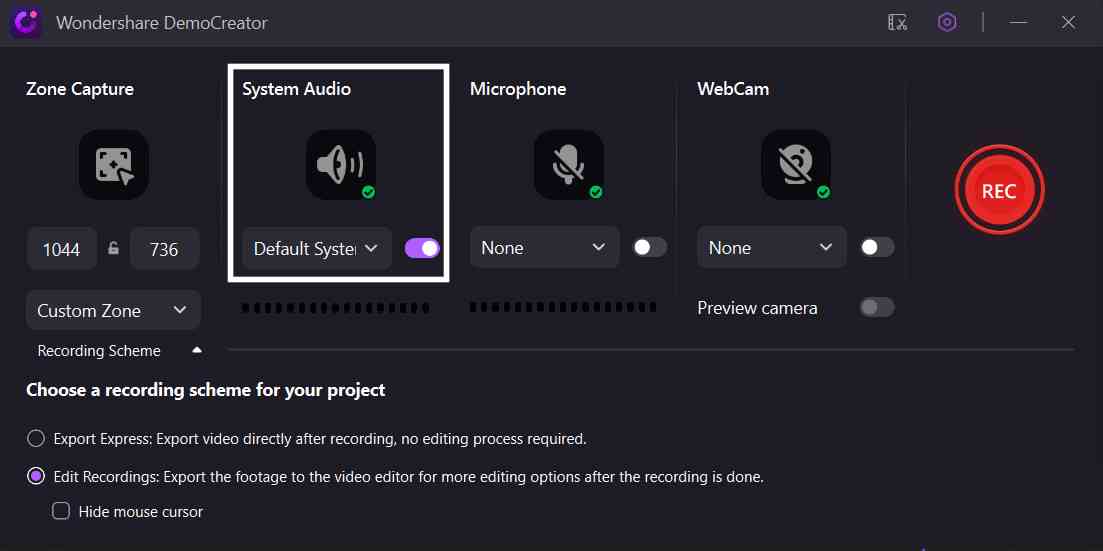
- You are also free to make "Audio" selection, where audio can be captured by "Microphone" or "Computer audio." Using the "Camera" option, you can choose the preferable "Resolution" and "Frame Rate." The Advanced tab will help you in setting up the HotKeys so that you can use "F10" to start and stop recording, as "F9" pauses and resumes.
- After customizing the settings, open PPT and make it the target recording window.
- When fully set, hit the "Capture" function to start recording console and then hit the "Record" button or "F10" on your keyboard.
- "F9" stops recording, and you can proceed with editing to adjust the recorded clip before sharing.
Summary
PPT screen recording transforms the presentation into a video, which when edited becomes more beneficial to first-time users. For instance, if you are a trainer training trainees how to record PowerPoint presentations on Windows, a screen recording, especially with Wondershare DemoCreator screen recorder, makes the task easier. Wondershare DemoCreator provides you with tutorial features such as arrows and enables you to make the drawing as you explain how slides are made and information displayed.
Using this screen recorder for the computer is advantageous because it can record you through the webcam and record the screen at the same time. With the picture in picture feature, you can put a video of your explanation inside the recording so that your students or trainees can understand you better. Before sending the clip, this software gives you the tools to make the video better through annotation tools, a changeable cursor, and effects. Finally, send the video in multiple formats.
You have a lot to gain by screen recording on Windows 10 PowerPoint using Wondershare DemoCreator since the process is simplified and the result is high quality. So, go ahead and download the software to enjoy its functions. The free version with full features gives you a chance to experience its capability.
Click here, if you want to know more about Powerpoint recording on PC >>
AI Presentation Maker


