How to Cut Video in Premiere

Cutting or trimming video is the essential part in the video editing. And there are many tools and different ways for you to cut video. Here we'll discuss how to cut video in premiere. Adobe Premiere Pro is asoftware designed for video editing purpose and is used by video makers in Hollywood Movies as this allows the desktop application users to change raw footage into amazing video products.
Premiere pro provides a range of resources that allow user to unlock their creativity. This software is integrated with Adobe products that allows its user to transfer their work from one software to another for editing purpose.
Part 1: 4 solutions - How to Cut Video in Premiere
1. Trim video clips in the Timeline
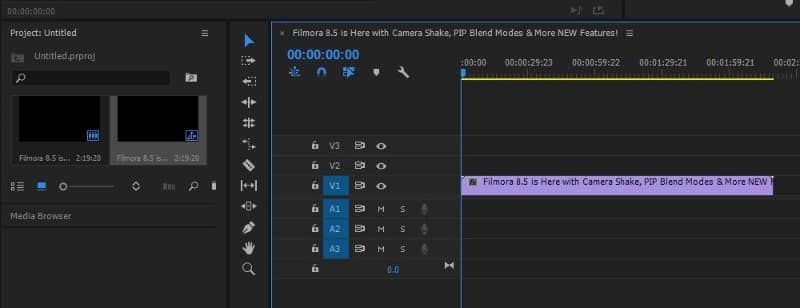
Trimming is the crucial task for every video editor but cutting videos on premiere adobe is an easy task. You can trim video clips in the Timeline in premiere pro by following steps given below.
Step 1: You can change the timing for a section of a clip already in sequence if there is original clip in a footage. Now drag the clip ends to resize it.
Step 2: Use the Ripple Edit to trim a video clip without leaving gap.
Step 3: Use the Rolling Edit feature to change the pacing between two clips, expanding one clip by the same duration you shorten the other.

Step 4: To avoid unnecessary changes, you can lock the entire track by selecting the padlock icon on the track header.
Step 5: Use Selection method after trimming a video clip in premiere adobe.
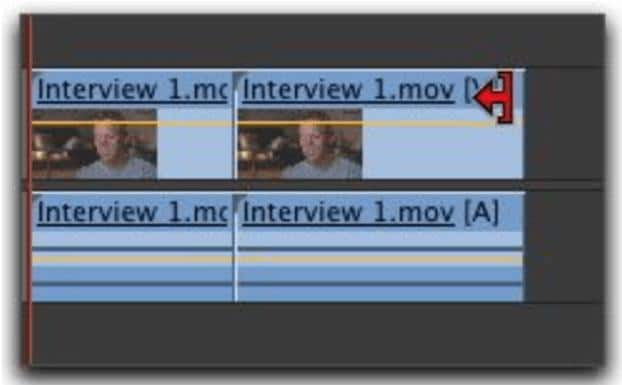
2. Use the Razor Tool
The Razor tool is used for combining two clips by deleting or splitting the section of the footage. This tool is best for editing longer clips such as Interview segments. The Razor tool is used in the conventional film editing process to delete an unwanted section of the film. Following are the steps to trim a video in premiere adobe by using Razor tool.
Step 1: Select a video clip and now select Razor tool from Tool palette or you can use shortcut key by pressing "C" key.

Step 2: Now click on the video clip where you want to cut it or you can also cut the parts of the video clip many times to create a new segment.
Step 3: Now click on the Selection Tool to select one of the segment of the video to delete it and press delete button to delete the selected part.
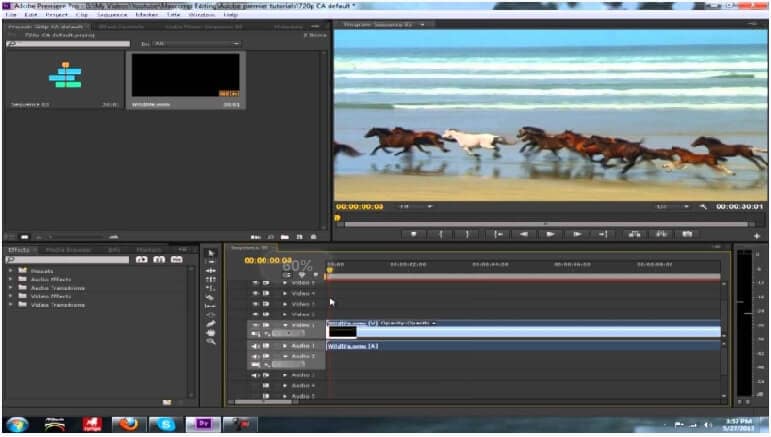
3. Trimming clips in the Source Monitor
The Source Monitor trims a single video clip and plays back a single video clip. Source Monitor trimming method is used for more precising trimming. In this method you practice trimming before placing it on the Timeline. Following are the steps to trim a video in Adobe Premiere.
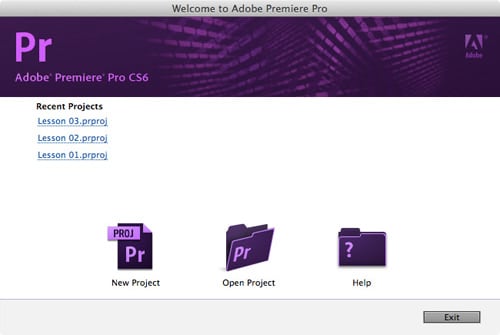
Step 1: Open Adobe Premiere pro and open a file that has four video clips with sound and now double-click on the Project screen.
Step 2: Drag Source Monitor indicator where you want to put the In point in the video clip and click on the Mark In button present on the Source Monitor trimming tools.
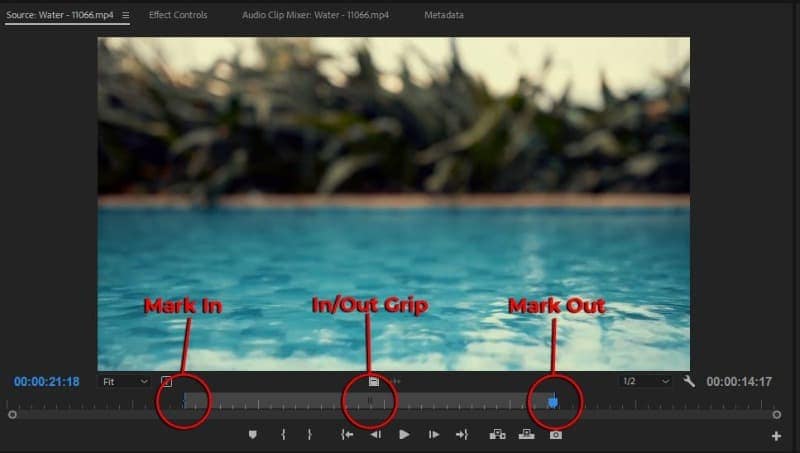
Step 3: Now play the video again to check logical out point and drag Source Monitor indicator and click on the Mark Out button present on the Source Monitor trimming tools.
Step 4: Play the trimmed segment by placing the CTI at the In point, and clicking the Play/Stop Toggle button.
4. Use the Crop tool to trim a video clip.
This tool is best for user who has good knowledge about Adobe Premiere because it is a difficult way of trimming a video clip in Adobe Premiere.
Step 1: Import Video clips by dragging and dropping.
Step 2: Find out video effect tab on your software window. And then click on Crop option and drag it to timeline.
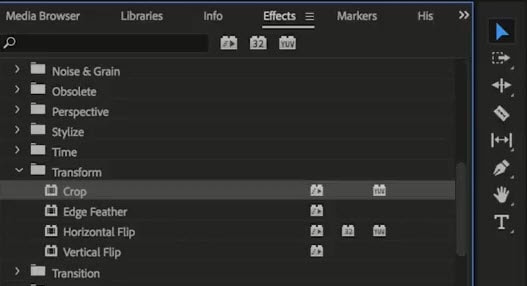
Step 3: Use arrow cursor to place slides of video clip. And crop all the four sides of the video.
Step 4: Drag the pointer in the direction where you want to crop.
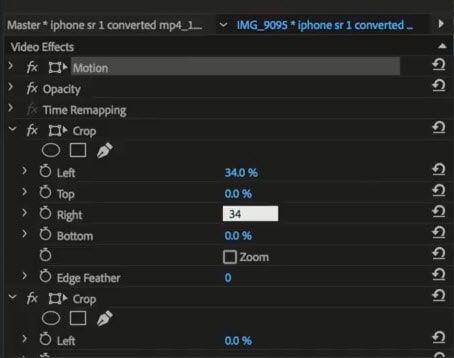
Step 7: You can change the position of cropped video by clicking on Motion option.

 Pro-tip: How to trim audio in premiere?
Trimming an audio clip means deleting unwanted parts from the clip. There are various method of trimming an audio clip in Adobe Premiere. One of the method of trimming audio clip is given below
Step 1: Open Adobe Premiere and then import audio clip from the gallery.
Step 2: Now place the mouse cursor on any side of the audio clip in the timeline. Your mouse cursor will change into an arrow symbol.
Step 3: Now click and drag the side of the audio clip to trim the length of the audio clip.
Part 2. Trim video in one click with DemoCreator
Democreator is a screen recording &video editing software and ownsusefulfunctions. With DemoCreator, you can easily record and share your video, also trim the video. Compare to the Premiere, the most obvious advantages of DemoCreator is easy to use, and owns friendly UX to a new user. You do not need too much experience but can make a great video using DemoCreator. Some of the key features of Democreator are Green screen effects, zoom in and zoom out, screen recording and quick export video and etc.Following the steps to cut video in DemoCreator.
Step 1: Install or Download Wondershare Democreator.
You can download this software through the Wondershare website and then register with Democreator according to the requirement.

The All-in-One Screen Recorder & Video Editor
 Secure DownloadSecure Download
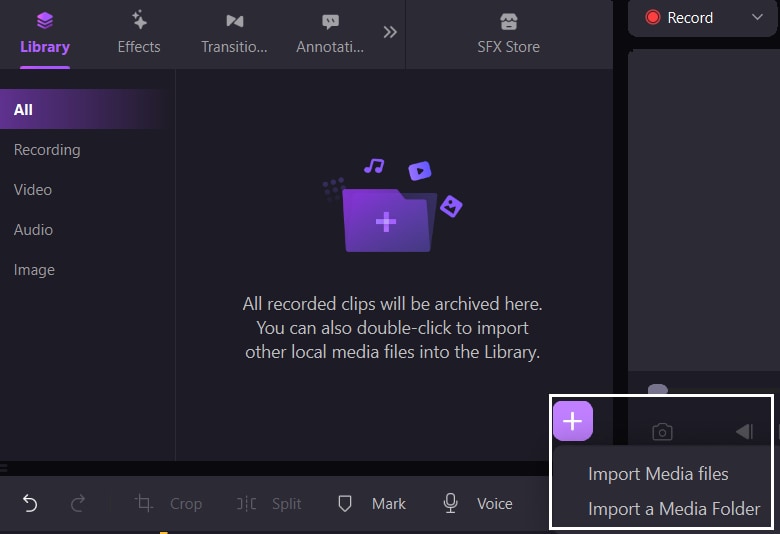
Step 2: Import the video
Import the video that you want to trim, and then drag the video to the timeline.
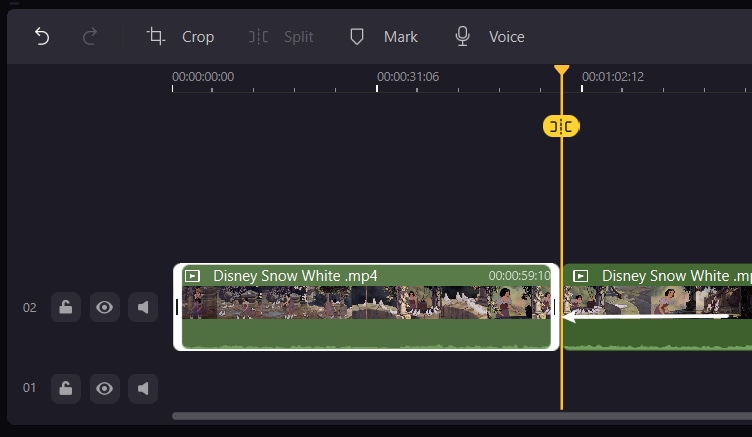
Step 3: Trim video in one click
Select the clip and then cursor to the clip edge until the icon below appears, then drag it forward or backward to cut off the unwanted start or end. You can now add a Marker on the clip and then drag the clip edge to the Marker point to trim precisely.
Part 3. Comparison between DemoCreator and Adobe Premier, Which is better for you?
Wondershare DemoCreator and Adobe Premiere are 2 different tool, both owns different features. But do you want to know which tool is better for you to use? Here we conclude a chart about the brief introduction, key features, price, support system of the two tools. Also about the difficulty to use.
|
|
Wondershare DemoCreator |
Adobe Premiere |
|---|---|---|
|
Introduction |
Screen recording & video editing simplified for all. It owns friendly UX and more suitable for novice users. |
Adobe Premiere is a professional video editing software. More suitable for people who need professional editing. |
|
Key Features |
Multiple track editing, Green screen effects, Suitable transition effects, Screen recording, Screen drawing tool, Direct sharing, Quick export, ect. |
Simultaneous Projects, Motion Graphics Templates, Video Titling & Graphics, Transitions, Multiple Video Types, Direct Publishing, ect. |
|
Supported OS |
Windows, Mac |
Windows, Mac |
|
Price |
Individual $7.99/month. |
Individual $29.99/month |
|
Ease of use |
Easy to use |
Difficult |
Conclusion:
If you need to do some simple video editinganddo not want the complex steps, the DemoCreator is better for you.Wondershare DemoCreator is easy to use and the video editing steps are not complicated, you can finish the editing in just several steps. If you want to trim video, it only need 2 steps to finish. And this feature is clearly found, not hidden deep. Also other features is easy to find, which saves you a lot of time and makes your video more efficient. If you need a professional video editing tool, the Premiere is better for you. It owns more editing features.


