Splice Video Editor for Android

Creating videos is a major content creation model particularly for the social media and video sharing platforms. However, the creation of quality videos is a process which is usually a long one and involves moving the footage of mobile to the desktop app to edit it. Mobile editing in the recent past though has seen a major rise with the introduction of many apps with one such app being the splice video editor. The splice video editor free download can help the users and content creators in creation of high quality videos and doing so in a more efficient manner. In this article we will explore the Splice video editor and see how it can be used to create content in a more effective manner.
The existence of social media is largely pervasive due to the platforms like Instagram which are designed particularly for the mobile devices. For many years, video editing is a primary function of the desktop apps. Splice also has the free download splice video editor for PC but its mobile version is the one which is extremely useful for creating content which can be posted on Instagram and other social platforms. There are high quality videos which can be created on the move and the Mobile apps are users can film and edit the videos on the go straight away from one device.
These are apps which are useful in particular for the influencers who use social media as their work space and others who use the social media accounts frequently and post the video content for gaining traction. A major reason for that is that a social media account doesn't have an investment in terms of time or cost. A well edited video gives a more professional look to the social media.
Splice video editor free editing software provides an easy to use way to edit videos and create professional level projects. These are video projects which can be shared online and gain attention for social media platforms. There are many features for this app which include the trims, transitions, borders, background music, sound effects and voiceovers.
The videos are also excellent for business owners who can gather the attention of the customer by creating an excellent video for their products and targeting it to their audiences. The high quality videos make the customers feel more drawn towards the products and therefore more inclined to buying the products. A tutorial on how to make the best videos on spice
Step 1: Begin the new project.
For this the user will have to open the Splice app. The first screen which is going to be visible is going to be the projects page. For starting beginning the project, the plus button will have to be pressed and the project will have to be named. After that, there are a few settings which will have to be chosen from the project. These settings are mostly about the border option, HD OR SD, the transition selection, the orientation of the project and then the button of done has to be hit when they have selected the option they have desired.
Step 2: Starting the new project.
In the screen after this, the user will choose what they want their video to begin with in the sense that what will the video begin with. There can be a title screen which can be created by hitting the tile button or there is an option to begin from the photo or video option. On the title screen, there is an option of starting from a text which can be edited by determining how much it is going to be there for and where the location is going to be and what the zoom is going to look like.
Step 3: Adding photos or videos.
The plus button can then be added to the title's right side and the video and photo button to add the videos/photos. Then the albums screen is going to come up. The videos which are there in the camera roll section of the phone can then be selected and the selected videos should be selected in the order which the user wants the videos or photos to appear in. The app is going to then ask if the default transition to be applied in the videos. After this is done, the chosen videos are going to upload into this project. Once this is done, the main screen is going to be brought back where the user can scroll for viewing this project. There are black windows which represent transitions which are there in between the videos.
Step 4: Editing and exporting the video.
The project screen will have to be tapped and there will be a pencil and plus button which will appear. For editing this video, the pencil button will have to be tapped and many options for editing can be tapped. The users can then trim or adjust the speed or crop and delete the clips by using these buttons. In the feature, the user can just edit the beginning and ending points by making an adjustment to the slider points which are beneath videos. The audios can be edited by hitting the button of audio where the voice or background audios can be edited to adjust volumes of the videos.
There are a few other editing software which can be recommended to edit apart from the Splice video editor. The one we would recommend is the Wondershare DemoCreator. This is considered as being among the best because it is among the most used ones. The perceived reason for that is the many value added services which are provided by DemoCreator.
 Secure DownloadSecure Download
The many options which are provided here are cropping, rotation and resizing of the video clips. It further has the picture and picture mode to go with other features such as the fade in fade out and the picture in picture mode. There is also the playback resolution mode along with many other audio features. It is also extremely easy to export these videos. The steps have been summarized as below.
Step 1: Getting media on the timeline
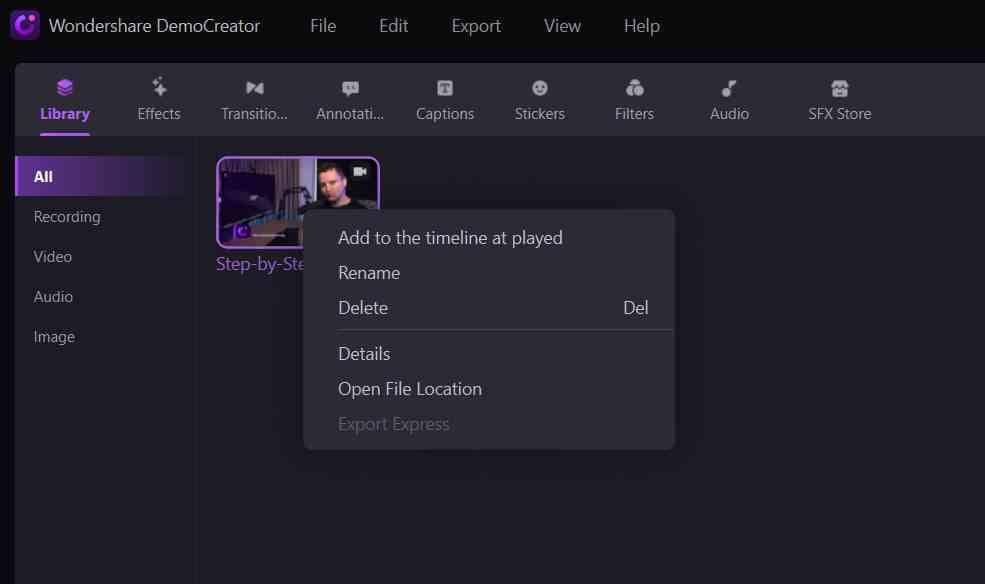
There are many ways by which the media can be put on the timeline. One of the ways to do so is the dragging and dropping of files on the preview window or timeline directly from the media library and the other is to locate the file and right click on it to add it to the timeline.
Step 2: Previewing the video
The clips are then previewed prior to beginning the edit. This may be done by hovering cursor over thumbnails or the video clips. If the clip is being double clicked, it is going to make the video play. The process after that is to edit audio which refers to muting or de-noising the audio or making its clarity better. This also provides the option of exporting the file without rendering the audio.
Step 3: The editing process.
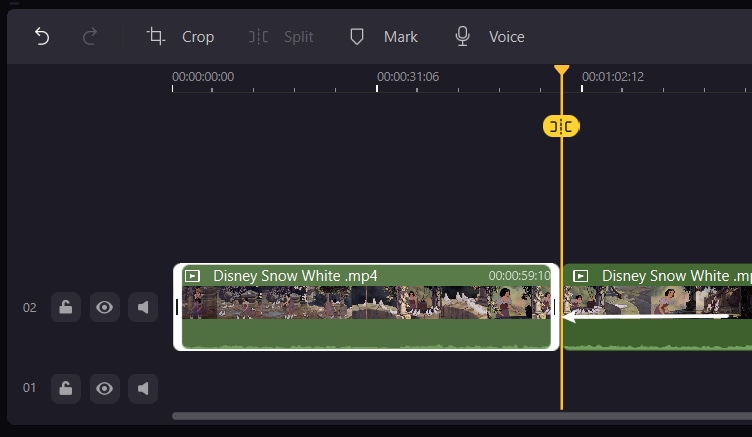
Now the editing process takes off where the cropping, trimming and the resizing of videos are done by clicking on the videos and then making an exploration of options in the market. There are also options of resizing the video too from visual property tab. This video may be cropped too by selecting the cropping button and the area border might be drawn too.
Step 4: Exporting the video.
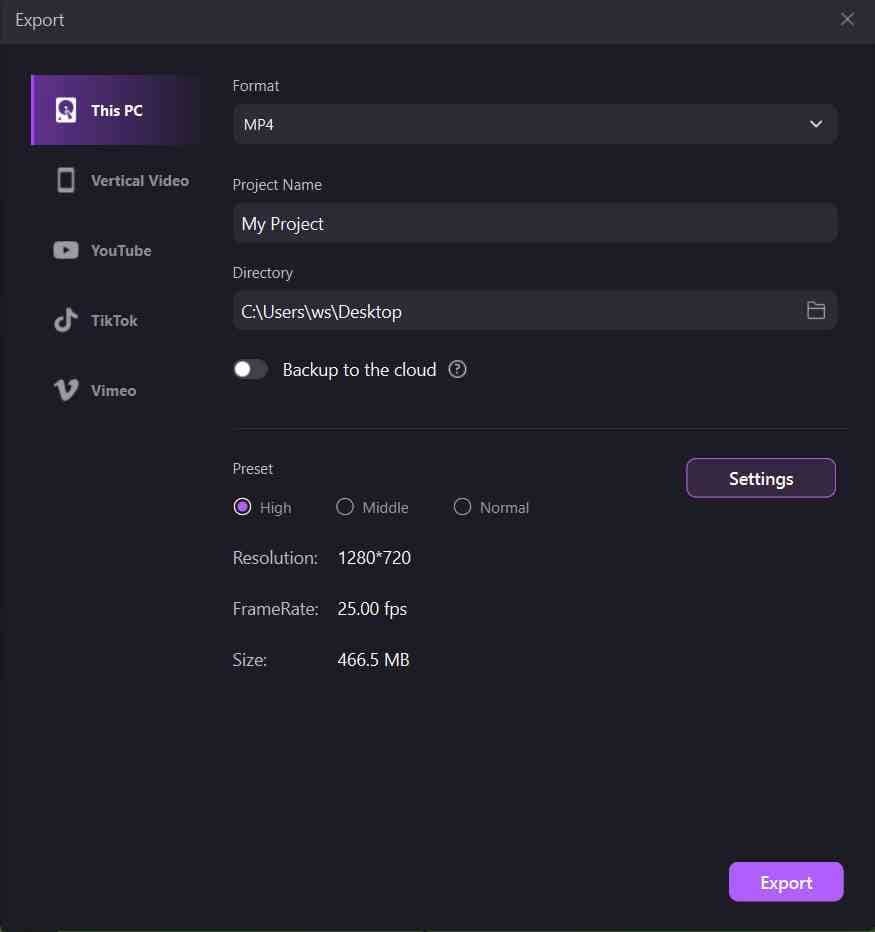
Once the editing is finished, the file might be exported by the user in the form of different media options such as MP4 and MOV among others. There are also options which are there to upload the clips on social media for the video sharing services and social media platforms.
Conclusion
The Splice video editor for android and the splice video editor for PC free are effective tools for editing videos in the era of content creation particularly in the days of social media and video sharing platforms. The difference between an average content and well edited professional content is usually how well it is edited and splice does provide an effective tool for editing particularly on a mobile device. For users who are looking for an alternative we also recommend Wondershare DemoCreator for the editing of their videos. In case you discover other options, do let us know as well.
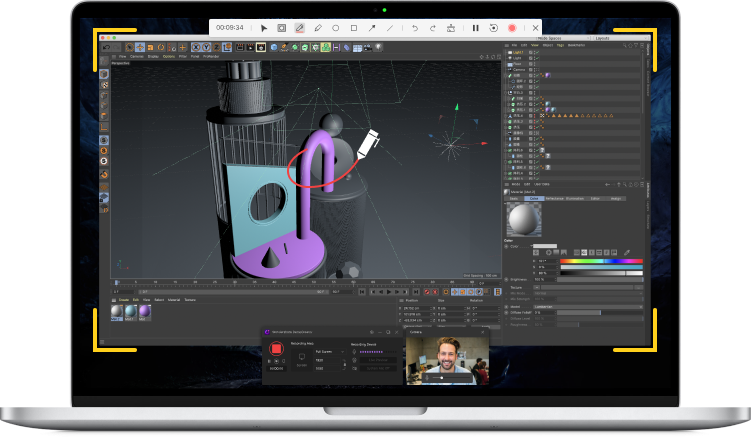
The All-in-One Screen Recorder & Video Editor
- Record desktop screen,audio and webcam simultaneously
- Edit videos quickly with a wide range of professional tools
- Built-in plentiful video effects
- Export to MP4, MOV, MKV, GIF and multiple formats


