How to Convert PowerPoint to Video
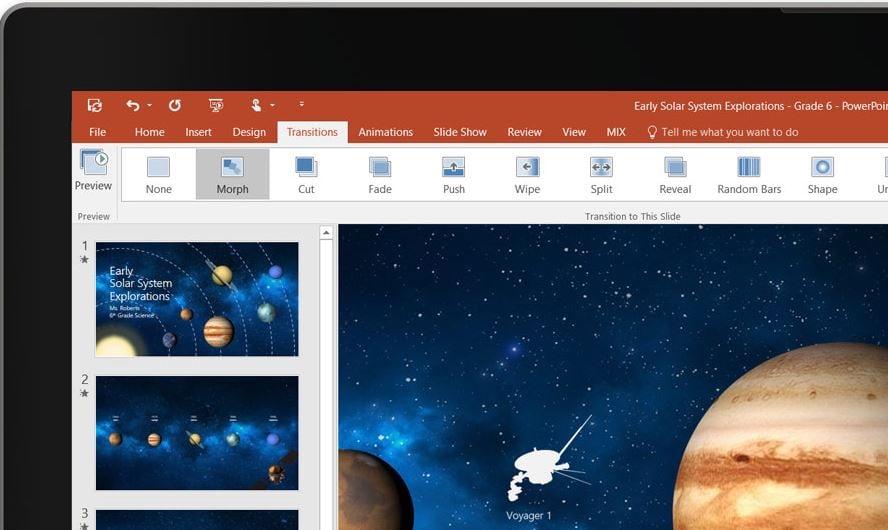
We many times need to convert PowerPoint into videos that can be further applied for so many applications. In case if you want to send some pictures to a friend who does not have installed PowerPoint on his device then you can send those pictures after converting them from PowerPoint to videos. Experts say that the way of converting powerpoint to videos is much better to share information among different users as they can also be watched on screen later.
Five Major Ways to Convert Powerpoint Slides Into Videos:
In this article
Way 1: Use DemoCreator to record Screen and Voice during PPT presentation:
Wondershare DemoCreator is one of the most popular software tools for video recording due to its high-quality results. When you do a PPT presentation, DemoCreator can record your ace moment without lagging. It is so easy to convert PowerPoint to video just at a glance, even for beginners. At the same time, you also can share your PowerPoint videos with friends, enjoying the joy of presentation. Below are a few basic steps to record PPT using DemoCreator:
- Step 1: First of all you need to install and launch the DemoCreator program on your PC.
- Step 2: Users can enjoy three types of recordings using this software tool. They are target window recording, Full-screen type recording, and Customized recording.
- Step 3: Users can make an audio selection by simply selecting "Capture" of "Computer Audio" and "Microphone".
- Step 4: It is time to open your PPT and select it as a target recording window; once started then hit the record button.
Tip: If you like, you can also edit your videos to touch up your recording with powerful features like adding annotations and effects.
 Secure Download
 Secure Download
If you want to get how to convert PPT to mp4 video online, you can click here to get a detailed guide.
AI Presentation Maker
Way 2: Use Office 2010 PowerPoint to directly save slides in video format:
- Step 1: Once you have created your presentation then go to the file option from the top tab on the screen.
- Step 2: Now hit the save & send option and then select the “Create a Video” option as mentioned under file types.
- Step 3: You can utilize other optional settings just to tailor your videos in much-customized output.
- Step 4: Users can easily fine-tune their media files to the desired file size by customized settings.
- Step 5: It is possible to add narrations and record timings to video files. One can also customize the transition time durations.
- Step 6: Finally you have to hit the “create video button” and it will be directly saved into WMV file format.
The sad part is that PowerPoint 2010 software tool can support only one video file format that is WMV. The highest resolution level offered by this software tool is 960x720 only.
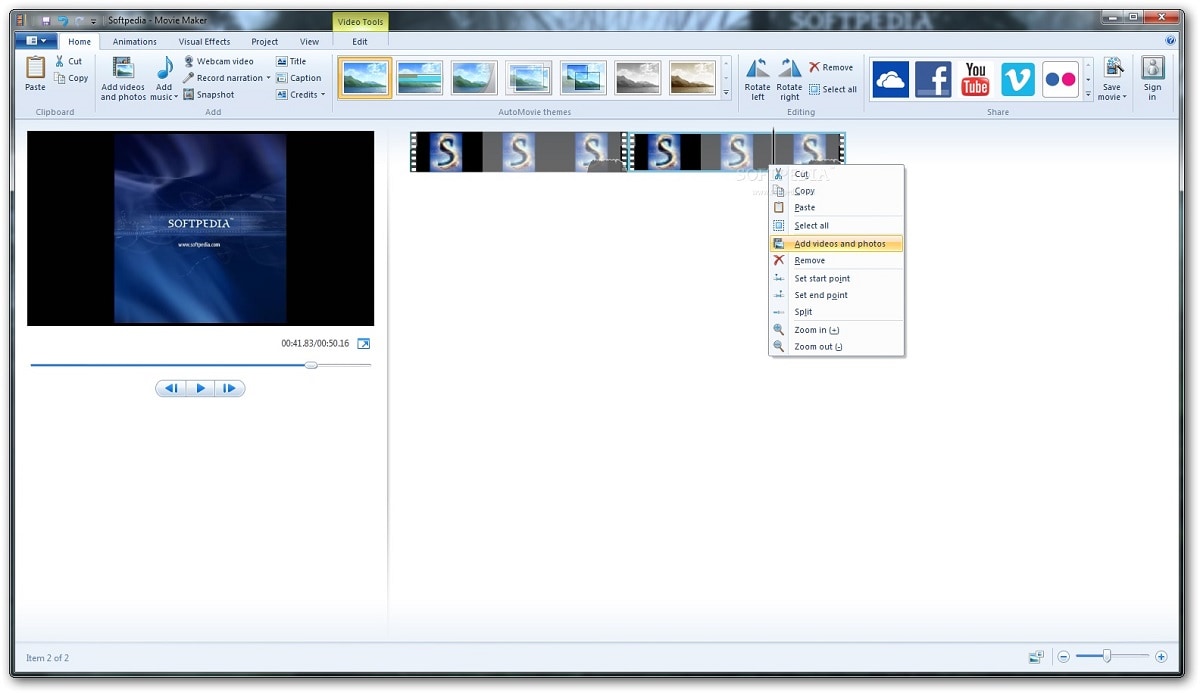
Way 3: Use Windows Movie Maker:
- Step 1: Save slides of PowerPoint presentation in picture format:
To do this you have to visit the file option from the topmost bar and then go to save as. On this option, you will be able to select the picture formats like BMP, tif, png, jpg, and gif, etc. Once you have selected your file format then hit the “Save” option and finally hit every slide option from the pop-up window.
- Step 2: Convert PPT picture into Video file:
Here you need to open Windows Movie Maker, then import your PPT picture, select the output folder and format and start the conversion.
The disadvantage of using this method is that you cannot keep animations and audios in the same file. That is why the second method is preferred more.
Way 4: Use CamtasiaStudio: (Free Trial available at $199)
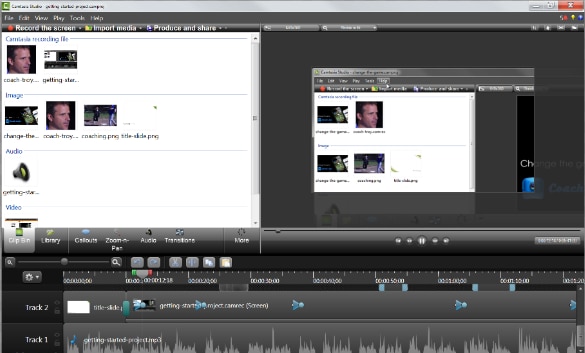
The Camtasia Studio 7 can help you to convert PPTs into videos so effectively and easily. There are two methods to complete this task:
Method 1: Recording PPT from Camtasia:
Go to the software and then hit the down arrow that is available to the right side of the record button and selects the Record PowerPoint option.
In case if PPT is open then Camtasia will display it using the Adds-ins tab that stays active over the ribbon.
When PPT is not open then a dialogue box will open automatically asking to open your PPT.
Once your PPT becomes active on the software window then you have to hit the Record option.
Method 2: Record PPT from PowerPoint software itself:
When you have already opened your PowerPoint software then click on the Add-Ins and then hit the record button. After this, both methods use to follow the same sequence.
When the recording process is initiated then you can simply follow your Slide show pattern and in case if you wish to record the audio as well then prefer to use good quality microphones while speaking. Once your presentation is over then you can simply click on the Stop button on the software window and your video will be saved automatically.
Way 5: Use RZ PowerPoint Converter:
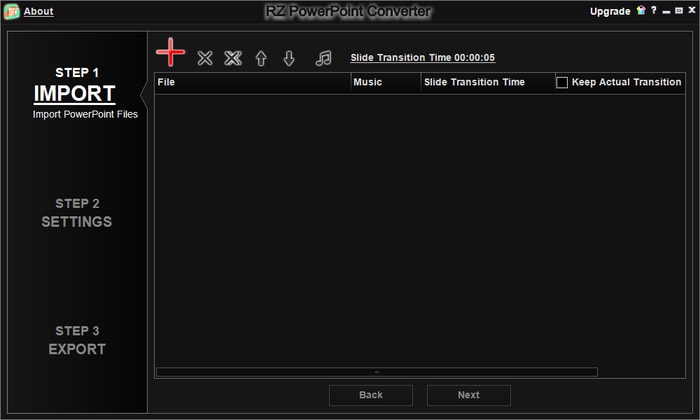
- Step 1: Import your PPT files on the software window.
- Step 2: Hit the Convert to Video option.
- Step 3: Now select the target file format and press the Next button on the screen.
- Step 4: Select the destination folder for your files and then start the conversion process.
Conclusion
In conclusion, converting PowerPoint slides into videos is a valuable and versatile skill that can enhance the way you communicate and share information. By transforming static presentations into dynamic video content, you can engage your audience more effectively and deliver your message with greater impact. And DemoCreator is a highly recommended tool to help you achieve this with ease and efficiency. By exploring the five major ways mentioned above, and particularly by leveraging the capabilities of DemoCreator, you can elevate your communication and storytelling to the next level, leaving a lasting impression on your audience.
