
How to Adjust Audio Volume in Videos with Wondershare DemoCreator?

Modern technology equipment that you often consider has some high-quality video and photos resolutions but they may lack a video volume quality as they leave sound at the output end either too quiet or sometimes too noisy. This also might happen when your acoustic situations around the video recording environment do not have the optimal approach to video on volume and result in a sound quality compromised drawback.
Now adjusting the audio volume of your videos might be a panicking task as freeware or available editing apps can't allow you to do on-demand video volume control. You need to adjust the video volume on your own which is not a handy task as you can't synchronize the volume to get a uniform overall audio sound. In light of this need, we have brought you the Wondershare DemoCreator video volume editing tool with which you can do sound optimization for multiple video audio tracks in a handy way.
Changing the Audio Volume of Entire Track
Conventional video editing apps can't cope with the adjustment of the audio volume of the entire track. Contrary to this query, we have covered the best alternative where you can make video volume louder for the entire track. Sometimes you need to adjust your video volume for the entire track, it usually looks easier as you can use the built-in tools of your media player but it doesn't work for the uniform overall sound. Here we have provided you step by step guide which explains video volume enhancer techniques in a decent way
Step 1: Download and install the Wondershare DemoCreator
To carry on with the video volume editor task download Wondershare DemoCreator from the below links and install them accordingly.

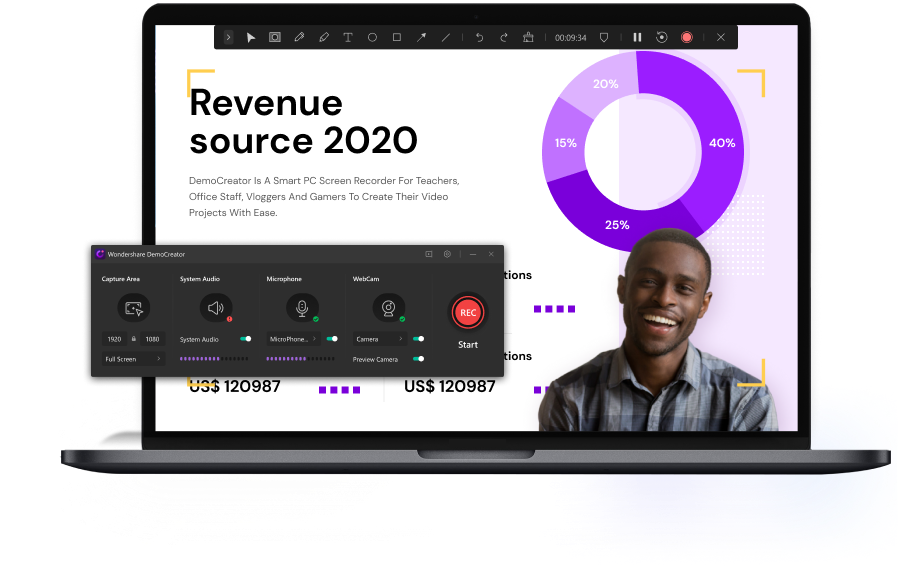
The All-in-One Screen Recorder & Video Editor
 Secure DownloadSecure Download
- Open Wondershare DemoCreator from your desktop of Windows.
- Now you shall see the software interface.
- Click on the Video Editor Button to get started with Wondershare DemoCreator Audio Adjustment Feature.
Step 2: Drag the video file on the timeline.
- Now click on the Add files icon situated on the right side of your software interface.
- You'll be directed towards the file explorer of your Windows; just select the files you want to add to your software.
- In the next step, simply add the files to the timeline by dragging them into the timeline situated
Step 3: Using the volume slider to change the entire audio volume
- Now in the timeline, select the file which you have added previously.
- You shall see the Editor on the right side of your software interface.
- Now click on the Sound icon located at the top menu.
- Just edit the volume slider of your video file to change it accordingly in your video
Step 4: Export the video
- After you get done with the volume adjusting, simply click on the Export button at the upper right corner of your software interface:
- Now you'll be directed to the Export settings of your project, here you can customize your project settings as well:
- Customize the project settings of your video from this window and hit the Export button below to export your output to the specified location in your PC
Changing the Audio Volume of a Specific Clip Track
Conventional video editors available in the market, have this limitation which DemoCreator Video Editor has in its one of the special features. You can easily change the Audio Volume of your specific clip attached with your video masterpiece. In another way, you can also adjust the volume of the clip which is included in the timeline of your software. Here is the step by step guide on how to do that:
Step 1: Download and install the Wondershare DemoCreator
- To head towards your Audio clip volume of the selected video, you need to download Wondershare DemoCreator from the below links.
- As soon as the download finished, Install the Wondershare DemoCreator with the default settings as specified.
- After the installation gets complete, open the software from your desktop icon by double-clicking on it.
Step 2: Drag all the video files on the timeline.
- As you're in the software interface by now, to add files into your software click on the Add Files button located at the right side of the interface.
- Select the files from your PC, specifically the audio files to which you want to adjust the volume to, and add them to the software.
- Now you can simply drag the added files to the timeline below for audio adjustment as follows:
Step 3: Select the clip in which you want to adjust the volume.
- From the timeline, where you have added the files you want to adjust the volume to, select the specific file which is your target clip.
- Now you shall see the file adjustments properties popped up at the right side of the software interface.
Step 4: Using the right audio panel to adjust the volume.
- Head towards the audio panel of your specific clip, situated within the editing properties of the file at the right side of your window.
- Select the volume setting and adjust the volume which should be set to 50 by default.
- After you are done with the audio adjustments, just unclick the clip from the timeline to save the settings for that specified clip.
Step 4: Export the video.
- Here comes the final step through which you will get your masterpiece ready to use further. To proceed with that, click on the Export button icon located at the top right corner of your screen:
- Now you shall be directed towards the project settings window popped up on your software screen:
- Simply adjust the settings which you want your video should include and hit the below Export button as follows:
- Now select the specified location on your computer and here you go, with your video ready to use.
Wondershare DemoCreator Highlights
Wondershare DemoCreator Video Editing Program is an overall premium application that comes pre-loaded with the latest and most attractive features which are according to the need of this modern era. With numerous options for customization of your video projects, Wondershare DemoCreator output videos are both fun and professional-looking which demonstrates your purpose.
This software fulfills all the essential requirements to bias you to its special easy-to-use standout features like cheap cost and user-friendly interface with a touch to recording ability. You can download it for Windows as well as for Mac PCs from here:
Secure DownloadSecure DownloadThe special feature of Wondershare DemoCreator is that it comes up with a screen recording ability to enhance the previously created presentation videos and take them to the next level by their customization properties.
Why You Should Try Out Wondershare DemoCreator?
Here we have explained some top rating features of this masterpiece which makes it a stand-out software in this technology era.
- Offers two methods to create stunning on-demand videos, by importing files and screen recording editing.
- Includes tons of built-in stickers, overlays, and styles in its library.
- Wondershare DemoCreator is just the best pick to provide your videos with the music volume adjustment of your own choice.
Enriched with the best features, DemoCreator allows you to edit your videos with an easy-to-use interface and a free trial version so if you are a beginner or having no direct influence with editing, you can experience using it. This software has stand-out specifications which will surely make you bias towards selecting it for your wonderful images and videos editing with your on-demand background music track adjustments


