How to Edit Videos in Photoshop
Photoshop is probably one of the most recognizable photo editing suites in the market. It is probably your first choice when you need to edit photos and it comes full of features allowing users to do that on a level that is still unmatched by most other photo editors. But can you edit videos in Photoshop? This is one of the biggest questions we get from users and the answer is yes, you can use Photoshop to edit videos just as you would photo.
Video editing has been part of the Photoshop editing suite since the introduction of Photoshop CS3 extended was introduced. So, the tutorial outlined in this article, we are going to show you how to edit videos in Photoshop CS4, how to edit videos with Photoshop CS5, and how to edit videos with Photoshop CS6. The steps are mostly the same and each of these versions of Photoshop supports a variety of video formats. Let's get started.

How to Edit Videos in Photoshop
Follow these steps to edit your video in Photoshop. The process can be a little bit complicated although we have tried to simplify it as much as possible.
Step 1: Import the Video You Want to Edit
Open Photoshop on your computer and click on the "Window" menu. Select "Timeline" if it isn't already selected to bring up the video toolbar at the bottom of the window.
You can also simply go to Window > Workspace > Motion to access the video controls
Now, all you need to do is import the video into Photoshop. You can do that by simply dragging and dropping the video into the main window or clicking on the filmstrip icon in the timeline to select "Add Video."
If you would like more control over the video, particularly when exporting it, go to File > New and then choose "Select Film & Video" from the drop-down menu. Then go to "Layer> Video Layers > New Video Layer from File" to import the video.
You might also want to turn the video into a small object before beginning the editing process. Doing this allows you to apply filters to the entire video image in a single layer, making the whole process easier. To do this, select the Layer and click "Smart Objects > Convert to Smart Object and a purple clip will appear indicating that the layer has been transformed into a Smart Object.
Step 2: Edit the Video
Once the video is added, you will notice that you now have the same editing options as you would with a still image.
To begin with, you may want to apply a lens-correction. Just got Filter > Lens Correction to allow Photoshop to detect the camera used to film the video. If you shot the video using a smartphone, Photoshop may fail to detect the camera. In this case, you can make the lens corrections using the "Custom Tab" in the lens correction window.
If you would like to split the video at a certain point, select the "Scissor" tool on the Timeline and cut the video at the desired position of the playhead.
You can also add additional audio to the video using the Audio Track Layer. Just click on the musical note icon to import new audio into the project. To make adjustments to the audio, right-click on the clip and select the musical note icon.
You'll also see that Photoshop gives you a lot of options when it comes to filters that you can add to the video.

The All-in-One Screen Recorder & Video Editor
 Secure Download
 Secure Download
Step 3: Adding Transitions
If you need to, you can also use Photoshop to add transitions such as fades and crossfades to the video. To select these transitions, click on the "split-square" icon in the Timeline. Choose the appropriate transition and then drag it to the layer.
You can easily adjust the duration of the transition using the slider below the video image in the Timeline.
It is also possible to change the speed of a particular clip. Just right click on the layer and choose "Speed" to increase or decrease the playback speed.
Step 4: Adding Text and Objects
You can just as easily add text and objects to a video as you would to a still image. We recommend creating a new video group to make it easier to adjust the position of the test and placement over the clip. To do that, just click on the filmstrip icon and then choose "New Video Group"
Then simply select the text tool and place the cursor on the image to start typing. The text will be in a separate layer to make it easier to move to the desired location.
Step 5: Exporting the Edited Video
When you're done editing, go to File > Export > Render Video to select the output format for the video in the "Output File Type".
It is very important to make sure that the "Adobe Media Encoder" is selected to avoid ending up with numerous images rather than a video.
Is Photoshop Tool Hard to Learn?
One of the greatest disadvantages of using Photoshop to edit both images and videos is that it can be rather complicated. The interface has too many icons and too many options that it can be very hard to edit videos quickly and professionally, particularly if you have never used Photoshop before.
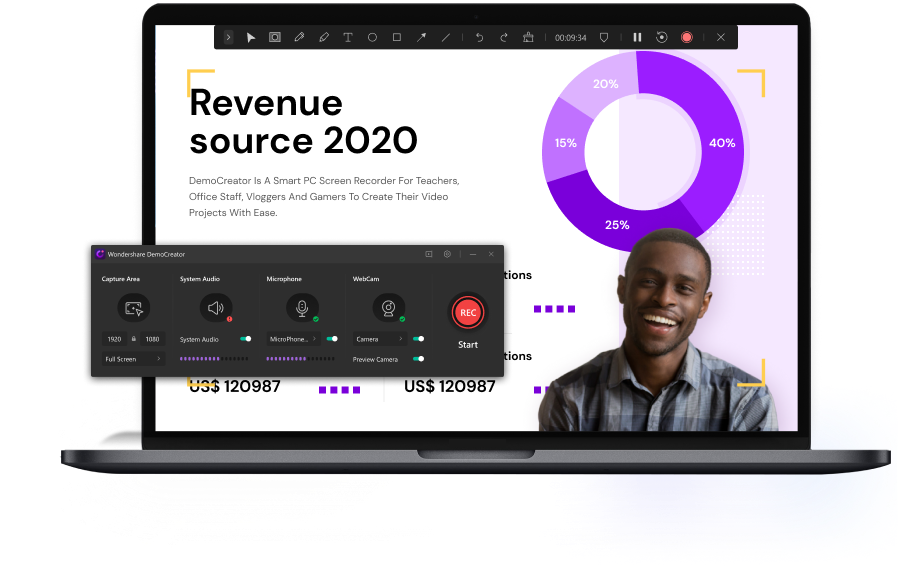
If you are having a hard time learning how to use Photoshop, we recommend trying Wondershare DemoCreator. DemoCreator is a simple tool that allows users to capture high-quality videos and easily edit them. Unlike Photoshop, it is designed to make the process very easy. Just follow these simple steps to edit a video with DemoCreator;
 Secure Download
 Secure Download
Step 1: Import the Video
Download and install DemoCreator on to your computer. Run the program after a successful installation.
In the main window, click on "File > Import Media files"

Click on the "Import" icon on the Media Library panel and then select "Import a Media file" to browse your computer for the video.
Now select the video and then choose "Add to the timeline at playhead"
Step 2: Edit the Video
You have several options when it comes to editing videos in DemoCreator.
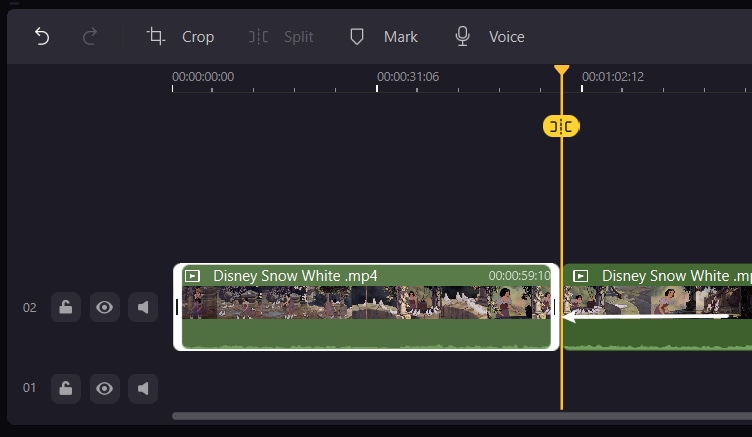
To trim the video, select the "Scissors" icon and then place it at the edge of the clip until the cursor disappears. Then drag it forward or backwards to trim the unwanted sections of the video.

If you would like to record yourself talking over the video, click on the "Voice Over" icon in the toolbar.
You can also detach audio from the video to separately edit the audio. To di that, right-click in the clip and select "Mute Audio"
Step 3: Export the Video
Once you're done editing the video, you can click on the "Export" icon to export the video in MP4, MP3, or MOV format. Here, you can also add a filename for the video and adjust several settings including resolution, frame rate, bitrate, and other settings.

Click "Export" to finish the process.
Related FAQs
The following are the most common questions we get about editing videos using Photoshop;
- Is Photoshop Good for Video Editing?
Photoshop does offer you numerous options for editing videos. But as the tutorial above shows, it can be rather difficult to use and as such may not be the ideal solution when you want to quickly edit a short and quick video.
- Can you Make Videos in Photoshop?
Photoshop can only be used to edit images and videos and may not be the ideal solution when you want to record videos. In fact, it doesn't have any features that would suggest it can be used to capture or record videos.
- How do you Speed up a Video in Photoshop?
Changing the playback speed of a video in Photoshop is very simple. Just right-click on the layer with the clip and select "Speed" from the options. You can then use the slider or percentage value to increase or decrease the speed as needed.
While Photoshop is more famous for its image editing capabilities, it can also be very useful when you want to edit videos. But there is quite the learning curve if you want to use Photoshop to edit videos. If you want a quick, easy, and effective solution, we recommend using DemoCreator instead. Any questions and comments on this topic or any other video creation and editing queries are always welcome and appreciated and we'll do our best to find solutions for you.


