OpenShot Video Editor Tutorial

If you are looking for a simple to use, free and easily accessible video editor, you may have come across the free OpenShot video editor at one point in your search for the ideal tool. But a video editor particularly a free one, is only as good as the features it has. One of the things that comes through clearly the more you look at OpenShot is that it features are basic and while they may prove useful to the beginner user, you may find it lacking in many respects if you want to edit your videos for professional purposes.
This is not to say that OpenShot video is not a great tool. In fact, it has plenty of wonderful features that can help you edit many aspects of the videos in numerous ways. We will take a look at the different ways to use OpenShot in this OpenShot video editor tutorial. But before we begin, let's take a look at some of the program's features.
Key Features of OpenShot
To understand how a program works, it is important to understand its key features and despite the fact the OpenShot is a free program, it has quite the arsenal of features to choose from. These include the following;
Cross Platform Editing
One of this tool's best features is cross platform editing capabilities. You can start a project on your Mac and then easily transfer the files to a Windows or Linux platform to complete it. The program also supports most distributions of Linux, Windows 7, 8 and 10 as well as OS X version 10.9 ang higher.
Supports most Video, Audio and image Formats
OpenShot uses the FFmpeg library. This means that it can easily read and write all common image, audio and video formats. You can also very easily find some of the less common formats supported in OpenShot.
Animation
This tool also has a highly effective and very powerful animation framework, giving you the capability to create and use numerous different types of animation possibilities.
It is Easy to Use
The one advantage that OpenShot has over many of the other free tools in the market is its full support of the drag and drop approach to video editing. Depending on what you need to do on the program, the ability to begin any project by simply dragging and dropping the file in to the editor's main window can make the program very easy to use.
Numerous Editing Options
Once the clips are on the editors' timeline, you have numerous ways to edit them. These editing options include scaling, trimming, rotation and even animating and resizing the clips in just a few clicks.
System Requirements
To adequately edit video using OpenShot video editor, your system will need a large amount of memory, fast disk and a modern fast CPU. The following are the minimum system requirements to enable you use OpenShot video editor ideally;
- A 64-bit operating system for Windows, Mac and Linux systems is ideal
- A Multi-core processor that supports a 64-bit system
- 4GB of RM would be sufficient although 16GB is recommended.
- 500MB of hard disk space to install the program
- You may also benefit greatly from a Solid-State Drive (SSD) if you are using disk-caching and an additional 10GB of hard disk space although these are optional.
Download and Run
OpenShot Video Editor is available for all operating systems. To get the latest version of the program, go to OpenShot Download and then follow these instructions to install the program depending on the operating system you're using;
Linux
Step 1: Go to the page above to download an Applemage file of the OpenShot video editor program
Step 2: Right-click on the Applemage and choose "Properties" to mark the file as "Executable"
Step 3: Once it is "Executable", you can just double-click on the Applemage to install and launch it.
Mac
Step 1: Go to the download page above to download the DMG file
Step 2: Double-click on it and then drag the OpenShot application icon into the Applications shortcut on your Mac
Windows
Step 1: Download the Windows Executable file from the download page above
Step 2: Double-click on the file and follow the instructions to install OpenShot on to your computer.
How to Use OpenShot Video Editor
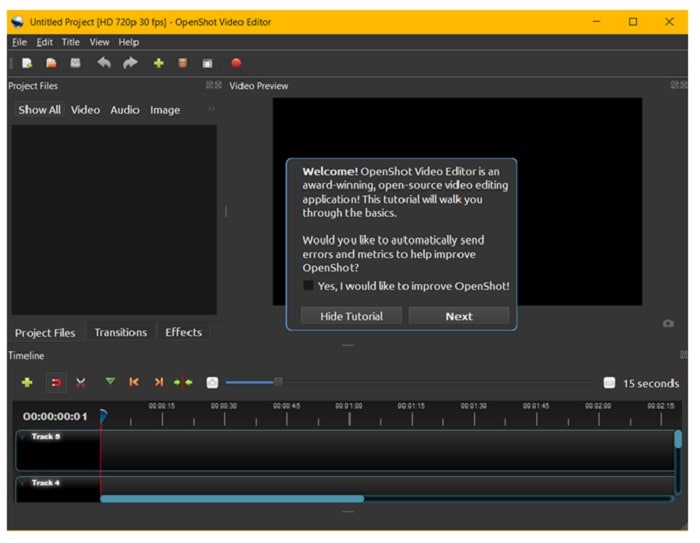
OpenShot Video editor is a program that is very easy to use. The following tutorial shows you how to use the basic editing tools in the program to help you get started;
Step 1: Import Photos and Music
The first step in creating any video project with OpenShot is to add the media files that you'll need. OpenShot makes it very easy to do that; you just need to drag and drop the images and music files into the program. Drop the files into the "Project Files" window on the left.
The program works with all of the common audio files and image video files including JPG, PNG, and more.
Step 2: Begin Arranging your Timeline
Once you've added all the images and music that you would like to add to the video, it is time to begin creating the video itself.
To do that, simply drag the images to the timeline at the bottom of the screen. The timeline represents the final video. You must therefore drag the images in whatever sequence you would like them to appear in the video.
But this order is not rigid. You can always rearrange the clips by simply dragging them to the new location on the timeline.
Step 3: Add Music to the Timeline
Your video will be incomplete without music. So, after adding the photos that will make up the visual part of the video, you may want to add music to the timeline as well.
This is also very simple to do, just drag and drop the music files you added from the "Project Files" section to the timeline.
If the audio file you've added to the timeline is too long, you can easily resize it by grabbing the edge of the music file and dragging it inward to make it smaller.
Step 4: Preview the Video
Keep in mind that you can resize and rearrange aspects of the video in any way you want until the video is just the way you want it to be.
The preview window will help you determine how you want the video to be. To preview the video as you create it, simply click on the "Play" button in the "Video Preview" window.
Here, you can also pause, rewind, and fast-forward the video by clicking on the buttons at the bottom of the "Video Preview" section of the window.
Step 5: Export the Video
Once you've done all you can and the video is perfect, you will need to export the project as a video to make it that much easier to share the video with others. The process of exporting the video with OpenShot allows you to convert the video into formats that work with major video players including VLC and Windows Media and compatible with many video-sharing websites including YouTube and Vimeo.
To export the video, simply click on the "Export Video" icon at the top of the screen and choose from one of the many presets settings that appear in the popup video, before clicking "Export Video" to save the video to the selected path on your computer.
The following are some of the other features you can expect when using OpenShot video editor:
Transitions
OpenShot offers more than 400 different types of transitions all of which allow you to fade from one clip to another very easily. These transitions also all come with adjustable settings to allow you to choose and create the perfect transition for your unique video.
Whenever two clips overlap on the timeline, OpenShot will automatically create a new transition that you can edit if you want.
Clips
You can add and create as many clips as you want to the timeline using the method described above. Once the clip has been added, you can then adjust it in numerous ways. Some of them include, trimming, scaling, alpha snapping, rotation and even adjusting the X, Y location.
You also have the option to animate the clips over time in just a few simple clicks or use the Transform tool to interactively resize the videos to get the desired output. The timeline is also very simple to access and use and when used in conjunction with the preview window, you can create a truly unique video.

The All-in-One Screen Recorder & Video Editor
 Secure DownloadSecure Download


