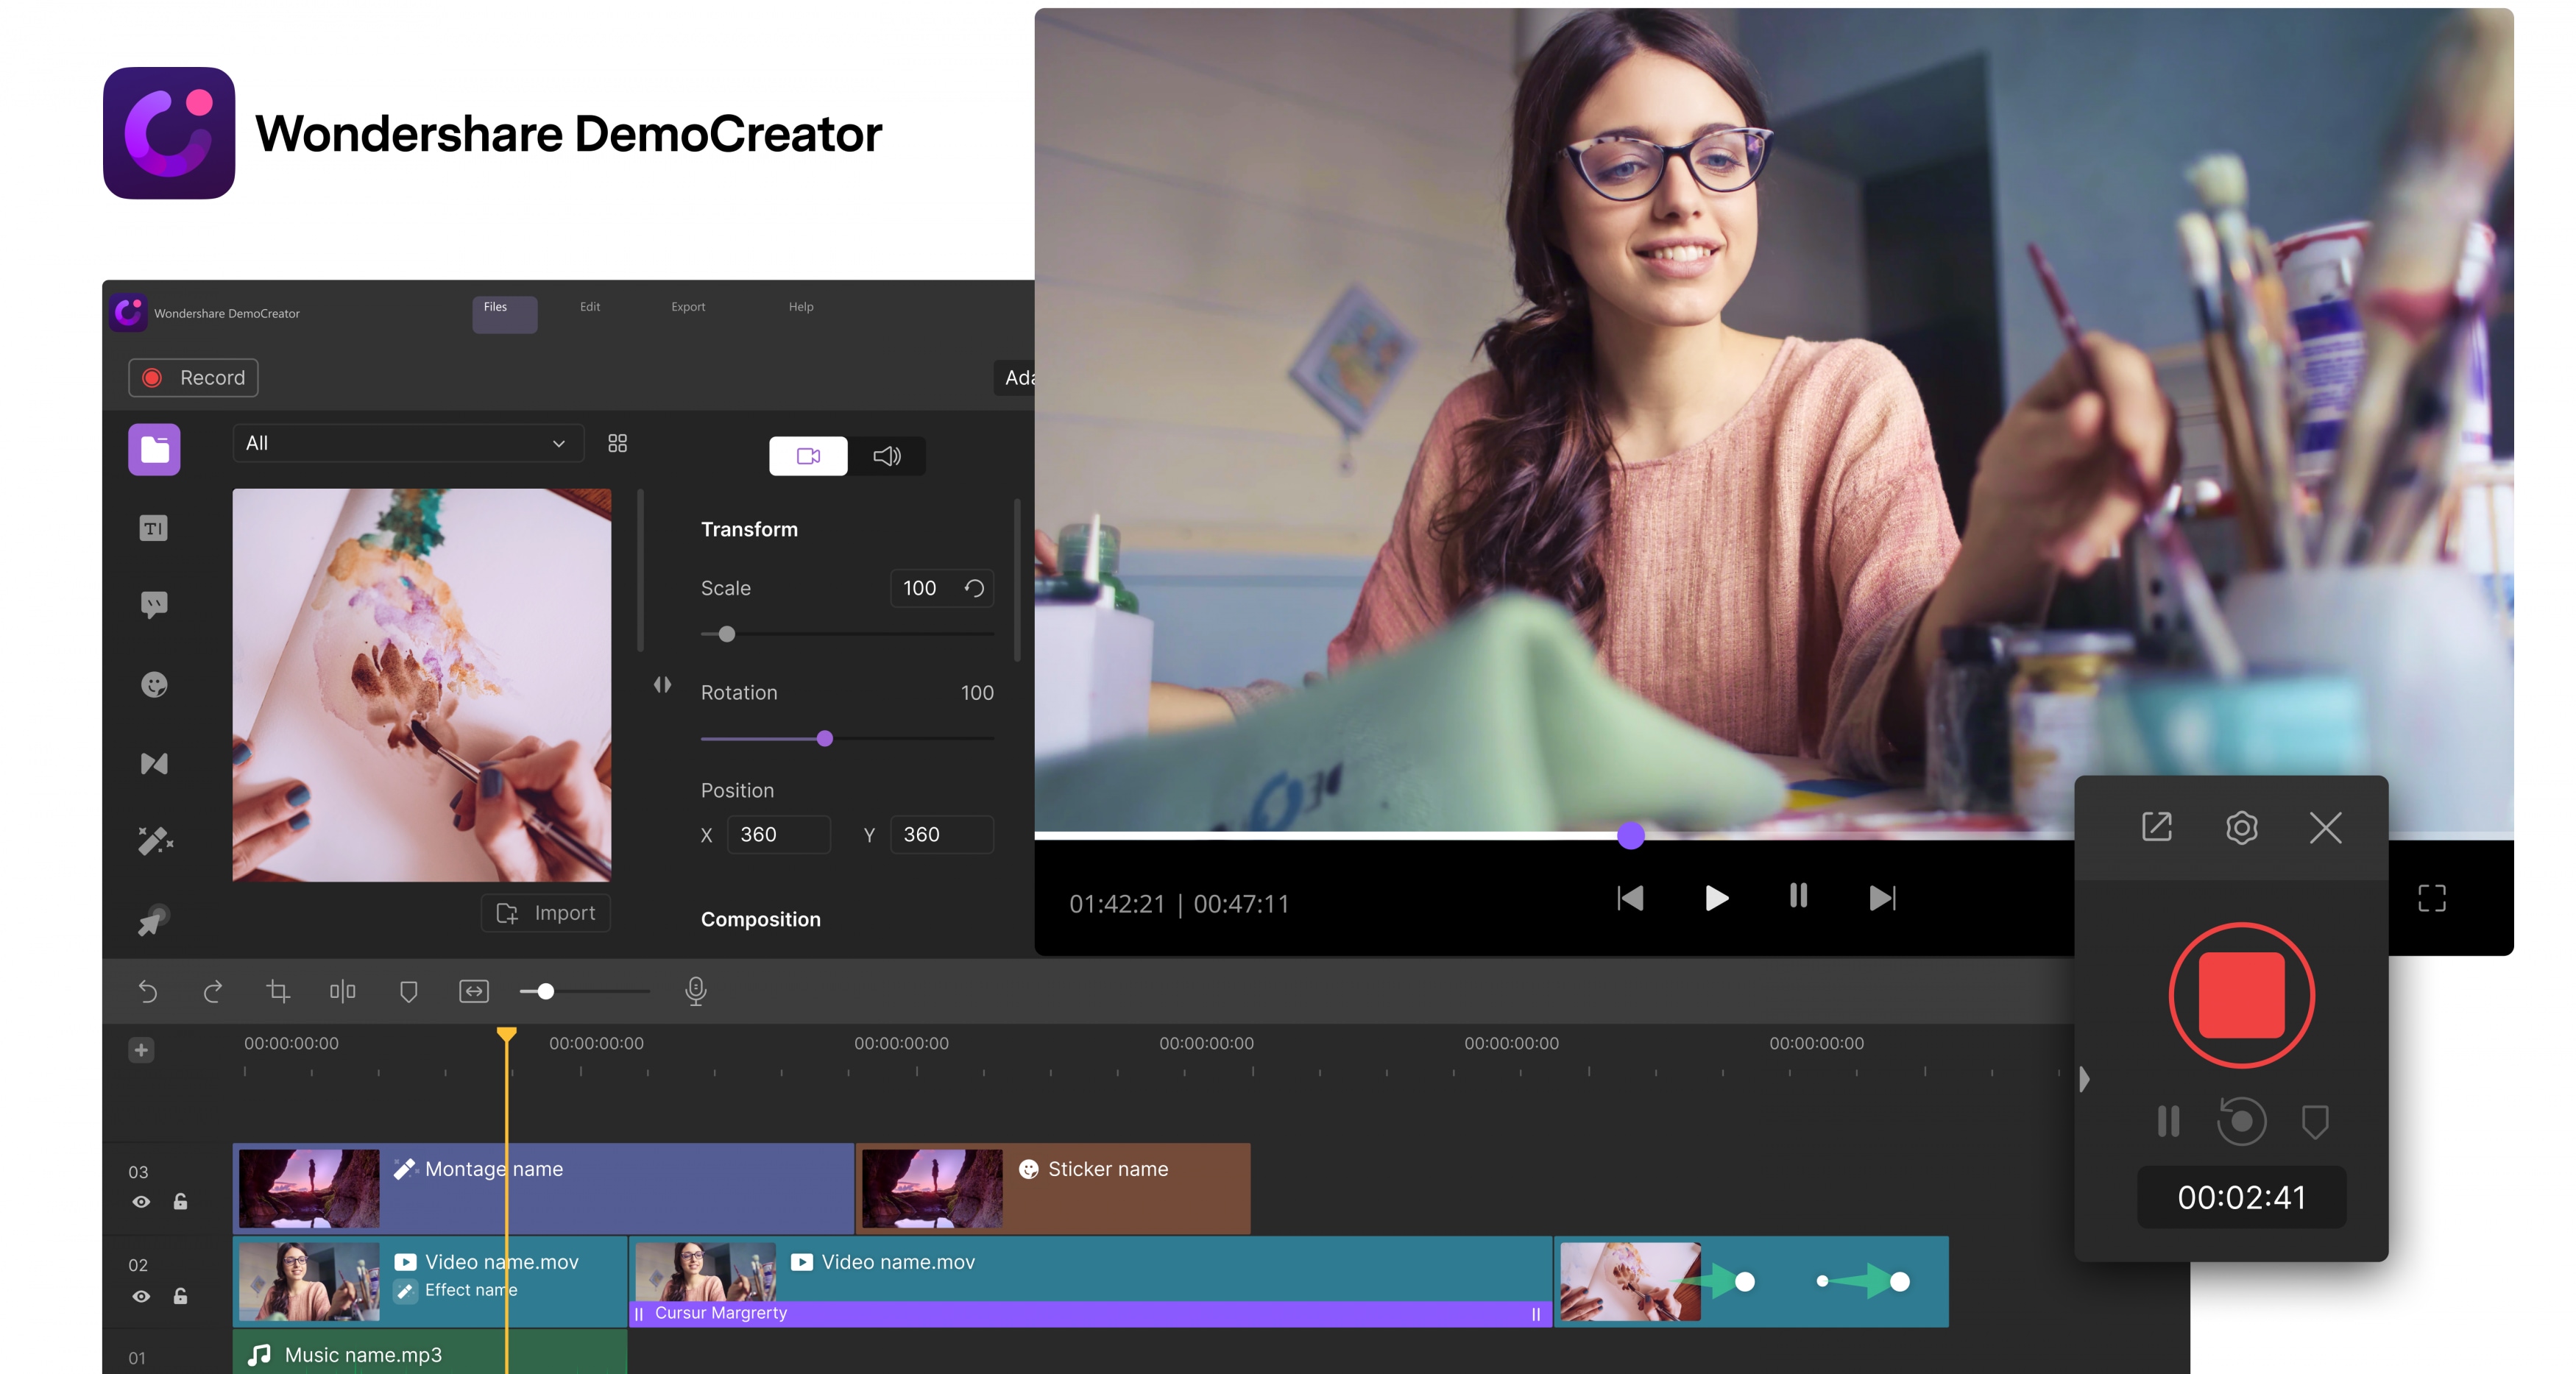
How to Resize QuickTime MOV Files in Wondershare DemoCreator?

Ever thought of discarding the MOV (QuickTime) Giles on your gadgets because of the large memory size they consume? Stop it! You need not lose essential files while we are here to serve you with a solution.
There is no doubt MOV (QuickTime) files are large. You can still reduce them into smaller sizes that will help you economize your device memory space and time taken to share files with families and friends. To do this, you need a video editing toolkit at your disposal.
With the help of DemoCreator, a powerful video editing software with incredible features, you can resize your QuickTime MOV files without losing their quality. You can access the software by visiting the official website to download and install it on your computer system. Once you've done this, check out the instructions below to learn about the step by step guide required to resize QuickTime MOV files.
Here are steps required to resize QuickTime MOV files using the Wondershare DemoCreator video editing software:
Step 1: Download and Install the Wondershare DemoCreator Program
Just as I've said before, you must download and install the Wondershare DemoCreator video editing program from the official website to access the QuickTime MOV files resizing feature. Once you've successfully downloaded and installed the program, launch it, and take the steps that follow this.
 Secure DownloadSecure Download
Step 2: Import the MOV (QuickTime) Video
From the program home screen, locate the 'File' icon located at the top left corner and click on it. A list of options will pop up, select the 'Import Media Files' option, and then click on the 'Import' icon found on the Media Library panel. Select 'Imports Media Files' to select the video file from your computer.
Step 3: Cut off Unwanted MOV (QuickTime) Video Parts
To cut off a section of a video clip, simply place your Playhead before that section and click on the scissors icon to split the clip into two. After that, place the Playhead at the end of the area you want to discard or cut off and then use the scissors tool to split the video clip into two. Now we have three clips. The middle one is what we need, so right-click on it and select the 'Cut' icon to cut off the unwanted part. Alternatively, you use the CTRL + X or drag and drop the middle clip to a new location.
Step 4: Set the Output Format and Settings
Now that you have the specific portion of the clip, the next thing to do is set up the file's output format. If you need the final file in a MOV, MP3, or MP4 format, click on the 'Export' button, and a list of formats will appear. Choose one, and we are done. You can adjust other settings like the frame rate, bitrate, resolution, and more. Once you have done, click on the 'Export' button to complete the process.
That's all for the step by step guide on resizing MOV (QuickTime) files using the Wondershare DemoCreator video editor. I hope the guideline was simple and straightforward?. The Wondershare DemoCreator has a clean user interface with drag and drops features and a built-in editor that lets you edit clips to your satisfaction. Now I will love to introduce you to some other video editing programs you can use in the Wondershare DemoCreator.
Here is the top 3 video editing software you can use in place of the Wondershare DemoCreator:
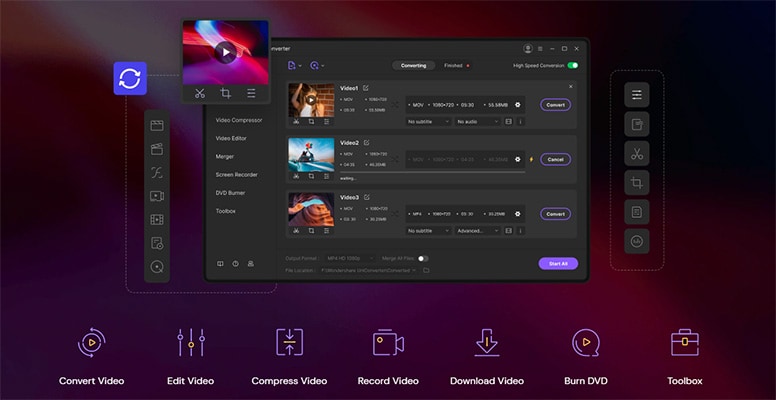
Wondershare UniConverter
The UniConverter is the best alternative to the Wondershare DemoCreator. Aside from its production from the same company as the DemoCreator, the aesthetic features give it an edge in the global market. The software is capable of compressing large size MOV video files into smaller size without reducing the quality. You can change the video format, encoder, frame rate, bitrate, and many other settings that reduce the file size of MOV clips. Wondershare UniConverter also supports a built-in editor that allows you to crop, trim, and rotate MOV videos easily add quickly.
Filmora
Filmora Video Converter is one of the best video editing tools for Windows and macOS users. It has an intuitive user interface with the stage. It drops feature, which makes it simple to use by novices in the video production industry. The software can be used for a variety of purposes, including the resizing of MOV files. You can also use it to edit footage. Filmora Video Converter supports a built-in editor that lets you customize video resolution, bitrate, encoder, frame rate, and many more settings to reduce the size of MOV files.
Any Video Converter
Any Video Converter is a powerful video editing tool developed by Anvsoft. Inc for Windows and macOS computer users. The software is simple to use, fast, secured, and reliable. Like the Wondershare DenoCreator, it supports more than one output format you can choose from to save your video clips. Any Video Converter is often used to reduce MOV video clips' size without tampering with the quality. Although the software has incredible features, the need for internet connection and the absence of a built-in editor are some of the cons of end-users.
Conclusion
Compressing MOV videos isn't a walk in the park. Still, if you've got handy video editing tools like the Wondershare DemoCreator, Wondershare UniConverter, Filmora Video Converter, and Any Video Converter, you are good to go. These tools are simple to use, fast and efficient. They help in improving productivity. Just follow the step by step guide for Wondershare DemoCreator and see how creative you are with video editors.
Secure DownloadSecure Download


