[4 Steps] How to Split Video in Camtasia and Cut Unwanted Clips

At the point when you think about a split-screen video with the Camtasia studio split video, a ton of things can ring a bell. A split-screen puts more than one shot into the edge; regardless of whether it's your subject, this impact can deliver a wide scope of results. Even though you probably won't make a TV introduction, a split-screen is an extraordinary method to show circumstances and logical results or delineate how one thing identifies with another. Camtasia Studio is an expert video making and video altering application that has numerous highlights like chronicle video, consolidating video, or separating sound from the video that Network Administrator needs to acquaint with you in this article.
As of now, parting sound out of video is exceptionally straightforward when you can remove sound right from video on YouTube. Be that as it may, only one out of every odd video you can discover on YouTube might be accessible on your PC. Provided that this is true, you can utilize Camtasia how to split video guide to isolate sound from video accessible on your PC. Specifically, the product additionally upholds clients to isolate the whole sound from the video or select a specific video to part into sound, contingent upon the clients chooses. To know more regarding Camtasia split audio and video, here we’ve briefed you on the essentiality concerned with it. Follow the guide below to learn more.
Part 1. Splitting Video into Camtasia - 4 Easy Steps
Need to eliminate a part of your video cut? Camtasia video editorial manager can do that flawlessly. In this fast demo, we will utilize Camtasia 2018 for Windows on a Windows 10 PC to tell you the best way to effectively part a huge film into little parts, cut any segment off the video, graft two video cuts together. Also, if you need to part a video into segments so you can work with them independently? Here’s the brief on that how to split audio from video in Camtasia.
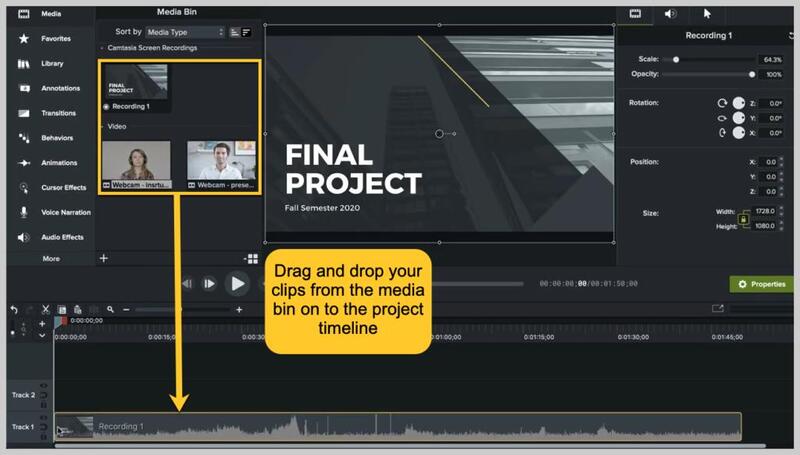
Step1. Import Video Files
The principal thing you'll need to do is load the entirety of your video film into Camtasia. In the wake of bringing in, simplifying the video cuts you need to use from the media section onto the task course of events. Utilize a different track for every video cut.
Step2. Perform Basic Edits
Start with the media on the top track, so you can see the progressions you make as you trim and resize. Think about the tracks like a pile of pictures; the see sheet will show the highest track.
Select the Crop button and eliminate any unnecessary pieces of clips by hauling the edge as shown above.
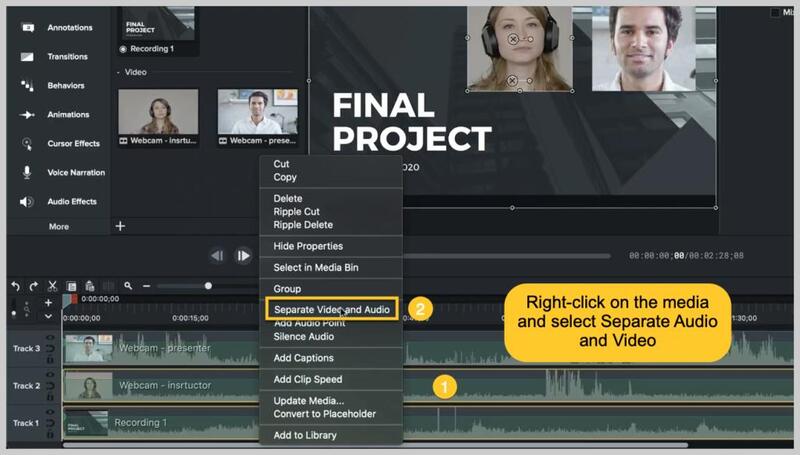
Step3. Edit Video and Audio
To eliminate sound from a video clip in Camtasia, right-click on the media and select Separate Audio and Video. You would now be able to make a split-screen video with only a couple of steps.
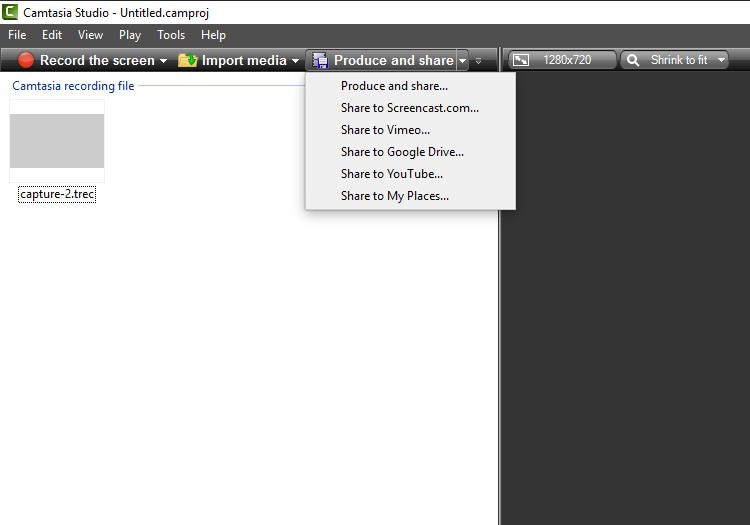
Step4. Share Masterpiece
This will conclude your video record. You can transfer the completed video to a facilitating site, like YouTube, Vimeo, or Screencast.com, or save it locally as an MP4. Go to the Produce and Share menu as shown below:
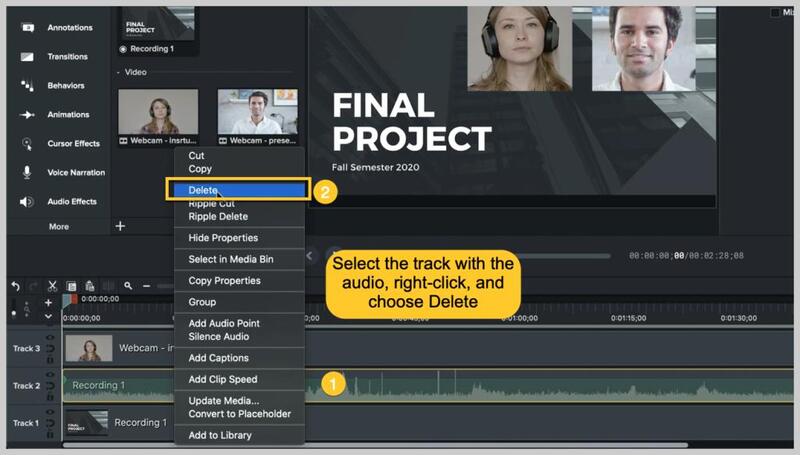
1. How to Remove the Unwanted Parts
You can also remove the unwanted part of the clips you’ve just got split from the main video file via a simple step. You can remove these unwanted parts by dragging the edge of the timeline on parts of the frame.
2. How to Split Audio from Video in Camtasia
To perform this functionality in Camtasia, all you need to do is hit the right-click your media file in the timeline and select the separate option with the name “Separate Video and Audio” from the list of options as shown below:
3.How to Make Camtasia Split Screen Video
To perform this functionality in Camtasia, you need to import your video files into the Editor and then drag them all to the timeline. Hold the CTRL button from your keyboard and then add the various split clips into one by adjusting the screen size of each clip inside the timeline. In this way, you can easily get your split-screen video from the Camtasia recorder.
Part 2. A Free Way to Split Video
Wondershare DemoCreator is a video capture and editing application just as a video altering device. It has a wide assortment of features, from catching interactivity film, recording your screen, catching camera film, and sound capture is also including in the suite of this single software. It's the ideal choice for beginners as on the off chance that you'd prefer to alter and split the instructional recordings, interactivity film, tutorial recordings, and considerably more. This is the best choice to prefer over split video Camtasia.
It has an incredibly easy-to-use interface and incorporates a wide assortment of altering tools. It additionally has the simplest way to split your YouTube videos, which would ordinarily set aside a ton of effort to make, as ordinarily. The video altering highlights will help the educators in cutting the length of the video and including the significant focuses so the learners, as well as doers, don't feel exhausted or drive off by taking a splitting functionality at the length of the video. Being a new user, you can impart the final output to your circle, and on the other side, the instructor can likewise utilize it to take notes afterward.
 Secure DownloadSecure Download
- Launch and Import Files
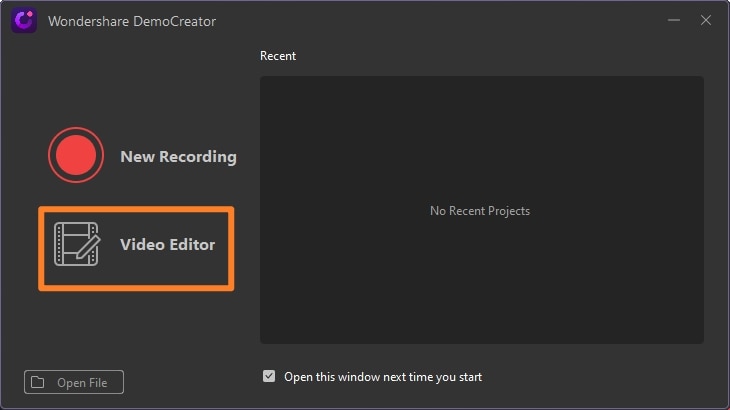
The foremost step to initiate this process is launching the DemoCreator software video editor from the starting interface screen as shown below:
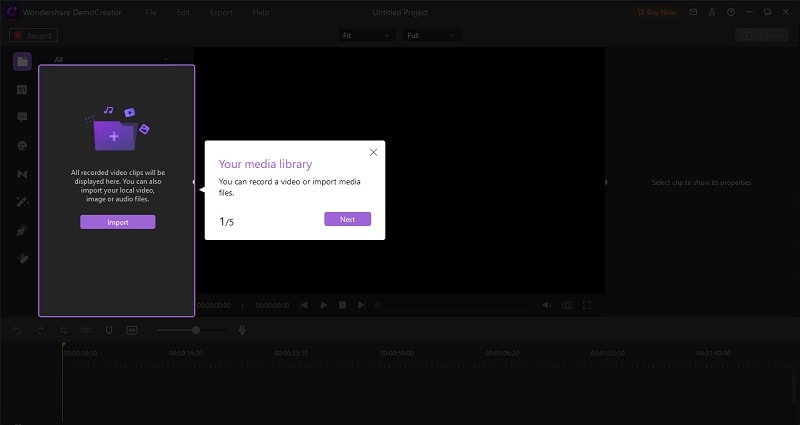
Right after that, you need to import that video to which you need to split into parts. And for that purpose, hit the Import button and select your desired clip from the system to add into the editor.
- Drag into the Timeline
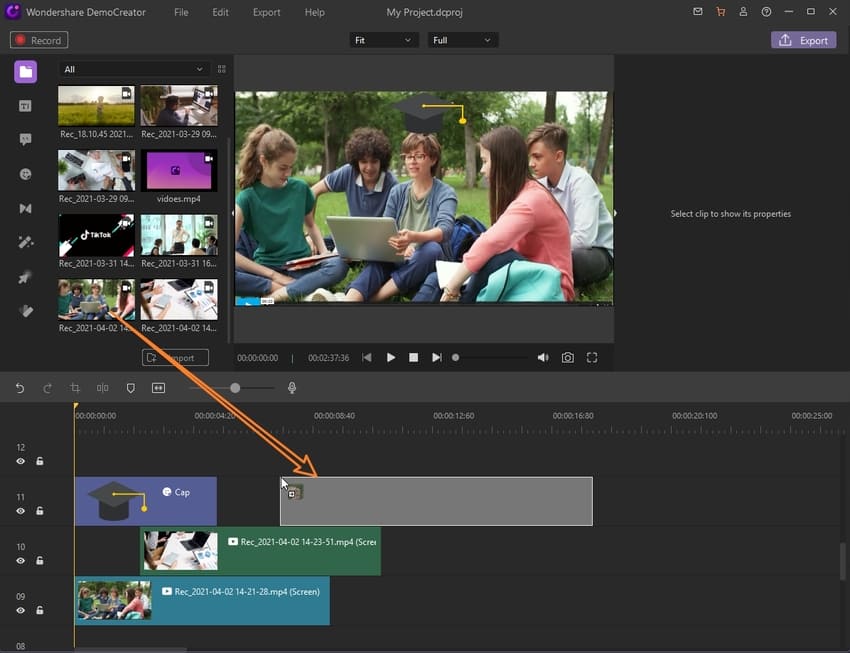
Now the next step you need to perform is to drag your added clip to the timeline at the lower part of the interface as shown below:
- Split the Clip into Parts
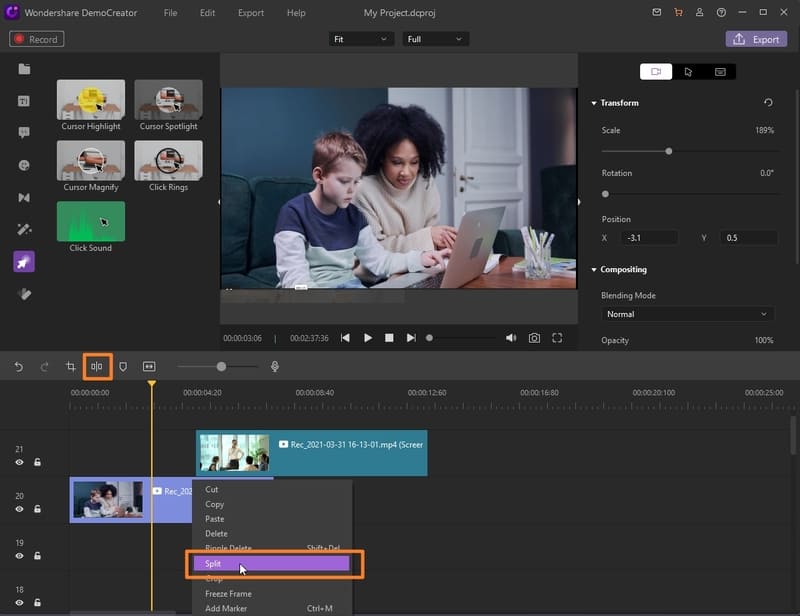
To split your single clip into various parts, select the clip inside the timeline and hover on the desired part where you want to split. Then you need to right-click on the clip and select Split video from the options to split from that point.
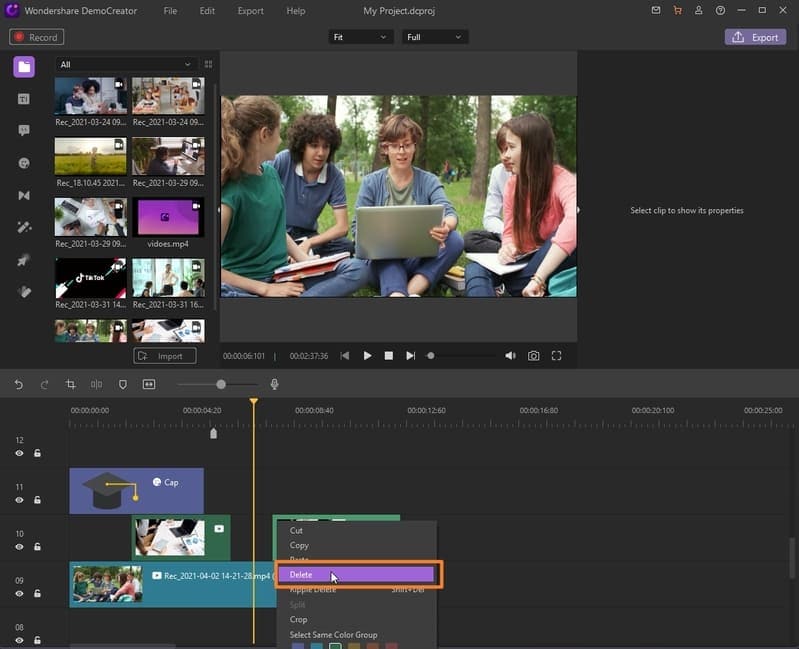
- Delete unwanted Part and Export
In the final step, you can delete the unwanted part by hit “Delete”on your keyboard. Or you can right click the video, and then select “Delete” in the drop down menu. splitting from various points and then hit the Export button situated at the top right corner of the software interface.
- You can also perform the direct share to your YouTube channel inside the Export window by going to the YouTube menu bar as shown below:

Part 3. The Shortcomings about Camtasia
Here are some of the cons of this renowned altering toolkit and worry not! We’ve also got you covered with the solution to that trouble. Just stick with us to find out for each difficulty in operating.
Camtasia Charges you Well!
Camtasia isn’t free, you could get lost chipping away at a venture, It is more mind-boggling, Not electronic/requires establishment, It can be scary to take a gander at on first look, You can find yourself mixed up with inconvenience on the off chance that you don’t exactly have the foggiest idea what you are doing. That’s why we’re here recommending DemoCreator which gives you a detailed 30 days trial version without paying any fee at once.
A Complex Approach:
Camtasia's methodology of making an introduction through an individual film turns out best for the designers who know about video applications, the users that are new to the system may have expanded trouble with the altering technique in Camtasia because screen catches happen continuously. For this purpose, you need to consider DemoCreator which has a swift approach to perform these panicking tasks without any hassle.
Plenty of Difficulties:
The primary disservice Camtasia can dive you into, is the trouble in altering the content in the video and erasing mistakes that happened during the recording, when erasing at least one casing in the video and soundtracks, It is hard to coordinate edges so the video and sound stream easily. With that being said, DemoCreator provides you the best and simplistic solution for this task as well. Due to its intuitive interface, you can perform these tasks by single drag and drop and keystrokes from your Keyboard.
 Related FAQ:
How do you do side by side videos?
Regardless of whether it's for similar, visual, or imaginative reasons, putting recordings one next to the other is a serious simple assignment, even though it may look confounded. Indeed, it shouldn't take you longer than a few minutes. This guidance will disclose how to do it in two or three stages with the Wondershare DemoCreator. As we’ve explained above, you can perform this task handily and intuitively with its simple and straightforward interface. Even if you’re a beginner, you can drag and drop the altering techniques to get you a side-by-side video.
- You can drag your imported files to the timeline with super easiness.
- Inside the timeline, you can refer to the Split screen effect and add the different videos in one preview window.
- Preview your final masterpiece with full precision.
- Hit the Export button to save your final altered video with your desired format and codec.
Conclusion:
In a nutshell, we should produce one well-known video result as often as possible utilized in cinematography and music cuts: putting videos next to each other. As mentioned above, we talked about a screen isolated into two even parts, where video clips are played all the while. Normally, it's a similar video played in the two pieces of the screen, nonetheless, you can put two unique videos next to each other also. This technique is a well-known one and you can put it simply with the DemoCreator as explained above.


