

Chrome Os Native Screen Recorder

In today’s date, everything has become online, whether it's learning lessons, taking classes or attending meetings. Google Chromebook is a low-cost device that can be integrated with other online tools such as Docs, Google Classroom etc. and comes with screen recording capability.
If you are interested in knowing all about Google chrome os native screen recorder and the other best alternatives you can go for then, do not navigate away without reading the complete post.
Part 1 Recording Your Screen With An In-Built Chromebook Screen Recorder
To record the screen with a Chromebook screen recorder, follow the below given simple steps.
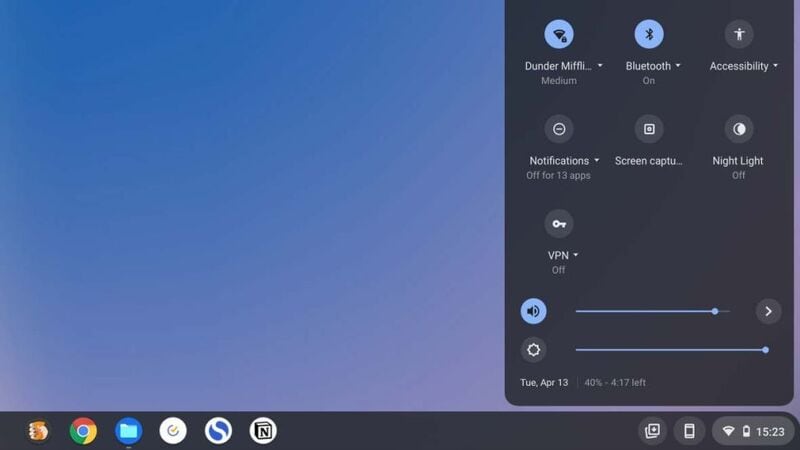
Step 1: Go to the status bar on your Chromebook from the bottom right corner of the screen.
Step 2: Then from the settings panel, click on Screen Capture. You can alternatively hit on Ctrl+Shift keys and the Show Windows key. This Show Windows key is the 6th key from the top of your keyboard with a rectangle and two bars.
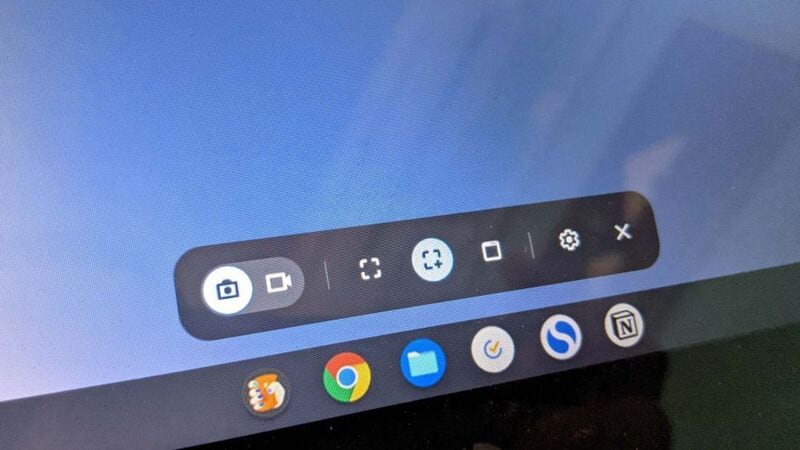
Step 3: After this, the screen recorder will be opened by the Chromebook featuring numerous options while turning your mouse cursor in crosshair form.
This screen recorder will take still screenshots by default. In case you want to take a video, select the camcorder button from the bottom of the screen.
Part 2 Recording The Chromebook Screen Using A Mic Input
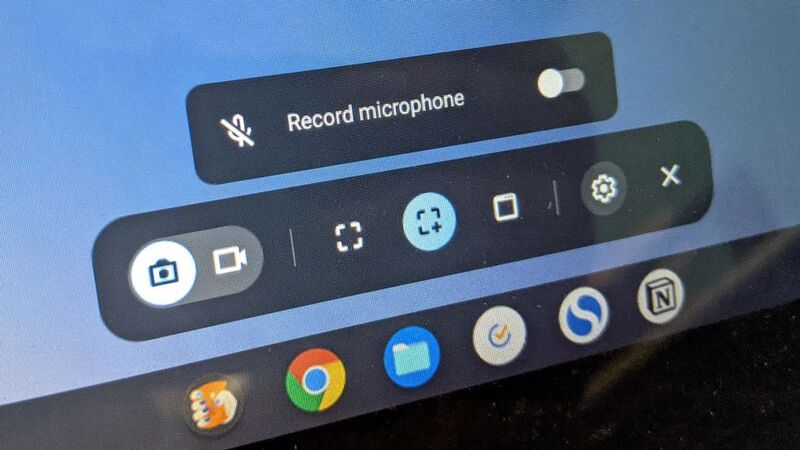
When you record anything with a Chromebook, it won't have any audio. However, you can add any audio you like to your recorded video using live voiceover. To use the mic input, you need to hit on the cogwheel icon and then toggle the “Record microphone” option.
Part 3 Recording A Portion Of The Chromebook Screen
Now if you want to record any specific part of your screen then, you need to select from the square like buttons from the floating menu. The first button enables capturing all of the Chromebook's screen content. The button with a small plus sign, located at the corner, lets you capture a particular area of the screen. Whereas, with the third option, you can record a single application window.
Depending on what option you have selected, your recording begins. At first, you can start by clicking anywhere on the screen to record. With the second option, you need to drag to choose the screen area and then press Record. While for the third option, you need to hit the app’s window.
After this, the Chromebook will run a countdown for three seconds followed by starting recording. To stop recording, hit on the red button from the bottom right of the taskbar and the video file will get saved in the Downloads.
Part 4 Recording With Third Party Alternatives
There is no doubt that Chromebook provides a convenient option to record the screen, but it lacks some vital capabilities. For example, it doesn't have any feature to adjust resolution or overview. Therefore, to overcome these issues, you need to find some reliable and trusted third party recording tool/software to get the job done in a perfect and expected way. And there are a few that can get the job done.
1. Screencastify
The first choice for the best chrome os screen recorder goes to Screencastify! This free to use tool lets you record at no cost until the video length is 5 minutes long. It has many handy features that allow you to adjust the resolution, audio output while adding a small webcam window on the screen content.
This software also comes with a real-time annotation feature that can be used while the screen recording process. You can use annotation to highlight specific elements, cursor pointers etc. in addition, it has a full-fledged editor that makes it easy for you to trim and tweak recordings.
Furthermore, it can be synchronized with the cloud storage services so that you can auto-upload the recordings. Besides, with this tool, you can export your content in a number of formats such as MP3 and GIF.
2. Awesome Screenshot and Screen Recorder
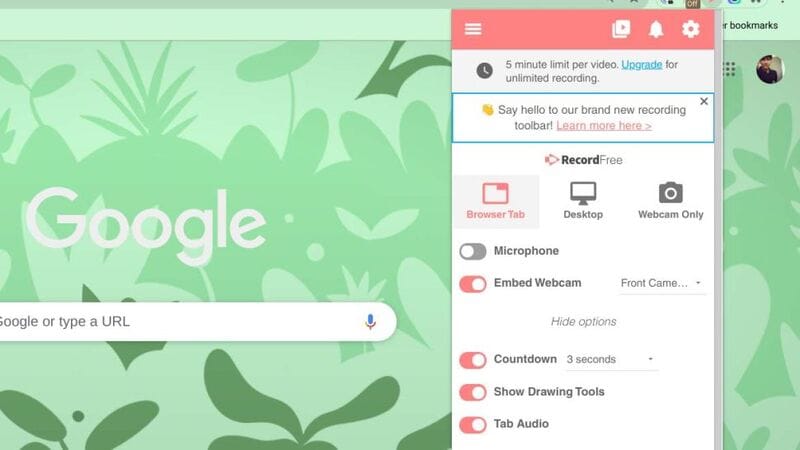
Awesome Screenshot is another great performing chrome os video recorder, which is a Chrome Add-on that provides much better control over screen recording and screenshots. With this tool, you can record full-length web pages and it also lets you annotate the screenshots and blurring the face in the images. Awesome Screenshot can work in offline mode as well so that you can edit images any time you want even if there is no internet connectivity.
This tool enables recording for a particular chrome tab or the entire desktop while activating mic and webcam input. It also uses annotations while recording and synchronizes your saved files to your cloud accounts. Furthermore, this tool charges nothing for videos that are 5 minutes long.
Conclusion
Chromebooks have made their mark in the world of education due to being affordable and having integration with educational portals. This tool now comes with a built-in recorder that has made recording pretty simple. So, if you have long been looking to record your Chromebook's screen, look no further. As the above-given steps to record the screen using Chromebook’s in-built recorder will help you effortlessly perform the recording process. Plus, don't forget to check out these two best third party alternatives for screen recording as mentioned above.


