
Ubuntu Screen Recorder

Screen recording on Mac and Windows is easy. This is because there is no shortage of screen recording software that you can use to capture the screen on a Windows or Mac systems. In fact, these tools may very well support both platforms. But what if you want to record the screen on the Ubuntu desktop You ate likely to have a lot of problems finding a tool that works at all.
Which is why it may be time to consider not using a tool at all. In this article we share with you one of the best ways to record the screen on the Ubuntu desktop.
GNOME Shell Screen Recorder
Most people don't know it, but Linux does come with its own in-built screen recorder and it is known as the GNOME Shell. The reason most people don't know it exists is because it is actually hidden. You will not find an app launcher for it or a menu entry that leads to it and there is no button to turn it on or off. The only way to use it is to press a keyboard shortcut we will share with you soon.

Before we do, however, lets begin by discussing exactly what GNOME Shell is and how it works. To begin with, this is a screen recorder that is pretty basic. You shouldn’t expect it to have too many features. in fact, it will simply record the desktop in full; there are no options to record a specific section of the screen.
GNOME Shell will also not record any audio or let you set the bit rate, encoding format or any other setting. It is essentially a tool that is designed to be a quick screen recorder and share online. All screen recordings that you take using GNOME are saved in your computer's videos folder in the WebM format and it will include information such as the time and date the vide was taken.
How to Capture the Screen on Ubuntu
Like we mentioned before, there is no particular way to activate GNOME Shell screen recorder other than using a keyboard shortcut.
Therefore, when you are ready to record the screen on your Ubuntu desktop, hit “Ctrl + Alt + Shift + R” and the screen capture will begin immediately.
You will be able to tell that the recording is in progress by the small red dot that will appear at the top in the system tray.
The recording will stop after 30 seconds although you can stop the recording by pressing the same shortcut keys again.
How to Increate the Duration of the Screen Recording
30 seconds is not nearly enough for a video, particularly if the video is meant to be a demo or a feature. But there is a way to increase the duration of the video.
It is however only possible to do so manually by modifying the “gsettings” string using the Terminal application;
gsettings set org.gnome.settings-daemon.plugins.media-keys max-screencast-length 60
Replace “60” with the length you would like the new video to be in seconds such as 600 seconds for 10 minutes.
You can also set it to “0” to remove the time limit completely.
Keep in mind that you can stop the recording at any time using the keyboard shortcut we discussed above.
Other Ubuntu Screen Recorders You Should Try
The following are some of the other Ubuntu Screen Recorders that you can use if the GNOME is not an adequate solution for you;
- Simple Screen Recorder
Simple Screen recorder is one of the most reliable screen casting tools for Ubuntu desktops. One of is greatest advantages is that it comes with a graphical interface that makes it very easy to use. It also doesn't hurt that it records high-quality videos and you can choose to record the whole screen or a custom pre-determined section of the screen.
This program also gives you the option to choose and optimize the frame rates and durations that you would like to use. Unlike GNOME, selecting the duration of the video with Simple Screen recorder is a much simpler and straightforward process. You can also preview the recorded videos even while still recording them.
- Record my Desktop
Record my Desktop is not a program that you can download on to your computer. Rather it is a C language command-line interface tool that can be used for screen recording and screen casting. With this same command line interface, you can easily pause and resume the recording whenever you want. It is however important to make sure that you are selecting the correct area for the recording or the video simply just won't work the way you want it to work.
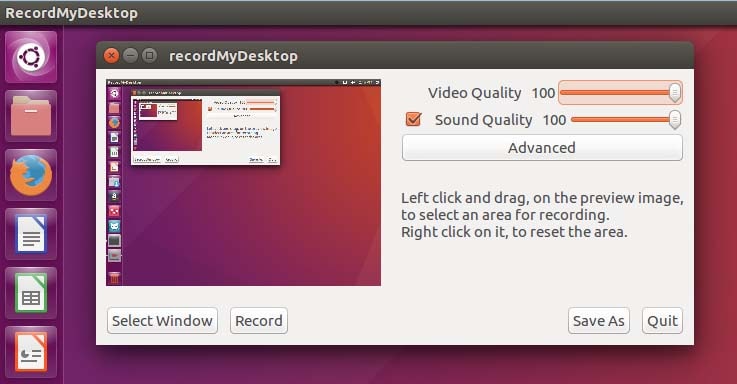
As you can probably guess, this tool is not very easy to use and may even prove problematic for most people. This is because it is very easy to make a mistake when using a command line tool and it may not be very easy to come back from that mistake. If you choose Record my Desktop, make sure that you understand how the command line works. This will help you easily navigate how the program works and allow you to record the screen the way you want to.
It is never easy to record the screen on an Ubuntu desktop. It is therefore our hope that the solutions above will help you record your screen. GNOME Shell is an ideal solution when the video you want to record is relatively short and Record My Desktop may be even more difficult to use that GNOME. Therefore, Simple Screen recorder and other tools like it may help you record your Ubuntu desktop more easily.
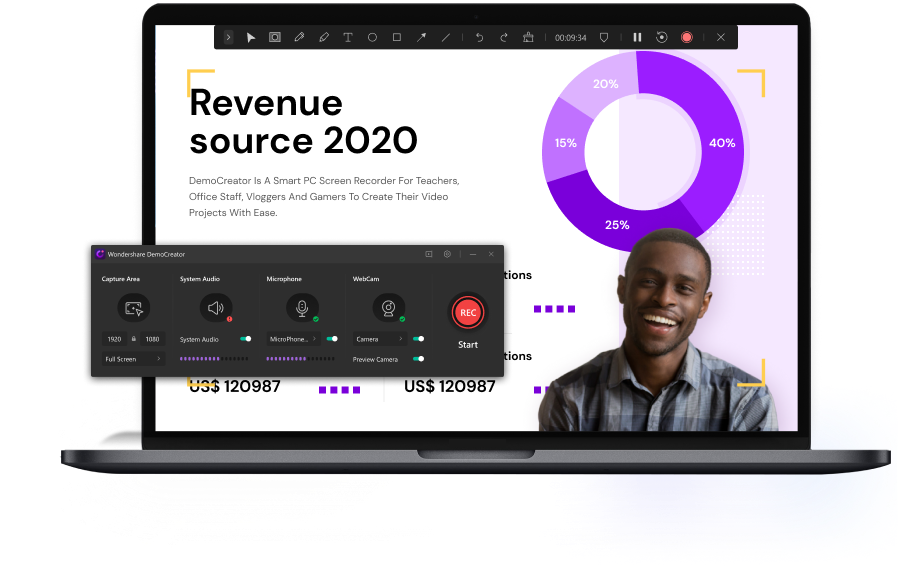
The All-in-One Screen Recorder & Video Editor
- Record desktop screen,audio and webcam simultaneously
- Edit videos quickly with a wide range of professional tools
- Built-in plentiful video effects
- Export to MP4, MOV, MKV, GIF and multiple formats
 Secure Download

