
How to Edit Videos on Laptop

Videos are increasingly becoming a popular marketing tool as they offer a simple, yet effective way to share a message. Therefore, marketers, YouTubers, and gamers are constantly creating and sharing videos that can contain marketing information or demonstrations, commonly known as "how-to" videos. But for your video to share its message effectively, you need to make sure it is properly edited.
In this article, we are going to share two effective ways to edit videos on your laptop for both PC and Mac. Both solutions are free and easily accessible to anyone with a computer. Let's get started with how to edit videos on PC using the Photos app.
Part 1: Edit Videos on a Laptop with the Photos App on Windows
Most people don't know it, but the Photos App on Windows 10 has hidden video editing capabilities, allowing you to trim existing videos or even create new videos. To use the Photos App to edit videos, follow these simple steps;
Step 1: Open the Video You Want to Edit

- To begin, you need to edit the video that you want to edit. You can do this from Windows Explorer. Just locate the video file, right-click on it, and chose "Open With > Photos App
- The video will open in Windows 10 Photos App and begin to play, to access the editing suite, click on "Edit & Create" on the toolbar at the top.
Step 2: Edit the Video
- As soon as you click this edit button, you will see a number of editing options appear. To trim a video to the desired length, select the "Trim" option.
- This will open the Trim tool and all you have to do is drag the two handles on the playback to highlight the section of the video that you would like to keep. You can make sure you're not trimming too much of the video by clicking on the playback button to preview the selected section.
- Once you're happy with the selection, click "Save a Copy" at the top to save the trimmed section of the video.
- You can also click on the "Add Slo-mo" too to choose a slower speed that you can then add to a section of the video in the same fashion.
- The "Save Photos" tool allows you to save frames of the video as images. When you click on it, you will see arrows at the bottom that will direct you to the "Next Frame" and the "Previous Frame" to make it easier to find the frame you want.
- As the name suggests, the "Draw" tool allows you to draw on the video. You can choose from a ballpoint pen, a calligraphy pen, and eraser tools. You can also make drawings in a variety of colors.
Step 3: Adding Text and Applying 3D effects

- These tools are slightly more advanced and require creating a new video project. To begin, click on "Create a Video with Text" or "Add 3D effects Tools" and then select "New Video with Music"
- Click on "Create" and then select the video or photo you would like to add. You can choose one video to edit or more than one video if you would like to combine them. If you would like to add more photos or images to the project, all you have to do is drag and drop them into this window.
- Once the video or videos have been added to the project, you should see editing tools in the Storyboard pane. Click on the "Text" tool to add text to the video in different styles, including animated text.
- The motion tool will allow you to choose different styles of camera motion for the video.
- To apply 3D effects to the video, select the 3D effects tools to open the library of effects that the editing suite provides, and then choose one or more to add to the project.
- If you want to add music to the videos, click on the "Music" button at the top bar and select from the options presented or click "Your Music" to add custom music.
Step 4: Export the Video

- When you're done editing, click on "Export or Share" to save the video project to your computer.
- You can also choose "Add to Cloud" if you would like to directly upload the video project to Microsoft's Cloud although you will need to provide your Microsoft Account and password to do that.
Part 2: Edit Videos on a Laptop with iMovie on Mac
Mac users also have an in-built and free video editor that comes in handy when you want to edit videos on your Laptop. This is iMovie, one of the most feature-filled video editors in the market that also happens to come free with Mac OS X. To use iMovie to edit your videos, follow these very simple steps;
Step 1: Import the Video You Want to Edit
- If the video you want to edit is not already on the Mac, you will need to, first of all, add the video to your computer. You can do that using a storage device such as a USB drive or by connecting the video camera to the computer.
- If you don't already have a video you'd like to edit, you can easily use the iSight camera on your Mac to shoot one. All videos created using the iSight camera are automatically added to iMovie.
- Once the video is on your computer, iMovie should create a new "Event." Enter a name for the project when prompted to begin the editing process.
Step 2: Use the Project Browser to Edit the Video
- You will then need to use the project browser in iMovie to edit the video. To do that, simply drag the video from the event browser to the project browser where all the editing tools reside.
- The project browser is far easier to use since it allows you to easily playback the video during the editing process to make sure the project is going just as you want it to.
Step 3: Edit the Video in iMovie
- Just as it is with the Photos App in Windows, iMovie also offers you numerous ways to edit video.
- If you would like to split off a section of the video, simply place the cursor at the exact location where you want to split the video, beneath the viewing window, and then select "Edit > Split Video at Playhead"
- If you want to crop the video, click on "Crop" and then using the triangles that appear in the timeline, select the areas of the video that you would like to crop.
- You can also add various effects to the video. To do that, click in the "Effects" tab that is located at the bottom and then select the clip you want to add effects to. Choose the specific type of effect you want to use.
- Once the effect has been added to the clip, it is important to playback the video to make sure you've selected the right effect, and placed it in the correct position before proceeding. When you're satisfied with the selected effect, click on the "Preview" button to open the effect's settings and then click "Apply" to add the effect to the video.
- With iMovie, you can also add themes, background music, text, and transitions to the video. The editing tool provides a large library of music to choose from or you can add custom music from iTunes.
Step 4: Export the Edited Video
- We recommend using playback to check and double-check that you've made the right edits to the video. Once you are completely sure that everything with the video is OK, click on the "Export" icon at the top-right of the screen to finalize the video.
- One of the best things about iMovie is that you can upload videos directly from the program to YouTube, Facebook, and other video-sharing sites. If you would like to upload the video to YouTube, for example, select the YouTube icon and sign in to your account. You can also adjust other properties of the video from directly within iMovie. You can add a description for the video, choose a resolution, and even choose a category and tags for the video.
 Pro-tip
If you want to get the top online video editor without any download, click here to learn more details.
Part 3: Use an Easy Laptop Video Editor*
If you are going to edit a tutorial or demo video, it would be a good choice to use Wondershare DemoCreator. This easy but powerful video editing tool provides a wide range of annotation tools and captions to help you make a better tutorial video. It is an editor designed for everyone, so there are no professional skills required. Just download the software and follow the steps below to start making your magic clips.
 Secure DownloadSecure Download
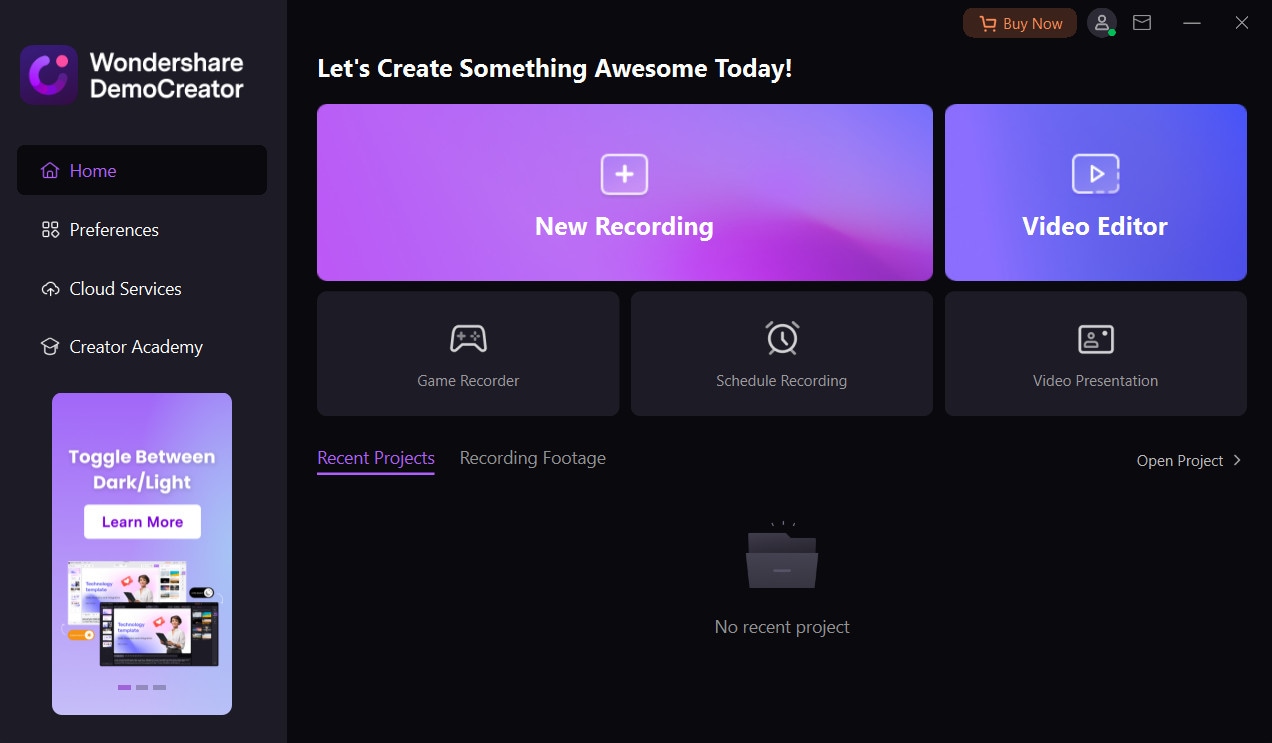
Step 1: Run the software and then click "Video Editor" from the main interface.
Step 2: Go to the "File" option in the upper left corner of the software and then choose "Import Media Files".

Step 3: Once the video is imported, drag it from the "Media" section into the timeline.

Step 4: Now you can start editing videos by adding annotations, cursor effects, and speed up or slowing down the video as you want.

Secure DownloadSecure DownloadThere you have it, two of the most effective ways to edit videos on your laptop for both Mac and Windows. The beauty of the solutions above is that they are both completely free to use and come in-built into your system, there is no software to download or install and they offer numerous features some of which you wouldn't even find on paid programs.
Learn more from Wondershare Video Community
As usual, we love to hear from you, leave a comment or question below to let us know your thoughts and we'll do our best to help out with whatever you need.


