
10 Best Facecam And Screen Recorders

Facecam has become an indispensable tool for live video communication. Several end-users have incorporated it into their daily lives due to its popularity. Users sometimes find it challenging to capture their faces during a live video recording or a gameplay video. It's also aggravating because you don't have the option of recording these videos.
- 10 Best Facecam and screen recorder
- Facecam and screen recorder for Windows
- Facecam and screen recorder for Mac
- Facecam and screen recorder online
10 Best Facecam and screen recorder
- Wondershare DemoCreator
- Veed
- Panopto
- QuickTime
- Screencast-O-Matic
- Record it!
- TechSmith Capture
- Recorder Device (DU)
- Win10 Screen Recorder Pro
- Bandicam
1. Wondershare DemoCreator
Wondershare DemoCreator intends to expand its client base by meeting its customers' growing screen recording and video editing needs. With an all-in-one package, it offers sophisticated capabilities such as continuous sketching and highlighting effects while recording the screen and Facecam simultaneously, quick fare video without modifying, fading marks for the recording video, and other higher-level features.
 Secure DownloadSecure Download
If you want to use an elegant Facecam recorder with feature-rich customization for your Windows PC or macOS, you've come to the right place. This is because, in this section, we'll show you how to use this screen recorder with Facecam recording functionality step by step so that even if you're a beginner, you can get an idea of how to use this toolkit effectively.
Step 1: Open DemoCreator Display Recorder:
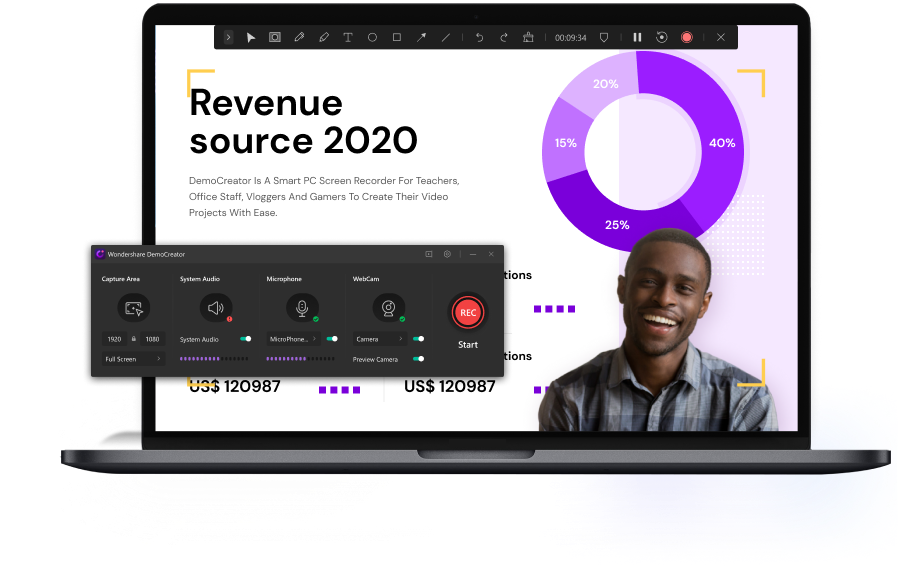
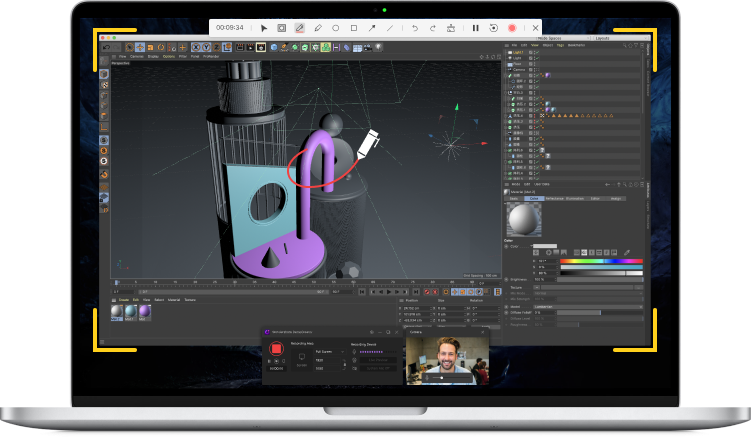
Here's how to start recording your Facecam with the DemoCreator. First, activate the screen recorder to emphasize the specific Facecam recording feature quickly. To get started, launch the app and select the New Recording button:
Step 2: Enable Facecam Recording Tool:
The next step is to enable this valuable tool by sliding the Integrated Webcam button to the bottom left of the display recorder window and selecting it.
Step 3: Begin Recording:
Now comes the exciting part of this guide, when you'll be using the DemoCreator to perform a live Facecam recording. So, to get started right away, modify the screen recording essentials and press the red-circled.
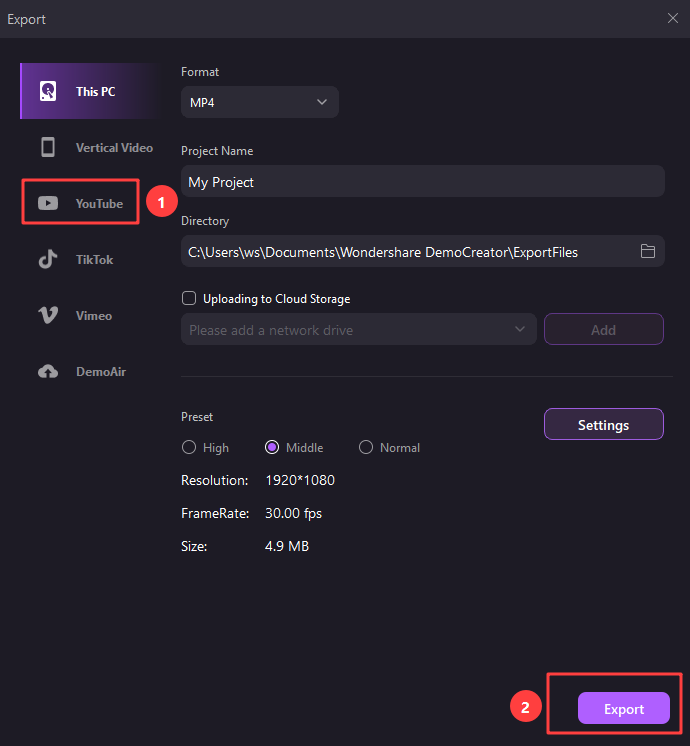
Step 4: Put an end to the recording and export it:
As you did with the Facecam recording within the recording phenomenon.
It is being recorded properly, and you must now stop and save the movie to the desired location. You can also use the post-production editing feature to improve the quality of the Facecam recording. For example, if you wish to export the recordings, go to the top of the video editing interface and click the Export button. Moreover, if you would like to post your recording on a social platform like YouTube, select YouTube from the menu bar and login into your channel to do so quickly.
Secure DownloadSecure Download2. Veed
Veed is a Facecam and screen recorder with full-screen, locale mode, and webcam recording options. It can also record the framework sound, amplifier, or both for depictions. You can also add comments to the timeline, such as shapes, lines, bolts, and messages-furthermore, this device includes a Task Scheduler, which allows you to record your screen at a specific time. You may record your screen, your webcam, or both at the same time using Veed! Follow the steps beneath to get started with this device.
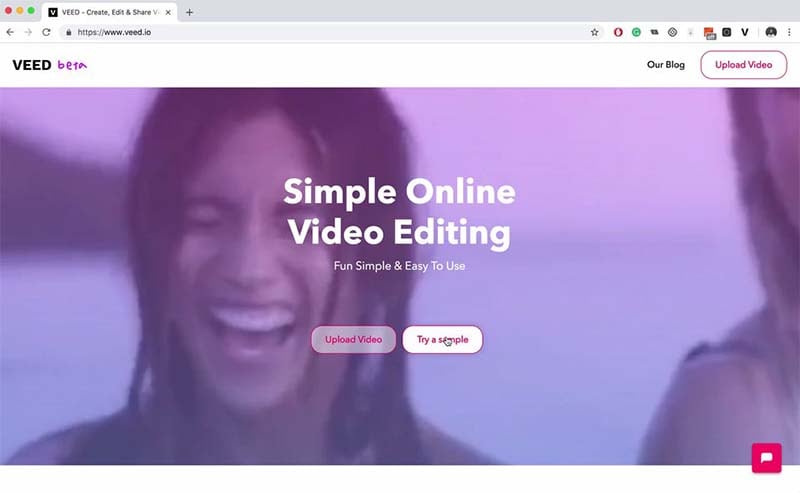
Step 1: Go to Veed.IO and fill out the form.
To start recording with this online toolbox, go to the official website and choose a layout from the drop-down menu. You may also need to press on 'Allow' permission to give your browser access to your screen, camera (for Facecam), and microphone.
Step 2: Start Recording:
To begin recording, press the red button. Before the recording starts, you'll notice a countdown. You get limitless retakes as soon as the recording starts. You can also navigate to different pages while recording.
Step 3: Put an end to the recording/export it:
You may check your recordings by playing them back, sharing them with friends and colleagues by clicking 'Share,' or editing your video by adding text, subtitles, and professional touches to your Facecam recording by clicking 'Edit.'
3. Panopto
Panopto is a Facecam record that can record your face and screen simultaneously or just one of them. It's fantastic and adaptable:
Record your performance with an amplifier while recording the Facecam/screen, or do both simultaneously. Panopto Express will automatically recognize your PC's screens and the screens associated with it. Select the main screen, application window, or program tab you want to show in your screen recording by clicking the screen symbol in the upper right corner.
Step 1: Open Panopto Screen Recorder before you start playing the game.
Step 2: Customize Facecam Recording:
You have the option of recording the entire game interface.
Click the screen symbol again, select what you want to record, and then click "Share." To record an extra screen, application window, or browser tab in a similar recording, click the screen icon again, choose what you want to register, and then click "Share." You'll repeat this approach until you've shared all of the screens, windows, and tabs you'd like to record.
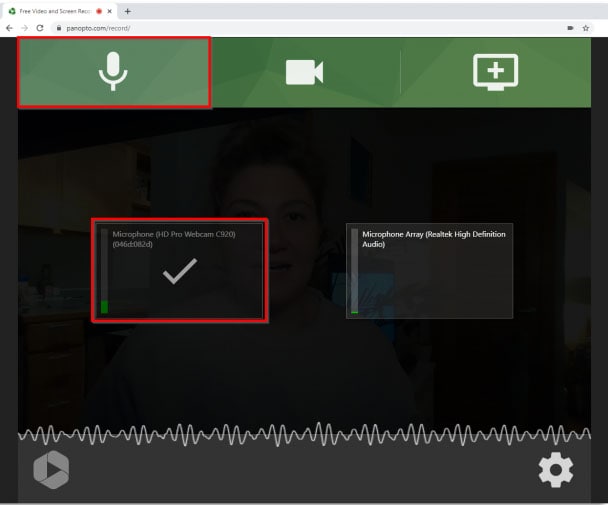
Step 3: Enable Facecam Button:
Panopto Express will identify the connected built-in camera and microphones. If you want to record a performance or introduce yourself in addition to the screen recording, go to the upper left and click the receiver icon. Make sure the checkmark is over the mouthpiece you'll be using to capture your voice.
Step 4: Start/Stop Recording:
Once you've finished customizing your Facecam, press the start button to record your Facecam with the screen. After you've finished recording with the Facecam, you can check the footage and save it or re-record it by clicking Save or Re-record.
4. QuickTime
If you wish to record your Mac screen with audio QuickTime and make a drawing in the instruction manual on your Apple device, Quick Time will make it much easier for you. This tutorial covers everything you require to know about using QuickTime Player for screen recording and dynamic sound information. As of right now, Apple PCs won't let you record your PC sound using any of their built-in programs. The majority of projects that allow you to record framework sound are expensive. This is a problem for many individuals who require a simple way to record framework sound on the fly.
Step 1: Activate QuickTime Player:
Select File > New Screen Recording from the menu bar after opening QuickTime Player from your Applications folder. The onscreen controls (mentioned above) or the Screen Recording window (described below) will appear.
Step 2: Personalize the Recording Display: To alter the recording settings, click the arrow with the red-circled button before starting your recording:
Choose a microphone to capture your voice or other audio alongside the screen recording. Adjust the volume slider to keep an eye on the audio while it's being recorded. Reduce the use of headphones with a microphone if you experience audible feedback.
Step 3: Begin recording by clicking the red-circled button and performing one of the following activities. Click anywhere on the display or drag to choose an area to record, then click Start Recording within that area to begin recording the entire screen:
Step 4: Stop the Recording: To stop the recording, press Command-Control-Esc or click the square-shaped button in the menu bar (Escape). QuickTime Player immediately opens the recording when you stop recording. You can now listen to the recording, edit it, and share it.
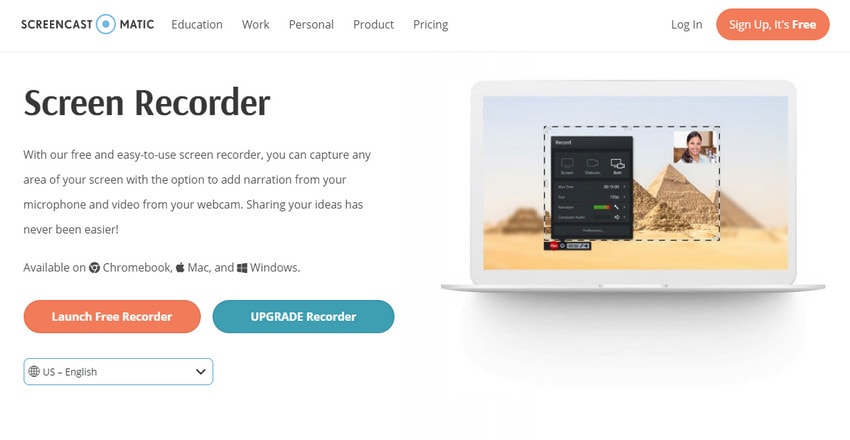
5. Screencast-O-Matic
Screen capture is an easy-to-use screen recorder that lets you capture any area on your screen. It allows you to add video from your camera and voice from your mouthpiece. Changes and overlay effects can be used to bring recordings to life. It will enable you to track your movements on the full screen or within the altered area.
Webcam and screen storytelling is supported by Screencast-O-Matic, an online screen recorder, and movie editor. Furthermore, you can upload the video to YouTube without downloading any work territory software. It also assists consumers with zooming, sketching, and overlaying video recordings. Screencast-O-Matic also includes options for altering PC sound and synchronizing recording with video.
Step 1: Screencast-O-website Matic's can be found here:
To start recording using your Facecam. You can download it from the approved site and run it right away.
You might even launch it from the Mac menu bar, and if you have a Screencast-O-Matic account, you can log in and launch the recorder by clicking on the recorder's icon in the upper right-hand corner of the page.
Step 2: Open the Facecam Recorder: Go to the online application's 'Launch Free Recorder' section and customize your screen and Facecam to record while recording your screen.
Step 3: Begin Recording:
You'll notice the display recorder on your Mac machine within seconds, and you may begin recording. When you're through recording, press the stop stud to end it and save it to your MacBook.
6. Record it!
Screen Recorder+ enables you to record your favorite applications and games. The application also includes a fantastic manager that will allow you to change the video speed, pivot it, and even add a channel with all the standard features. Similarly, you can alter the quality and parameters of your screen capture. Like the local screen recorder in iOS, Record It! allows you to simultaneously record your screen and sound. Still, it also allows you to register using your front camera to capture your replies to the screen. This is important if you're recording for YouTube or other online media sites like Instagram since it allows your viewers to see both your face and your screen at the same time when you're talking.
Step 1: Open the RecordIt recorder app on your iOS device and adjust the Facecam recording settings.
Step 2: Personalize the Facecam Settings:
In the next step, you'll be able to specify the source of your recording screen, as well as Mute/Unmute your linked microphone for sound recording. You can also alter the recorded files using the editing options.
Step 3: Begin/Complete the Recording:
Press the record Screen button as indicated in the application's user interface to begin the screen recording. After that, use the Done button to finish your Facecam video effectively, and you may now save it with your settings.
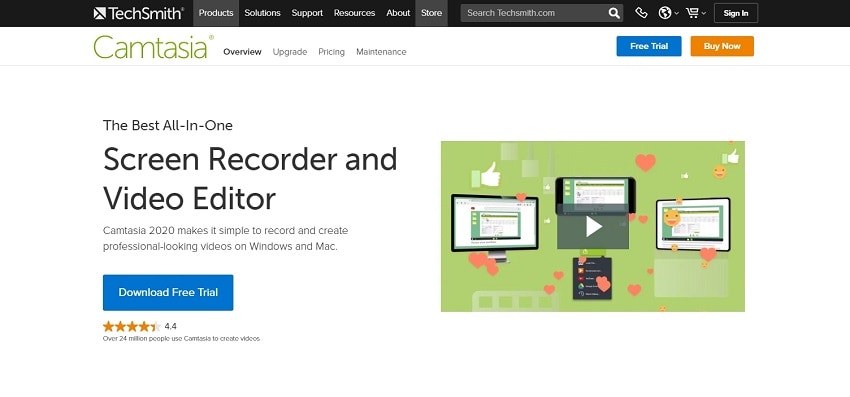
7. TechSmith Capture
TechSmith Capture is a fantastic screen capturing program required for the Camtasia video application setup. If you need to send the report to your computer or a colleague's, this program will make it simple. You may recognize TechSmith from its Camtasia family of programs if you perform any screen recording on your PC. TechSmith Capture allows you to record your screen and enable you to record your receiver to add narration or voice-overs to your recordings.
Step 1: Start recording with the TechSmith Facecam Recorder:
On your iOS device, open the RecordIt recorder app and modify the Facecam recording to your preferences.
Step2: Adjust the Facecam Configuration. You can define the origin of your recording screen in the following step and Mute/Unmute your associated microphone to record sound. You can also alter the recorded files using the editing options.
Step 3: Complete and distribute the recording:
By using the record Screen button, you can begin recording your screen. After that, tap the Done button to finish your Facecam recording successfully, and if you wish, you can share the Facecam recording to the following platforms:
8. Recorder Device (DU)
The most eye-catching feature of DU Record isn't its most grounded. The rest of what DU Recorder can do sets it apart. It will also let you live to stream your screen to multiple platforms such as YouTube, Twitch, or Facebook, in addition to the fact that it comes with a complete set of editing tools. However, the application does need an in-app purchase to remove the watermark.
This application delivers precisely what its name promises. In any case, it has a quick and lightweight proofreader that allows you to make minor changes to your accounts, such as trimming it, adding channels, or titles. The application also includes animated gestures, which you could find helpful if you're doing instructive activities.
Step 1: Open the DU Facecam Recorder application:
Customize the Facecam recording on your iOS device and within the app to your preferences.
Step 2: Customize the Facecam Settings:
You can now define the source of your recording screen, as well as mute/unmute your associated microphone for sound recording and uncheck the Facecam settings. You can also alter the recorded files using the editing options.
Step 3: Begin/Complete the Recording:
Press the record Screen button as indicated in the application's user interface to begin the screen recording. After that, use the Done button to finish your Facecam video effectively, and you may now save it with your settings.
9. Win10 Screen Recorder Pro
Screen Recorder Pro is a professional film display capture program that allows you to record your PC screen activity to various well-known video designs. Any application with a rapid rise in demand for your Windows PC, including the sound, can be recorded. Use a PC mouthpiece to add your sound portrayal as you demonstrate how to use a website or explain an item concept.
My display Recorder Pro allows you to export your display registers to AVI, MP4, and Flash formats. Playback the movie on any Windows PC after recording your computer action to WMV format, facilitating appropriation. You can even create Flash documents that will be played on a website and distributed to large audiences via the Internet.
Step 1: Install and start the display Recorder Pro
On your iOS device, open the RecordIt recorder app and modify the Facecam recording to your preferences.
Step 2: Configure the Facecam Setup:
In the next step, you'll be able to specify the source of your recording screen, as well as Mute/Unmute your linked microphone for sound recording. You can also alter the recorded files using the editing options.
Step 3: Begin the Recording:
Press the record Screen button as indicated in the application's user interface to begin the screen recording. After that, use the Done button to finish your Facecam video effectively, and you may now save it with your settings.
10. Bandicam
Bandicam is a screen recorder with a pen for PC and game account program that allows you to record anything that occurs on your PC screen, gameplay, and even stuff from external devices such as XBOX or PlayStation. Bandicam provides three undeniable annal modes: "Screen Capture" mode. This allows you to record either the PC screen or a specific zone of your screen, "Game Capture" mode, which records gameplay using DirectX/OpenGL developments on your system, and "Screen Capture" mode. This records video from external devices such as webcams, cell phones, or game-playing devices. This screen recorder removing gadgets for pc is a unique way for web tutoring and chronicles, and it works with most significant instinctive whiteboards.

Step 1: Open Bandicam on your computer and select the 'Rectangle on a screen' mode.
Step 2: Customize Facecam Settings: Turn on the Facecam and press the Rec button to begin recording, as shown above.
You can also choose a specific part of the screen to record and begin recording right away.
Step 3: Begin/Stop Recording:
Finally, go to 'Home -> Video' to play, edit, or upload the Facecam-captured videos.
Facecam and screen recorder for Windows
Windows PCs can choose from various sophisticated and feature-rich screen recorders with Facecam. The main issue is that they usually have no idea how to select the finest free webcam recorder. This section will go through the top four-screen recorders for PC with Facecam.
1. Ezvid
You can effortlessly capture displays and videos with this free face camera recorder. It has an integrated editor and can record tutorial videos or school projects. You can record your screen and capture anything that appears on the computer screen with just one click - online pages, games, applications, paint programs, and maps. This is an excellent tool for minor jobs.
Pros:
- An easy-to-use interface that's perfect for short classroom projects
- An integrated video editor is included.
- A built-in YouTube sharing option is included with the Ezvid Facecam recorder.
Cons:
- Some editing features, such as transition effects and zooming, are missing.
- Upload to YouTube is supported, but there is no option to save to your PC.
- Recording time is limited to 45 minutes.
2. Bandicam
This Bandicam lightweight PC Facecam recording program allows you to simultaneously record your screen video with audio and webcam on your Windows PC. It's easy to use and has several essential functions, including the ability to record high-quality movies, playbacks, and films from other devices (Xbox/PlayStation, IPTV). The recording task, as well as the real-time drawing and screenshot capabilities, can all be scheduled.
Pros:
- An easy-to-use UI.
- For game footage, record your Facecam.
- Capable of recording high-frame-rate games with minimal lag.
- A webcam recorder records HD video sessions using DirectX/OpenGL graphics.
Cons:
- There are no editing tools available.
- There is a watermark on the free version.
3. Windows 10 Screen Recorder Pro
This Microsoft Store-recommended program can record screen, webcam, audio, and cursor motions. Select regions, specific applications, the active window, and the webcam can all be recorded. It allows you to record mouse clicks or keystrokes and mix audio captured from a microphone or speaker output by altering voice quality.
The app provides a simple but effective screen recording tool. It allows you to record the screen with high-quality audio and save the movie in MOV, MKV, AVI, MP4, and GIF formats. You can also utilize your webcam to record screens.
Pros:
- You have the option of recording with or without the mouse cursor.
- Make a note of specific areas, screens, or windows.
- You can use a microphone or a speaker as a voice input device.
Cons:
- You can't set the output directory to the C drive's root directory.
- There are no cloud-based backup and recovery tools.
Facecam and screen recorder for Mac
A sound Facecam recorder can assist Mac users in a variety of ways.
Different folks have different needs, so we should pick the best one based on our current condition. We'll show you how to use the best four free Mac Facecam and screen recorders. Select the best suitable recorder for your needs.
1. Acethinker
Acethinker Screen Grabber Pro is a desktop screen and Facecam recorder from Aceyhinker that allows you to capture any action on your computer screen. Multiple recording modes are supported, including capturing the entire screen or a specific zone, recording only audio, capturing video from a camera, and recording a particular area surrounding the mouse. Games, videos, tutorials, lessons, webinars, conferences, video chats, podcasts, music, and more can all be recorded. You can choose from various output formats such as MP4, WMV, AVI, MOV, FLV, MPEG, VOB, GIF, and others for seamless viewing and distribution.
Pros
- An easy-to-use UI.
- It's simple to record video from a face camera.
- Immediately share a video on social media platforms like Facebook, Twitter, Google+, and Pinterest.
Cons
- To capitalize on most of the features, you'll need to upgrade to the pro version.
- It does not allow you to download YouTube videos or other media from the playlist.
2. Screencast-O-Matic
Take Screenshot, Launch Recorder, Open Editor, and Open Uploads are the four options on this app's menu.
You'll also have quick access to any recent screenshots or videos you've made. It's as easy as dragging the cursor over an area and letting go to take a screenshot. Few of the more advanced capturing features, e.g., trailing forms other than capturing scrolling windows, timing & rectangles, and catching text using OCR recognition, are not available.
You do, however, have a lot of editing possibilities. Cropping and resizing an image, blurring and highlighting certain portions, and adding graphics and text are options. Any changes can be easily undone.
Pros
- Screen capture and video recording are both available.
- The free version is capable.
- Video editor of the highest quality.
- Companion apps for mobile devices.
- Online storage and publication are both available.
Cons
- There is no OCR capability.
- Images are only exported as PNG files.
- There will be no scrolling capture.
3. QuickTime Player
QuickTime Player has a built-in screen and face camera recorder on your Mac computer. You can use this software to capture any section of your screen and record video and audio at any time. You may record your voice while recording the screen to add narrations to tutorial recordings.
Pros
- Being able to record full-screen Skype videos, including webcam.
- For YouTube, a Facecam recorder is available.
- All videos can be cropped, resized, and edited.
- video compression technique is used.
Cons
- The end-user must manually install extra codes.
- Playback is not supported, especially for file types such as AVI and FLV.
4. OBS
OBS Studio is a widely-used open tool for recording and broadcasting your gaming to the rest of the world. OBS Studio allows you to promote your game streams to Twitch and YouTube, and it can also be used to create screencasts. It's a sophisticated tool, but it's probably overkilled for someone looking for a simple game capture solution. OBS Studio has many features and settings, and if you're prepared to put in the effort to master it, it may give power users a lot of flexibility.
Pros
- Game record and broadcasting software with a lot of features.
- Customizable and adaptable.
- Budget systems have a low impact on frame rates.
Cons
- Other game recording tools have a steeper learning curve.
- Facecam and screen recorder online
Facecam and screen recorder online
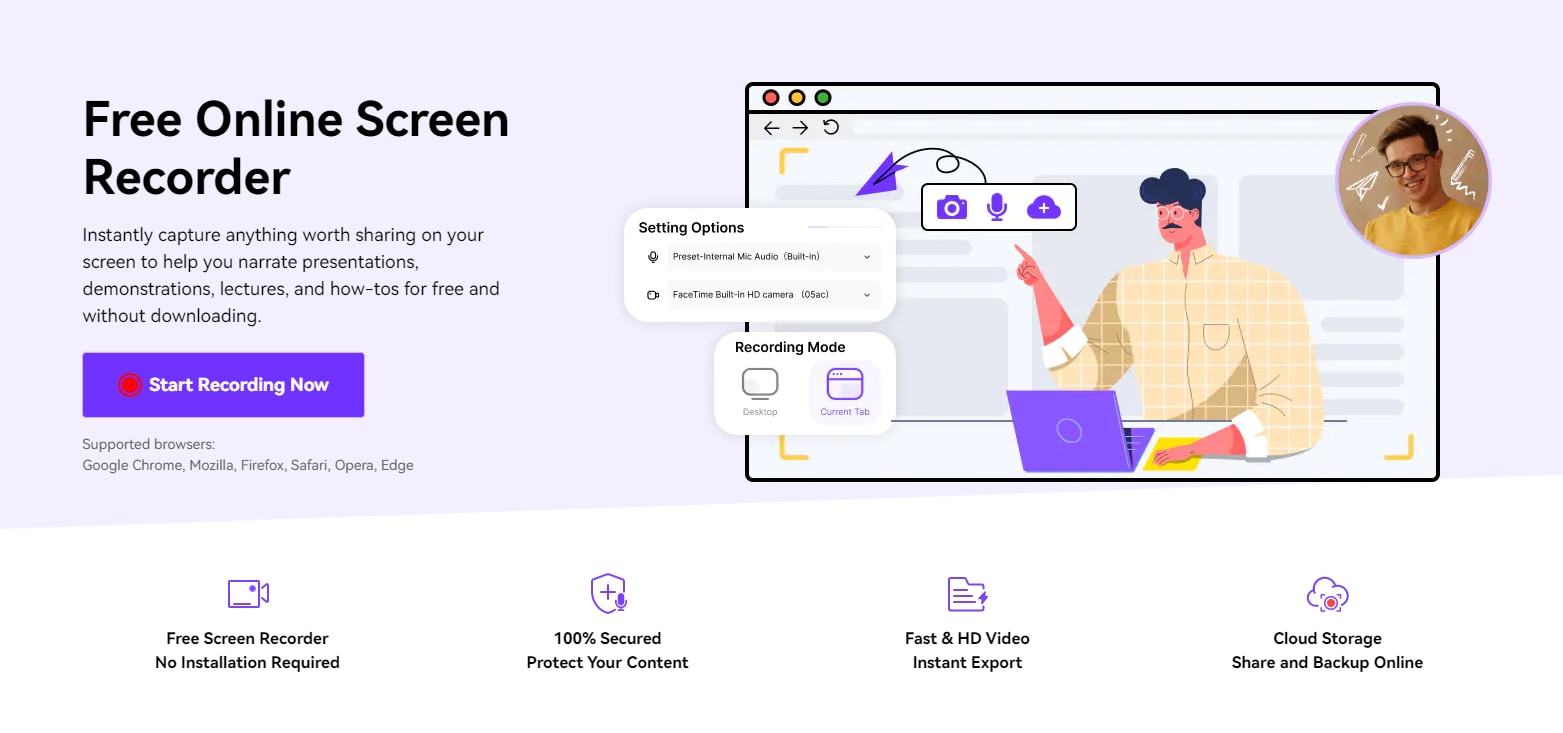
1. DemoAir
DemoAir integrates with Online Classes, Asana, Trello, Git, and Chat to work with team stacks. Furthermore, the user can add annotations to the screen to highlight and emphasize specific points. This feature is handy in online schooling. DemoAir is an effective and time-saving approach to carry the word through, with easy trimming functionality and effortless organizing of video folders. Entrepreneurs can reach out to clients and interact with their team members to improve their work and productivity.
Secure AccessSecure AccessPros
- The interface is user-friendly.
- Management of video.
- Control of the screen recording.
- Annotation attribute
- Editing that is both quick and painless.
- Google Classroom, Asana, Trello, GitHub, and Slack are all integrated.
Cons
- Features for video editing are limited.
2. High Definition Screen Recorder
Screen Recorder HD is the most excellent app for recording a screen on an Android phone with a Facecam and audio. This face cam app makes it simple to take high-quality screenshots of your screen, apps, and video games. It additionally allows you to record yourself using the camera and microphone in addition to screen recording.
Pros
- It's easy to use.
- Screen recording is in high definition.
- There is no restraint on how long you can record.
- The user interface is top-notch.
Cons
- There aren't enough video editing programs.
Why will you need Facecam and screen recorder?
Facecam screen recorders make it simple to make films, streamline footage, and record gameplay. When playing games or filming, a screen recorder with Facecam can assist you in focusing on your face and shoulder area. As a result, most customers choose Facecam recorders to create compelling films.
It also assists game participants in capturing their reactions while playing games that attract viewers' interest. You can additionally use this online application to participate in online meetings via video calls and speak with anyone in real-time. Choosing the best Facecam screen recorder, on the other hand, is critical. Here you have learned about several great Facecam for PC options to match your demands.
Conclusion
Suppose you want to make a high-quality film using your webcam and screen. In that case, you can utilize the screen mentioned above recorder with Facecam and audio, not only depending on whether you're using Windows or macOS, but also the price, file size, features, and performance.
To sum up, the DemoCreator screen and webcam capture tool is your first choice! Because the Wondershare DemoCreator featured both recording and editing features for macOS and Windows PC, you can finish a complete screen video with one tool, and have no need to download or purchase any other screen tools.
The All-in-One Screen Recorder & Video Editor
- Record desktop screen,audio and webcam simultaneously
- Edit videos quickly with a wide range of professional tools
- Built-in plentiful video effects
- Export to MP4, MOV, MKV, GIF and multiple formats


