DemoCreator User Guide
How to use Wondershare DemoCreator? Learn the step by step guide below
DemoCreator User Guide
-
Get Started
-
Video Recorder
-
Video Presentation
-
Video Editing
-
Audio Edit
-
DemoCreator Effects
-
Export & Share
-
Keyboard Shortcuts - Windows
DemoAir User Guide
-
DemoCreator Cloud Service - Get Started
-
Video Creation Mode
-
Export&Share
FAQs
Video Recorder - Screen Recording
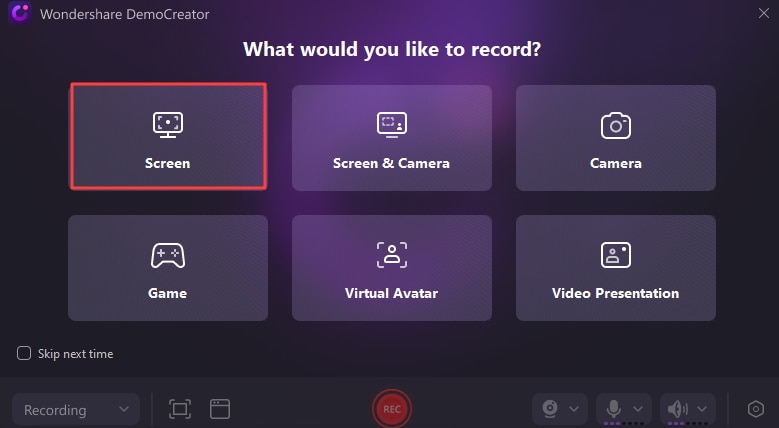
Launch DemoCreator, and select Video Recorder.
Come to the "Recorder" panel, there are six distinct recording modes tailored to suit various needs, ensuring a fluid and exceptional recording experience.
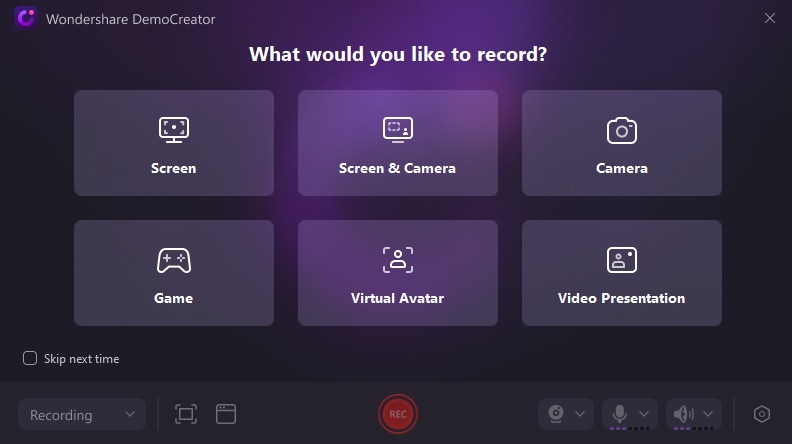
Screen Recording mode supports recording the screen, system audio, and microphone simultaneously. You also can record the camera as you need.
 Secure DownloadSecure Download
Index
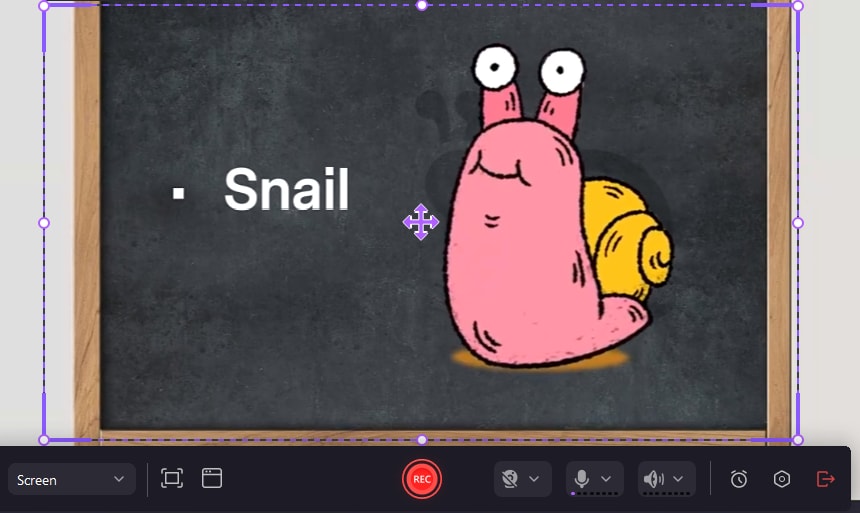
1. Customize Recording Setting
① Customize Recording Area: Choose to record the full screen, custom selection, capture window, or social media dimensions.
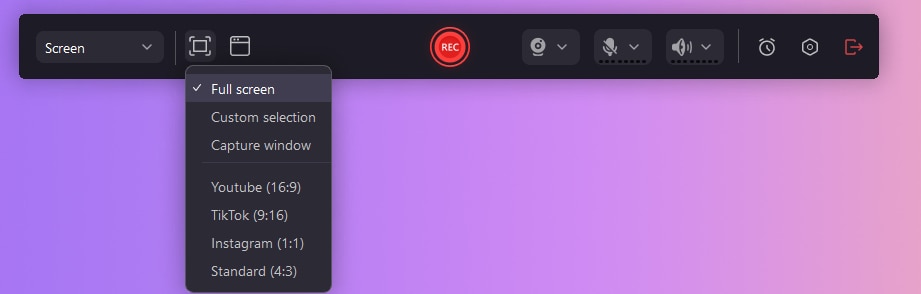
② Select Windows: Here you can select the windows that you want to record screen.

2. Set Teleprompter
① Click the icon below to enable the Teleprompter.
![]()
② Type out your script or paste text here. You can also click the “Import” button to import your script file directly (only .txt supported).
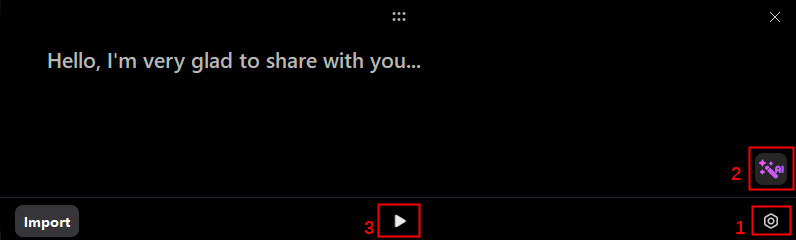
③ Click “Icon 1” in the above image to set your script’s font size, text alignment, and scrolling speed. Then, you can utilize our AI features to optimize your script by clicking “Icon 2”. Finally, make your script scroll by clicking “Icon 3”.
3. Export Configuration
There are 2 export configurations, Fast Merge, and Track Separation
① Fast Merge (Quick Export): Enable this option to merge webcam and desktop content fully, making them inseparable for individual editing. Faster export times.
② Track Separation(Editable Tracks): Enable this option to separate webcam and desktop content onto distinct tracks, allowing for individual editing, Export requires additional processing.
In addition, you can modify your recording presets in settings to make your recording experience more convenient.

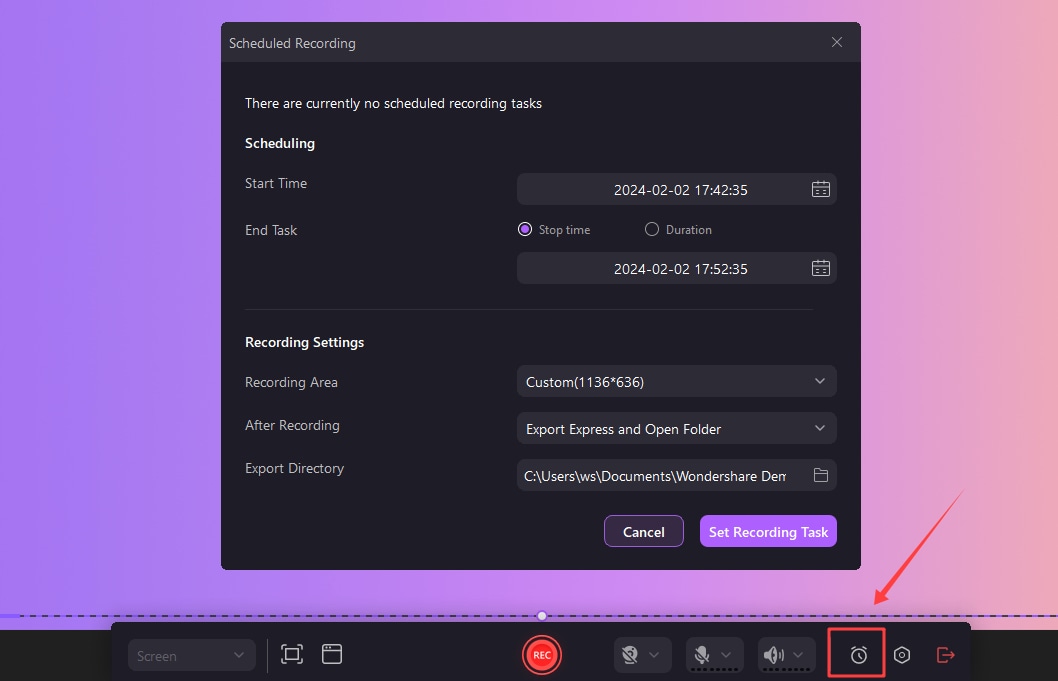
4. Schedule Recording Settings
The completion of Step 2 directs you to the "scheduling" interface, where you will have to work on the actual task by setting the start/end timings of your recordings and making additional adjustments in recording settings. Tap " Save Recording Task" when you are satisfied with the arrangements.
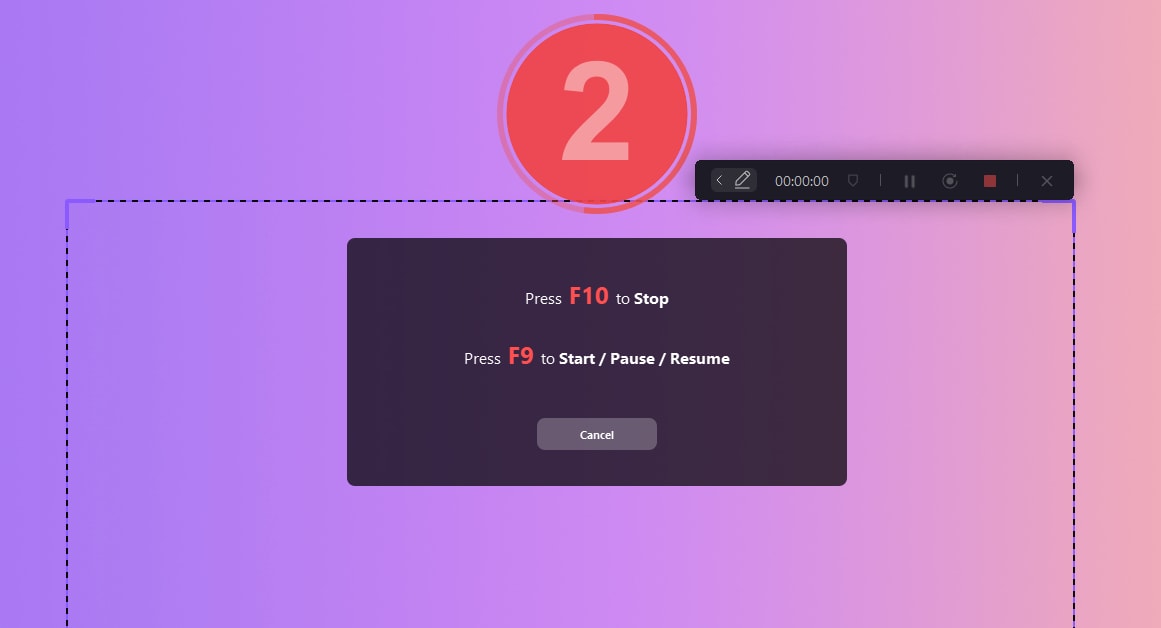
Secure DownloadSecure Download5. Start/Finish Recording
① Start: After you've finished all the settings, click the red "Rec" button or press F9 to start recording.
② Finish/Pause: If you've finished recording, press F10 to stop. Press F9 to pause/resume a recording.
6. Screen Drawing Tool
The Screen Drawing Tool helps you to draw while recording. To open it, press Shift+Ctrl+D. The screen drawing tool contains a pen, Highlight, Spotlight, Whiteboard, Stickers, etc. You can quickly write and highlight while recording.
Secure DownloadSecure Download