
I want to record a video with my computer camera on Windows 10 for my presentation. Can anyone suggest the best methods to record a video on a PC webcam?
You've come to the right place!
Both Windows and Mac devices have built-in screen and webcam recording apps you can use to capture footage from your webcam on your computer. However, these built-in tools give you limited recording, editing, and storing options, which may not be enough to meet all your video recording, editing, and postproduction needs.
In that case, consider using a professional, cross-platform audio/video recorder and editor for Windows and Mac, like Wondershare DemoCreator. We'll cover all three solutions to help you weigh your options.
Table of Content
Three Ways to Record a Video With a Webcam on Windows/Mac
Below are the top three methods to record a video with a webcam on Windows and Mac.
Way 1. Record a Video With Webcam Using a Third-Party Video Recorder
Best for: education, knowledge sharing, business, social media, online courses, employee training, presentations, gameplay walkthroughs
Wondershare DemoCreator is the best webcam recording software for Windows 10/11 and Mac. The app offers six recording modes. If you wish to capture your screen and camera at the same time or just webcam footage, use these two essential video webcam recording modes:
- Screen & Camera - capture your desktop screen, webcam footage, microphone, and system audio simultaneously;
- Camera Only - capture footage from your webcam with internal/external audio on a PC or Mac.
Both webcam recording modes come with extensive features and tools you can tap into to enhance your recordings according to your preferences.
Here are the options you can count on:
- Customizable recording area - capture your entire desktop screen and add webcam footage over it or record a specific screen area or a single window.
- Rectangle mask and background removal effects - change the webcam mask shape and remove the background to make your webcam recording more engaging and professional.
- Screen drawing tool - enable screen drawing to highlight the key points in your webcam recording.
- Customize recording area sizes – use optimized camera recording settings to adjust the aspect ratio of your recording and optimize it for social media platforms like YouTube, TikTok, or Instagram.
- Change your webcam recording background - tap into DemoCreator's background preset templates and virtual avatars to customize your recording for academic or business applications.
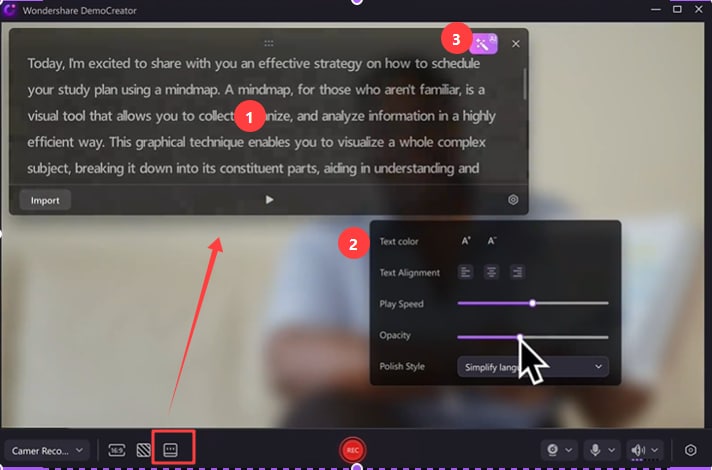
- AI teleprompter - optimize your webcam recording script, type the words, and select your script's opacity, speed, alignment, and color settings.
- Schedule a recording - set your start/end time to schedule a recording according to your needs.
- Export your webcam video - DemoCreator's export section allows you to adjust video settings according to your preferences. You can select the preferred bitrate, frame rate, resolution, and video encoder and tap into multiple video formats (MP4, AVI, WMV, MOV, MKV, FLV, TS, WEBM, MP3, M4A, and GIF).
- Direct share - share your webcam recordings directly to YouTube, TikTok, and Vimeo.
- Export webcam video as audio - export your webcam recording in MP3 audio format.
In addition to multiple webcam and screen recording modes, DemoCreator comes with an AI-powered audio/video editor.
This ultimate video editing powerhouse allows you to turn your webcam recordings into professional video content using an array of creative and visual assets, including music, video effects, templates, AI tools, and more.
Download and install DemoCreator on Windows, then follow the steps below to record a webcam video on Windows 10 and 11.
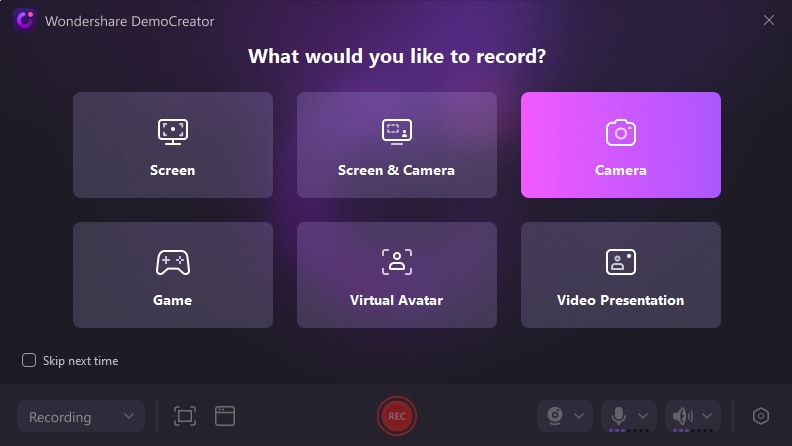
- Launch DemoCreator and navigate to Video Recorder;
- Select Camera recording mode;
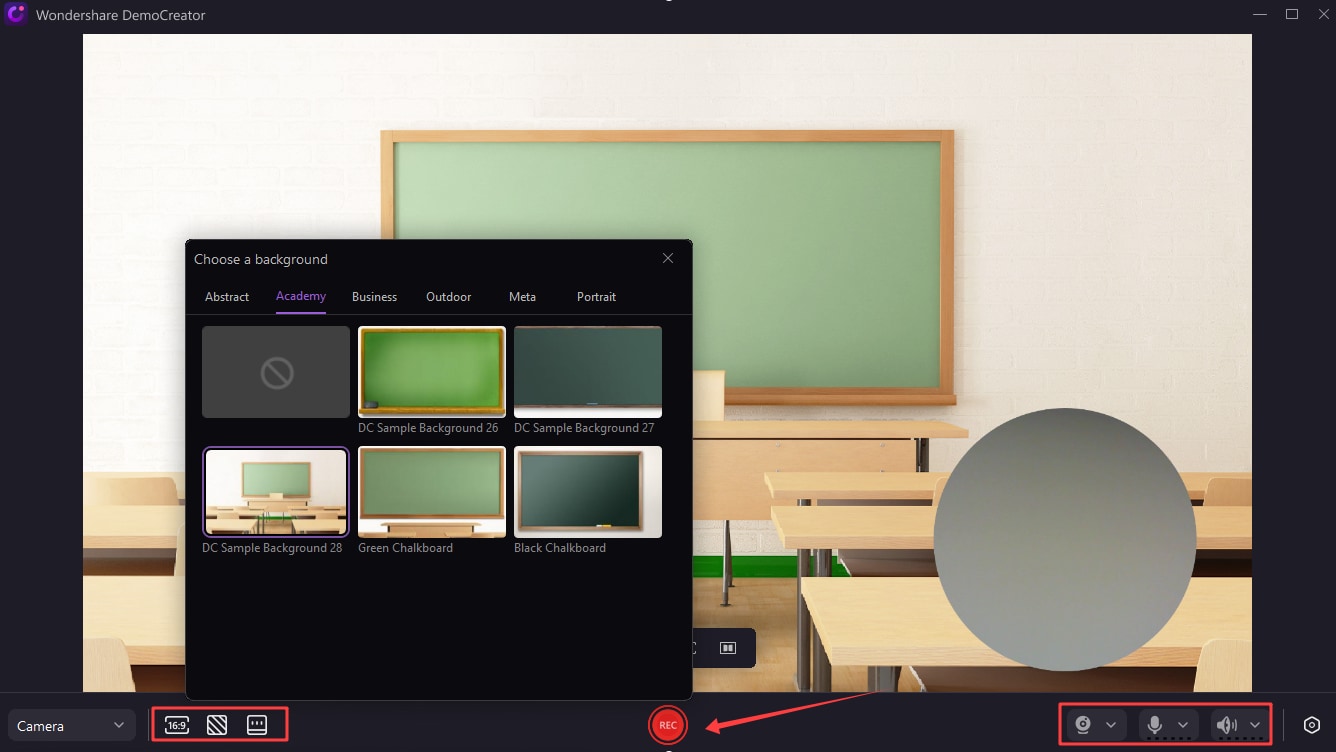
- Adjust your Webcam Mask and change the camera background according to your needs;
- Use the AI Telepromter to help you make your presentation more smoothly;
- Finally, click the red REC button to start recording a webcam video.
Way 2. Record a Video With Webcam Using Windows Built-in Tool
Are you looking for the best method to record from your webcam on Windows 10 or 11? If you are, consider using the Win10 built-in Camera app to capture video footage with audio from your computer camera.
Though quite a basic webcam recording tool, the Camera app empowers beginners to get ahead of webcam recording capabilities on Windows 10 devices. You can capture your camera and system audio and even add an external microphone to customize your webcam recordings for online streaming platforms like YouTube.
Here's how to use the Camera app to record a webcam video on Windows 10.
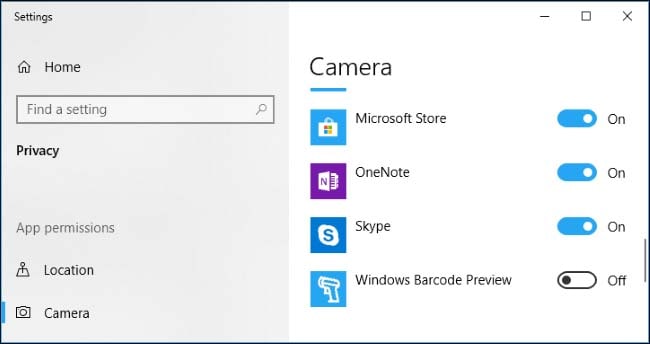
- Navigate to the Start menu and select Settings > Privacy > App Permissions > Camera;
- Enable your webcam by turning it on;
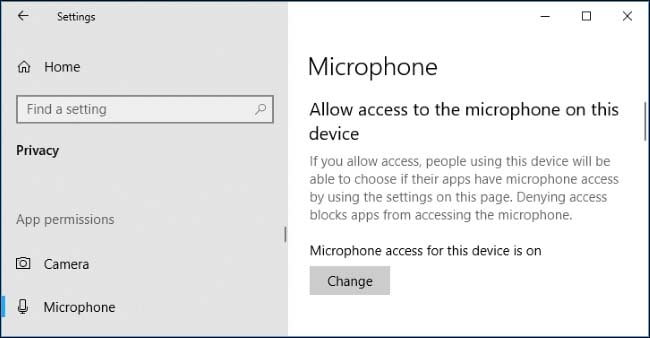
- Navigate back to Settings > App Permissions > Microphone;
- Tick the Allow access to the microphone on this device box;
- Toggle the Microphone switch to ON;
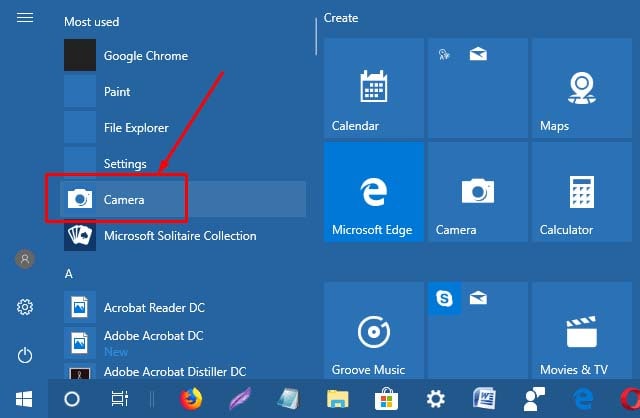
- Go back to the Start menu and select Camera;
- Click the video camera icon to check the recording area;
- Click the red REC button to start recording;
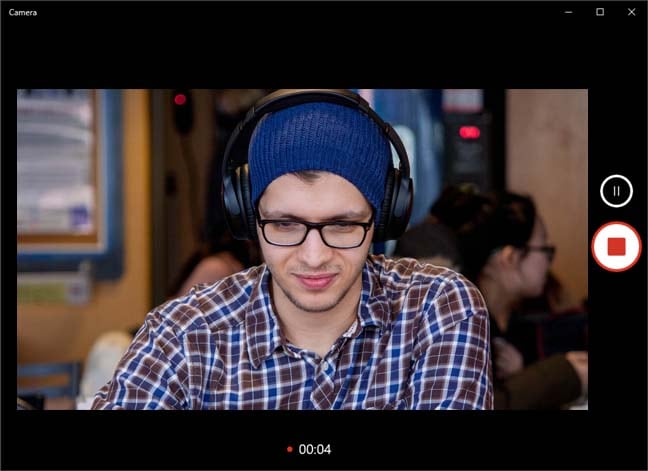
- Click the red button again to stop recording and save your webcam video on your computer.
Way 3. Record a Video With Webcam Using a Mac Built-in Tool
If you're a Mac user, use the QuickTime media player to capture webcam recordings on your device. QuickTime media player is a versatile player and webcam recorder for Mac devices capable of capturing any type of video recording on your computer, including streaming videos, social media clips, webcam recordings, and more.
In addition, the player offers essential editing tools to help you polish your recordings according to your preferences. You can split a webcam recording into smaller clips, rearrange clips according to your needs, rotate or flip recordings, trim unwanted parts, etc.
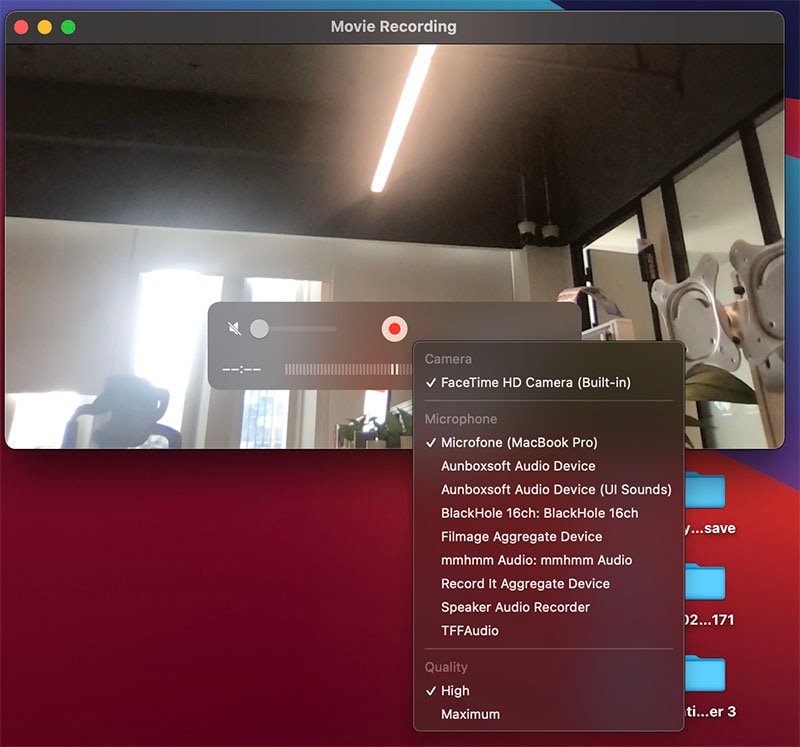
Here's how to capture FaceTime camera recordings using the built-in QuickTime player on Mac.
- Navigate to Applications > QuickTime Player
- Select File > New Movie Recording;

- Let the QuickTime player detect the FaceTime webcam;
- Click the red REC button to start recording webcam footage;
- Click the red button again to stop recording;
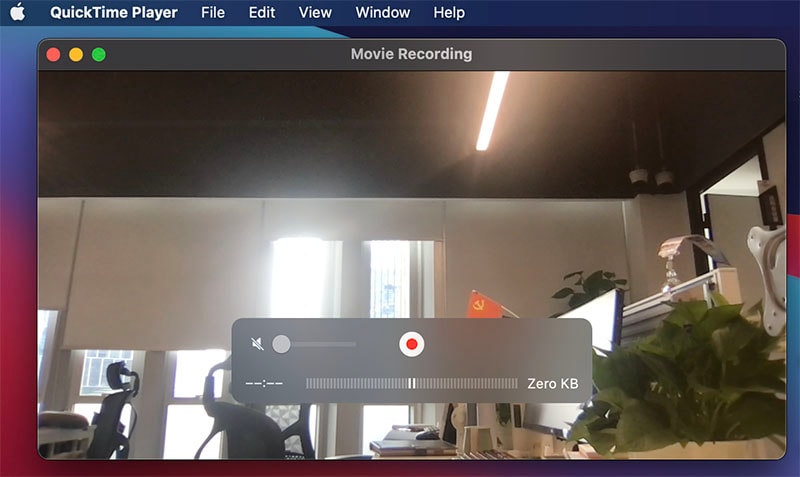
- Select File > Save to save the webcam video on your Mac.
Things to Consider When Recording Webcam Videos
Here are a few considerations to help you get ahead of recording webcam videos across different operating systems:
- Select the right webcam recording software - whether using Windows or Mac, keep in mind that built-in webcam recording tools offer limited recording and editing features. If you need professional video content, a high-end webcam recorder like Wondershare DemoCreator might be a more suitable solution.
- Experiment with different video recording settings to optimize your webcam clips - enable microphone and camera recording on your computer and check the available webcam recording settings.
Ideally, your recording software should let you adjust different settings like the webcam recording area, bitrate, frame rate, video resolution, exporting format, sharing, audio format, playback speed, etc.
- Edit your webcam footage - advanced webcam recorders like DemoCreator come with an extensive selection of both basic and advanced camera recording and editing tools to help you stylize and refine your webcam content to perfection.
You should be able to apply various editing tricks, from annotations, subtitles, and visual effects to different background templates, music, stickers, animated texts, voiceovers, and more.
- Make sure you use enough video lighting - use natural, clear light to boost the visual appeal and overall quality of your webcam recordings. The more light you have, the fewer distractions you'll capture in your webcam videos. Well-lit videos are also more engaging.
- Eliminate background noise - whether recording internal or external audio, ensure you don't disrupt your webcam recordings with unwanted background noise, clicks, hisses, etc.
Conclusion
We've discussed the top three methods to record a video with a webcam on Windows 10/11 and Mac. We shared detailed step-by-step guides to using built-in webcam recording tools for Windows and Mac, such as the Camera app and the QuickTime media player.
Both solutions provide a quick and simple way to capture vivid videos with your computer camera across Windows and Mac operating systems.
However, these built-in tools are pretty basic in terms of their recording and editing capabilities. The Camera app is a simple tool that can only capture basic camera recordings, giving you minimal recording and editing capabilities.
On the other hand, QuickTime player extends the editing tools but has other limitations, such as capturing webcam recordings in .mov format and low resolution. If you wish to bypass these disadvantages, we recommend opting for a professional webcam recording and editing solution like Wondershare DemoCreator.
Aside from offering multiple camera and screen recording modes, DemoCreator provides an all-in-one AI-powered audio/video editing powerhouse, packed with versatile and flexible features and tools to help you transform an average webcam recording into a professionally-looking, engaging, multipurpose, shareable video content.


