How to Record Microsoft Teams Meeting
A majority of the companies have shifted their workflow to the WFH setup. Therefore, Microsoft Teams is a widely acclaimed one with rich features and an easy dashboard among a long list of available meeting platforms. The tools that you will need to have at your disposal should also include a recording tool so that you can record Microsoft Teams meetings for future reference. In this article, we will guide you on how to record Microsoft Teams meetings on PC and mobile.
 Secure Download
 Secure Download
How to Record Teams Meeting on PC
If you have even a little bit of interest in the technology, you will find it quite simple and easy to get started with the recording. You might also not need to go through this guide. We are going to give you a few methods that will allow you to easily record the screen without any hassle. Having the ability to record will let you share selected clips or a certain topic with your classmates or colleagues.
Here, we will discuss two methods:
- with the in-built recorder, and
- using a third-party app
Method 1: Use the Teams' built-in recorder
1. Once the app is downloaded and you have created/logged into your account, it's time to launch the Teams.
2. The app will greet you with a very intuitive dashboard. You will find a plethora of options that will allow you to start/schedule a meeting.
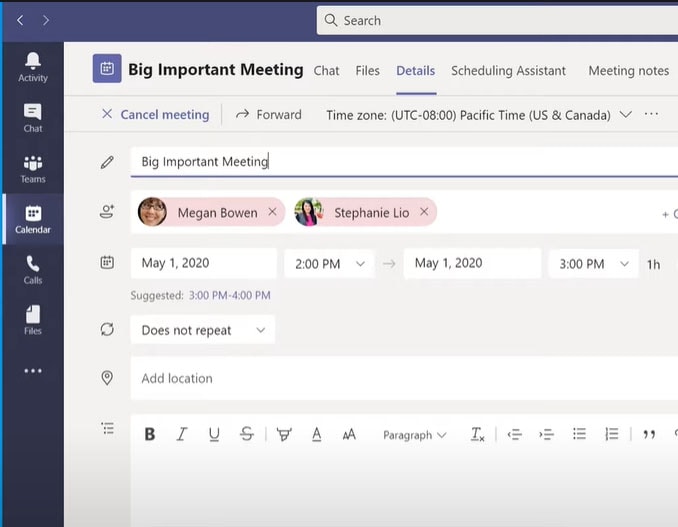
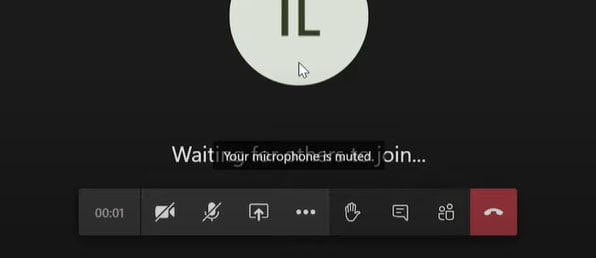
3. Join the meeting that you are going to attend, and meanwhile, you are being connected, you can start recording the said meeting. You will need to hover your pointer on the bottom-middle section of the window to get a few options.
4. If you are the host or anyone who wants to share something with the other joints, you will first need to hit the Share button and then choose what you want to share. You will get a somewhat similar set of options.
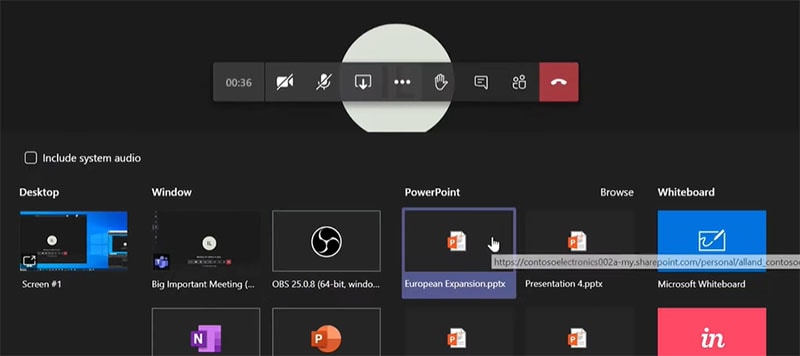
5. Once done, you will then need to hit the ellipsis icon present right next to it. It will give you many extra options that will also include the recording option.
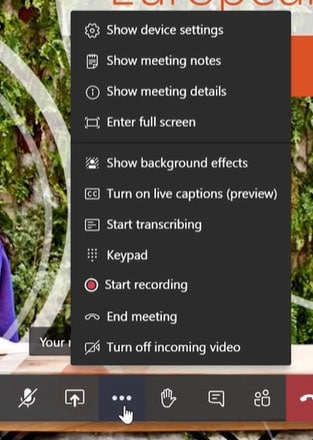
6. This "More Action" tab will give you options and features such as turning on live captions, going full screen, enabling transcribing, recording, end meeting, etc. Click on the Start Recording tab. You will get a notification on the top confirming that the meeting is being recorded.
7. Once you are done, you will need to go to the same ellipsis or "More Actions" tab. It will help to stop the recording. If the meeting has also come to the end, you can simply end the meeting. The recording will also be stopped.
You will get notified on the top that the recording is saved and will be stored in the cloud. It might take a couple of minutes to show up.
This Teams meeting recording method is quite simple. It is not the one for those who want to secretly record the meeting, it's also wrong on so many levels. You must inform everyone who is in the meeting that it's being recorded.
Method 2: Use an easy screen recorder
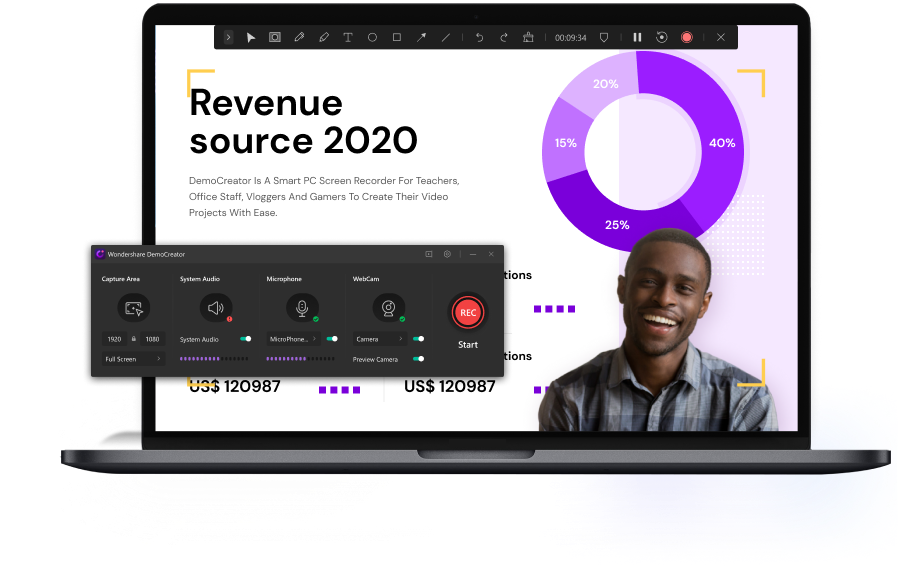
Microsoft Teams will restrict a few attendees when it comes to recording. Moreover, if you are unable to record the meeting through your account, it's time to settle for a third-party one. It can give you a wide range of features. We are going to introduce you to the Wondershare DemoCreator recording guide.
 Secure Download
 Secure Download
1. Launch the app, and based on your system requirements, it will take a few moments to load up. Once the app loads, it will ask you to enter the editor for an existing recording or record a new video.
2. Once you have selected the latter, it will give you some features. Upfront, you will get to select the area that you want to record. You can either go full screen or select a particular section of the screen. It will also let you set the frame rate on which you want to record the video.
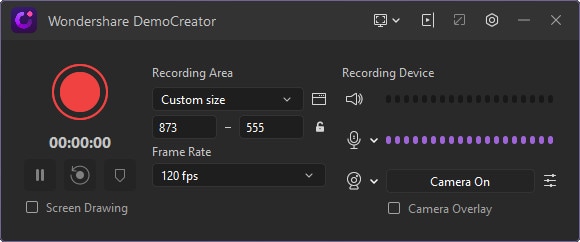
3. Moving on, configure the settings in the Recording Device section. Here, you will get to enable/disable the camera and the microphone. Right below these options, you will also get the toggle to use the pencil/drawing tool.
4. To start Microsoft Teams meeting recording, you will need to launch the app and join the meeting. Now, come back to the DemoCreator dashboard and click on the start recording button present on the leftmost.
5. Once you are done, you can stop the recording using the same button. It will take you to an integrated editor, where you will get to tweak it accordingly.

The Best Microsoft Teams Meeting Recorder
 Secure Download
 Secure Download
How to Record Team Meetings on Mobile
There is a majority of people use their smartphones to attend virtual meetings. For them, we are also covering the steps for recording the meeting on their smartphone. Let's dive in.
1. Once you have downloaded and installed the Teams app, you can launch it and log in using the credentials that you have set up while registering.
2. Enter the meeting details and join it by tapping the Join button on the bottom.
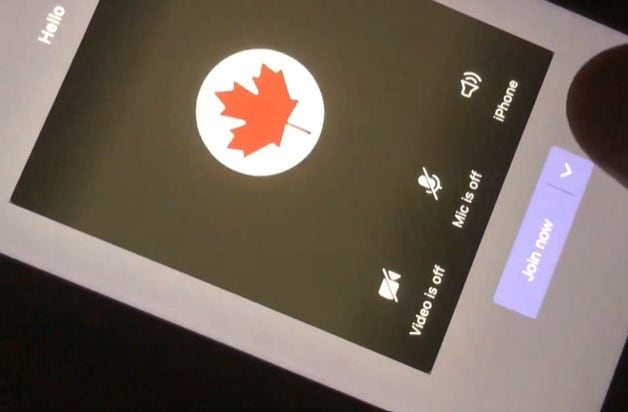
3. Now, you will see many options on the bottom, tap on the ellipsis or the three dots.
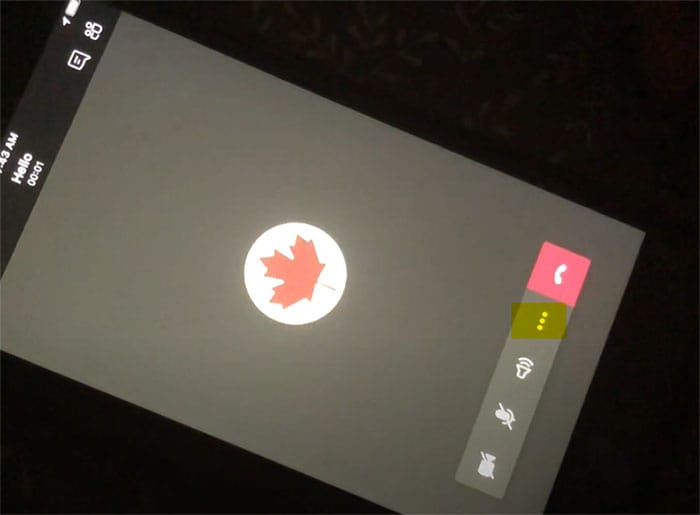
4. This "More Actions" tab will give you a few options, including Start Recording. You will also get the direct Share option to invite someone to the meeting.
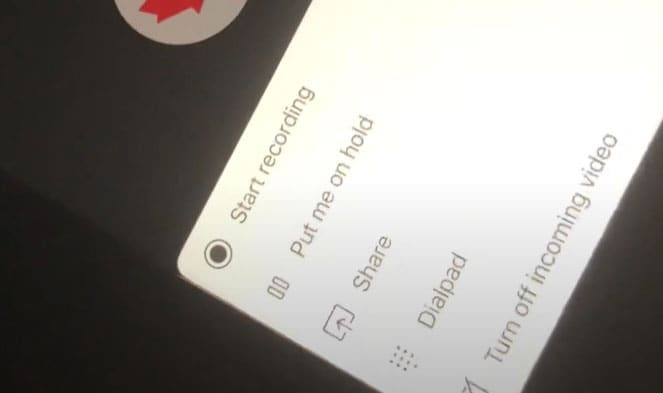
5. It will give you the confirmation on the top that the screen is being recorded, and as good etiquette, you should inform everyone that the meeting is being recorded. Once you are done and ended the meeting, the recording will be present in the chat window of that particular meeting.
Conclusion
We hope that you can find just the right guide to get the answer to how to record Teams’ meetings. The steps and methods that we have mentioned here are quite easy to understand. Start from now to record Microsoft Teams meetings on your PC or mobile devices.
