
Introduction
Skype has been a popular communication tool for both personal and professional use for many years. If you are using Skype for a meeting, it’s possible to record it to ensure that you capture all important discussions and decisions made during the call.
Recording a Skype meeting can be very important for many reasons. These range from future reference to saving cherished family conversations. If you are still confused about how to record a Skype meeting, we will tell you step-by-step how to do it in this article.
In this article
Part 1. How to Record Skype Meetings Directly within The App
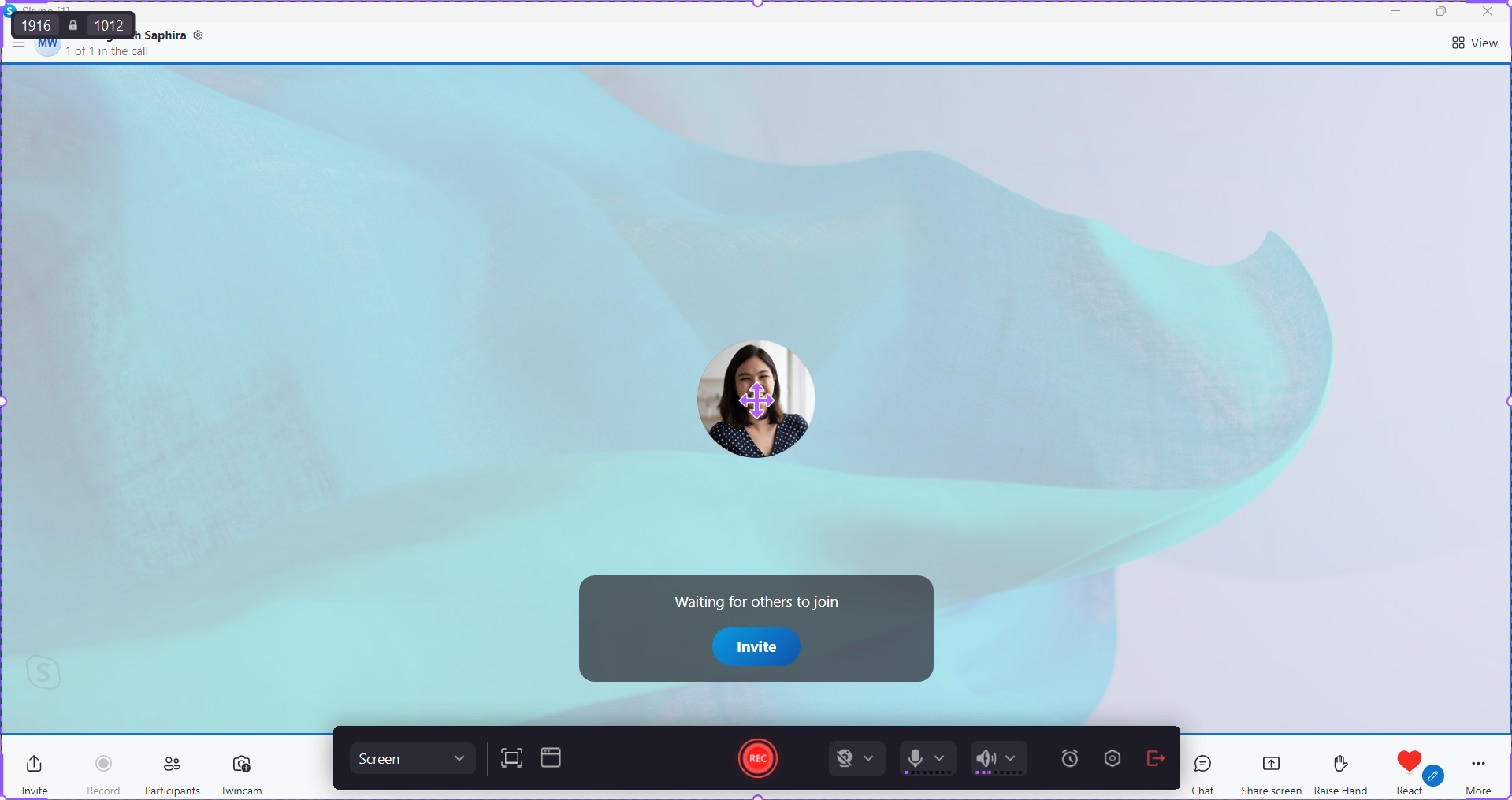
Skype allows you to record a Skype meeting directly within the App. If you are recording a video call, Skype will ensure everyone's video stream (including your own) is combined and recorded.
But before you start recording a Skype meeting, please note that:
- Skype will notify your participants that the call is being recorded and will allow you to access the recording in your chat history afterward.
- The screen sharing will be included in the recording.
- You can record up to 24 hours of your call and longer calls may be split into multiple files.
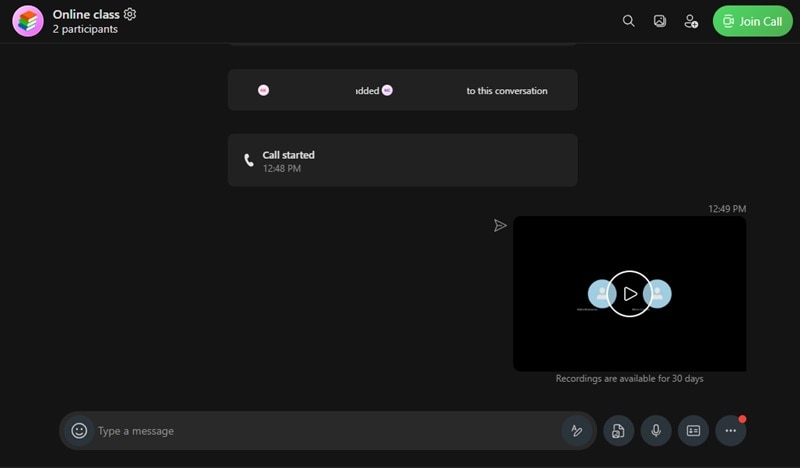
- The Skype call recording will be available in your chat for 30 days.
- You can download and save the recording locally at any time during the 30 days.
Now let’s get into step by step how to record Skype meetings on Skype.
Record Skype Meeting on PC
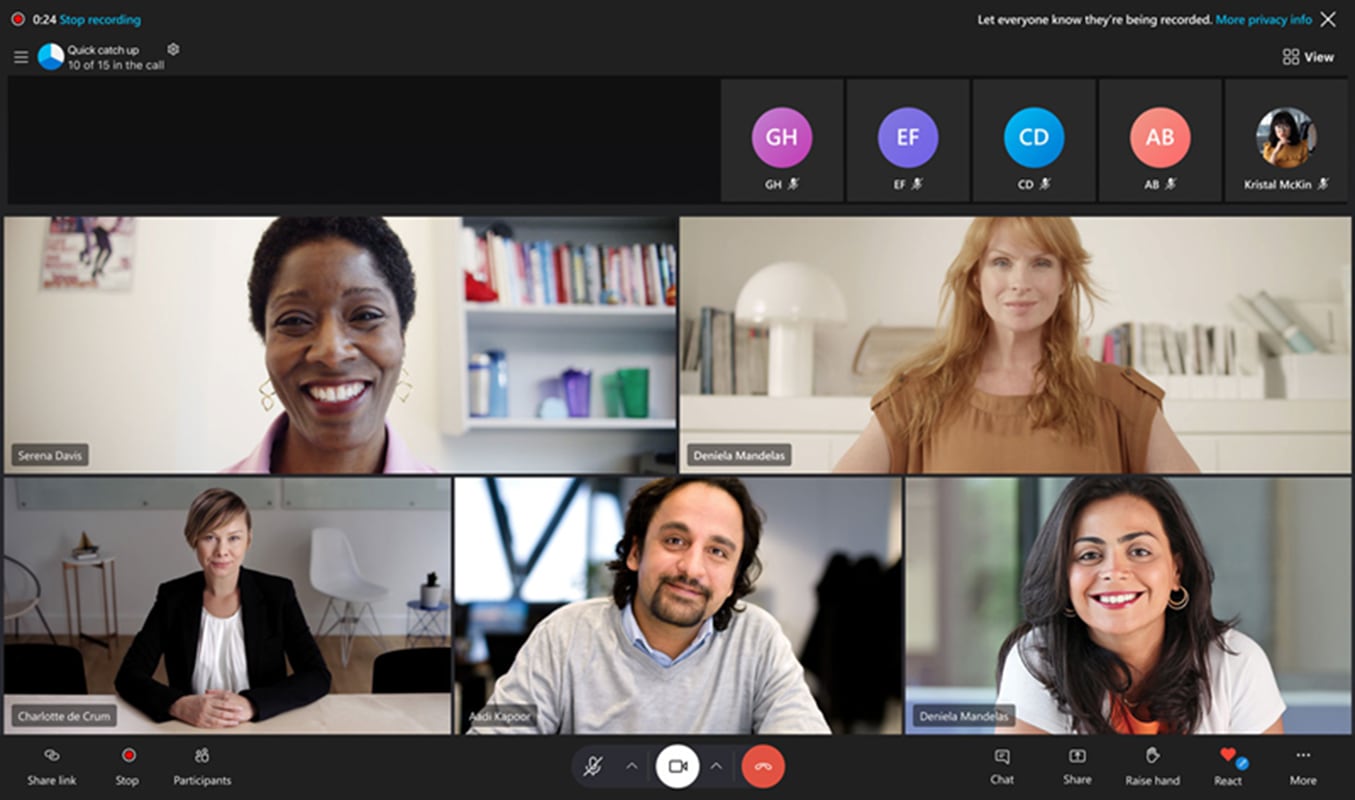
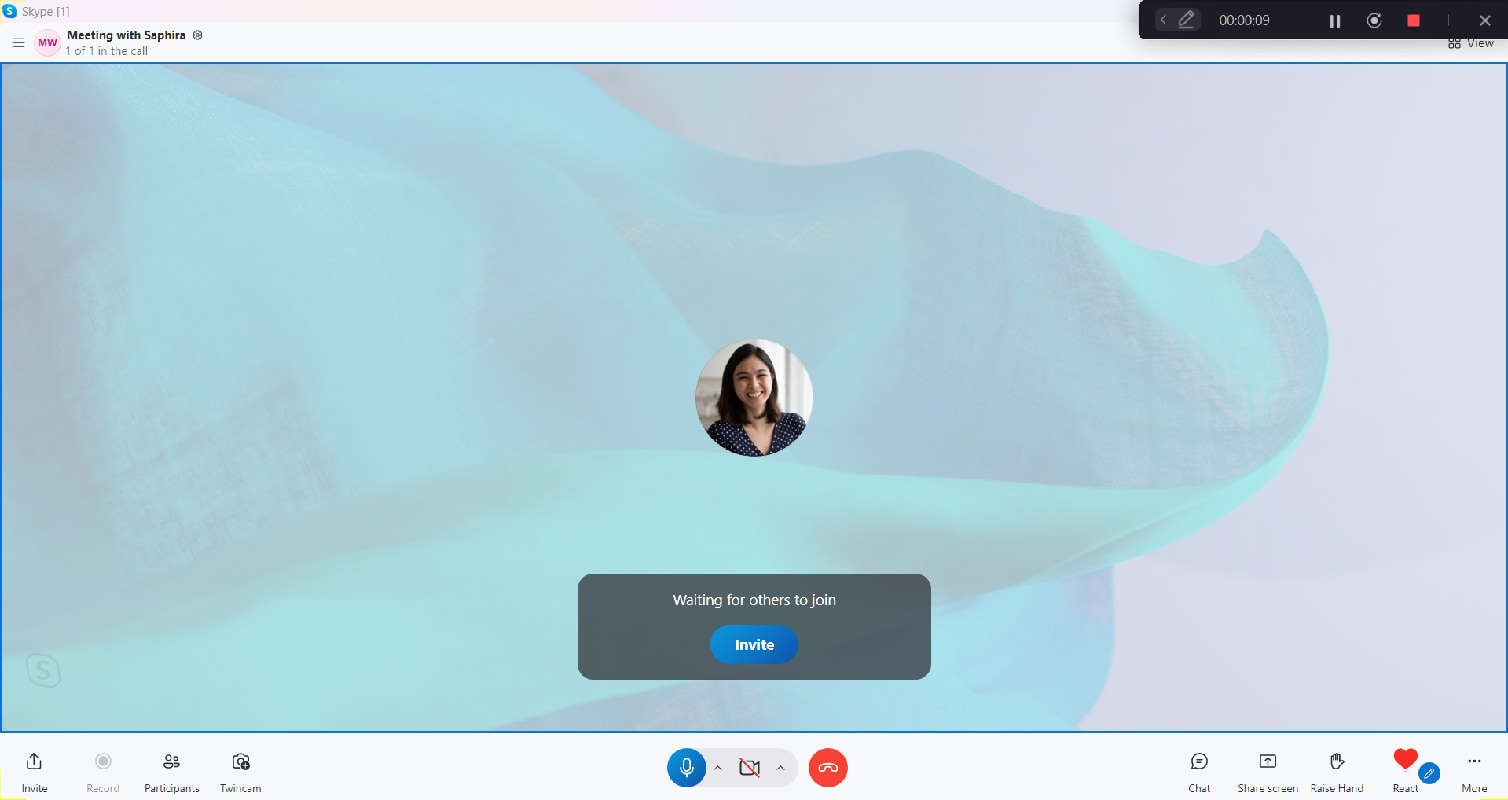
Step 1. Once you have joined the meeting, click the Record button in the bottom left corner of your desktop. (A banner will appear and notify you to let everyone know that you have started recording)
Step 2. Once you stop the recording, end the call, or leave the group call, the recording will stop. The final call recording will be posted in the Skype chat where the call took place.
It's easy, right? Besides recording Skype meetings from your desktop, here is a step-by-step if you are recording from Skype for Business.
Step 1. Tap the More Options button, and choose Start Recording.
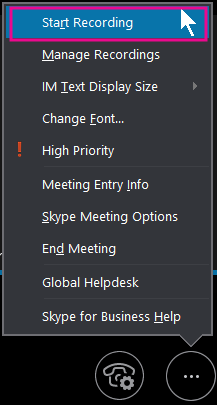
If the recording options are muted, your audio may not be connected. Click the microphone icon to connect audio, and then try again.
Step 2. Use the controls at the bottom of the meeting to pause, resume, or stop recording.

Step 3. When you're done, click Stop Recording. Skype automatically saves the recording to your Downloads folder.
Record Skype Meeting on Mobile Phone
If you are using a mobile phone, you can also record your Skype meetings by following these simple steps:
Step 1. To start call recording on your phone, tap the More Options button, and then tap Start Recording. You will also be notified when you start recording a call.
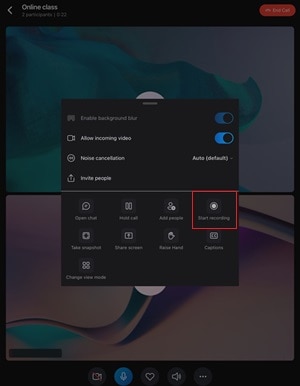
Step 2. Tap Stop Recording when you are done recording your call. Your recording output will be available to your chat for 30 days.
Part 2. How to Play and Share a Skype Recording
While the call recording will be posted in the Skype chat, you can also find, play, and share the Skype recording on the Recording Manager. Here’s how to play and share a Skype recording:
Step 1. Open Skype
Launch the Skype application on your device.
Step 2. Go to the chat to find the recording
If it is a recent recording, it will be visible in the chat history. Scroll through the chat to find the recording. The recording will be marked with a timestamp and play button.
Step 3. Playing a Recording
Click the play button on the recording and it will start playing in the Skype app.
Step 4. Save the Recording
Select the More options, then select “Save” to save the recording to your device. You can choose the location where you want to save the recording.

Step 5. Share the Recording
- Once the recording is saved to your device, you can share it through various methods, such as email, cloud storage, or messaging apps.
- Or you can select Forward to share the Skype call recording to another chat.
Part 3. How to Record Skype Meetings Without Notifying Others
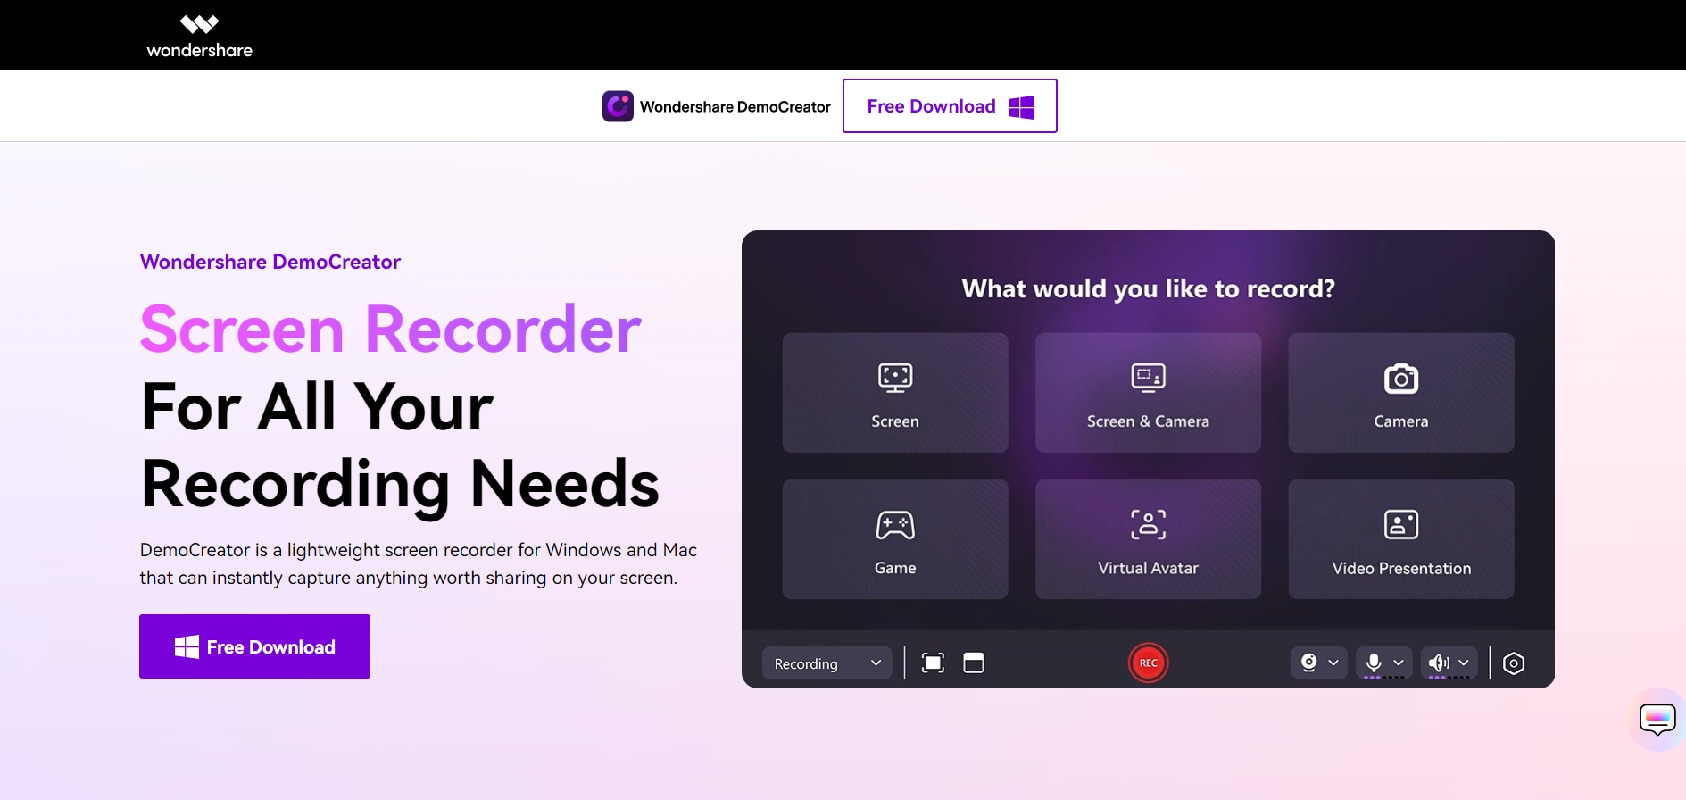
Alternatively, you can also use professional and easy-to-use screen recorder tools like Wondershare DemoCreator to record Skype meetings. The recording will be stored on your device only and others won’t get notified that the screen is being recorded.
Some of Wondershare DemoCreator key features are:
- DemoCreator is a versatile video editing and screen recording tool in one place.
- It offers flexible recording options, from recording the entire screen to a custom-defined area.
- DemoCreator delivers high-quality results from Audio Recording, Webcam Recording, and more.
- Users can export their videos in various formats, including MP4, MOV, AVI, and more.
- Users can directly upload their videos to YouTube and other platforms from within the software.
How to use Wondershare DemoCreator to record a Skype meeting:
Step 1. Go to the official website of Wondershare DemoCreator, and click “Try It For Free” to download and install the software on your computer.

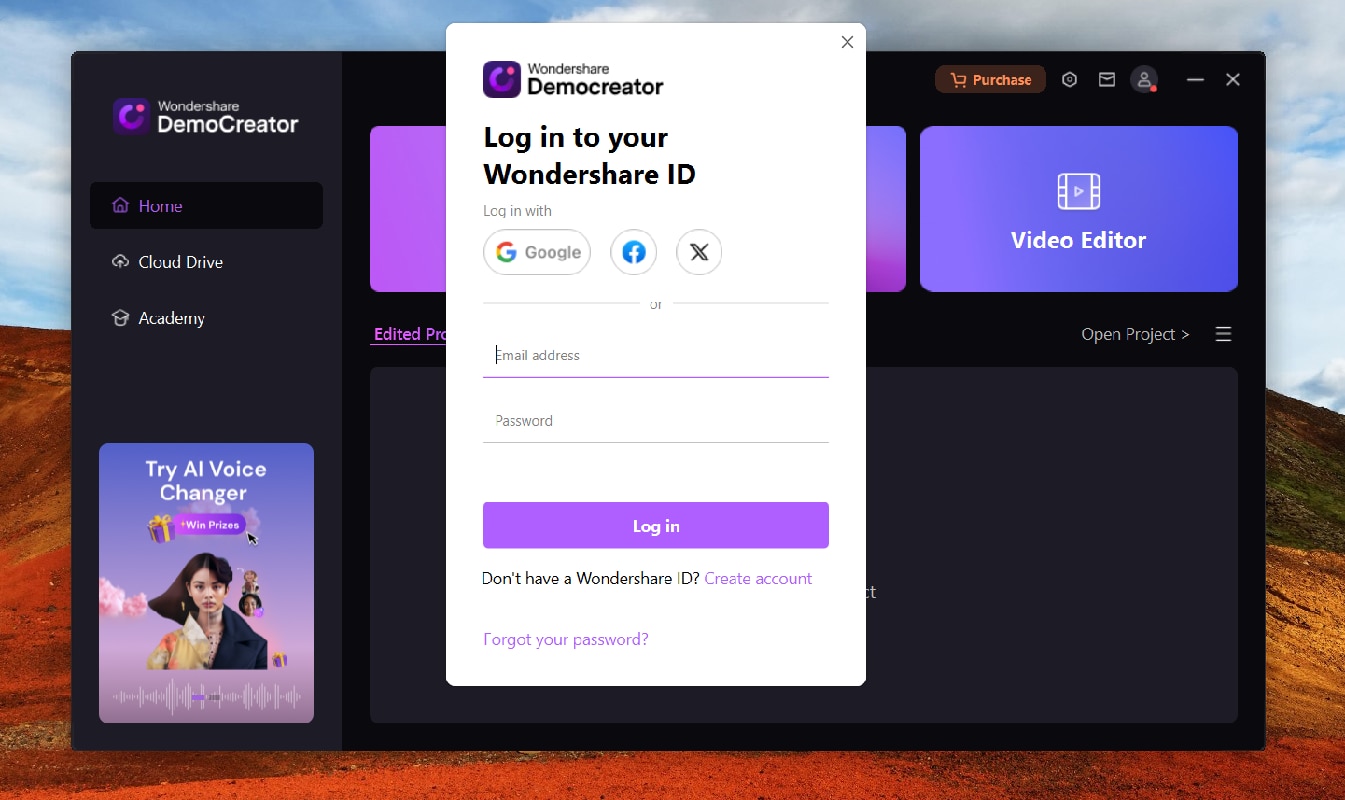
Step 2. Once you have installed the software, sign in to your email account or create a new account if you don't have one.
Step 3. Select one of the recording screen options based on your needs. If you want to record the meeting screen only, you can opt for the “Screen” option. If you want to include yourself in the camera, you can opt for “Screen and Camera.” Make sure your microphone is well connected to your device.
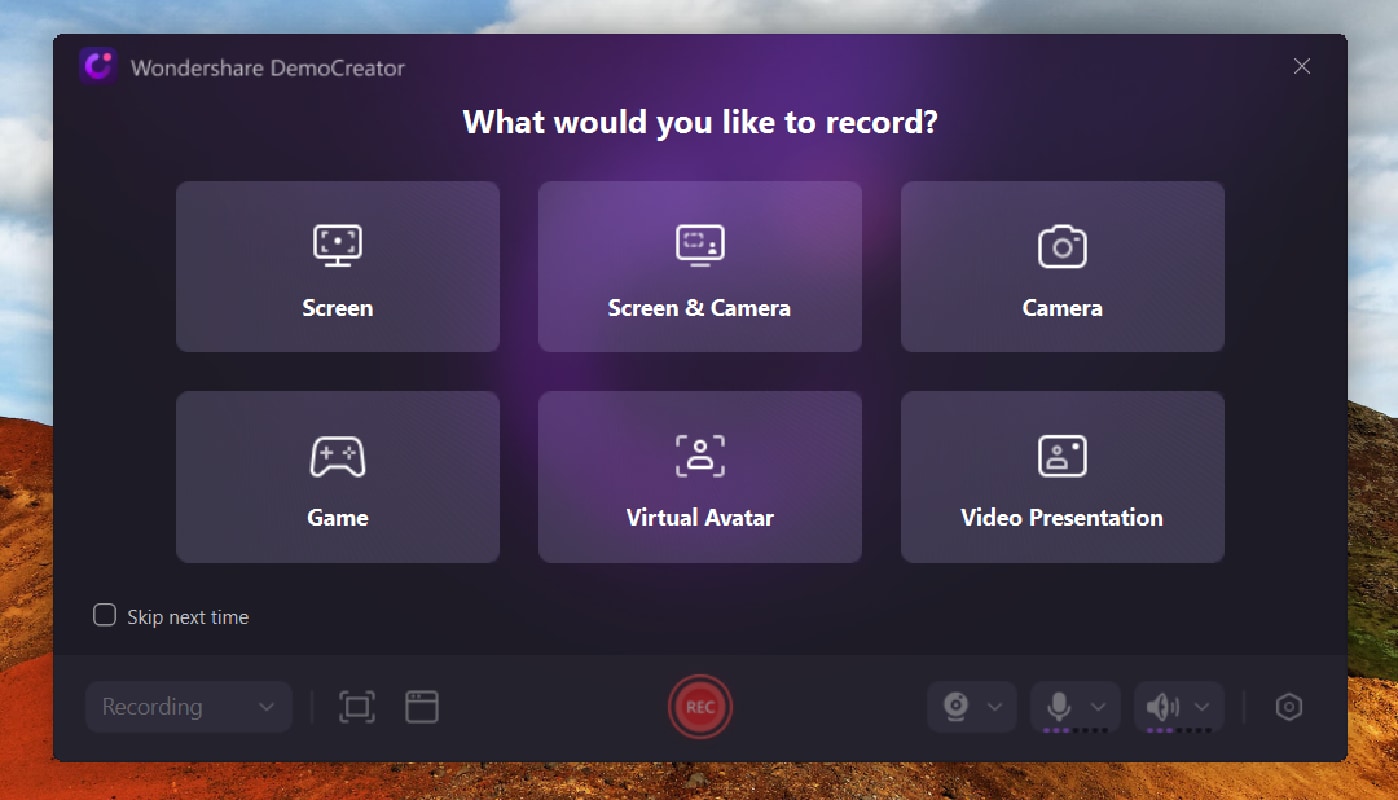
Step 4. After you select the recording option you want, select the area you want to record when prompted, then start recording the Skype meeting by clicking the Rec button.
Step 5. Tap the Stop Recording button on the top right corner when you are done recording.
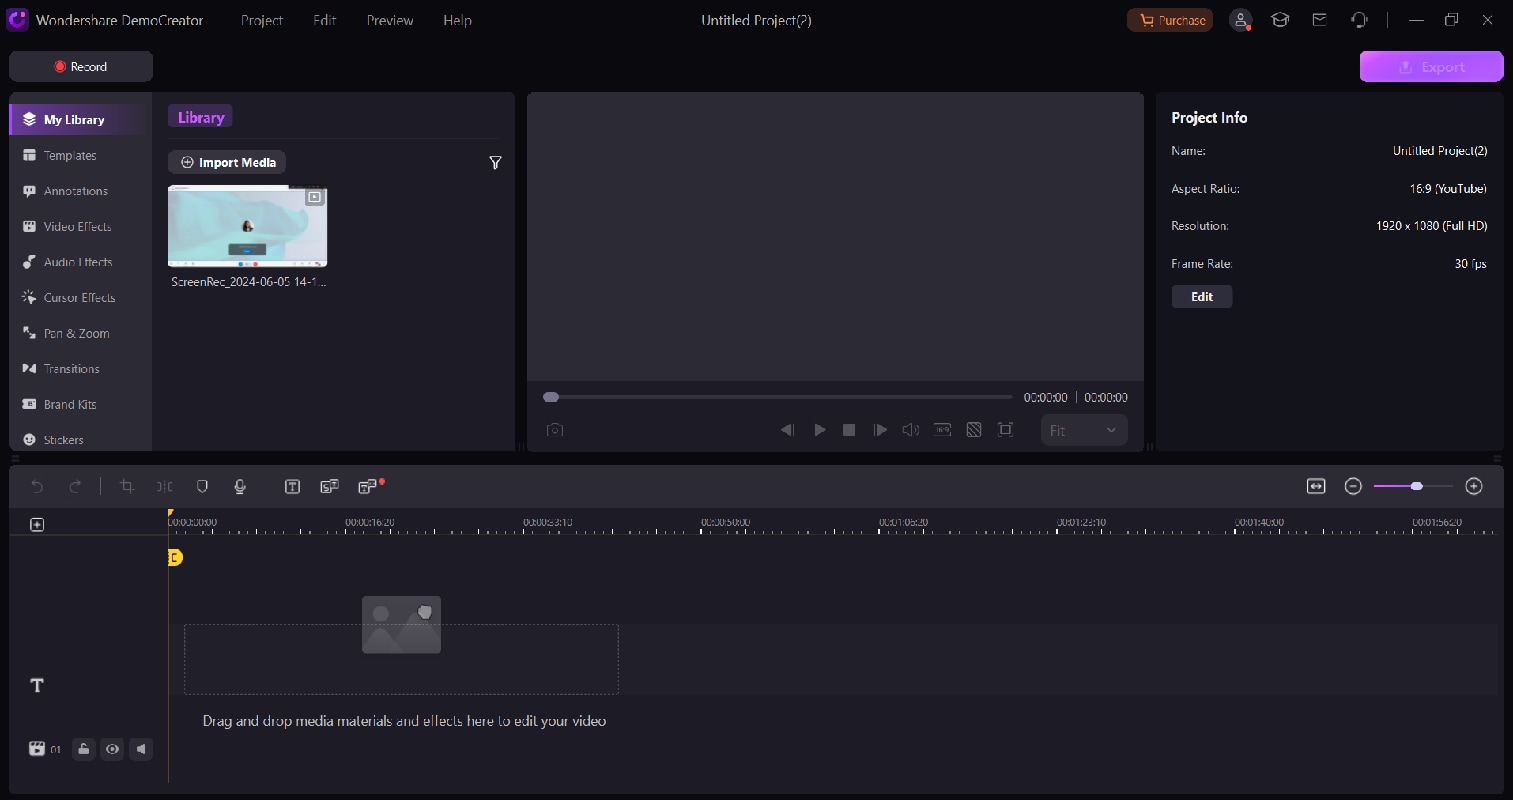
Step 6. Your Skype recording result will be in the Wondershare DemoCreator Library (you can also Open the project location). If necessary, you can also edit it.
Part 4. Edit and Trim Your Skype Meeting Recording
As we said, you can also use Wondershare DemoCreator to edit and trip your Skype meeting recording. DemoCreator offers video editing tools, so you don't need any other tools and simplify the process in one application. You can take advantage of everything in one package from this tool. This section will guide you to edit your videos using Wondershare DemoCreator.
How to edit or trim Skype recording with Wondershare DemoCreator:
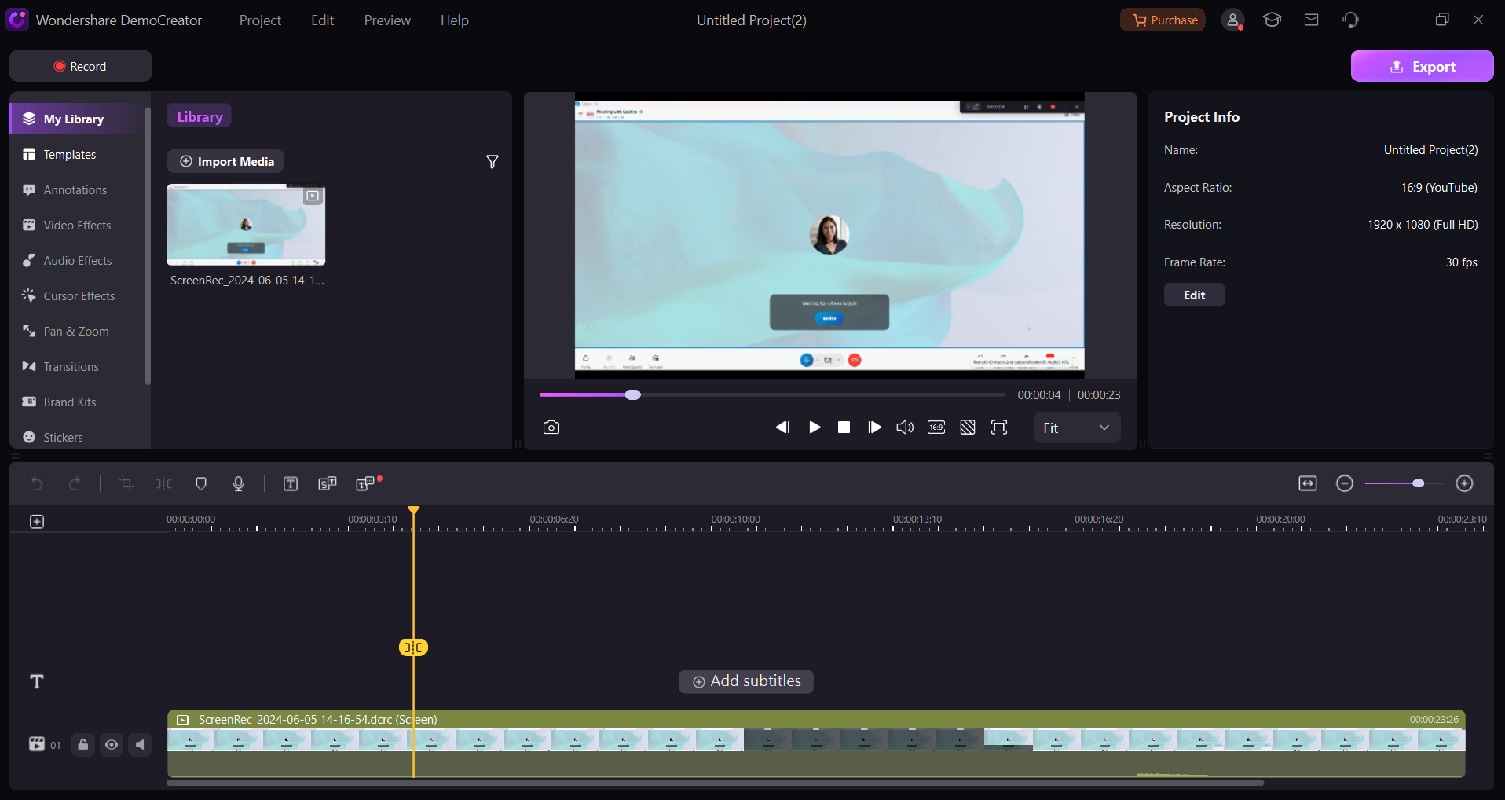
Step 1. First, open Wondershare Democreator on your computer, then click on your Skype meeting recording. Next, it will redirect you to the Editing section.
Step 2. Drag the video down to start editing or trimming the video with the tools available.
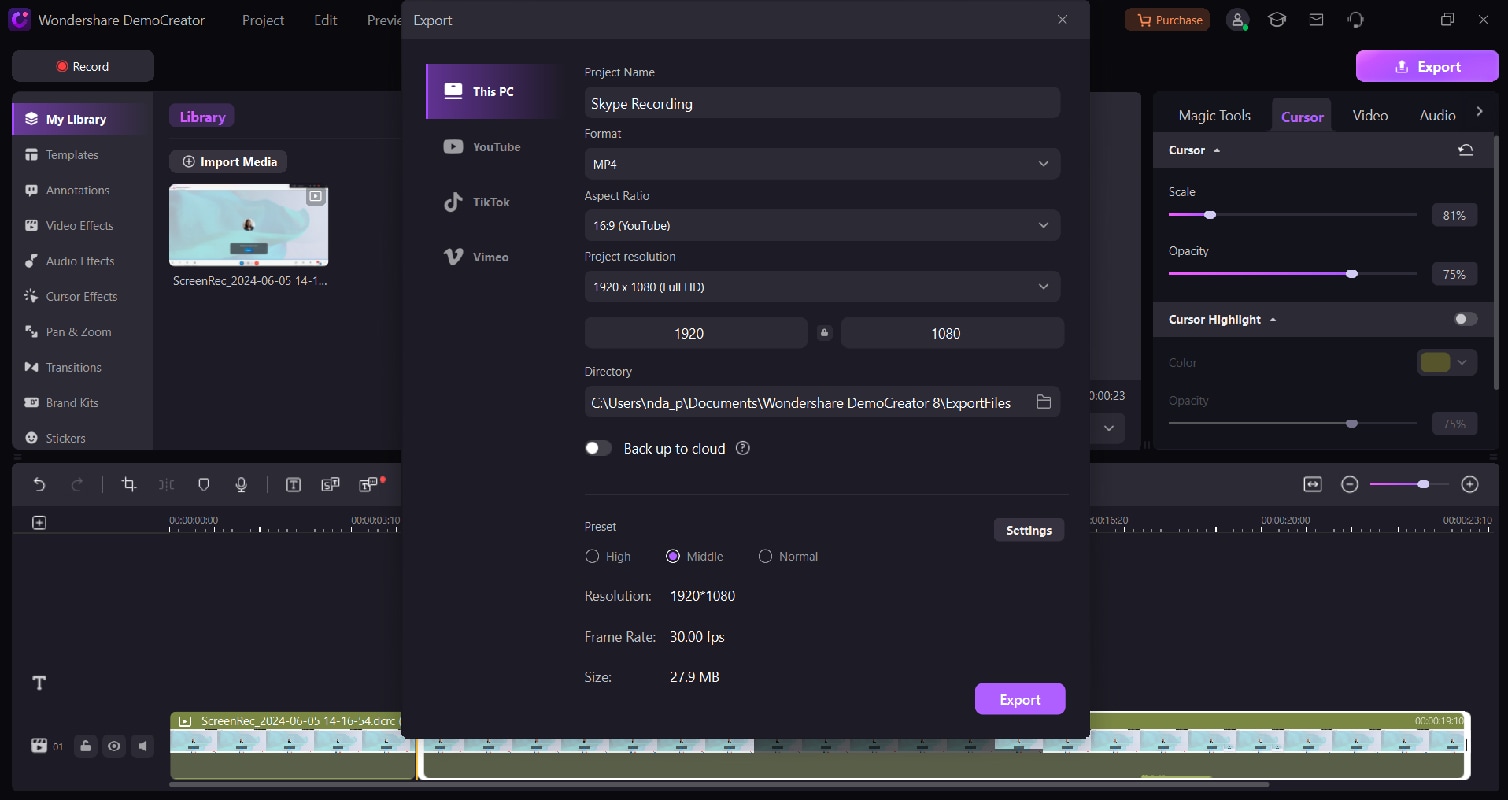
Step 3. When you are done editing, you can adjust the Format, Aspect ratio, and resolution of the preset. Then, select Export to download the result. The result is saved to your Downloads folder.
Conclusion
Skype has been the preferred method to stay connected with coworkers or family for a long time. Recording Skype meetings is vital. You want to record talks or moments. You may want to re-watch them later. You can utilize the Record tool available on Skype directly.
However, if you're more interested in secretly recording a meeting, you might like Wondershare Democreator. It offers seamless Skype call recording with high-quality results, and you can edit easily within the software. So, whether it's for work or personal use, you can easily use it!


