
![A Comprehensive Guide to Creating a Video on a MacBook [2025]](https://images.wondershare.com/democreator/article/make-a-video-on-macbook.jpg)
Macbooks are among the best pieces of technical equipment you can get. They provide excellent hardware and software packed in a small body. If you're a new Macbook owner who wants to explore all of its capabilities, we're here to help. On today's menu, we have the video recording feature, and we'll tell you all about it.
We'll discuss how to make a video on a Macbook device, what you need for this journey, and how to prepare for the best results. Without further ado, let's jump into the guide to help you prepare for your professional video-making experience.
Table of Content
Things You Need to Make a Video on a MacBook
Creating a video on MacBook Air or Pro isn't difficult, and the equipment you need will depend on the type of video you want to make. We've prepared lists of essential and optional elements to help you select the ideal setup for your recording needs.
If you want to record a video for yourself on Mac, you won't need the optional elements that are essential for a professional journey, like news reporting and more.
Essential
- Camera - you'll need a camera if you plan to record yourself using your MacBook device. You can use a built-in camera or invest in a high-quality professional one if required by your industry and needs.
- Microphone - one of the key elements is audio input, and you can also use the built-in solution or purchase a microphone according to your recording preferences and audio importance.
- A recording software solution - the crucial element is using a high-quality video recording software solution to capture what you want and customize the recording journey.
Optional
- Lighting elements - If you want to look your best during your MacBook recordings, invest in lighting equipment and watch your content transform within seconds.
- Tripods - If you purchase an external camera for your recording journey, you should also get a tripod to stabilize your camera and perfect the recording angles.
- External storage devices - you should use external storage devices for longer video content materials, especially if your MacBook device doesn't have enough capacity to support your recording needs.
- You can get a green screen if you don't have a good background - These elements can enhance your content and make the MacBook recordings more engaging.
- Soundproofing elements - The audio experience is equally important as visual elements, so soundproofing your environment is essential if you plan to continue a professional video recording journey.
These are just some elements that will help you improve your video recording skills on a MacBook.
How To Prepare for Making a Video on a MacBook
Preparing to create a video on a MacBook is crucial for the final result. Follow the guidelines and tips below to ensure the ultimate recording experience and increase the content quality.
- Plan ahead - before clicking the record button, write down the purpose of creating a MacBook video and set the desired goals. That will help you stick to the plan and get the best results.
- Create a script - You can create a script to avoid using filler words and make the recording process as smooth as possible. We advise you to use desktop teleprompters like Wondershare DemoCreator and always have your script on the screen.
- Set up your equipment - After creating a detailed plan, you should set up physical elements like your camera, microphone, lighting, etc., and place them to achieve the desired visual effects.
- Get the recording software up and running - Set up your preferred recording software and customize the recording settings. Check whether everything is according to your preferences before capturing a video on a MacBook.
- Do a test run - you shouldn't instantly start recording your video and hope for the best. Instead, we advise you to perform a couple of test runs and ensure all elements are in the right spot, your microphone works as it should, and the visuals are on point.
By following these tips, you'll increase your chances of capturing the best video content on a MacBook device.
How To Make a Video on a MacBook
One of the most challenging tasks on this video-recording journey is discovering a third-party software solution that will fit all your needs and preferences. We've researched the market to help you on this quest, and during the search, we've discovered that Wondershare DemoCreator is the most superior solution of them all.
Firstly, the tool has different recording modes you can use according to your industry and needs. Moreover, you can completely customize the recording settings, such as the resolution, the ratio, input devices, etc. Have we mentioned that it's one of the rare solutions that can record up to 4K/8K in quality?
Wondershare DemoCreator is packed with editing solutions, like cropping, trimming, cutting, green screen, auto subtitles, AI denoisers, AI background remover (changing background without green screen), voice changer, and more. You can edit your recordings post-production and watch your content transform.
One of the most entertaining tools is annotations - you can use the available screen drawing tools to emphasize specific elements in your recordings and draw attention to the message you want to convey. Overall, Wondershare DemoCreator is all you'll need to make exceptional videos on your MacBook.
Head to the official Wondershare DemoCreator website and download the tool to your MacBook. Below, we'll explain how to record, edit, and share your creations.
Recording
Recording a video on your MacBook using Wondershare DemoCreator is simple. All you have to do is follow these steps and begin your journey:
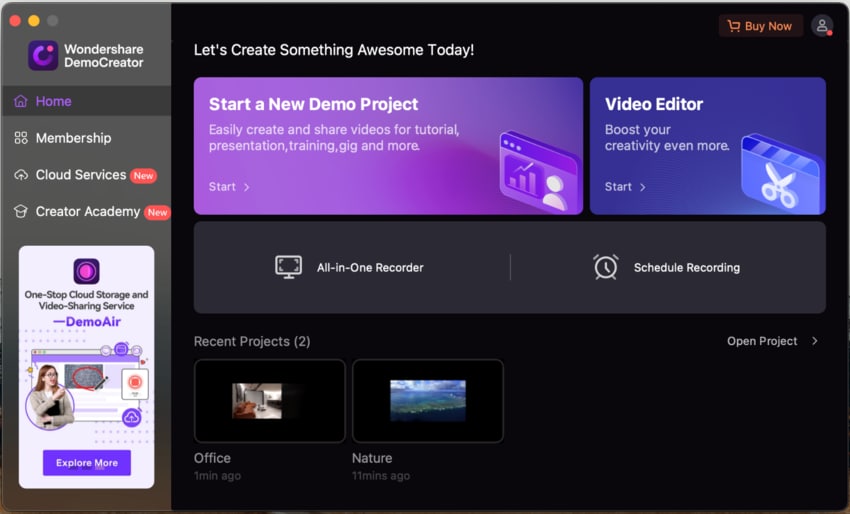
- Open Wondershare DemoCreator on your MacBook and click on the All-in-One Recorder option from the main menu.

- Next, customize recording settings like the capture area, microphone, camera, and more, as shown in the image below.

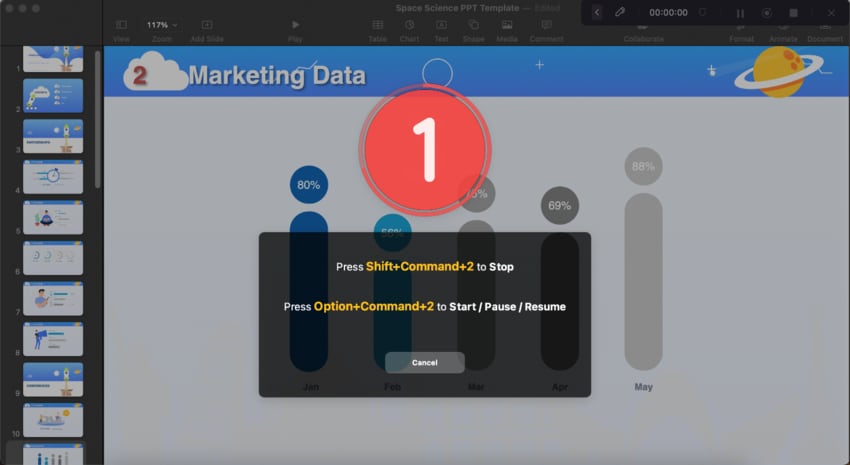
- Click the REC button to start the recording journey. You can also use the Option + Command + 2 keys.
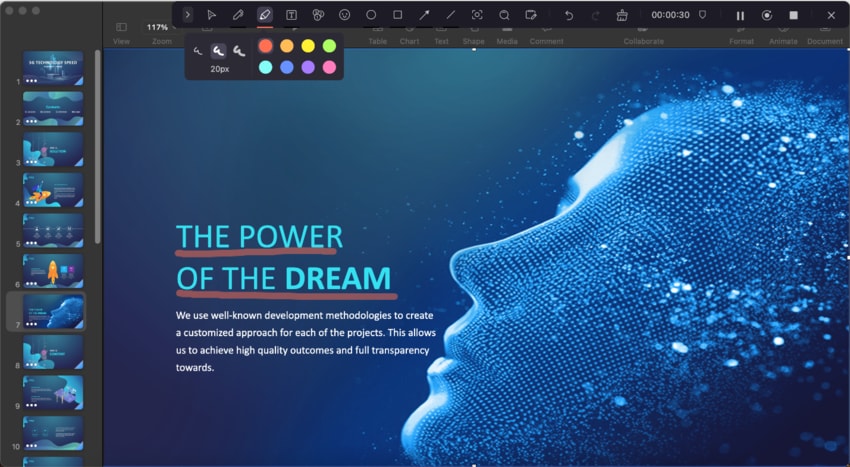
- During the recording, you can use the various annotation tools to make your points easier to understand.
- To stop the recording, click the End Recording button or use the Shift + Command + 2 keys.
And just like that, you'll create the best MacBook videos using Wondershare DemoCreator.
Editing
Once you've created the desired video, you can jump to the editing process. We'll present only a few Wondershare DemoCreator editing features to help you navigate the journey better. To get access to all features, we advise you to check the official website and user guides for more information.
- Open Wondershare DemoCreator on your MacBook and click on the Video Editor option.
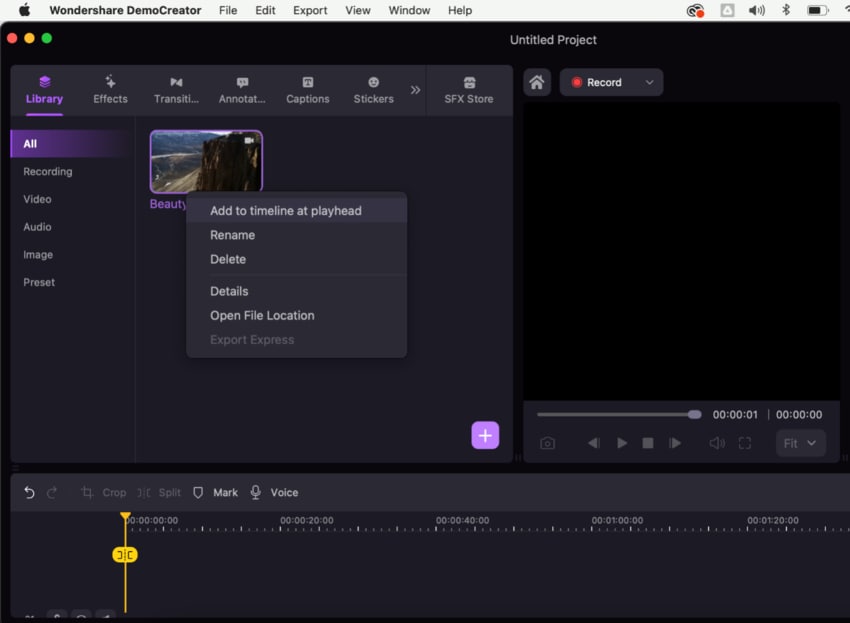
- Next, import your recorded video by clicking the + button or by dragging and dropping it to the platform.
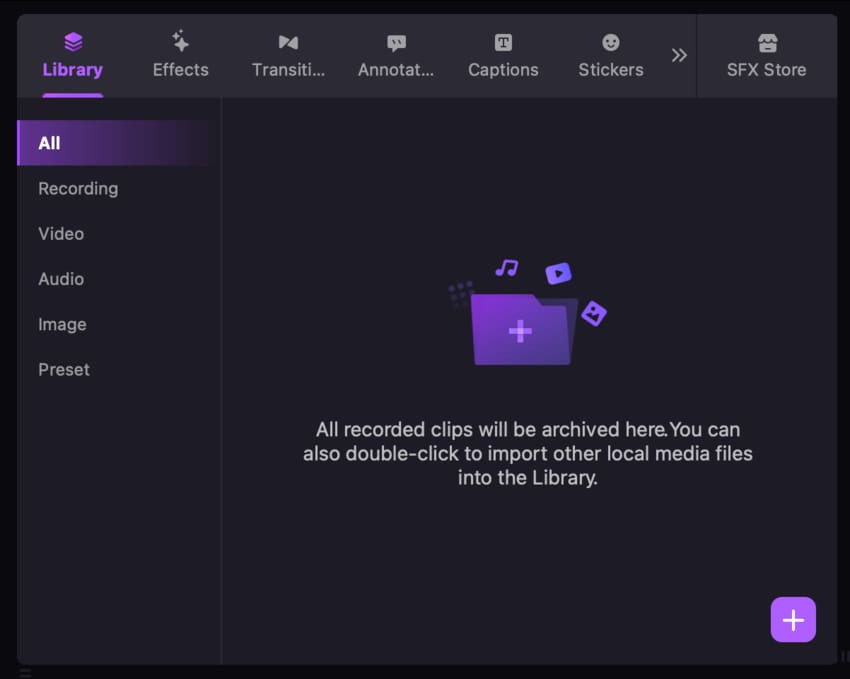
- Add the video to the timeline to start the editing journey.
- Click the crop icon at the top of the timeline to crop the recording.

- Click on the Video option from the right side and resize your video as presented below.

- Tap the camera icon below the video to take a screenshot.

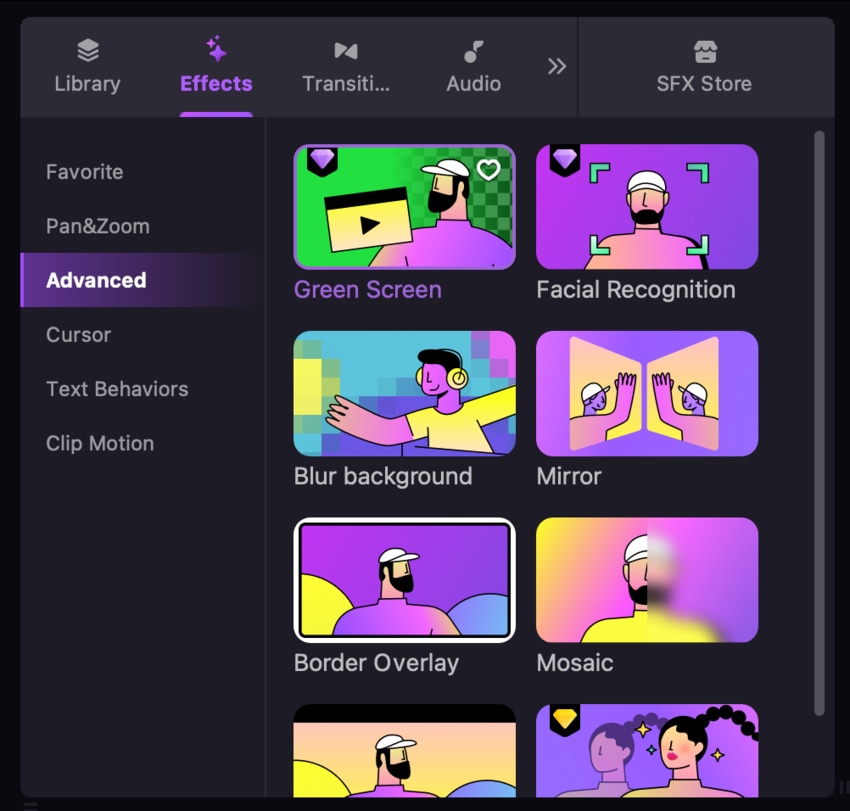
- Head to Effects and select Green Screen to change the appearance of your background.
These are just some editing tools you can access on Wondershare DemoCreator. This program was designed to provide a convenient recording and editing journey, and you can make your recordings audience-ready in just a few minutes.
However, if you prefer professional manual editing experiences, Wondershare DemoCreator may not be your ideal choice. Instead, you can opt for solutions like Wondershare Filmora, Adobe Premiere, or Final Cut Pro to make your visions come to life.
Sharing
After you complete all the processes and prepare your video for the audience, you can follow the guide below to learn how to save and share your MacBook video using Wondershare DemoCreator.
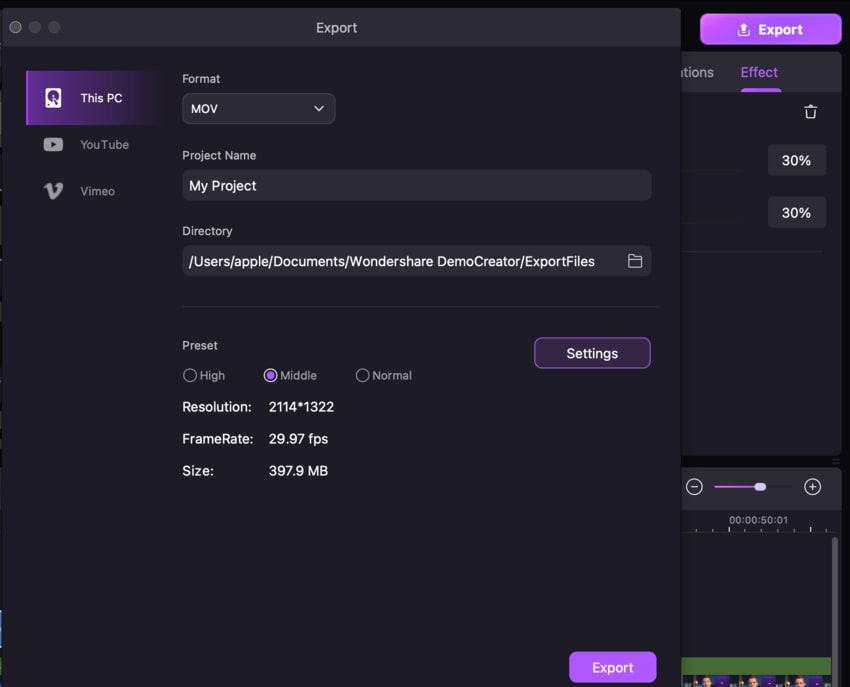
- Click Export from the top right corner and select This PC. Choose the destination and click the Export button.
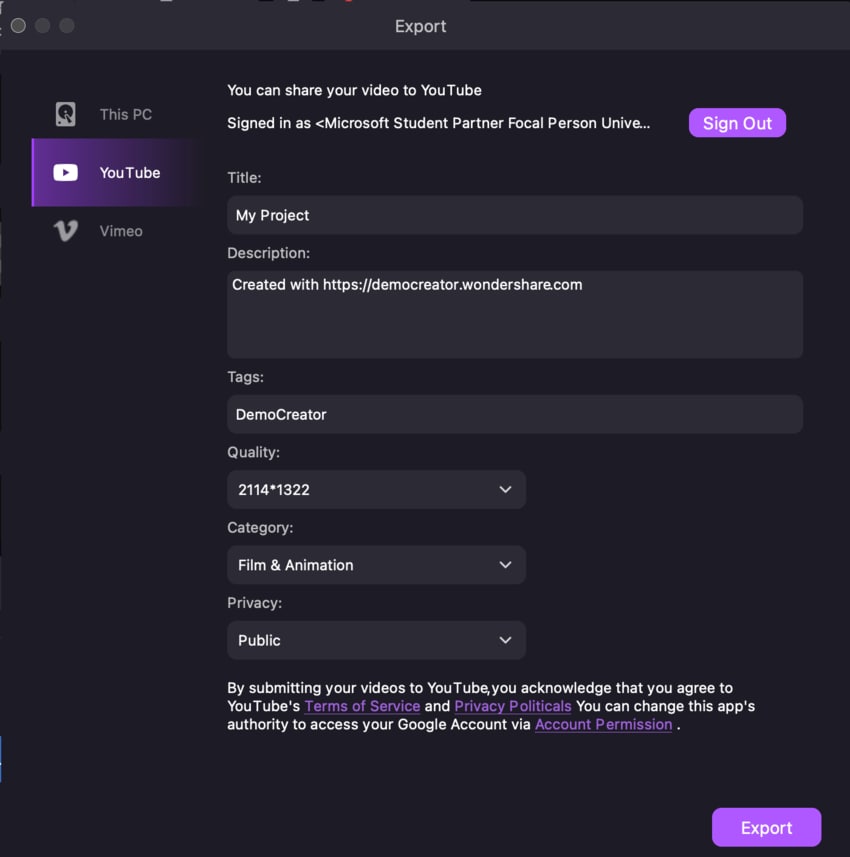
- To share your video to YouTube, click the Export button, choose YouTube, sign into your account, and press the Export option.
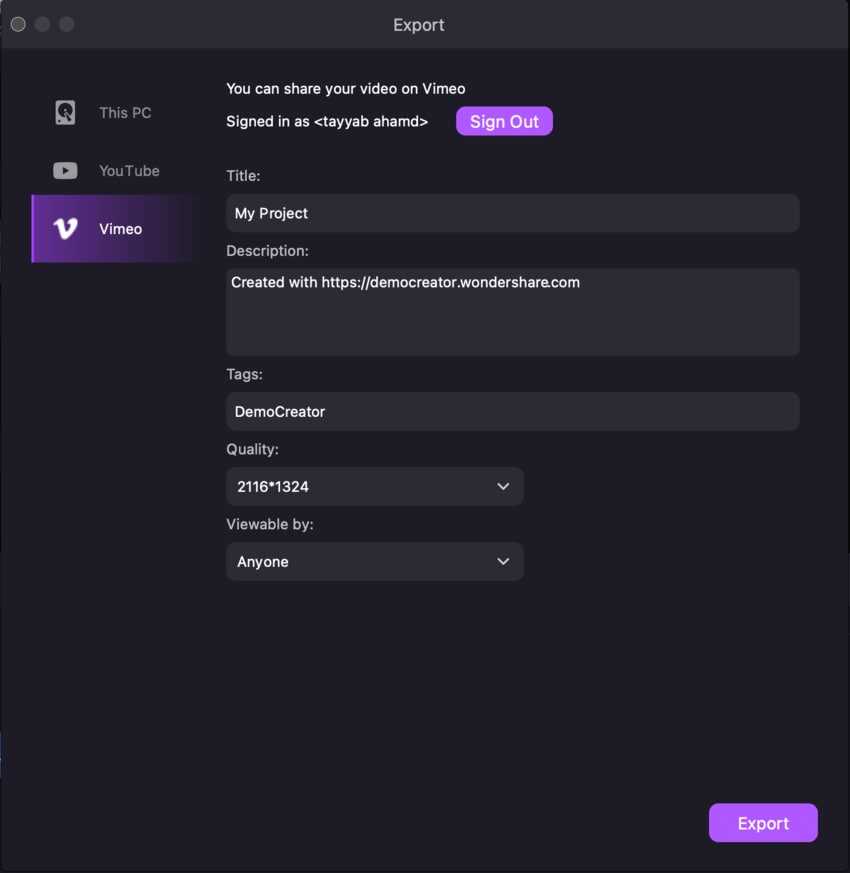
- You can also select Vimeo after clicking Export, sign into your account, and post your creation instantly.
As you can see, Wondershare DemoCreator is connected to the largest streaming platform, making the sharing experience efficient and quick. You can instantly upload your MacBook recordings to your favorite platform and save yourself some time and nerves during the uploading process. You'll surely see how these processes cut the post-production time in half.
Conclusion
Recording a video on a MacBook isn't difficult, but you may need some time to adjust to the concept and implement the tricks to make your videos high-quality. Thus, we've prepared a detailed guide on everything you need to know to elevate your experience and create professional content. We've discussed the equipment you need and some tips and tricks on the setup experience.
We've also presented the best third-party recording software on the market, Wondershare DemoCreator, and discussed how to use it to capture your favorite moments. Moreover, we've presented some of the tool's editing and sharing capabilities to help you navigate the journey and start recording.
After reading this guide, you'll have an easy time mastering the art of creating MacBook recordings!


