How to Zoom in Video on Windows/Mac PC?

While most web browsers have a button for zooming video clips in and out, we must have prior knowledge of how this thing can be done manually on our devices. Mac and Windows PC have specific keys that allow you to zoom in on videos on them.
Though the keys are different on both devices, in just a few steps, you can master them and use them when next you need to zoom in or out video clips. Take the following steps listed below to make use of the native zoom function on your operating system.
Wondershare DemoCreator is one of the most outstanding video editing tools developed for a variety of purposes. This multifunctional software can be used for converting photos into videos, create video ads, zoom video clips in and out and many other features.
To zoom in on videos with Wondershare DemoCreator, here is a step-by-step guide you need to magnify your videos while on a PC.
Step 1: Download and Install Wondershare DemoCreator
Firstly, to use the Wondershare DemoCreator, you need to visit the official website to download the application. After downloading the app, install it on your system so the icon can be found on your Windows/Mac PC desktop page.
 Secure DownloadSecure Download
Step 2: Import Video to Wondershare DemoCreator Video Editor
To import a media file to your Wondershare DemoCreator video editing tool, take these steps:
- On your Wondershare DemoCreator app page, click the file and then select import media files or better still you can select import a media folder from the submenu.
- Click on the import icon/button on the Media Library panel, then choose import Media files or import media folder to select a media file on your PC
- Select Add Files option to choose a media file
- Right-click on the blank area in Media Library, then choose import media files
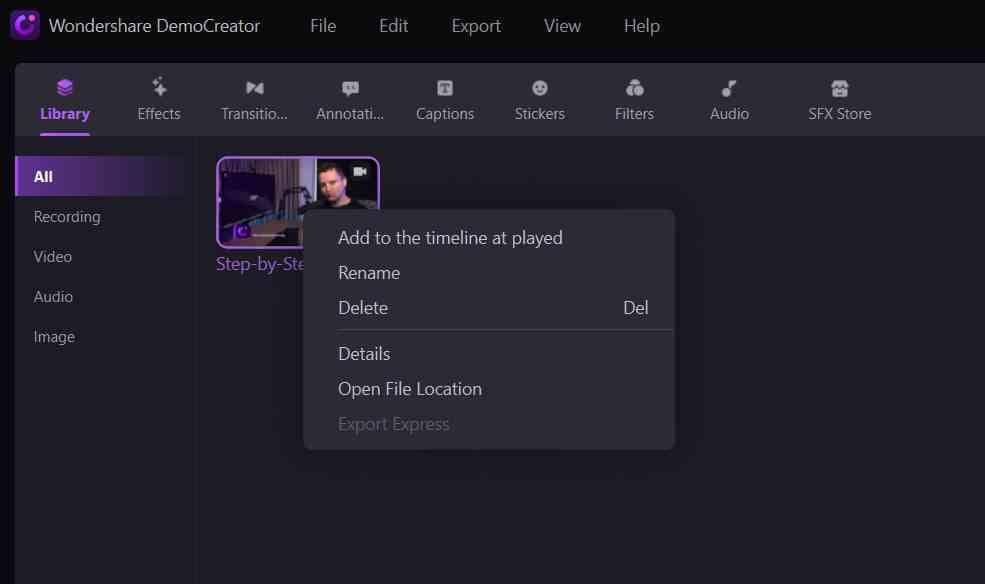
Step 3: Drag the Video File on the Timeline
There are many ways you can accomplish this. Take the following billeted steps to drag or add media files to the timeline:
- Drag and drop video files from the media library to the timeline
- Right-click on a media file and choose to Add to timeline at Playhead
- It's important you note that you can drag files on your timeline just to reposition them.
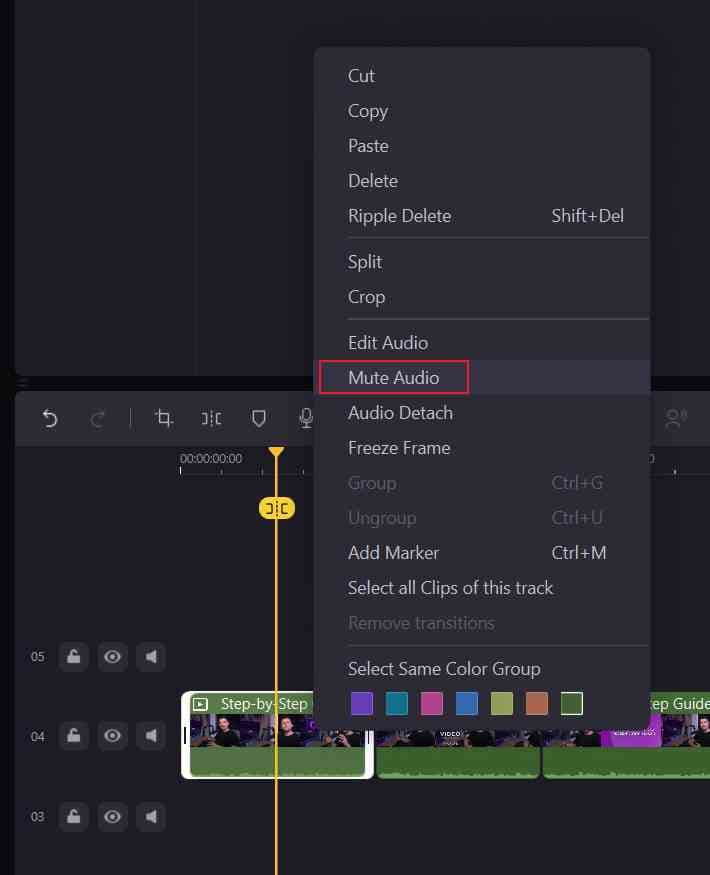
Step 4: Zoom in on Video Easily
To do this, simply right-click on the video and choose crypto to continue. Once you are done, you should try to have a look at the zoomed-in video so you can cross-check if you've made any mistakes while trying to zoom in a video. If you notice any error, you should start this process all over so you don't create a low-quality video.
Step 5: Export Video
When you've confirmed that your zoomed video has no error in it, the next thing to do is export your video either as a MO4, MP3, or MOV file depending on what format you want to save it as. You will be able to name your video file and select a location to save the exported file. Adjustment of video resolution, frame rate, bitrate, and other settings can be made on the same Export window.
And now, boom! You have a zoomed video. I'm pretty sure the steps are easy to memorize, so you can always complete the process again and again without looking at this guide. Ok, I think I should share with you some tips about the zoomed-in video.
Tips on Zoom in Video
When making zoom in video clips, please note:
- Please make sure the aspect ratio of the zoom-in video is the same as that of the selected output format.
- Note that the quality of the zoom-in video depends on the chosen output format to some extent. For example, you have selected small dimensions, but output as large dimensions of video, the quality would not be good. In such a case, smaller output dimensions are recommended.
Well, it's not a hidden fact that aside from the Wondershare DemoCreator, there is other video editing software that can perform similar tasks - zoom and crop video. Maybe they're not as easy as the Wondershare DemoCreator software. But they are excellent software also. If I haven't carried out a test on them, I wouldn't be sharing it with you.
So here are my top 6 video editing software for soiling and cropping video clips.
Listed below are the top 6 free video editing software you can use to zoom and crop videos:
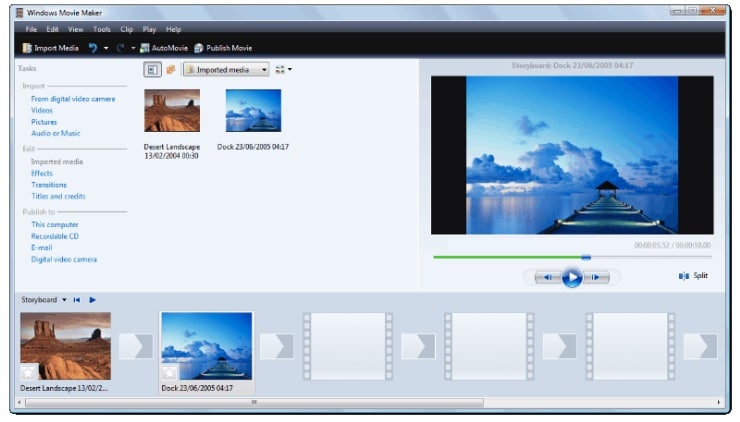
Windows Live Movie Maker
This is a powerful video editing software developed by Microsoft. It is designed mainly for the editing of photos and video clips. With this software, your very own movie studio is at your fingertip. The intuitive user interface, coupled with the built-in editor, is a strong factor driving the demand for this product globally. When you use this video editing tool, posting or sharing your videos on social media is never a problem. You can upload your videos directly on Facebook, Vimeo, YouTube, and Flickr in a few clicks.
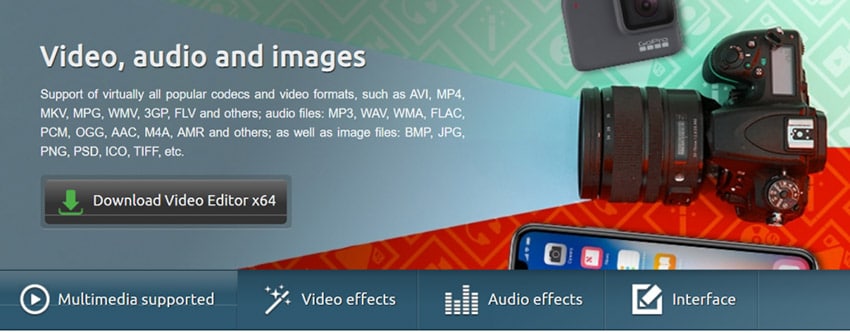
VSDC Free Video Editor
VSDC Free Video Editor is a web-based video editing tool that can be used for zooming and cropping video clips. The software is fast and easy to use. VSDC is capable of processing high-resolution video clips such as 4K UHD, 3D, and VR 360-degree videos. Motion tracking, live color correction, filter, text addition, and post-production effects are some of the software's few features.
Lightworks
This is a non-linear editing software designed for editing and mastering digital videos. It's compatible with Linux, Windows, and OS X devices. Lightworks perfectly zooms and crops video clips without reducing the quality of the video. The software has a user-friendly interface that allows you to navigate around it without needing the help of an expert.

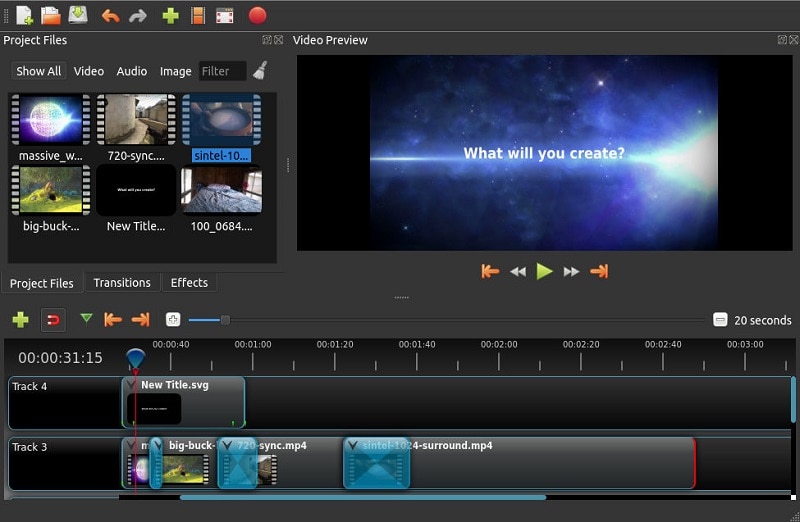
OpenShot
This is a free video editing tool developed by OpenShot Studios. It is compatible with operating systems such as Windows, Mac, Haiku, and Linux. With OpenShot video editor, you can create a video with exciting video effects, totes, audio tracks, etc. It's mostly used by businesses and agencies.
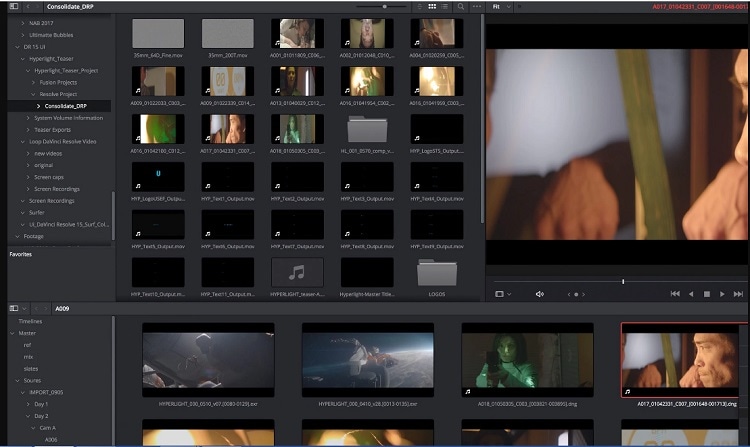
DaVinci Resolve
DaVinci Resolve is one of the most popular video editing application developed for macOS, Windows, and Linux PC users. This software is the only video editor that combines professional 8K editing, color correction, and visual effects as it's a feature. In a single click, you can instantly move between editing, color, effects, and audio. DaVinci Right is the best for creating high-quality video clips.
ApowerSoft
This software can be used to edit video, zoom, and crop footage, add music, effects, and transition. Apowersoft screen recorder lets you create your professional-looking high-quality video without stress. It's one of the best video editing tools with an intuitive user interface. Check it out now and create stunning video clips in no time.
Conclusion
Now you have the most powerful video editing software at your disposal, download and install them on your PC to start producing stunning video clips with high resolutions. Remember, the success of your studio all depends on the video editing tools you have at hand. Try this software today, and you won't have any cause to regret it.


