
If you’re an avid gamer, you’ve likely considered what it would be like to share gaming content on platforms like Twitch, YouTube, and the like. While it would certainly take a lot of hard work to accumulate a large enough audience to monetize your content, getting started with it all is actually easier than it might seem.
All you need is your preferred game and a reliable recorder that will simplify the process of capturing your gameplay.
Have a look below to learn how to record yourself playing a video game, and check out the top tips that will help you get started.
In this article

Get the Necessary Equipment for Recording Yourself Playing Video Games
Once you’ve settled on the game, you’ll need to take care of the equipment. Although your gaming setup can be as extravagant as you’d like, there are only a few basic things you’ll need:
- A good PC – what PC you’ll need will depend on the games you want to record. It’s always in your best interest to get a high-performance computer that can easily handle more demanding games, but it’s not always a necessity;
- A microphone – in all likelihood, you’ll want to record your commentary. Get a high-quality microphone that can capture clear sound;
- A camera – though you can use your built-in camera, it’s a good idea to invest in a higher-quality one that can record videos in high resolution;
- A capture card – this can reduce the strain on your PC resources and ensure smoother gameplay, so it’s always a good idea to use one.
In addition, you’ll also need a reliable gameplay recorder, which we’ll get into below. It’s this piece of software that will enable you to capture your screen and camera as you’re gaming.
Of course, you can always invest in additional equipment like a good headset, silent-slick mouse, better keyboard, and more. However, these are just nice extras – not must-haves.
How to Record Yourself Playing A Video Game - 3 Methods
Now, without further ado – how do you film yourself playing a video game? For that, you’ll need to get yourself a game recorder. You can choose one of three convenient options – a dedicated third-party recording tool, a built-in screen recorder, or a video conferencing tool.
Let’s take a closer look at each of them.
1. How to Record Yourself Playing a Video Game in Wondershare DemoCreator
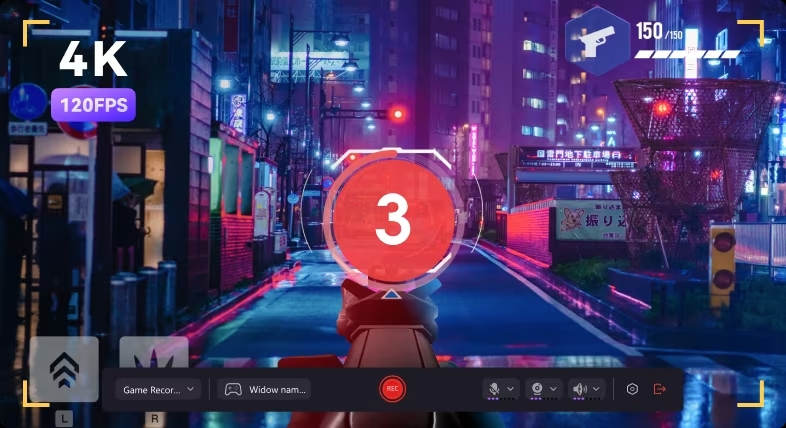
Among the best third-party gameplay recorders is Wondershare DemoCreator. Boasting a dedicated game recording mode, it gives you full flexibility to create content that suits you and your target audience.
It can shoot videos in high resolution, up to 4K and 120fps, enabling you to capture smooth gameplay and perfect action shots.
With DemoCreator, you can customize what you want to capture. Record your entire screen, a single window, or just a portion of your screen. Include or exclude your webcam, microphone, and system audio, and save each recording as a separate track for easier editing.
Having no limits on the recording length, it’s the ideal choice for serious gamers who want to create mesmerizing content.
Here’s how to play a game and record yourself with Wondershare DemoCreator:
Step 1: Download and install Wondershare DemoCreator on your PC and create your account;
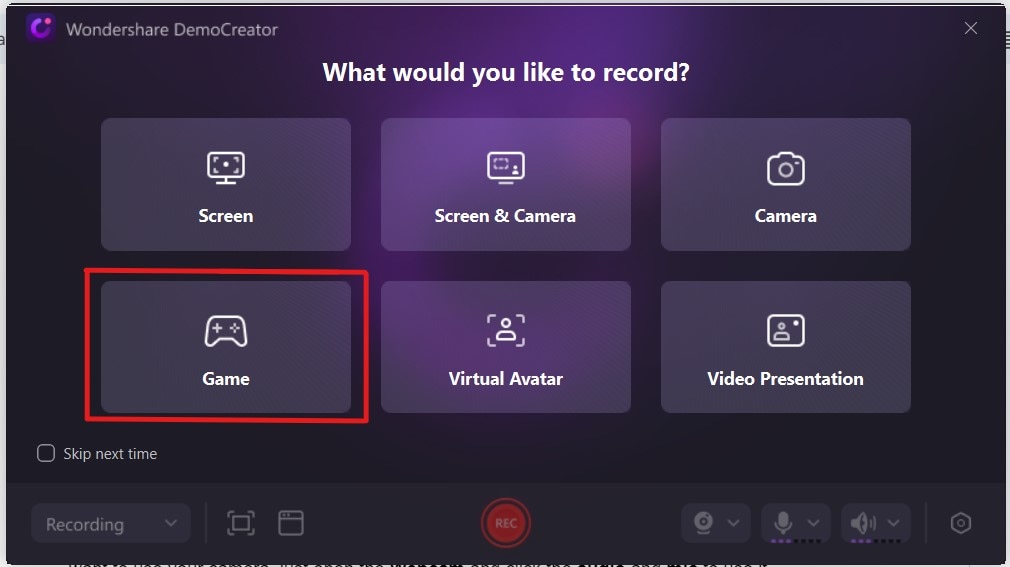
Step 2: Go to Video Recorder and select the Game recording mode;
Step 3: Launch your game and select it in DemoCreator;
Step 4: Customize recording settings – set your microphone and webcam inputs, enable options such as webcam mirroring, AI face recognition, and more;
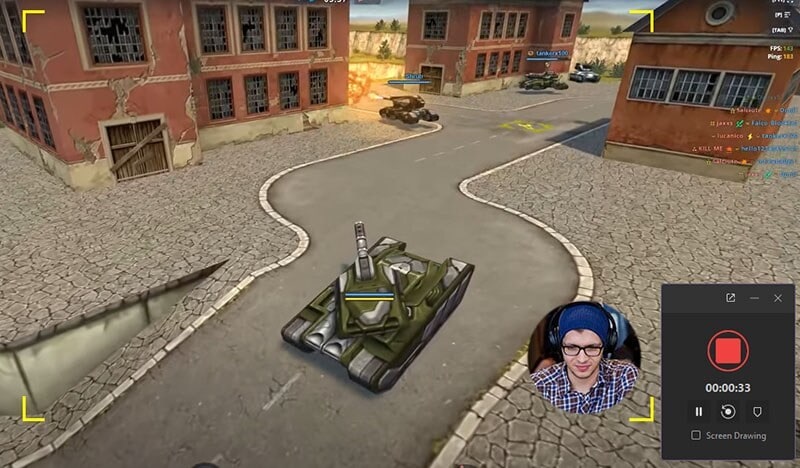
Step 5: Click the red Rec button or press the F9 key to start recording;
Step 6: Click the End recording button or press the F10 key to stop recording.
As mentioned, if you prefer, you can keep the audio and video captured on separate tracks for easier editing. Alternatively, save and edit them together if you find that more convenient.
Edit Your Recorded Gameplay Videos
Wondershare DemoCreator is an all-in-one recorder and editor. So, as soon as you’ve captured your gameplay, you can immediately get to editing it without leaving the app.
You’ll have access to dozens of AI-powered tools and advanced video and audio editing features that will make this entire process a breeze. Automatically generate subtitles for your videos, include transitions, add audio effects, and use some of over 50K creative assets.
Here’s how to get started with video editing in Wondershare DemoCreator:
Step 1: In DemoCreator, go to Video Editor;
Step 2: Double-click the Media Library and add your gameplay recording;
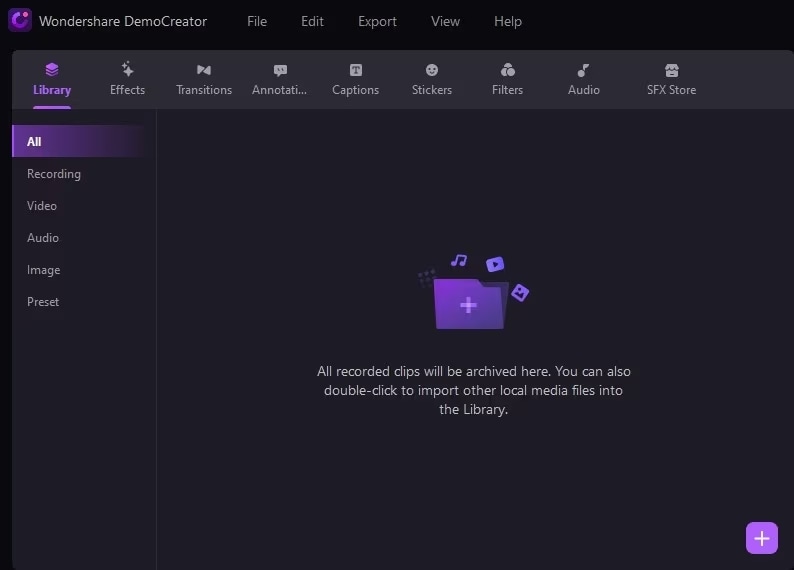
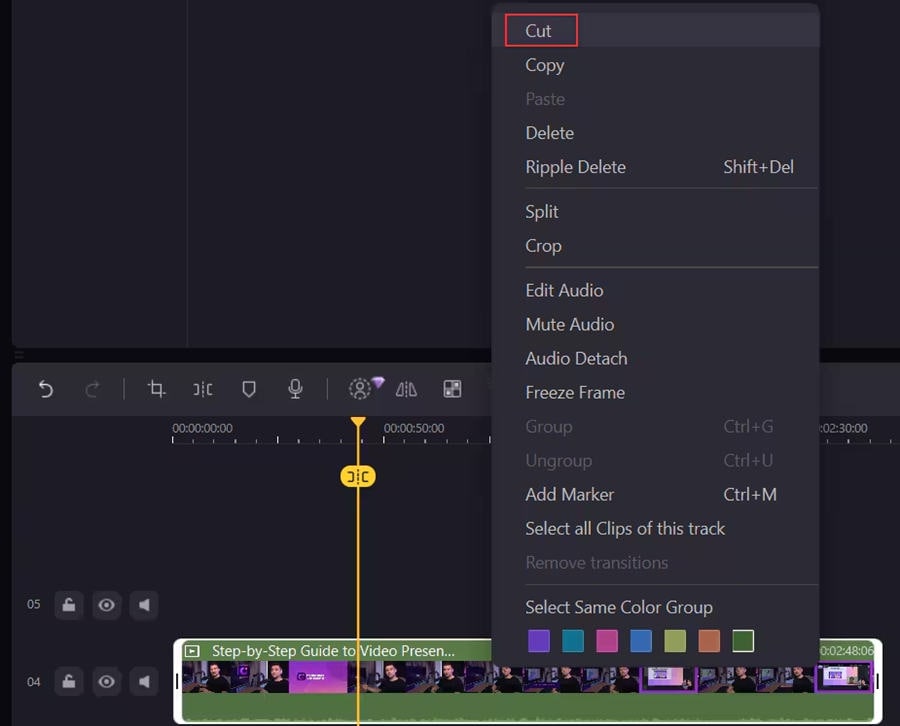
Step 3: Right-click on your media file and select Add to the timeline at played.
Step 4: Start editing your video.
Whether you just want to perform some basic edits or add custom effects, transitions, and more, DemoCreator ensures that the whole process is as simple as can be.
Publish Your Video Online
Finally, once you’ve edited your video, it’s time to publish it online. DemoCreator enables you to do that in a couple of steps:
Step 1: After editing, head to the Export button;
Step 2: Customize the format and other video settings and click Export;
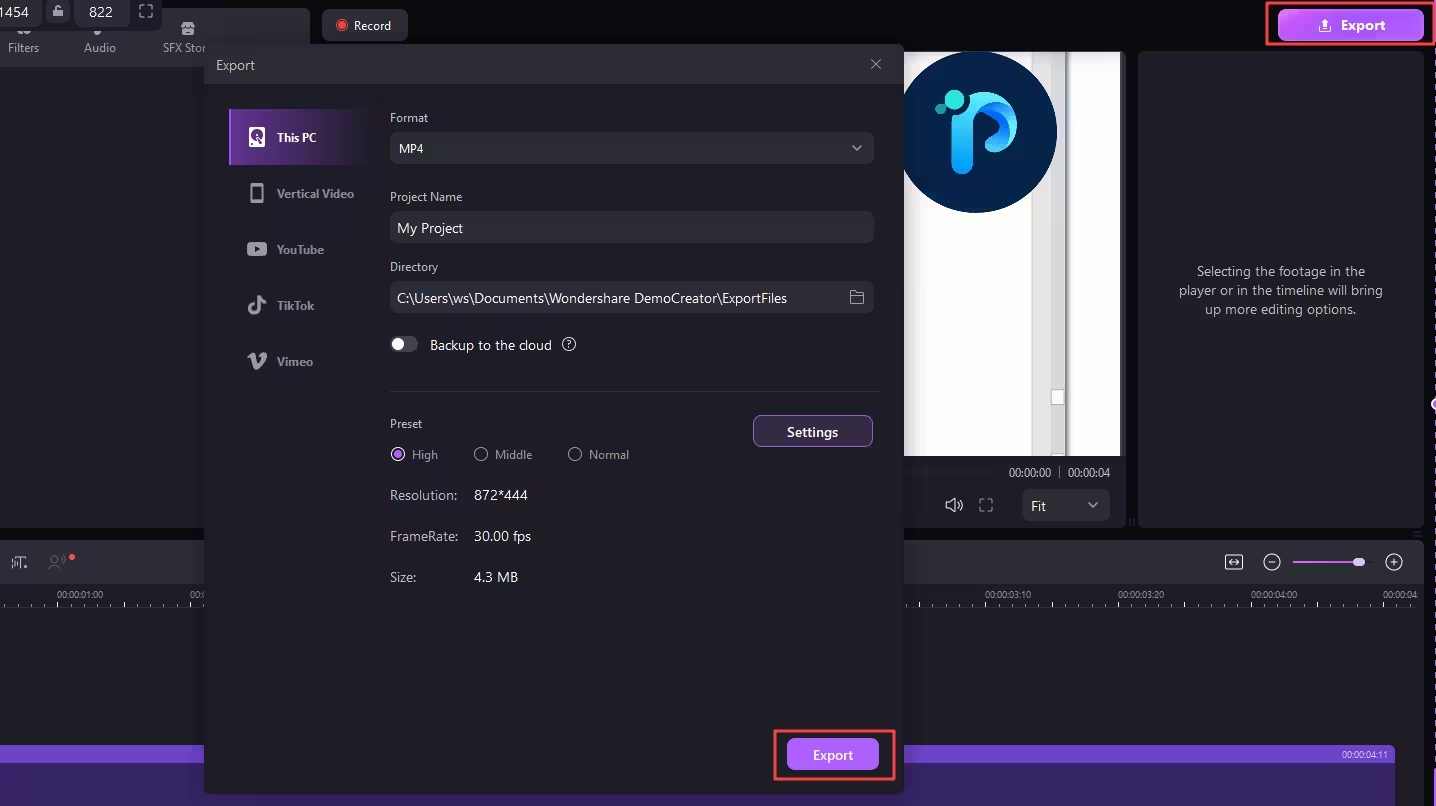
Step 3: If you want to share your video immediately, select YouTube, Vimeo or TikTok;
Step 4: Log into your YouTube/Vimeo/TikTok account and fill in the required details;
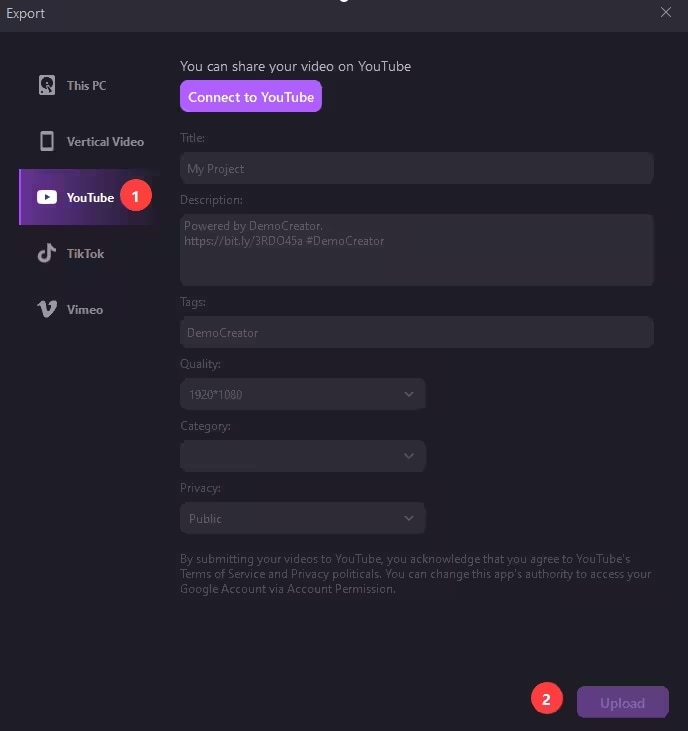
Step 5: Click Upload.
Depending on the length of your video, it could take a few moments for it to upload to your chosen platform. Once it’s complete, you can check the platform to see if everything is uploaded correctly.
- Record customized screens with audio and edit them in different tracks.
- Capture gaming videos, tutorials, and presentations and then edit them in one tool.
- Built-in unlimited editing templates, special effects, and other sources.
- Supported export to MP4, MOV, MKV, GIF, and other formats.

2. Use a Built-in Screen Recording Tool on Your Device
While not quite as reliable as dedicated third-party tools, both Mac and Windows have their own built-in tools for screen recording that could help you capture your gameplay.
Windows Game Bar
If you’re using Windows 10 or 11, you’ll have access to its built-in Game Bar. Fully named the Xbox Game Bar, you can use it to record your gameplay on both your PC and your console.
While it doesn’t have many advanced features like dedicated third-party tools, it’s convenient, free, and relatively easy to use.
It’s biggest downfall? It can record only for a maximum of 2 hours. If you need longer recordings, you’ll need to remember to capture a few separate ones and then combine them later on.
Here’s how to record yourself while playing a game with the Game Bar:
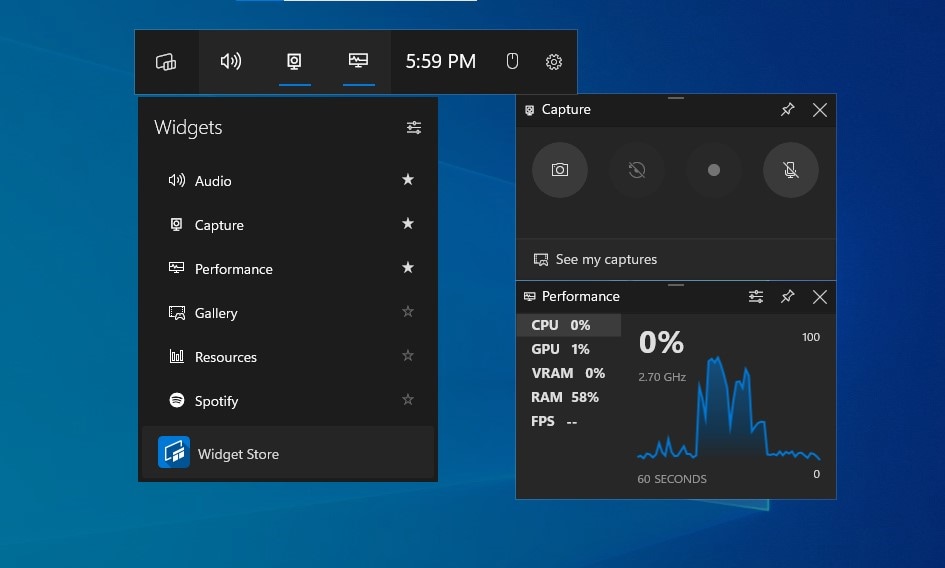
Step 1: Start your game and Press the Windows + G keys to open the Game Bar;
Step 2: Open the Widget Menu to adjust recording settings;
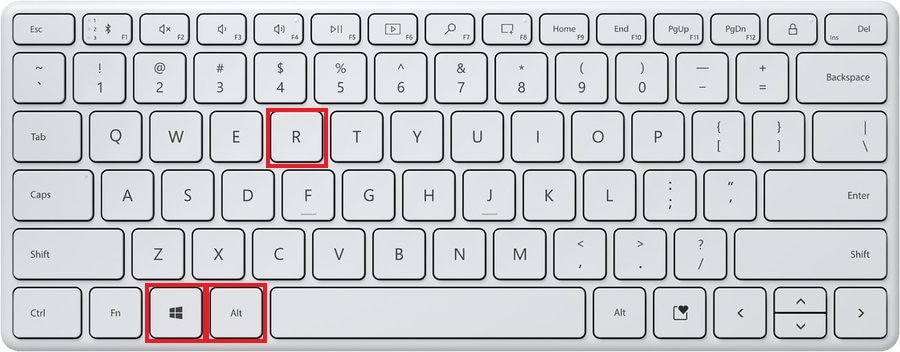
Step 3: Click the Record button or press the Windows + Alt + R keys to start recording;
Step 4: Click the Stop button or press the Windows + Alt + R keys to stop recording.
Once you’re done, you can go to See my captures to check your recording and open it in a video editing app of choice to start refining it.
Mac QuickTime Player
While Mac devices aren’t usually the go-to choice for gaming, they can be pretty convenient. Especially considering that they come with the built-in QuickTime Player you could use for capturing your gameplay.
The QuickTime Player enables you to capture high-quality screen and camera recordings with relative ease. Unfortunately, though, it can only capture audio from your microphone – not from your computer. So, if you want to record gameplay audio, you’ll need the help of additional tools like Soundflower.
Here’s how to record yourself playing a video game using the QuickTime Player:
Step 1: Open QuickTime and select File > New Recording;
Step 2: Click the arrow be the recording button to open Options and customize recording settings;
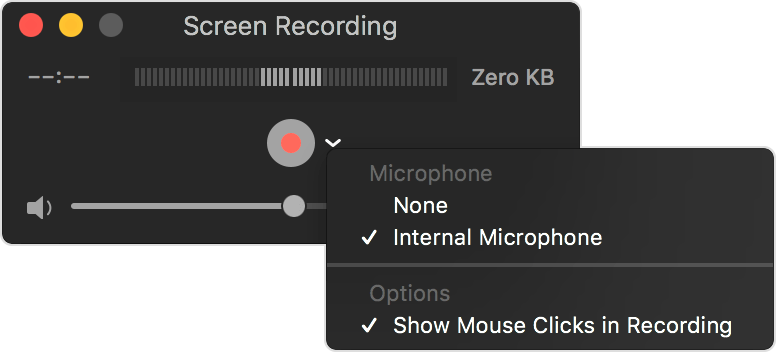
Step 3: Start your game and select the area of the screen you want to record;
Step 4: Click the red Record button to start recording
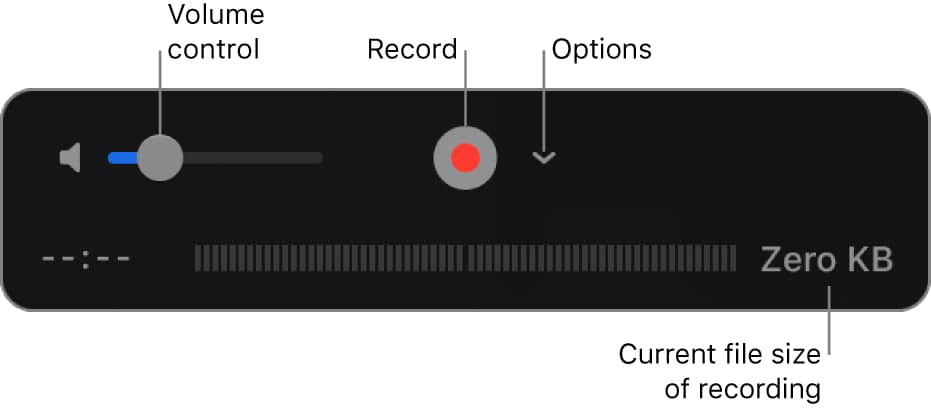
Step 5: Click the End recording button to stop recording.
With QuickTime, you could also do some basic video editing, such as trimming your video. You’ll want to use a more powerful editing solution to make your content look more professional, though.
3. Use a Video Conferencing Tool
Finally, if you have no other option, you could use a video conferencing tool like Zoom to record your gameplay. It’s not ideal, but it enables you to record your screen and camera with the utmost ease. Moreover, it can perfect your videos as you’ll have access to convenient features like video overlays, virtual background changer, and more.
Here’s what you can do to record your gameplay on a video conferencing tool like Zoom:
Step 1: Launch Zoom and start a meeting by yourself;
Step 2: Select the Share screen option to share both your game window and webcam;
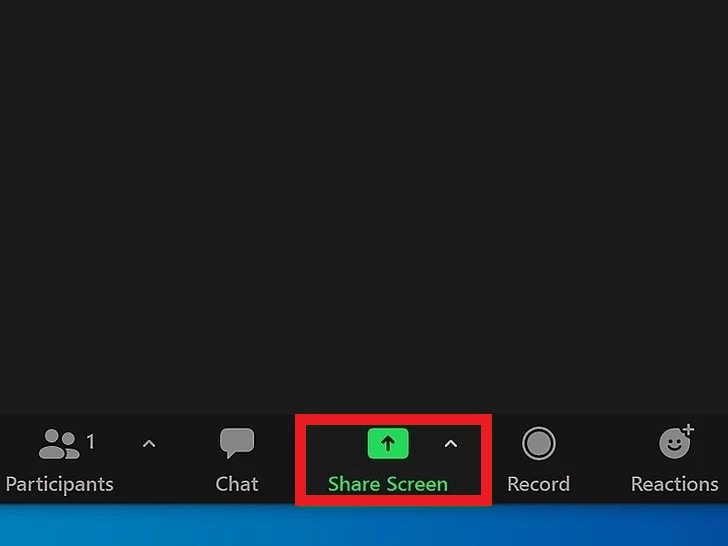
Step 3: Launch your game;
Step 4: Click the Record button to start recording;
Step 5: Click the Stop button to stop recording.

Zoom allows you to save your recordings either on the cloud or in your local storage. Depending on the option you choose, you’ll find your recording there.
Tips for Recording Yourself Playing Video Games
To maximize your chances of success and attract as many viewers as possible, you’ll want to keep in mind the following things when recording your gaming content:
- Use good lighting – you’ll want your face to be clearly visible in your webcam recording, even if it’s not the focus of your content, so use good lighting to make sure there aren’t any distracting shadows on your face;
- Ensure a clean background – clutter in your background will only serve as a distraction. Either ensure your background looks clean and professional or use a virtual background;
- Record in a quiet environment – while you can always edit your audio after the fact, recording in a quiet environment will ensure a crisp, clear sound for your commentary;
- Make your content engaging – whether with a touch of humor or unique audio and video effects, you’ll want to do whatever you can to make your content as engaging as possible.
Perhaps most importantly, stay true to yourself. You can always explore what other gaming content creators are doing for inspiration, but try not to mimic anyone. Develop your own unique twist to your gaming videos and try to differentiate yourself from others.
Learn About Different Gameplay Video Formats
Finally, to keep your audience engaged, you’ll want to diversify your content a bit. The easiest way to do so is by learning about all the different gameplay video formats. Some of the most popular formats include:
- Let’s Play – record playthroughs with commentary;
- Speedrun – quickly complete challenges and objectives;
- Review – video game reviews and analysis
- Tutorial – detailed explainer videos informing others how to play;
- Glitch overview – videos explaining common glitches and how they can be overcome;
- Highlight – short videos highlighting the most important aspects of a game;
- Livestream – real-time playthroughs with audience engagement.
You can always mix and match these different types of gaming videos to attract a larger audience and keep your viewers entertained.
Conclusion
Though it can seem scary and difficult at first, recording gaming content isn’t all that difficult in itself. Whether you’re using professional tools like Wondershare DemoCreator, built-in screen recorders, or even video conferencing solutions, you can easily capture your gameplay videos, tweak them a little using your editing software of choice, and upload them for the world to see.


