Can You QuickTime Screen Recording on Windows?

When you think of recording the screen on Mac, the go-to solution for most people is QuickTime. This is because, not only is QuickTime completely free to use, it is also easily accessible and can record amazing videos in just a few clicks. This begs the question; is there a way to install QuickTime on Windows and use the app to record the screen the way you would on a Mac?
Well, QuickTime 7 could be installed on Windows Vista and Windows 7, but it may not be fully functional on Windows, not the way it is on Mac. It is also important to note that Apple no longer supports QuickTime for Windows, primarily because newer versions of the Windows OS do not support the key media formats such as H.262 and AAC that QuickTime uses. But this doesn't mean that you will not be able to record high-quality screen-flow videos on your PC. Here, we will share with you the best option to record the screen on Windows.
QuickTime Alternative to Record Windows PC
The best tool to record the screen on your PC is Wondershare DemoCreator. Not only will this app record the screen, it can also record high-quality audio and include webcam footage. It also has a very simple user interface that allows even the beginner user to create the best recording possible. The following are some of the program's key features;
- You can use it to record the screen and webcam at the same time
- It can record up to 120 FPS, ideal for gameplay recording
- It captures high-quality audio very easily and video very easily, using a three-step process that will share with you shortly.
- Allows for webcam and audio recording
- Has built-in video editing tools that are easy to use and very effective
Here's how to use DemoCreator to record the screen and sound on Windows 10;
 Secure DownloadSecure Download
Step 1: Download the Wondershare DemoCreator executable file from the program's main website. Once installation is complete, launch the program and, in the main window, click "New Recording" to begin the recording process.

Step 2: The next window allows you to customize the recording process. This is where you choose if you would like to add audio to the recording. Here's how to customize the settings;
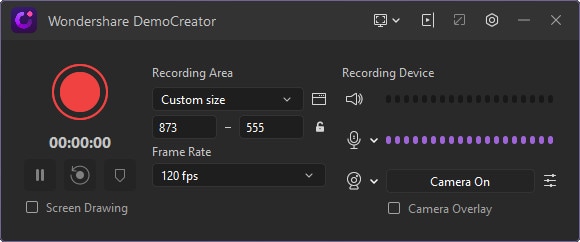
Click on the "Screen" tab, and here you can select whether you want to record the full screen or just a section of the screen. You will also be able to choose the frame rate and indicate if you are recording a game or not.
Next, click on the "Audio" tab and here you can decide if you would like to capture the "Computer Audio", the "Microphone" or both.
If you would like to capture both the screen and the webcam, click on the "Camera" to enable "Capture" and customize the frame rate as well as the frame rate.
Step 3: Once everything is set up correctly for the type of recording you want to make, click on the red button or hit the "F10" key to begin the recording. You will see a count-down on the screen and then the recording will begin.
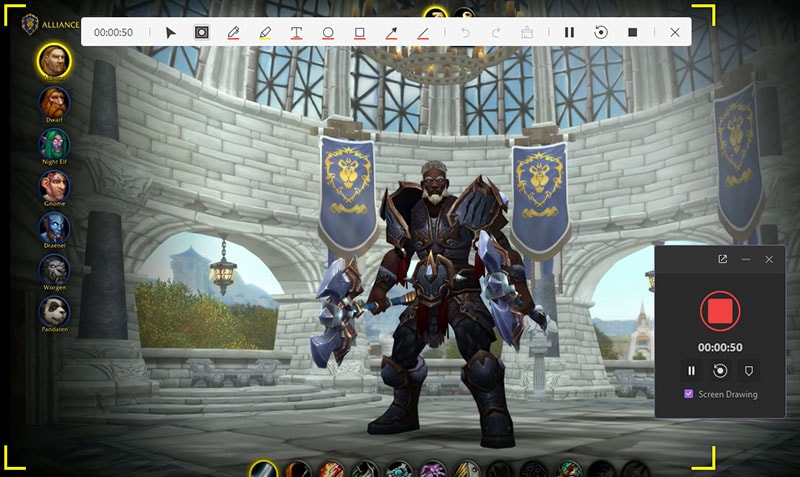
Step 4: To finish the recording, use the "F10" key on your keyboard. The video will be saved in the pre-determined folder on your computer.
How to Record the Screen with QuickTime on Mac
QuickTime is also a very simple tool to use. Follow this simple guide to record the screen with QuickTime on Mac;
Step 1: Open the QuickTime application on your Mac.
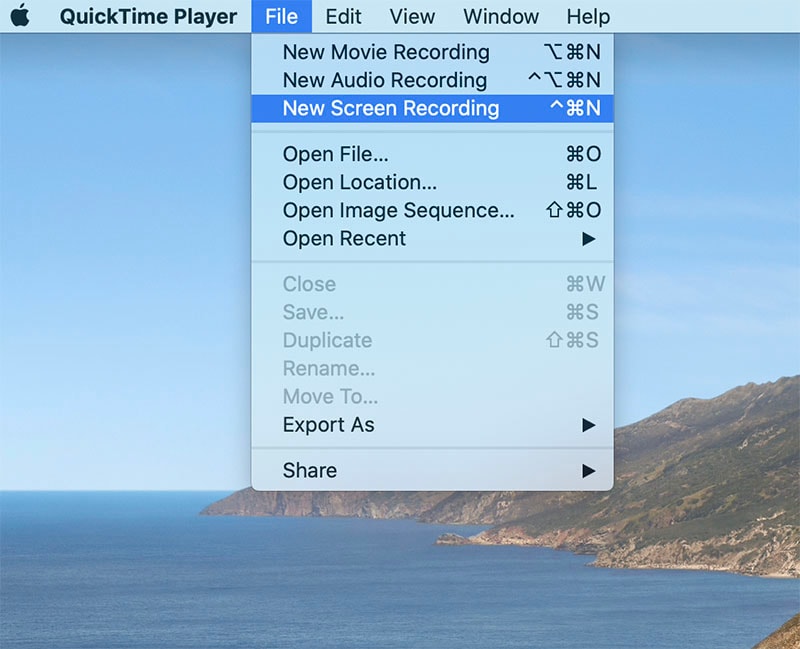
Step 2: In the program's main window, click on "File" and then select "New Screen Recording."
Step 3: Click on the drop-down arrow next to the record button and choose the cursor and microphone that you would like to use.
Step 4: Now open the application that you want to record. Keep in mind that if you are recording in full-screen, you will have to make it full-screen after the recording begins.
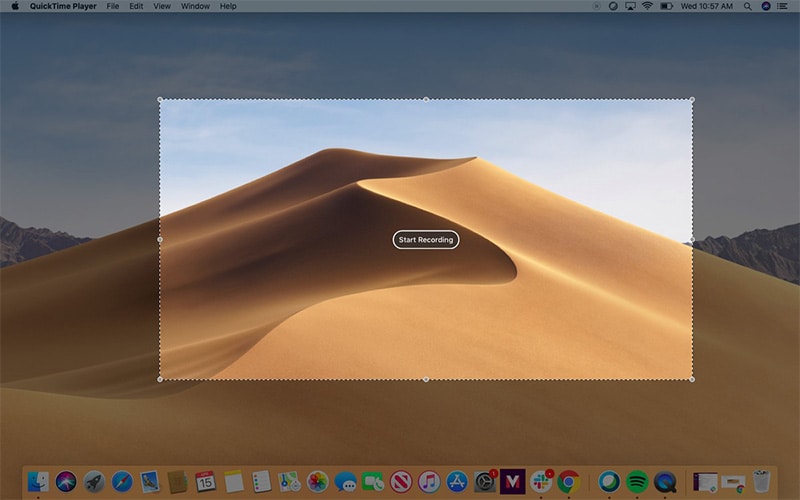
Step 5: Click on the "Record" button to start the recording, and then drag a box around the portion of the screen to want to record.
Step 6: When you're done, click on the stop button in the menu bar to end the recording. QuickTime will then display the recording on the screen after a short processing period.
Comparison of QuickTime and DemoCreator
DemoCreator also has a Mac version, and it may therefore pay to know how these two programs compare to one another, just so you can decide the best tool to use based on the project you are working on. Here's a complete comparison of the features you find on QuickTime and DemoCreator;
|
Program/Features |
DemoCreator |
QuickTime |
|---|---|---|
|
Intuitive Interface |
Yes |
Yes |
|
Webcam Recording |
Support |
Support |
|
Audio Recording |
Yes |
Yes |
|
Basic Editing |
Yes |
Yes |
|
Video Templates |
10000+ Resources |
No |
|
Real-Time Screen Drawing |
Yes |
No |
QuickTime is a great way to record the screen on your Mac, but it is not available for Windows. To record high-quality screen flow videos on Windows, DemoCreator is a better solution. This is a tool that is designed to record high-quality videos for marketing purposes.


