
Introduction
Facebook, being the largest social network, is a great place to promote content. But there is one issue: Facebook does not have a direct feature that allows users to upload voice recordings as posts on their platform. So, how to post voice recordings on Facebook if you want to promote an audio-only content?
You can upload audio files to Facebook by converting them into a video that contains audio content. The other alternative is you can share audio files using file-sharing services. This guide will give you step-by-step instructions if you want to know how to upload voice recordings to Facebook. Let’s jump right in!
In this article
Part 1. How to Convert Audio into Video And Share Them to Facebook
If you have a voice recording that you want to share on Facebook, you can convert it into a video first. To fill the visual elements of the video, you can use a static image as a background or a simple animation. Here are a few tools you can use for converting audio files into video for free.
1. Online Converter
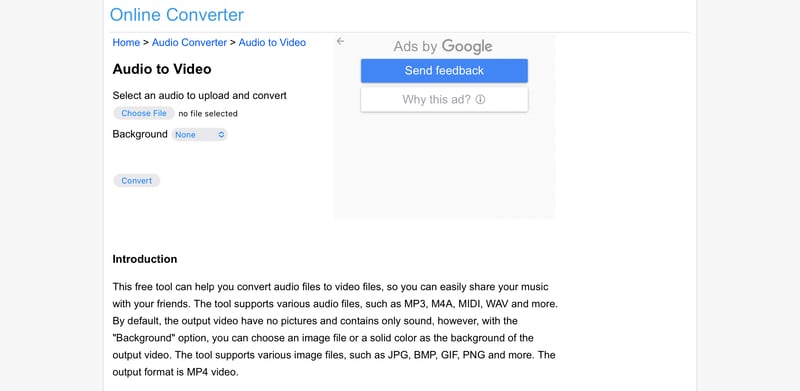
Online Converter is a free tool that lets you turn audio files into videos with just a few clicks. The default output video only has sound with no pictures. But with the Background option, you can add an image or a solid color as the background.
Here are the steps to convert audio into video using Online Converter:
Step 1. Select an audio file to convert.
Step 2. Choose the background option between:
- None: The video will have no background.
- Image File: If you want an image as the background, select an image file in formats like .jpg, .bmp, .gif, .png, and others.
- Color: Choose a specific color (e.g., Blue, Green, Gray, Olive, etc.) as the background of the video.
Step 3. Click the Convert button to start uploading your audio (and image) files.
Step 4. When the file is uploaded, they will redirect you to a page with the results ready to download.
2. Echowave
Echowave lets you create online videos with minimal effort. This tool allows you to share audio and video files on social media platforms without installing any software. In just a few clicks, you can transform audio into videos using waveform visualizations.

Here are the steps to convert audio into video using Echowave:
Step 1. Start by uploading your audio file. EchoWave supports almost all audio file types, so any sound file will work.
Step 2. Choose a background for your video. You can use your images or a solid color. To make your video more dynamic, include a waveform animation that syncs with your audio.
Step 3. Optionally, click the Text icon to add text to your video.
Step 4. If you are done with the editing, click Export to render your video automatically.
Step 5. When the rendering is completed, you will see the preview of your video. At the top-right of your screen, you can click Edit if you want to edit the video once more.
Step 6. If you are satisfied with the results, click Download to save the video to your device.
How to Post Voice Recording on Facebook After Convert Them Into Videos
After you are done converting your voice recording into a video, now it is time to upload it to Facebook. Here is the step-by-step guide on how to upload a video to Facebook:
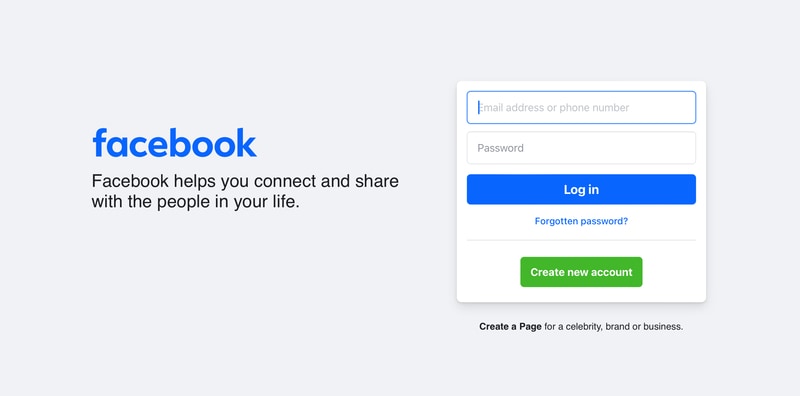
Step 1. Open Facebook on your device. You can use the web browser version or the mobile app.
Step 2. Log in to your Facebook account. If you don't have an account yet, sign up.
Step 3. On the top of your Feed page, click on the “What’s on your mind, [Your Name]?” box to create a new post.
Step 4. A new page for creating a post will appear. Click on "Add Photos/Video" to open your device’s Files or Gallery.

Step 5. Find and click the video that you want to upload.
Step 6. Next, add any necessary details, such as insert a caption and set the audience for your post. Once you are satisfied with your post, tap Post to start uploading the video.
Part 2. How to Upload Voice Recording to Facebook Using File Sharing Services
The fastest way to share audio on Facebook is by uploading the audio file (wav, mp3, m4a) to a service that generates a shareable link. Although this method may not be as visually engaging as uploading a video, it is a reliable and free solution.
You can use file-sharing services like Google Drive or Dropbox to store your audio file, and then share the link to Facebook. You can also use SoundCloud to do the same. Here are the steps on how to upload voice recordings to Facebook using Google Drive:
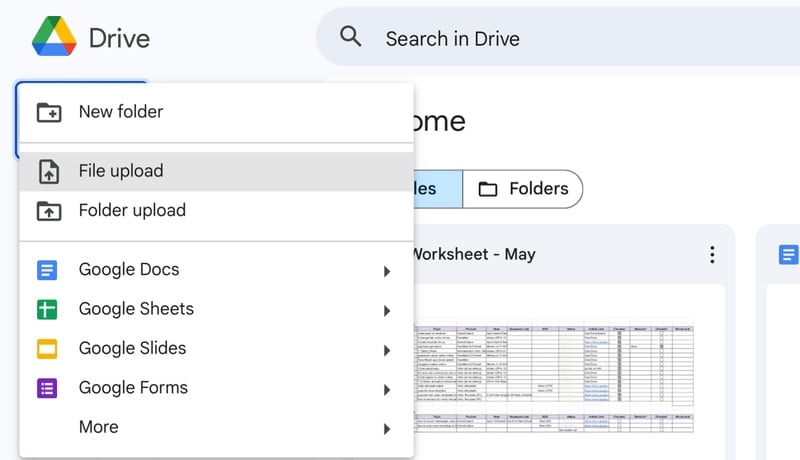
Step 1. Open Google Drive.
Step 2. To upload the audio file, click New > File upload and choose the audio file.
Step 3. Double-click on the uploaded audio file to open it.
Step 4. Select Share at the top-right corner of your screen, and change the General access from “Restricted” to “Anyone with the link.” Then, click on “Copy Link.”
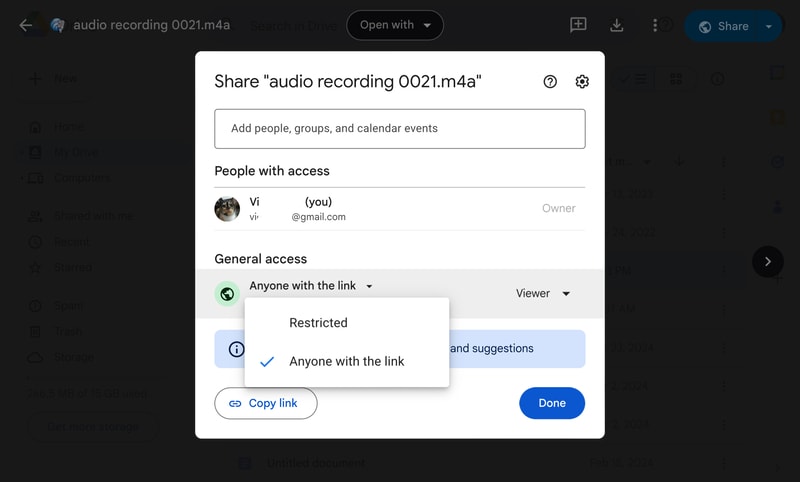
Step 5. Go to Facebook and share this link in a new post.
Part 3. Is It Possible to Download Voice Recordings from Facebook Messenger?
Messenger has the ability to record voice messages. It is a convenient way to communicate when you have a lot to say or don’t have time to type out a text. Unfortunately, they don’t provide an option to save voice messages directly to your devices. But, this doesn’t mean it is impossible.
The option to download audio from Messenger is quite hidden. If you want to download an audio clip or voice recording, you won’t find the options with right-click or long-press and then hit save. So the question is, how to download voice recordings from Facebook Messenger?
How to Download Audio From Messenger on PC
To download audio files from Facebook Messenger, you can use Google Chrome’s Developer Tools. Follow these steps to do that:
Step 1. Open Google Chrome and navigate to the Facebook Messenger chat containing the audio file.
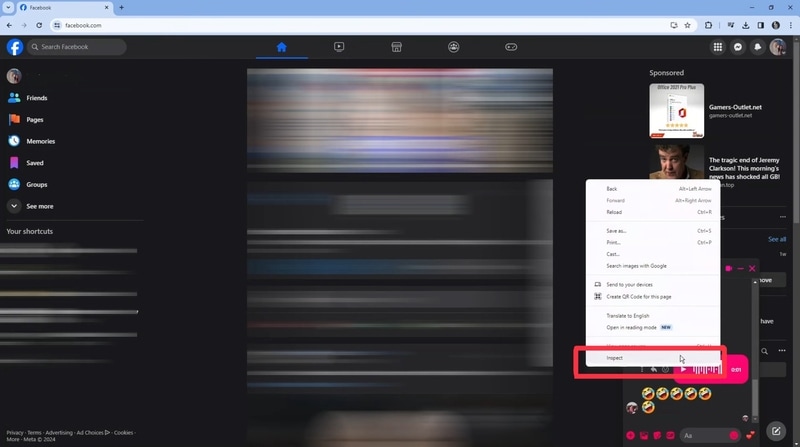
Step 2. Right-click on the voice recording and select "Inspect" from the context menu.
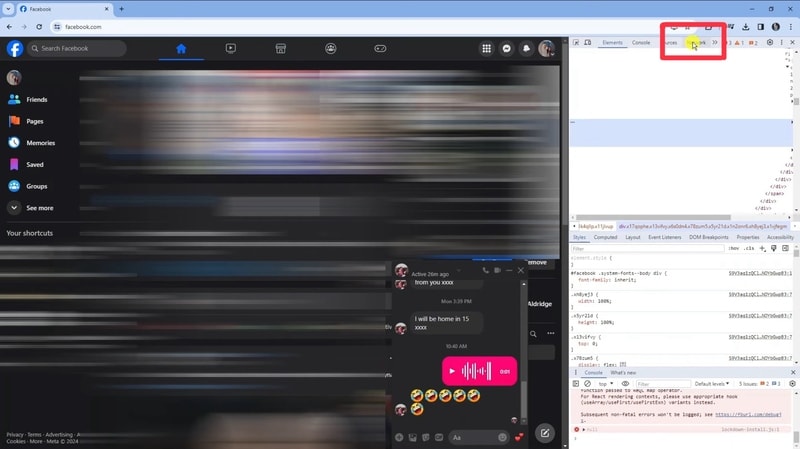
Step 3. The Developer Tools window will open, displaying the HTML code of the webpage.
Step 4. In the Developer Tools window, click on the "Network" tab at the top.
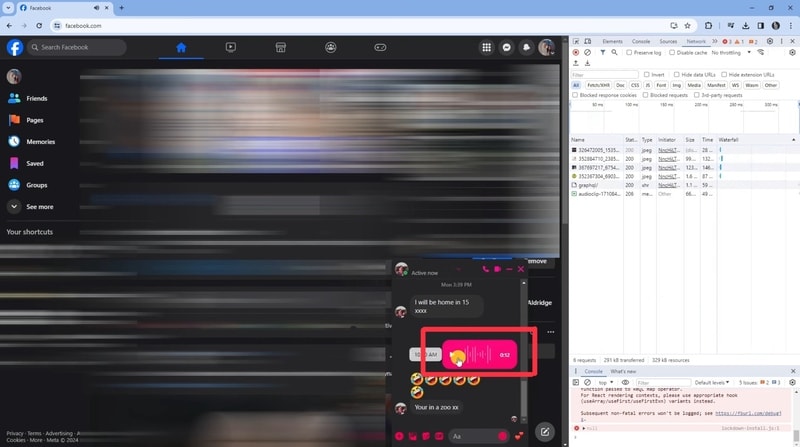
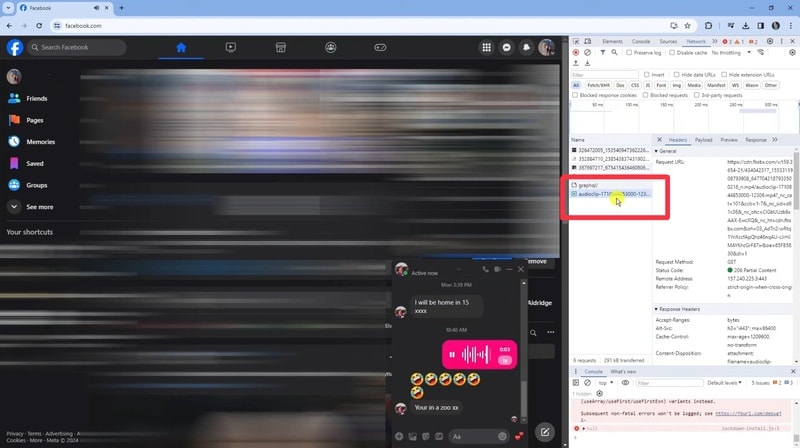
Step 5. Click the audio file in Facebook Messenger. A new entry with a “.mp4” or “.ogg” extension will appear in the Network tab.
Step 6. To download the audio file, double-click on that new entry, and the audio will be saved to your computer.
Bonus: How to Record Your Computer Screen Along With The Audio
Windows has a built-in feature for screen recording along with the audio, but it is only limited to recording them. If you are looking for third-party software that can both record your screen and let you edit it, Wondershare DemoCreator is the best choice.
Key Features
- Recording: Record your entire screen, specific areas, or your webcam and microphone.
- Editing: Use its editing tools to modify your recordings directly within the software. It has editing features, a library of effects, and AI-powered tools like noise reduction and voice alteration.
- Presenting: Create presentations with dynamic tools such as annotations, green-screen effects, and an AI Virtual Avatar. Choose from AI-generated voices and avatars to personalize your presentations.
Pricing
- Explore all features with a 7-day free trial.
- The Quarterly Plan is $29.99 every three months.
- Yearly Plan is $59.99 per year.
- Get permanent access with a one-time payment of $79.99.
How to Use DemoCreator to Record Your Computer Screen
Here is a step-by-step guide on how to record your computer screen along with the audio using DemoCreator:
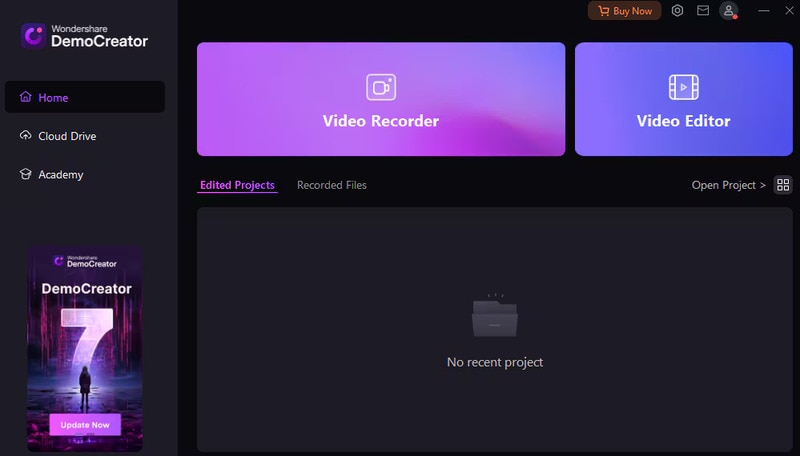
Step 1. Install and open Wondershare DemoCreator on your computer, then go to the Video Recorder feature.
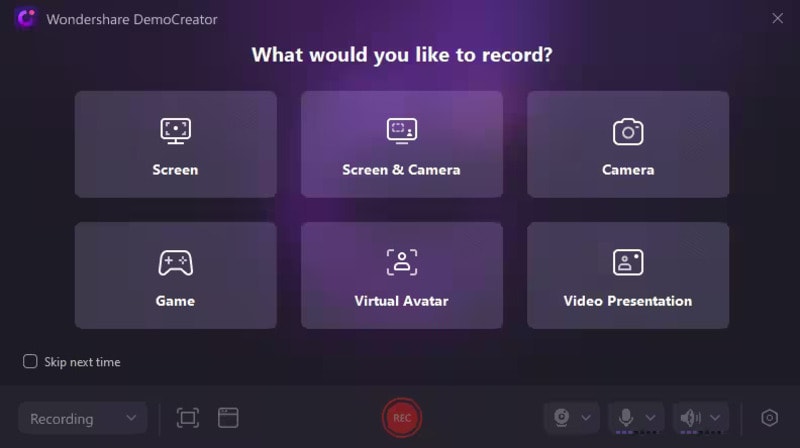
Step 2. Select the recording mode, and choose whether to record only your screen or both the screen and camera. For this guide, select the Screen option.
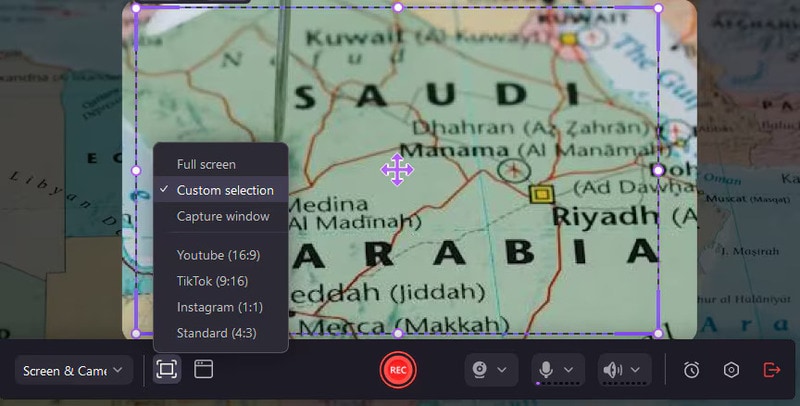
Step 3. Configure your recording settings according to your needs. This includes selecting the recording area, audio sources, export options, and any other customizations.
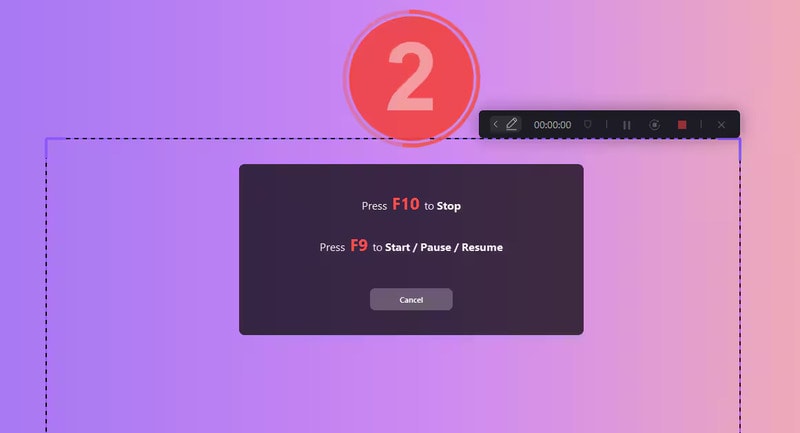
Step 4. Begin the recording by clicking the REC button in DemoCreator or by pressing the F9 key on your keyboard.
Step 5. Control the recording process by pausing with the F9 key or stopping it completely with the F10 key.
Conclusion
The methods on how to post voice recordings on Facebook are simple. You can convert the audio files into videos using online tools and then upload them to Facebook. Alternatively, you can use file-sharing services to share audio links directly.
Facebook Messenger does not provide an easy option to download voice messages. But, you can use Google Chrome’s Developer Tools to download these files. For recording your screen along with audio, Wondershare DemoCreator offers great recording and editing features.


