Roblox is popular for its user-driven content, allowing players to create gameplay experiences. Its versatile interface empowers users to design models and terrains. You can access tutorials within the game and further develop skills through the Roblox blog or forum. Learning how to record Roblox on iPad/iPhone is essential for preserving memorable moments. Losing progress due to unexpected interruptions like a power-off can be frustrating, emphasizing the importance of recording gameplay. Additionally, for dynamic actions like daring jumps or tutorials to share online, capturing Roblox videos becomes indispensable. Wondering how to do it? Keep reading to discover how to record Roblox on iPad in an easier way.
In this article
Method 1: Built-in Screen Recording on iPad/iPhone
The screen recording feature on iPads lets you make videos of whatever's happening on your screen. You can record games, tutorials, or anything else you want to share. It's easy to find in the Control Center; you can add your voice to explain things as you record. Here's how:
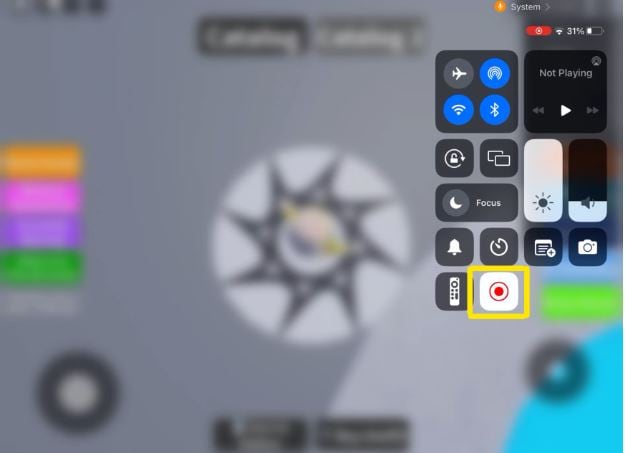
Step 1: To start recording your Roblox, first open the Roblox app. Then, swipe up from the bottom edge of your screen. Press firmly on the red circle button when you're ready to begin recording.
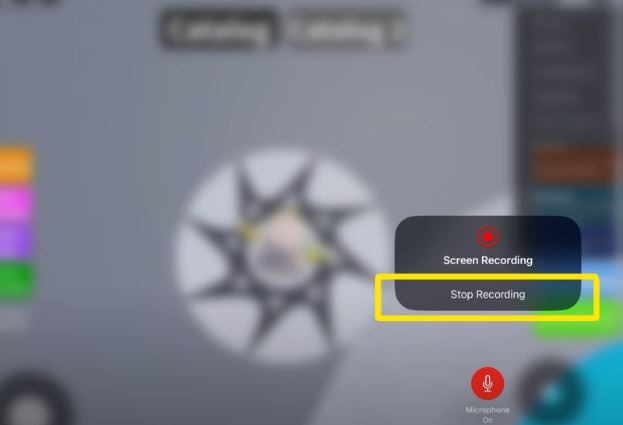
Step 2: When you're finished recording, tap the "Stop Recording" button to stop. Afterward, you can head to the Photos app to watch your screen recording.
Tips for Screen Recording on iPad:
Before exploring the specifics of screen recording on your iPad, it's essential to optimize settings and manage storage effectively. These simple tips will ensure a smoother recording experience and prevent storage issues in the future.
- Optimize Settings: Ensure the best recording experience by adjusting audio input, orientation lock, and display brightness.
- Manage Storage: Keep your iPad clutter-free by regularly deleting unnecessary files to free up space.
Like the iPad, the iPhone also features a built-in screen recording functionality, providing a convenient way to capture gameplay, tutorials, and more directly from your device's screen. Here’s how:
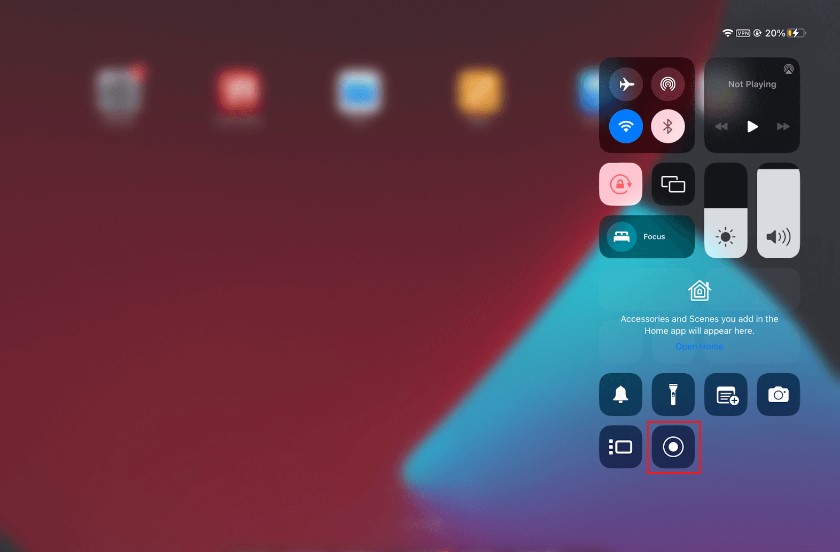
Step 1: Swipe down from the top-right corner of your iPhone's screen to open Control Center. Find the screen recording icon, which resembles a solid circle surrounded by a dotted outline. Tap the screen recording icon to begin recording. Open the Roblox app and start playing the game you want to record. A countdown timer will appear, allowing you to prepare.
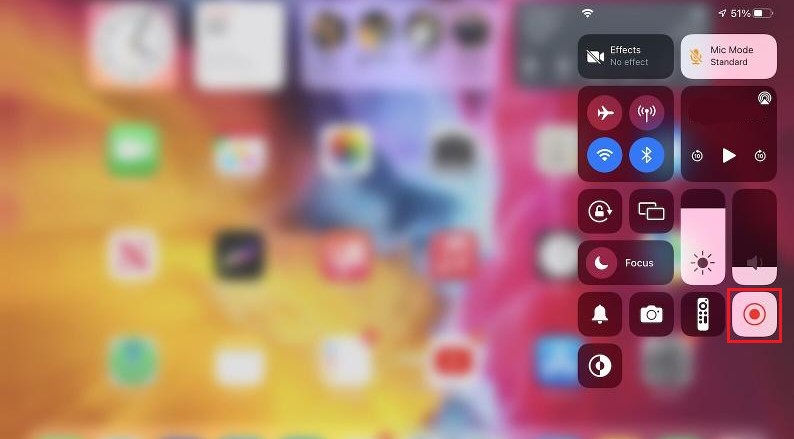
Step 2: To stop recording, tap the red status bar at the top of the screen. Return to the Control Center and tap the screen recording icon again.
Method 2: Using Third-Party Screen Recording Apps
Third-party screen recording apps offer additional features and customization options beyond the built-in functionality. Several options are available on the App Store for recording Roblox gameplay, specifically on iPad.
Comparison
Popular screen recording apps like "Screen Recorder +," "TechSmith Capture," and "DU Recorder" offer various features such as adjustable video quality, editing tools, and commentary options.
Here's a comparison of popular screen recording apps based on user ratings and features in a table format:
| Screen Recording App | User ratings (App Store) |
Pros | Cons |
| Go Record | 4.7/5 | - Adjustable video quality - Customizable frame rate - Built-in editing tools - Ability to add commentary during recording |
- No longer compatible with iOS versions older than 11 - Editing the outputs requires payment. |
| TechSmith Capture | 4.5/5 | - High-quality screen recording - Advanced editing features - Export to various formats |
- Limited editing features - Screen recordings sometimes register a black space around the video |
| DU Recorder | 4.6/5 | - Screen capture with internal audio recording - Livestreaming support - Built-in video editor - Real-time drawing during recording |
- Payment is required to remove ads on the interface - Lack of advanced editing tools for screen recordings |
| QuickTime Player (for Mac) | N/A | - High-quality screen recording - Easy integration with macOS - Simple editing capabilities |
- Limited screen recording features to offer - Export format only supports MOV |
This comparison offers a snapshot of the user ratings and key features of each screen recording app, helping you make an informed decision based on your recording needs and preferences.
Step-by-Step Guide Using Screen Recorder App from iPad:
Recorder App offers a convenient way to capture your Roblox gameplay on your iPad. Follow these simple steps to get started:
Step 1: Launch the app from your iPad's home screen. Customize recording settings like video quality and frame rate according to your preferences. Ensure that the settings are optimized for capturing your Roblox gameplay.
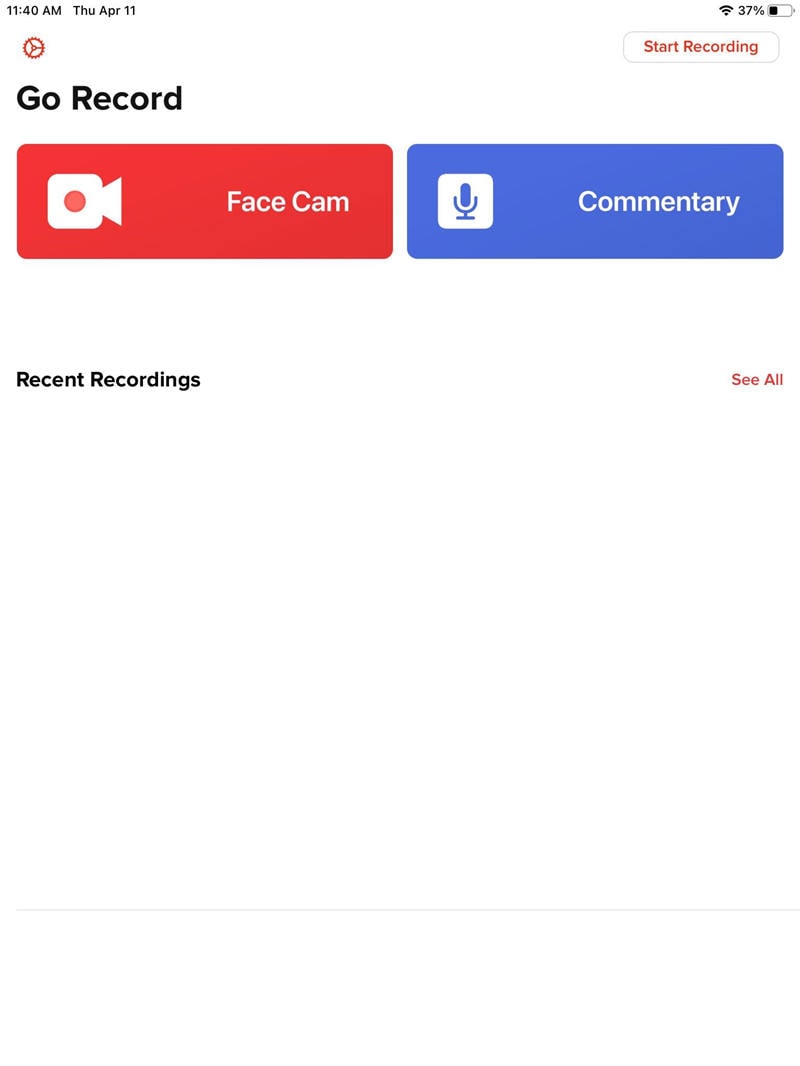
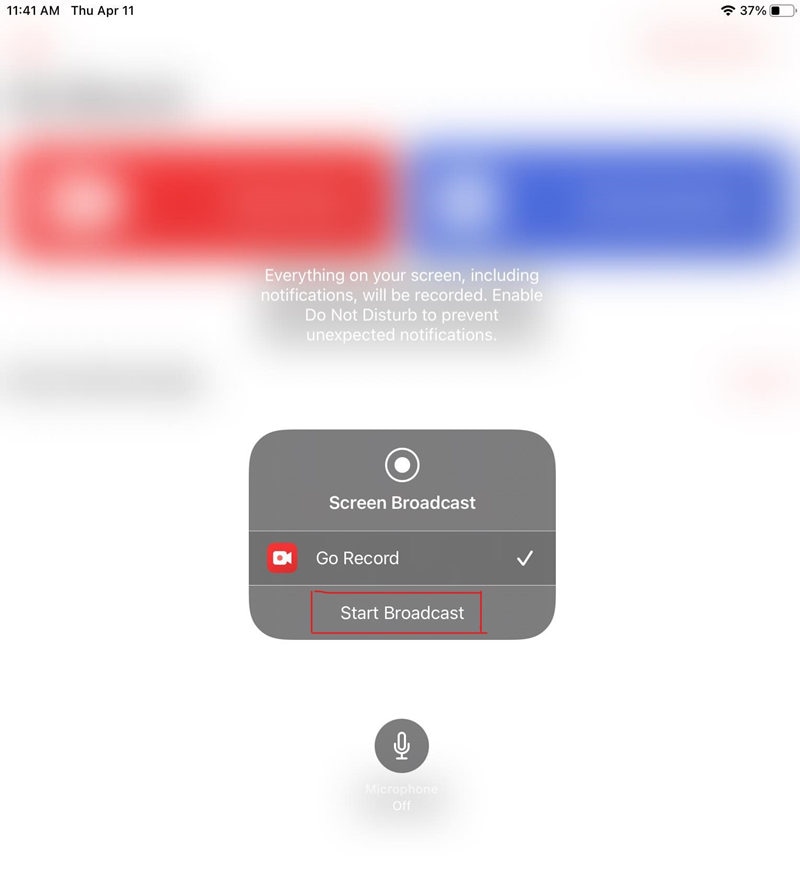
Step 2: Tap the ""Start Broadcast"" button within the app to initiate recording. A countdown timer will appear, giving you a few seconds to prepare.
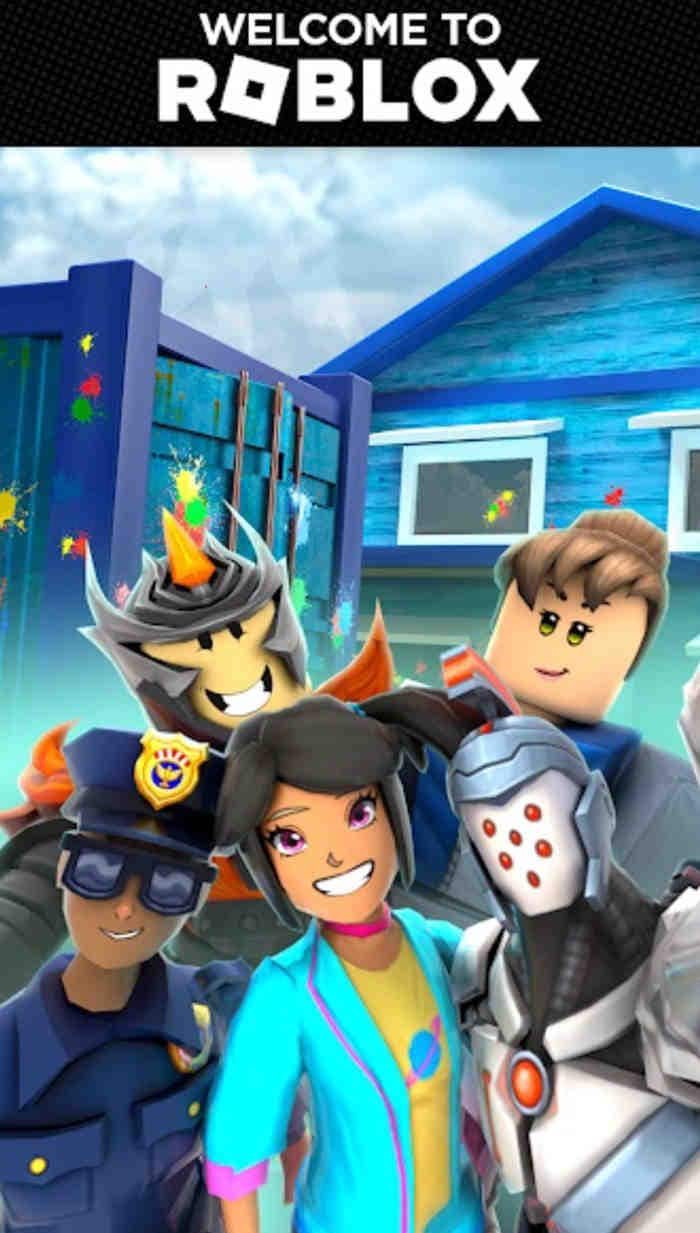
Step 3: Switch to the Roblox app and play the game you want to record. Ensure that the gameplay is displayed on your screen.
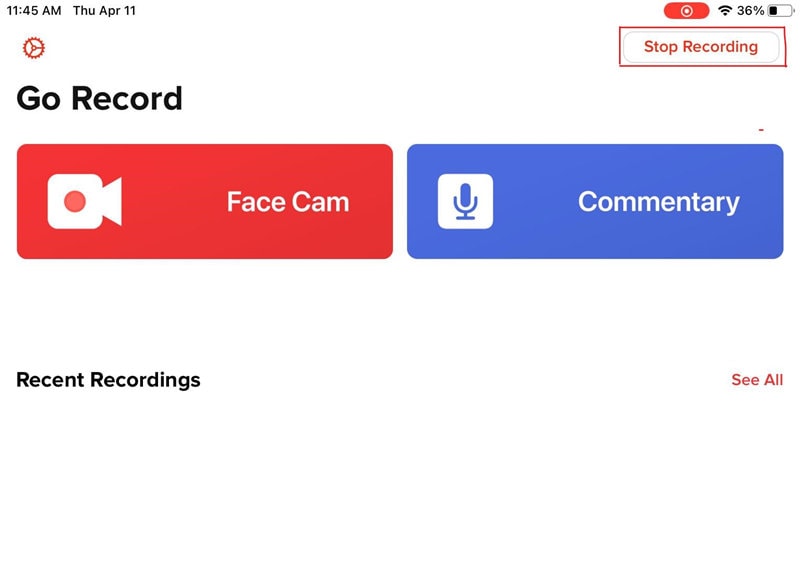
Step 4: After recording, return to the app and tap the ""Stop"" button to end the recording session. Your recorded gameplay will be saved and ready for viewing or sharing.
For users who desire additional features and customization options, third-party screen recording apps are available on the App Store and for recording Roblox gameplay on iPhone.
Step-by-Step Guide Using Screen Recorder App from iPhone:
If you're eager to capture your Roblox adventures on your iPhone, "Screen Recorder +" provides a seamless solution. Here's how to get started:
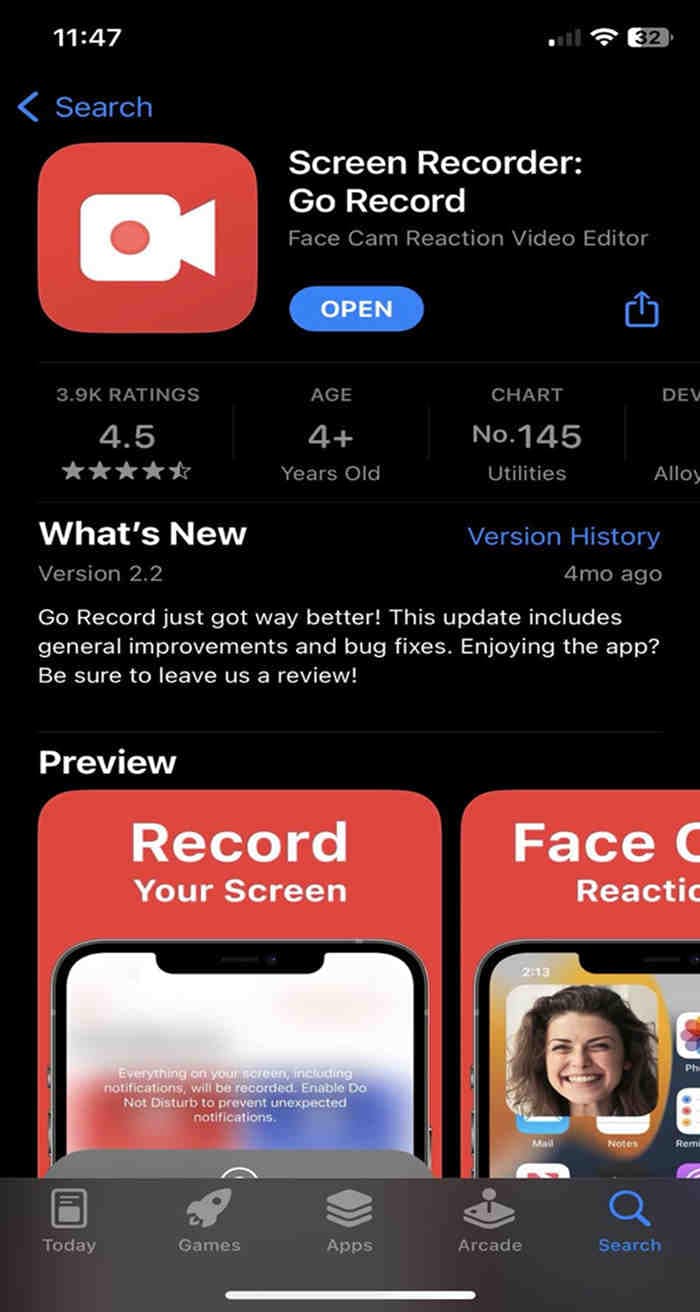
Step 1: Search for "Go Record" on the App Store and download the app to your iPhone. Once the installation is complete, launch the app from your iPhone's home screen.
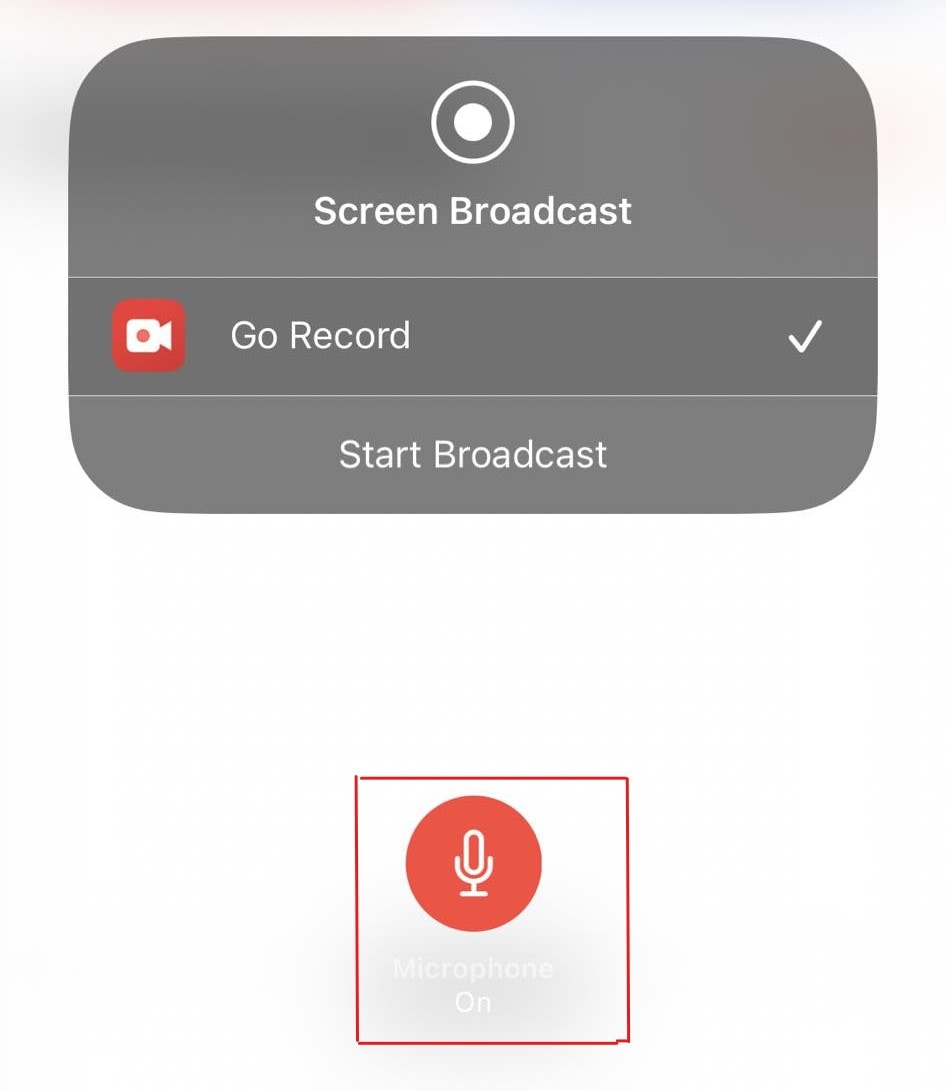
Step 2: Customize recording settings according to your preferences, click on the mic to turn it on.
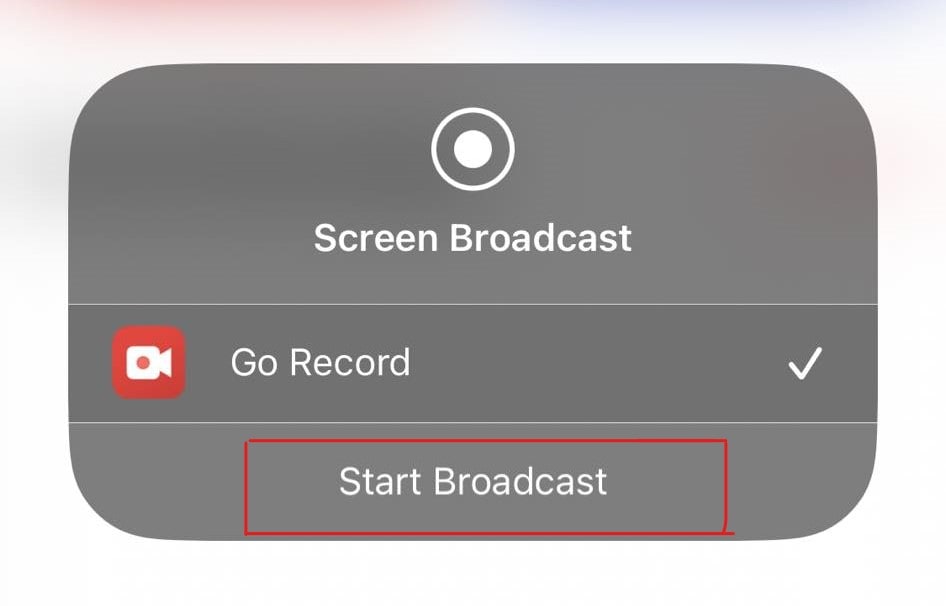
Step 3: Tap the ""Start Broadcast"" button within the app to initiate recording. A countdown timer will appear, giving you a moment to prepare. Switch to the Roblox app and immerse yourself in the game. Your gameplay will be recorded in real time.
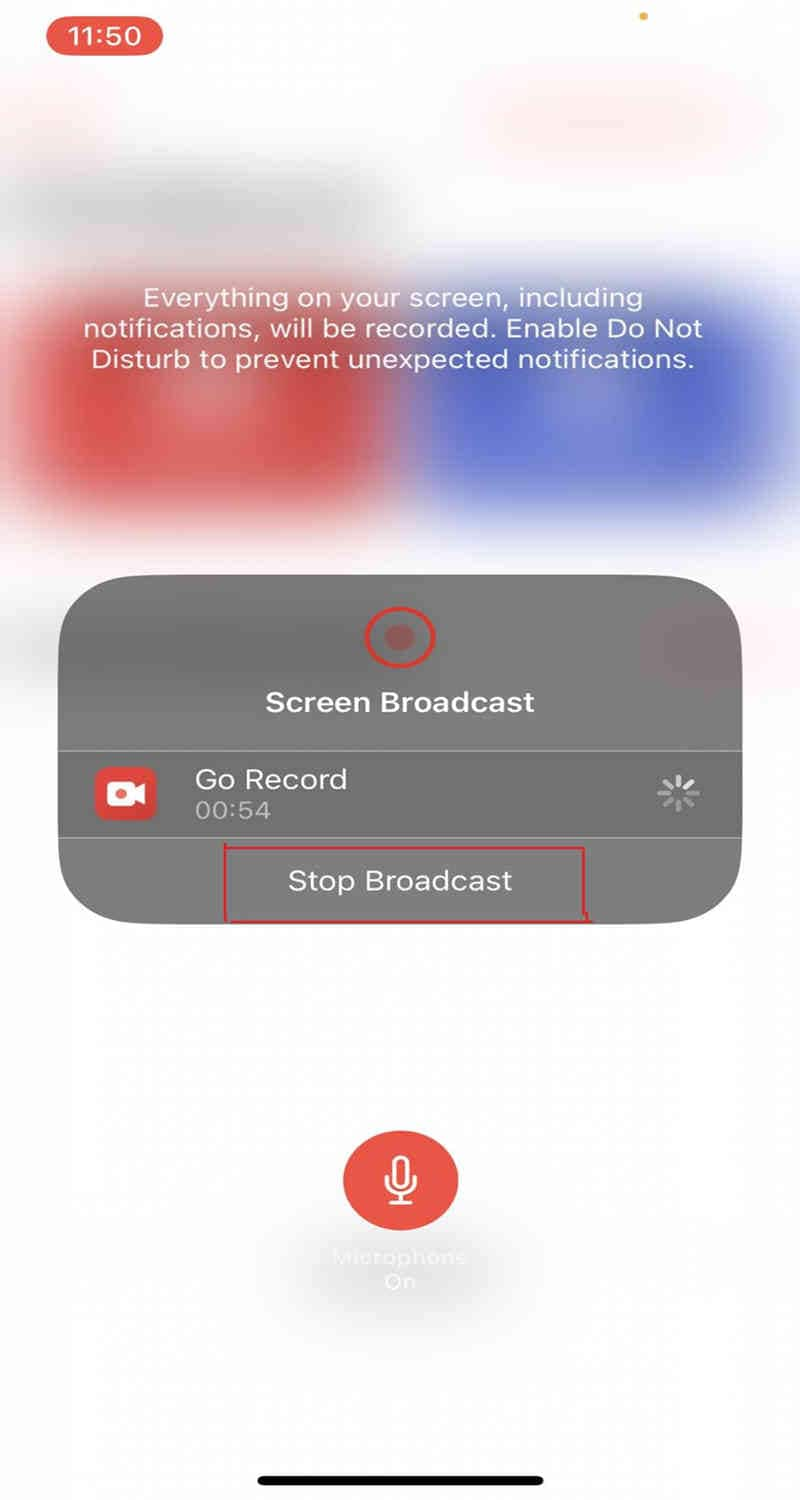
Step 4: Return to the app after completing your gameplay session and tap the ""Stop"" button to end the recording. Your gameplay footage will be saved and ready for further action.
Bonus Tip: Recording Roblox on PC with Wondershare DemoCreator
If you want to capture fantastic moments of Roblox Gameplay on a PC or a Macbook, Wondershare DemoCreator is a good choice. Wondershare DemoCreator is a versatile screen recording solution tailored for capturing Roblox gameplay. With its user-friendly interface and powerful features, DemoCreator offers an excellent platform for gamers to showcase their skills and adventures in the Roblox universe.
Features and Benefits
Wondershare DemoCreator comes packed with features designed to enhance your recording experience:
High-quality Recording: Capture crisp and clear Roblox gameplay footage in high definition.
Flexible Recording Options: Choose from full-screen, custom area, or specific application recording modes to suit your needs.
Audio Recording: Record in-game audio and your commentary for a more immersive experience.
Editing Tools: You can easily edit your recorded footage, including trimming, cutting, merging, and adding annotations.
Effects and Transitions: Enhance your videos with various effects and transitions to make them more engaging.
Export Options: You can export your recordings in various formats, including MP4, MOV, and GIF, for easy sharing on different platforms.
Conclusion
This guide explores various methods for recording Roblox gameplay on your iPad, from built-in screen recording to third-party apps like Screen Recorder +. Each technique offers its features and benefits, catering to different preferences and needs. However, among these options, Wondershare DemoCreator stands out as a comprehensive and user-friendly solution for recording and editing Roblox gameplay on your iPad. With its versatile features, including high-quality recording, flexible customization options, and easy-to-use editing tools, DemoCreator provides everything you need to capture and enhance your gaming experiences.
FAQ
-
How do I access my iPad's built-in screen recording feature to record Roblox gameplay?
You can easily access the built-in screen recording feature on your iPad by swiping down from the top-right corner of the screen to open Control Center. From there, tap the screen recording icon to capture your Roblox gameplay. -
Are there any limitations to recording Roblox gameplay on iPad using the built-in screen recording feature?
While the built-in screen recording feature on iPad is convenient, it may not offer advanced editing options or customizable settings. Users may prefer third-party screen recording apps for additional features like adjustable video quality or the ability to add commentary during recording. -
Can I record Roblox gameplay on my iPad without affecting performance or gameplay experience?
Recording Roblox gameplay on your iPad should not significantly impact performance or gameplay experience, especially if you ensure that your device has sufficient storage space and processing power. However, it's always a good idea to test recording settings beforehand to optimize performance.


