
![3 Easiest Methods to Record Gameplay on Nintendo Switch [2025]](https://images.wondershare.com/democreator/article/access-the-album-button.jpg)
Ever had an epic moment while playing on your Nintendo Switch and wished you could share it with your friends? In this article, you'll discover the exciting world of recording gameplay on Nintendo Switch. From heart-pounding victories to hilarious mishaps, we know you're eager to make your friends see what you've got. Stay put as we explore the 3 easiest methods to capture those unforgettable gaming moments. And just for a heads up, we will also introduce a special tool to edit and record gameplay on Nintendo Switch.
In this article

Comparison of the 3 Nintendo Switch Screen Recorder
Nintendo Switch is a popular gaming console developed by Nintendo, a renowned Japanese gaming company. It was released in March 2017 and is known for its unique hybrid design. Nintendo Switch allows users to play games as a handheld device and a traditional home console. But why do others bother recording gameplay on the Switch? Recording gameplay on the Nintendo Switch and sharing it adds to entertainment and bonding with friends or family. And, of course, it relives your favorite gaming moments.
This section introduces the three methods to record Nintendo Switch gameplay and the step-by-step guide. Also, a comparison table is provided for you to choose your Nintendo Switch screen recorder.
| Method | User Usage Scenarios | Easy-of-use | No Lag? | Effectiveness |
| Built-in Tool | Quick and simple recordings Perfect for quick clips (up to 30 seconds) |
Very easy - just press and hold a button | Minimal | ⭐⭐⭐ |
| Capture Card | High-quality recordings Connect your Switch to your computer for ultimate recording power |
It requires more setup but offers more control over recording length and quality | None | ⭐⭐⭐⭐ |
| Wondershare DemoCreator | Has advanced editing features (it lets your record your screen with voice) | More involved than the button, but offers more editing features. | None | ⭐⭐⭐⭐⭐ |
Method 1. Record Gameplay on Nintendo Switch with Built-in Tool
The Nintendo Switch has a handy built-in feature for recording short bursts of gameplay. This method is perfect for capturing those unexpected wins, hilarious fails, or any other quick moment you want to share.
Here's a step-by-step guide to using this recorder:
Step 1: Look for the capture button beneath the directional pad on your left Joy-Con controller. It is square-shaped.
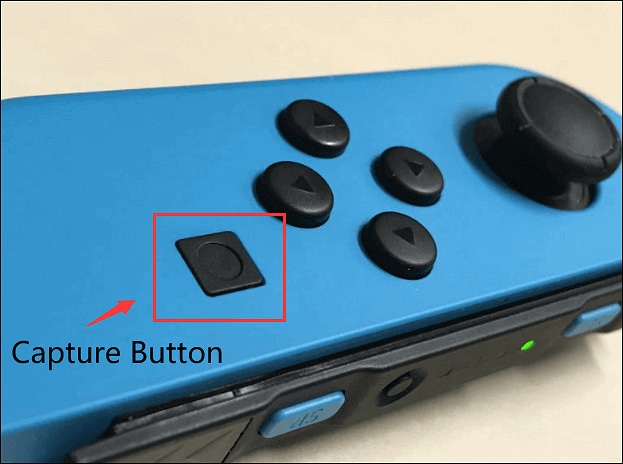
Step 2: Press and hold the button to start recording Nintendo Switch gameplay. The built-in recorder captures the previous 30 seconds of gameplay. So, make sure the action you want to capture happens within that time frame.
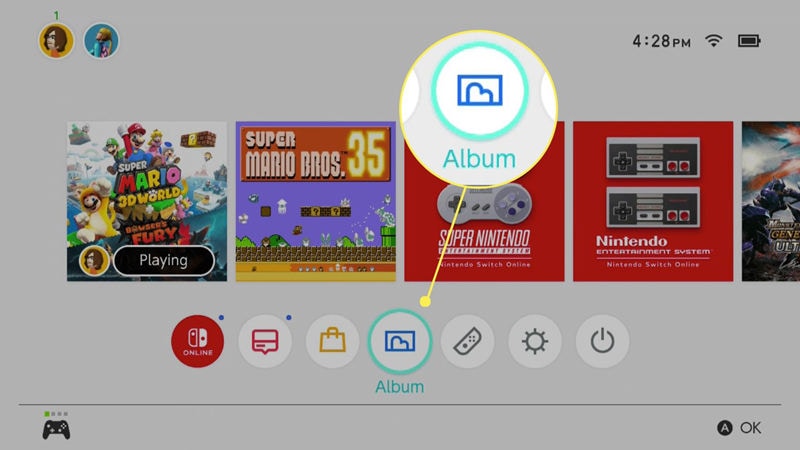
Step 3: Once you've captured the clip you need, go to the Album application on the main menu of your Nintendo Switch. Here, you'll find all your saved recordings.
Method 2. Record Gameplay on Nintendo Switch with Game Bar
For easy recording on Windows users, you can use the built-in Game Bar within your devices.
A capture card is your best bet for capturing entire gameplay sessions or live streams. Windows can help with recording Nintendo Switch gameplay. The capture card connects your Switch and your Windows computer and allows you to record gameplay footage on your computer. You will need two HDMI cables—one to connect your Switch to the capture card and another to connect the capture card to your computer.
Here are the steps to record Nintendo Switch gameplay with Game Bar:
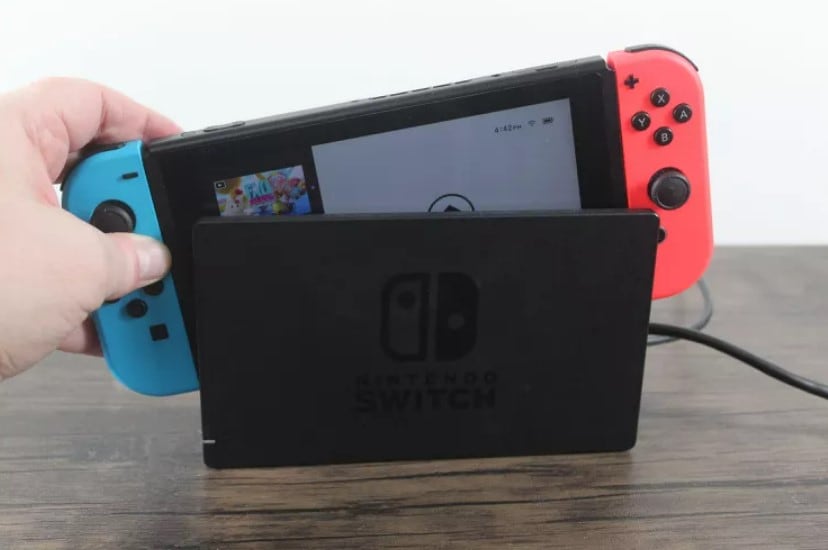
Step 1: Plug one end of an HDMI cable into the HDMI OUT port on your Switch dock and the other end into the HDMI IN port of your capture card.
Step 2: Connect another HDMI cable from the HDMI OUT port of your capture card to your Windows computer's HDMI IN port.
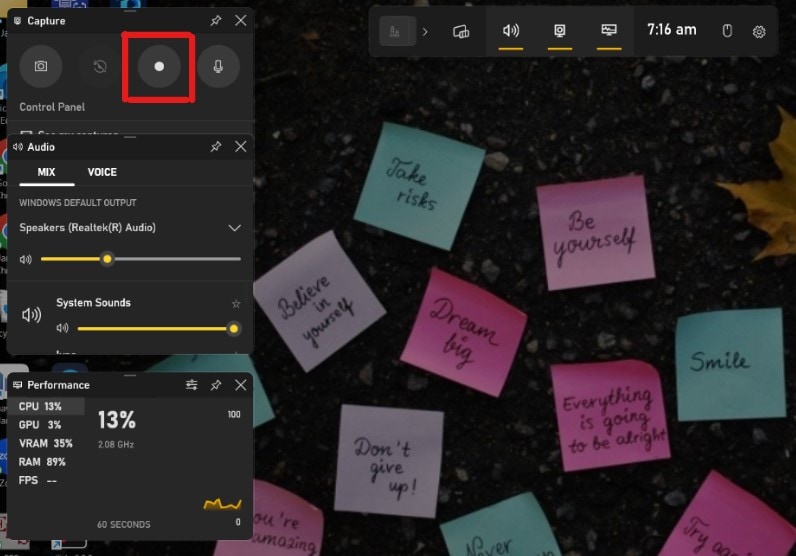
Step 3: Once done, go to your computer and press the Windows logo key + G to open the Xbox Game Bar recorder.
Step 4: Click the "Record" button or press the Windows logo key + Alt + R to record Nintendo Switch.
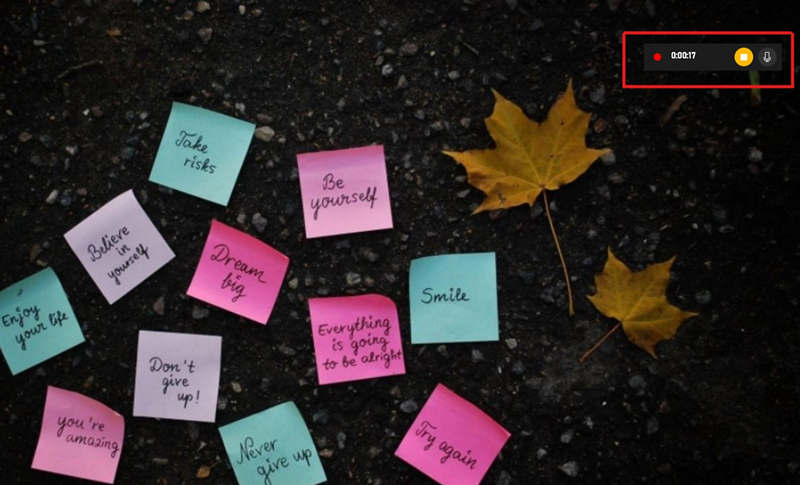
Step 5: Once you've captured your Nintendo Switch, click the "Stop" button or press the Windows logo key + Alt + R again to stop recording. You can locate this on the left side of your screen.
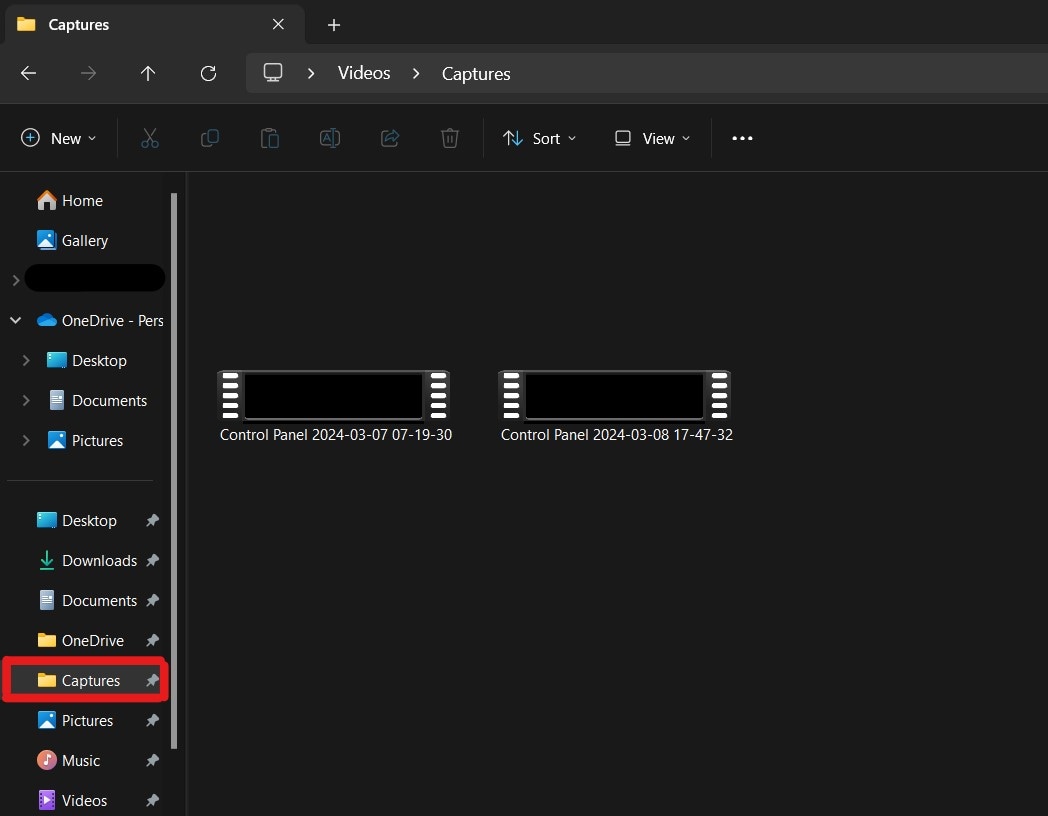
Step 6: You can find your recorded clips in the "Captures" folder under "Videos" on your PC.
Method 3. Record Gameplay on Nintendo Switch with Wondershare DemoCreator
Windows Game Bar is a great tool when it comes to recording videos. But, if you are a streamer, content creator, or someone who is looking for a more advanced recorder you need a tool like Wondershare DemoCreator. Wondershare DemoCreator is a software solution for recording your Switch gameplay on both Windows and Mac. Just like Windows Game Bar, this tool requires a capture card to record your Nintendo Switch gameplay. And you know what? This program goes beyond just capturing footage. It boasts built-in editing features, allowing you to polish your recordings and add your creative touch. It is an all-in-one recording and editing studio for your computer.
Here are the main features of Wondershare DemoCreator for screen recording:
- Capture Gameplay: Record your Switch gameplay through your computer screen.
- Facecam and Microphone: Overlay your reactions and commentary using your webcam and microphone.
- Customization Options: Tweak recording settings like resolution, frame rate, and audio sources.
Before recording Nintendo Switch gameplay with DemoCreator you need to set up your capture card first. Here’s how:
Step 1: Gather your capture card and HDMI cables.
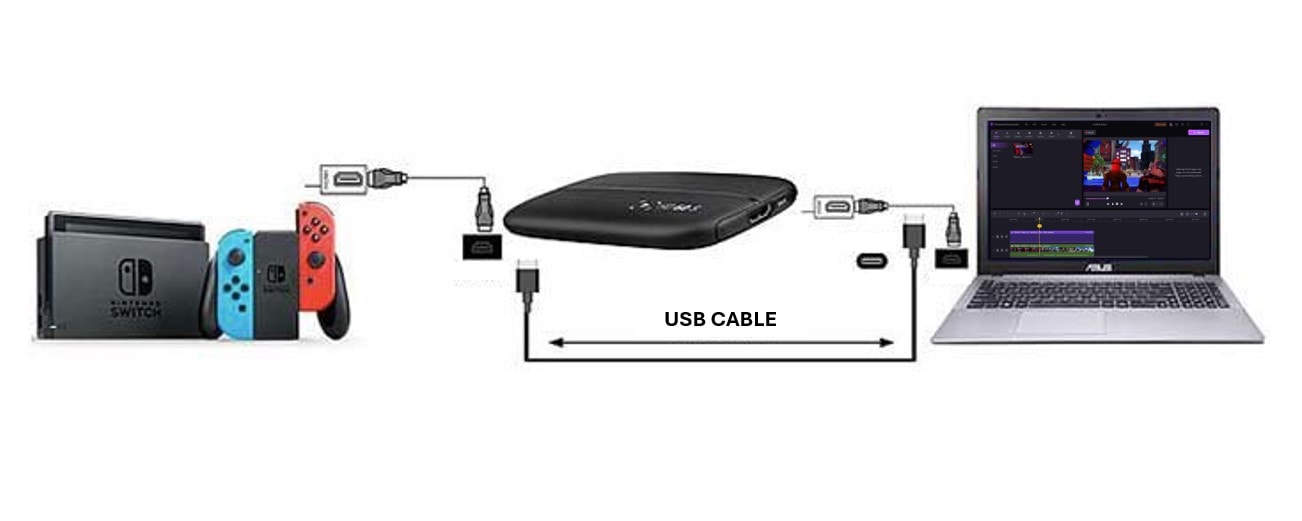
Step 2: Connect one end of an HDMI cable to the HDMI OUT port on the Switch and plug the other end into the HDMI IN port of the capture card. Similarly, Image name your computer to the capture card.
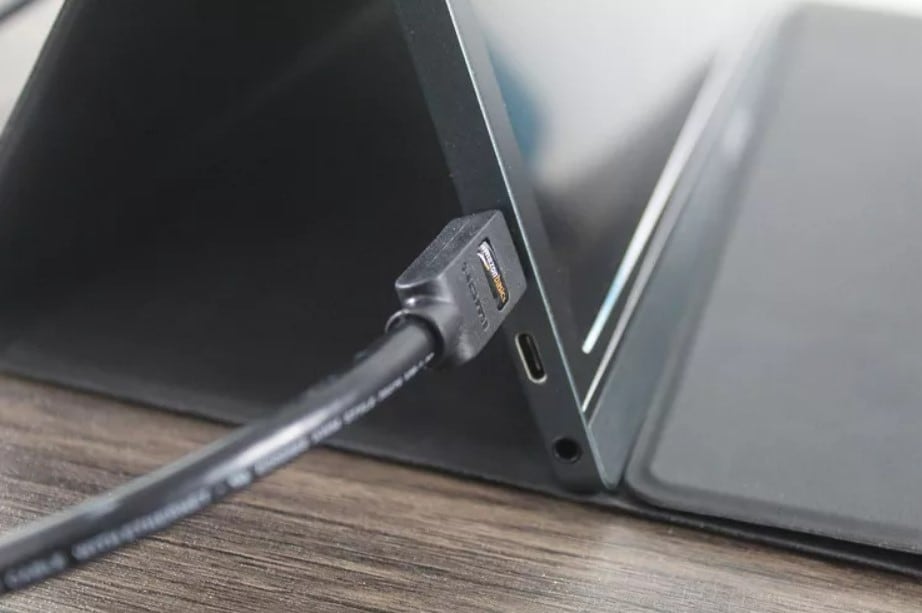
Step 3: Establish the connection between your Nintendo Switch and computer. Ensure the output ports are Image nameed to the PC while the input port is connected to the Switch.
Like this one:
Now, utilize Wondershare DemoCreator to capture your gameplay. Keep reading to learn the steps for creating gameplay videos with DemoCreator.
Step 4: Download and install Wondershare DemoCreator.
Step 5: Connect the Nintendo Switch to your computer. DemoCreator allows you to select the specific audio source to capture.
Step 6: Launch DemoCreator and select the Video Recorder.
Step 7: Choose the Game button.
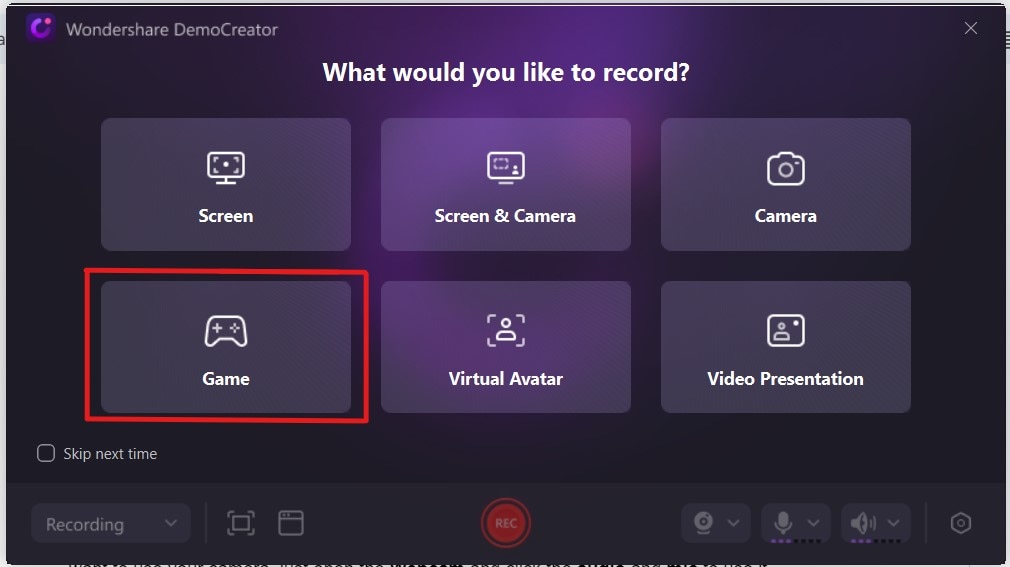
Step 8: Select a game recording Window.
Step 9: Click the red record button or press the F10 key to start capturing your gameplay.

To edit your recorded Nintendo Switch gameplay:
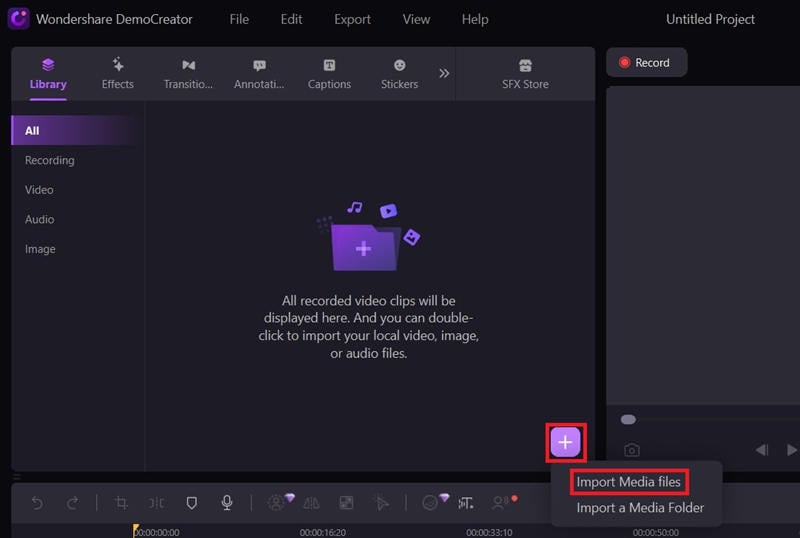
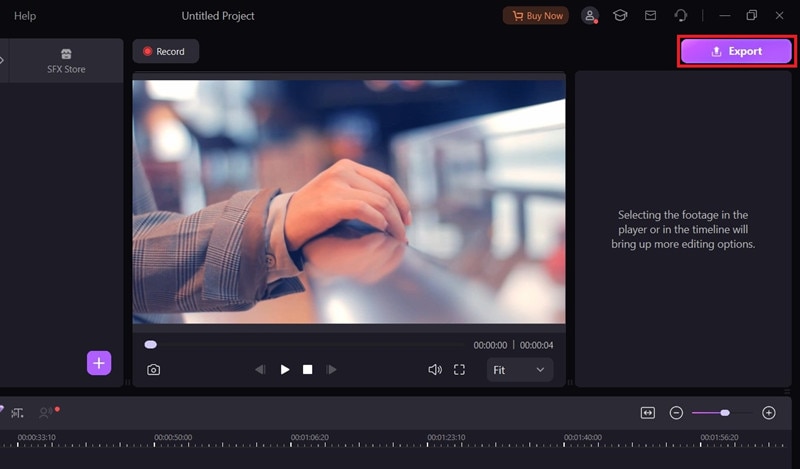
Step 1: Launch DemoCreator and select Video Editor.

Step 2: Click the . button, then select Import Media Files to import the recorded video you want to edit.
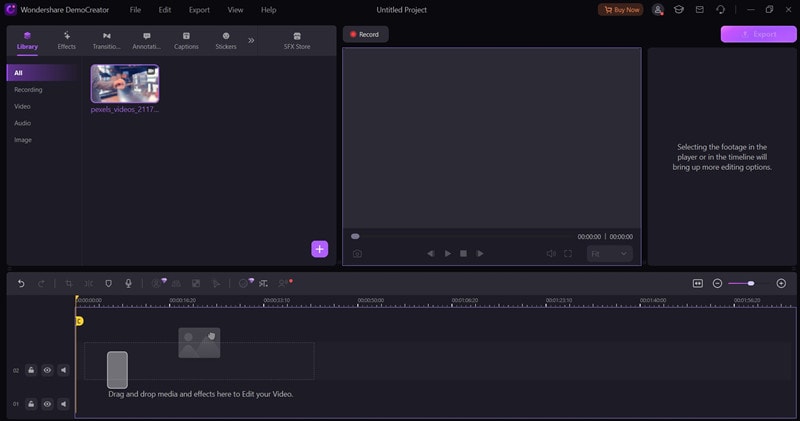
Step 3: Drag and drop your imported video file and edit it.
Step 4: Once satisfied, click Export on the top right to save the recorded video.
Part 2: Why Choose to Record Gameplay on Nintendo Switch?
Why capture those Switch moments? There are many reasons why gamers choose to record their Nintendo Switch gameplay:
- Share Your Wins: Have you ever done something awesome in a game or beaten a tough boss? Recording your gameplay lets you show off these great moments to your friends, family, and other gamers. It keeps your victories forever.
- Track Your Progress: Recording your gameplay is like keeping a diary of your gaming journey. It helps you see how you're getting better or remember fun times you've had playing.
- Make Fun Videos: Lots of people love watching game videos on sites like YouTube and Twitch. Recording your gameplay lets you make cool videos to share. You can show off your skills, give tips, or just entertain people with your gameplay.
- Learn: Recording your gameplay can help you learn more about games. You can study how the game works, figure out better strategies, or see where you messed up. It's an excellent method for improving your playing skills.
- Keep Memories: Recording gameplay lets you save fun moments from games. You can capture times with friends or remember your favorite game experiences. That way, you can always look back on them later.
Conclusion
Now that you know how to record Nintendo Switch gameplay, it's time to share your gaming moments with the world. The methods provided in this article allow you to capture victories, track progress, make fun videos, learn, and cherish memories. For a complete recording with editing features, Wondershare DemoCreator is a must-try. So, grab your Switch, start recording, and let the gaming adventures begin.


