How to Fix Windows 10 Voice Recorder Not Working
Windows 10 has a built-in Microsoft Voice recorder that enables you to record audio, trim it and export it to your loved ones. The Voice recorder works very well with Windows 10, but sometimes you may find that suddenly it is not functioning properly. The microphone turns grey whenever you press the record button. Sometimes even though the microphone is working, you are unable to hear the sound. It becomes one of the most frustrating times for you as you cannot come to a solution. Hence when you find that the voice recorder of Windows 10 is not working, do not panic.
Some common solutions will fix your problem of Windows 10 voice recorder not working properly. Once you can fix the issues, you will be able to make amazing and high-quality audio recordings. If you want to share a video of your creation and it does not have a proper audio quality, it will be of no use. A visual graphic or presentation with proper audio quality will have an enhanced effect on the users. You will be able to make them see what you are seeing, and hence you will be able to put across your ideas in a better way.
1. Update Windows Driver
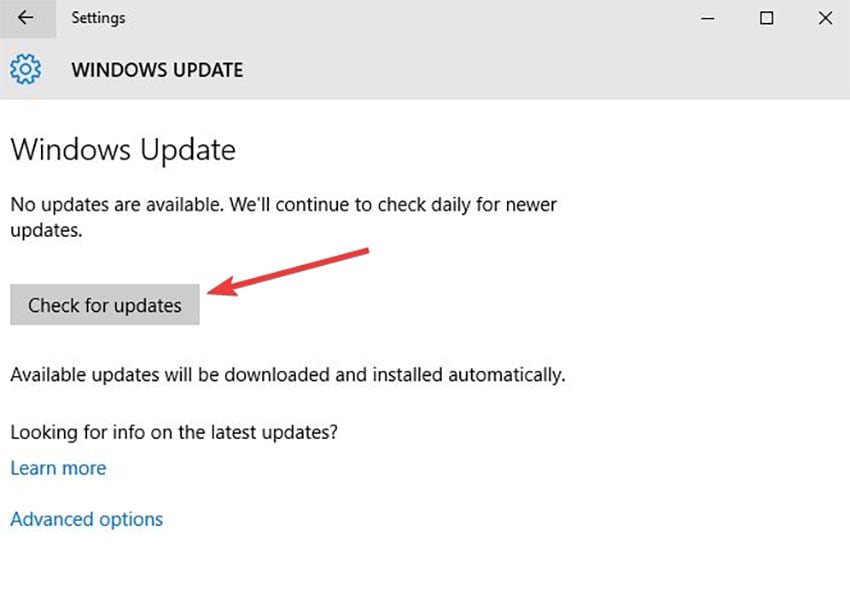
If the windows drivers are properly updated, it will help in the smooth running of your system. Windows often updates their applications automatically; hence an update of the other installed application is a must. It is for this reason, sometimes the voice recorder of your windows ten does not work properly.
You must update your windows using the correct driver that is compatible with the Windows platform. When you update the audio driver of your Windows 10, you must select the particular driver manually and restrain from using any driver software updates. It will provide you the perfect solution to fix the voice recorder of Windows 10 and enable you to record anything.
To update your Windows Driver, use the following steps:

- Click on "Control Panel" from the "Start" option
- Click on "Device Manager"
- From the options given, select "Sound, Video, and Games Controller."
- Right Click on the above option and click on "Update Driver."
- Click on "Search automatically for updated driver software."
- Windows will update the driver and enhance the Voice recorder.
2. Make Sure Microphone is Enable
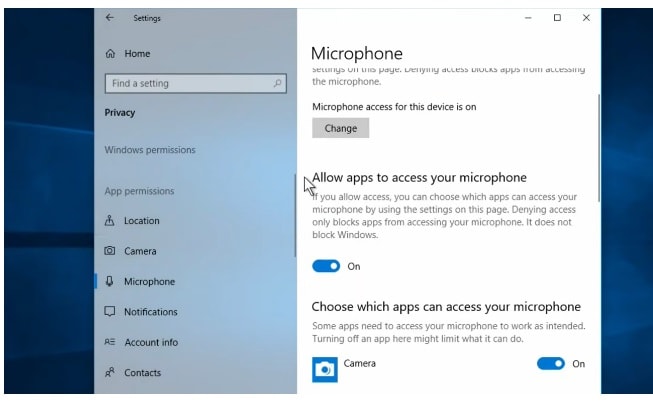
When you see that Windows 10 voice recorder not working even after you updated the audio driver, do not panic. It may be due to some minor errors that you have overlooked. Firstly, you must determine whether the microphone is connected properly with your PC and attached to the right socket. You must also check if the microphone icon is enabled. Windows 10 has an in-built troubleshooter that will help you to come to a solution in fixing your microphone so that you can voice record without any further distress.
You must follow the simple steps to enable the microphone of your Windows 10:

- Open "Settings" from the "Start" menu
- Click on "System"
- Select "Sound"
- Click on "Device Properties" under the "input" section
- Click on the "Enable" button to turn on the microphone
3. Adjust Microphone Levels
When you see the recording not working in Windows 10, you must check the volume of the microphone levels. Each of the recording devices has its input and output level. Sometimes the volume of the microphone by default becomes mute. While working on a computer, you need to have an eagle-eye to spot the errors instantly.
When you find that the sound of your microphone is not working, first check the icon on the taskbar. If the volume is muted, increase it to the desired volume by using the sliders. Once it is done, you can adjust the microphone level accordingly and start working on it smoothly.
4. Select the Correct Recording Device
Most of us nowadays use multiple recording devices on the computer. Hence a machine will not understand which recording device to use unless you give a proper command. When there are multiple recording devices, Windows 10 uses one of them as a default recorder. So whenever you want to record using a voice recorder, it will not allow as windows have used the default recorder, which is not applicable.
It is necessary that before you start the recording, select the device that you want as the recorder. Right-clicking can do it on the Speaker Icon from the taskbar. Select the device that you want to record from the "recording" tab. You will now be able to record instantly without any further delay.
5. Run the Audio Troubleshooter
Windows 10 is packed with a built-in troubleshooter that can fix any issues automatically. When you see that your voice recorder not recording Windows 10, your prime lifesaver is the audio troubleshooter. You have to run the troubleshooter that will automatically run the program and detect the errors. It will automatically repair all errors related to the audio and enable you to record sound easily in Windows 10.
It is a common issue in most Windows platforms as whenever there is an update; some programs are prevented from functioning properly. The Audio troubleshooter is a unique application to fix and repair any common issues related to the computer. You can enhance the Audio Troubleshooter from the "Update and Security option" available on the "Settings" page.
6. Clean Boot your Computer
With the advent of the Internet, online games and shopping have increased. It creates a lot of cache memory on your computer that takes up some of your gigabytes. The increase in various app downloads also eats up much of your space. Hence it prevents and blocks some applications from opening properly, resulting in errors. When you see your voice recorder not opening Windows 10, it may be that the program is being prevented from opening.
You must run the clean boot of your computer that will enable you to identify the third-party apps that are causing the problem. Disable the apps that you do not require and run the program again. It will give you a perfect solution to the issues that you were facing with the voice recorder.
7. Use an Alternative Audio Recorder
If your built-in audio recorder is not working properly, it doesn't mean that you are deprived of sound recording in your system. There are dozens of applications available on the net that you can easily download and run on your PC with Windows 10.
The best among them is Wondershare DemoCreator, which can break all barriers and produce the best audio recording. The software has some of the most exquisite features that can work wonders. You can record anything playing on the screen and share it with your friends and loved ones.
DemoCreator is the most popular software among people as it is easy to use, and you can make wonderful and professionally styled videos and tutorials. It also gives you the option to highlight the areas you want the users to see, thus enabling you to transfer your ideas digitally. The recording option of DemoCreator is also praiseworthy as the output audio quality is just mesmerizing. You do not need any prior knowledge to work with DemoCreator as it is simple to use and easy to operate.
Following are the steps to record audio on Windows 10 with DemoCreator:
 Secure Download
 Secure Download
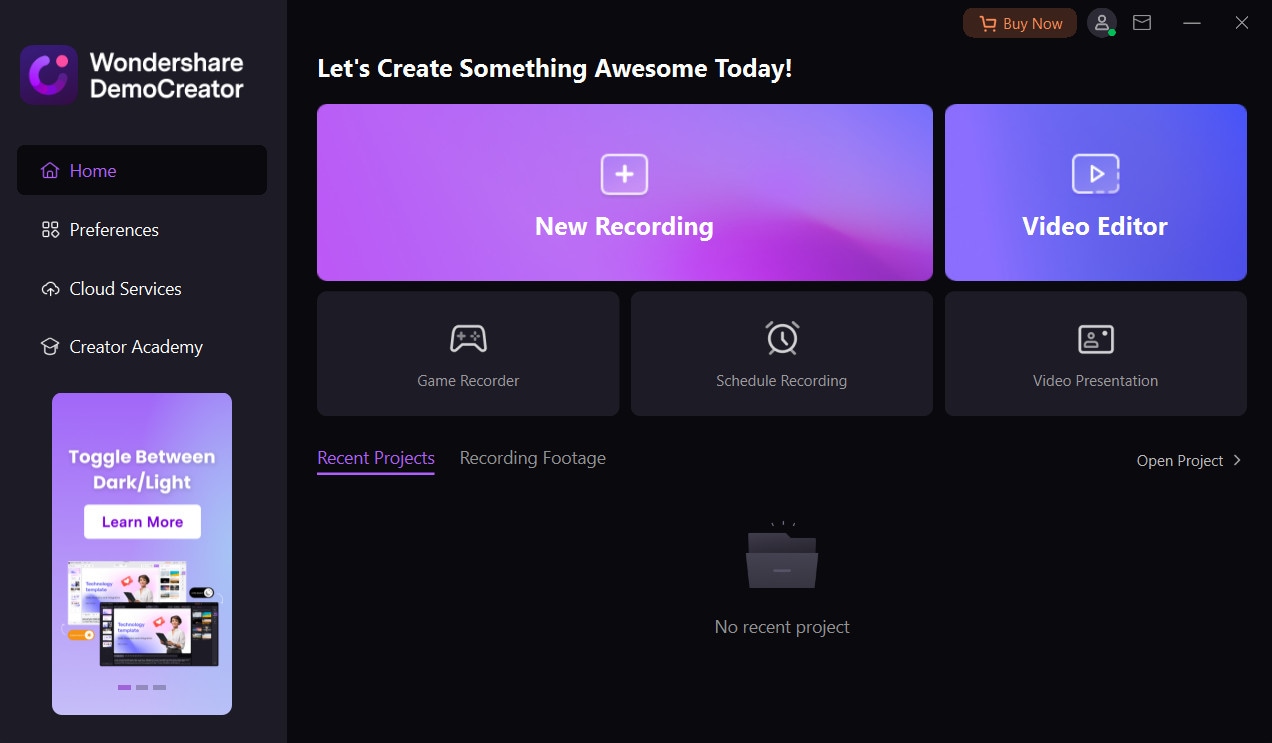
Step 1. Download and install "DemoCreator" on your computer and launch the program.

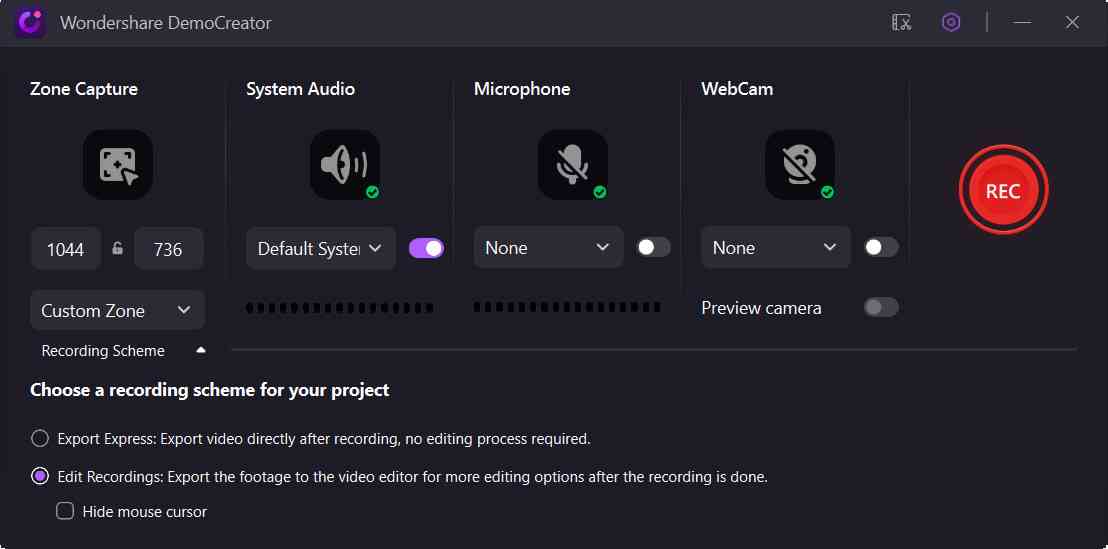
Step 2. Set the recording preferences by adjusting the sliders of the volume.

Step 3. Start recording by clicking on the "Record" button, and once the process is complete, click on "Stop."
Conclusion
There will be several obstacles on your path while you are in the process of recording. Thankfully we can solve it without much effort as there are quite a few solutions to it. Hence if you are debarred from recording audio on your Windows 10 computer, do not be depressed as it doesn't stop you from reaching your desired goal. If you are not satisfied with the output audio of your PC, use alternative methods. You can download the high-powered audio recording software from the Internet and use it to get the best results. It will give a boost to your motivation and ultimately lead to enhancing your creativity.

![Top Active Noise Cancellation Software for Windows [2025]](https://images.wondershare.com/democreator/thumbnail/cover.png)

![[2025] Best 3 Methods to Record Gameplay on Windows 11](https://images.wondershare.com/democreator/article/windows-11-record-gameplay-1.jpg)


