

We understand your desire for a successful and appealing recorded video. No one wants a disappointing outcome, right? That's why we're here to guide you through using Xbox Game Bar on Windows 11 for flawless recordings. We will help you familiarize Xbox Gamebar on Windows 11 and how to perform the recordings. Also, we will offer a great tool that records and edits videos with cool outputs, especially if you are targeting to attract more audiences.
In this article
Part 1: What's New in the Xbox Game Bar on Windows 11?
The Xbox Game Bar Windows 11 is a gaming tool with various features to enhance your gaming experience. It provides quick access to gaming functions, like recording your gameplay, without leaving your game. With Windows 11's new gaming feature, the Xbox Game Bar receives exciting enhancements for the recorder. This new feature offers improved performance, smoother recording capabilities, and enhanced customization options. Gamers can expect a more reliable experience capturing their gameplay on the Xbox game bar Windows 11.
That's not all! The Xbox Game Bar released a new feature for those with disabilities. You can use the Xbox Game Bar with your keyboard and a screen reader to record video clips of your favorite games or apps effortlessly. This functionality is particularly useful for showcasing usability issues to developers. This feature is tested with Narrator and NVDA.
Part 2: How to Use an Xbox Game Bar Recorder on Windows 11?
Are you afraid to make mistakes in recording your screen? We told you that using the Xbox Game Bar recorder on Windows 11 is easier than you might think!
Before we proceed to the steps, we want to share you this easy key shortcuts that is valuable when recording in Xbox Game Bar on Windows 11:
| Shortcut Key | Functionality |
| Win + G | Open Xbox Game Bar |
| Win + Alt + R | Start/Stop Recording |
| Win + Alt + PrintScreen | Take a Screenshot |
| Win + Alt + T | Turn Microphone On/Off during Recording |
| Win + Alt + M | Turn Microphone On/Off during Gameplay |
| Win + Alt + B | Start/Stop Broadcasting |
| Win + Alt + W | Open Broadcast Widget |
With these key shortcuts, you can do the recording faster. So now, follow these simple steps to start recording your gameplay:
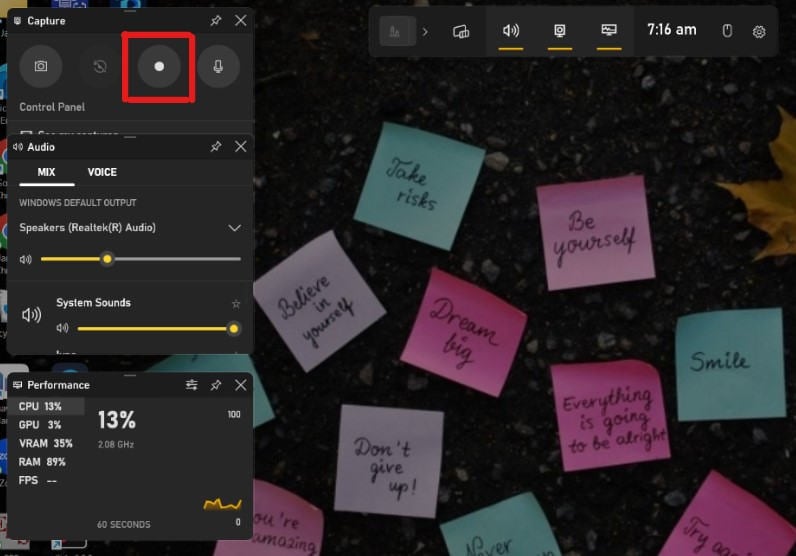
Step 1. Press the Windows logo key + G to open the Xbox Game Bar overlay during gameplay.
Step 2. Click the "Record" button or press the Windows logo key + Alt + R to record your gameplay.
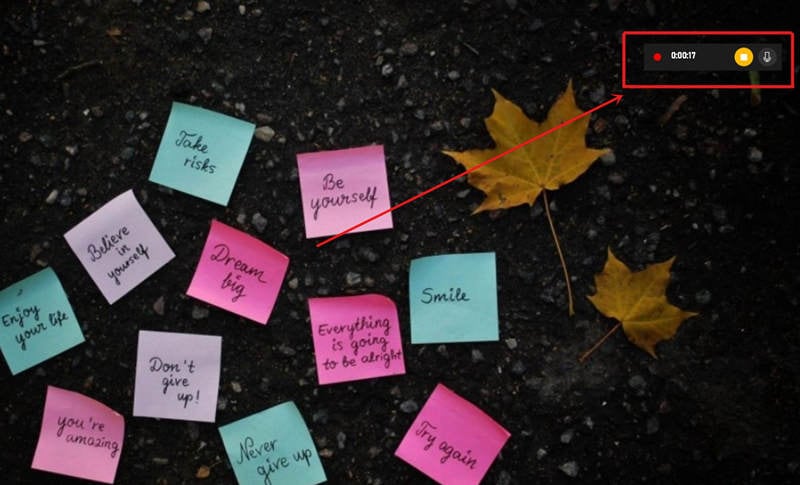
Step 3. Once you've captured the desired footage, click the "Stop" button or press the Windows logo key + Alt + R again to stop recording.
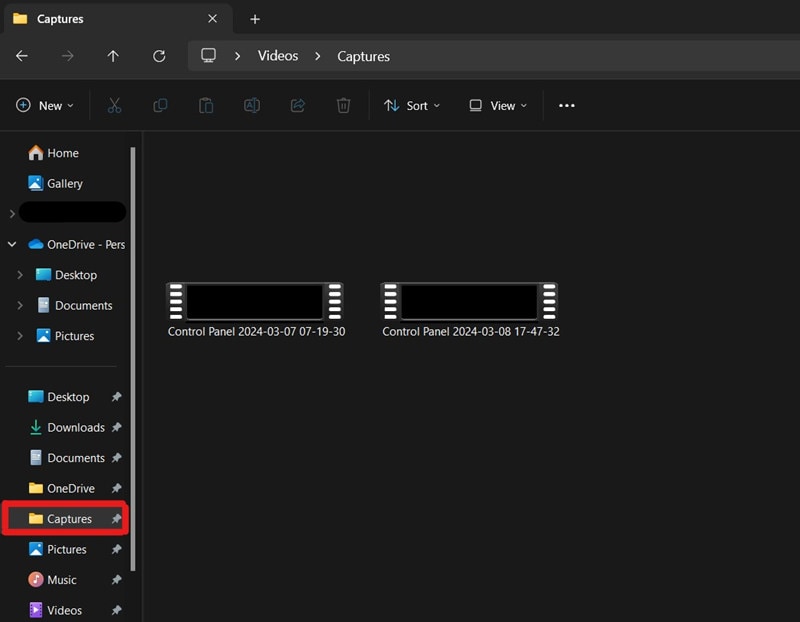
Step 4. You can find your recorded clips in the "Captures" folder under "Videos" on your PC.
Advanced Tips and Tricks for Xbox Game Bar Windows 11
Here are some useful tips and tricks that can be helpful if you want to record using Xbox Game Bar Windows 11. We hope this helps you make some improvements with your output.
- Advanced Customization Techniques. Customize your recording settings by accessing the Xbox Game Bar settings. You can adjust video quality, audio sources, and shortcut keys to suit your preferences.
- Optimize Game Bar Settings for Professional Use. Optimize the Game Bar settings to maximize the performance of your recordings. Adjust the video resolution, frame rate, and audio bitrate for professional-quality recordings.
- Utilize Game Bar Widgets. Explore the various widgets available in the Xbox Game Bar, such as the Performance widget for monitoring system resources or the Spotify widget for controlling music playback while gaming.
- Experiment with Game Mode. Enable Game Mode in Windows 11 to prioritize gaming performance and minimize distractions. This can help improve the overall gaming experience and enhance recording quality.
Additional tips that can be used to make your recording the best among the others is having a recorder with editing functionalities. Many content creators believe this can help make more engaging and attractive output that catches audiences' interest.
Part 3: Wondershare DemoCreator: Your Best Game Bar Windows 11 Alternative
Maybe many of you used the Xbox Game Bar to record gameplay on your PC, but it's not the only option. Most importantly, a tool can record and edit your recorded video. Wondershare Democreator is the best alternative, offering over five hundred video editing resources. It includes a dedicated game recorder mode within its screen recording options. So, if you want to record your screen, it is easy and fast without needing professional skills. And if editing is your concern, don't worry! It lets you add text, effects, stickers, captions, and more for your output!
Amazing Features
- Easily capture your screen, audio, and webcam.
- Access thousands of templates, resources, and effects for professional-level editing.
- Edit audio, video, and recorded clips on multiple tracks simultaneously.
- Utilize AI Face Recognition to highlight key points on the recording screen.
- Export your recordings to various formats, including MP4, MOV, MKV, and GIF, ensuring high-quality output.
- You can use Full-screen Recording, Cross are Recording, Cross-screen Recording, and Window Recording.
- Offers a high resolution of 4K and 8K.
- You can customize the FPS.
- Offers a long recording time.
How to Record and Edit Recorded Video with Wondershare DemoCreator?
Recording and editing your videos is easy with Wondershare DemoCreator. All you need to do is get your Windows or Mac devices and try these steps:
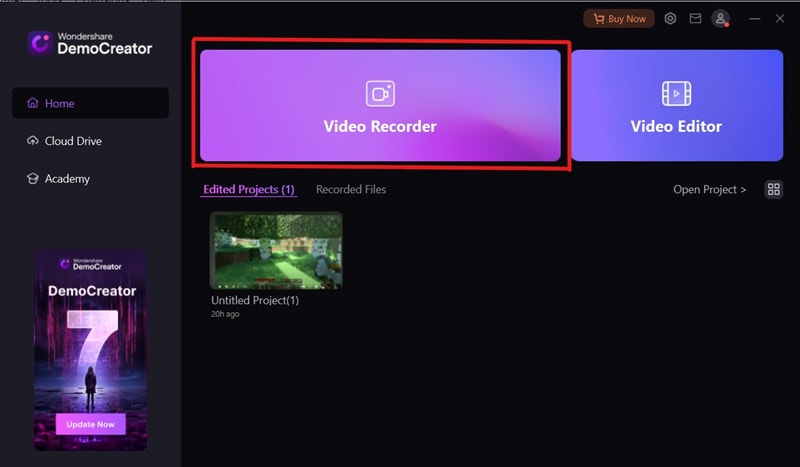
Step 1: Download DemoCreator on your devices. Then open DemoCreator and click the Video Recorder button.
Step 2: Here you can choose how you would record your screen. But in our case, we will choose the Game button.

Step 3: Choose your desired recording window. Then, turn on your System Audio, Microphone, and Webcam before you start. Once done, click the Record button.

- You can customize the configuration and make some adjustments before and during recording your screen.

- You can choose where to place the output and Default Whiteboard Snap Folder.

- You can make some adjustments with the Frame Rate and Encoder Quality.

- You can customize your WebCam, Resolution and Frame Rate (FPS).

- Because DemoCreator cares so much for those who will use this product, it provides shortcut keys.

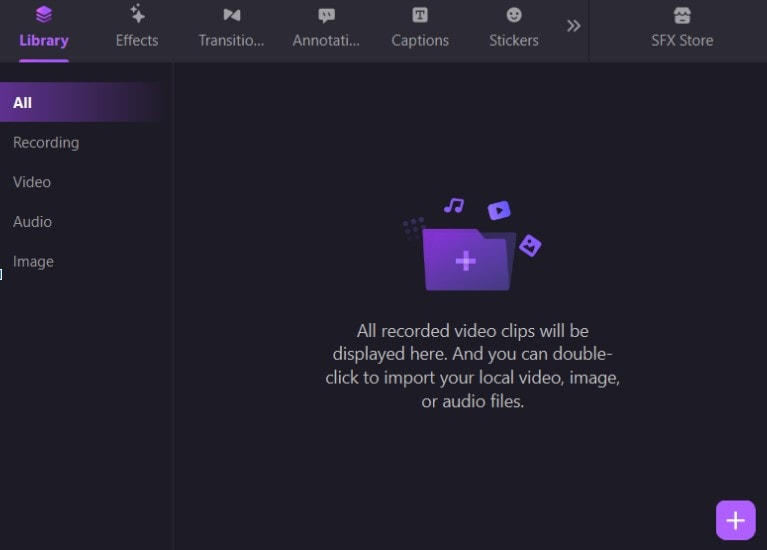
Step 4: Once recorded, you will be redirected to the video editor. Go to the Library and use drag-and-drop functions to put your recorded video to the timeline.
Step 5: After that, edit your recorded video and add extra videos or clips. That’s not all, DemoCreator also let you:
- Customize video scale, rotation, and composition, adjust volume and use the Denoise function.

- Try applying Effects.

- Add Transitions.

- Use Annotations.

- Use captions.

- Change your voice.

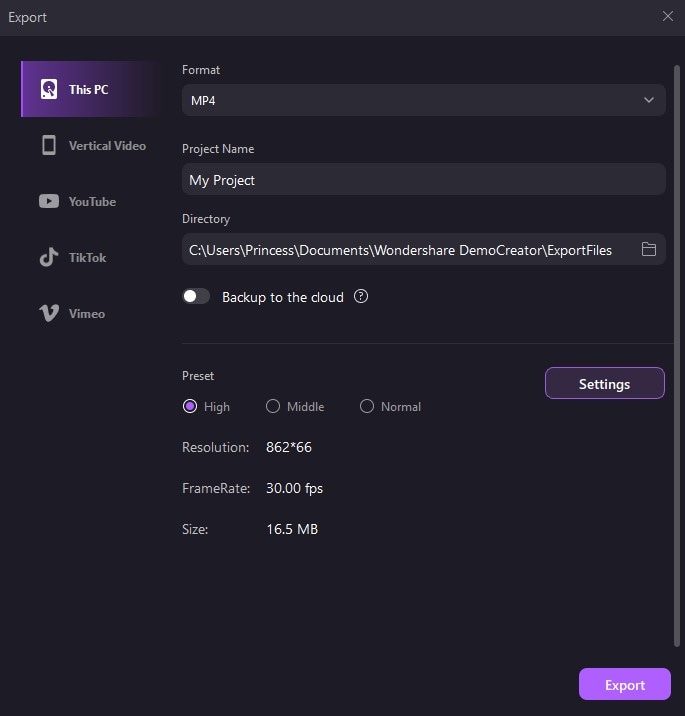
Step 6: Click the Export button to export your gameplay on your PC. If you want to make customization just for the Settings.
Part 4: Conclusion
Here, we discussed the Xbox Game Bar on Windows 11 and discovered that it is reliable for screen recording. Xbox Game Bar offers an intuitive recording experience suitable for gamers of all levels. For those eager to elevate their gameplay recordings, Wondershare Democreator is a must-try. It is also a good choice for those looking for more advanced features. You can ensure a great recording output with over 500 editing resources to refine and enhance your gameplay recordings.
FAQ
-
1. How to open game bar on Windows 11?
To open the Game Bar on Windows 11, press the Windows logo key + G on your keyboard. If it doesn't open, make sure the Game Bar is enabled in Settings under Gaming > Xbox Game Bar. -
2. Is Xbox game bar compatible with Windows 11?
Yes, the Xbox Game Bar is fully compatible with Windows 11, offering various gaming features and overlays for a better gaming experience. -
3. How to allow the game bar to run in the background Windows 11?
To allow the Game Bar to run in the background on Windows 11, go to Settings > Gaming > Xbox Game Bar and ensure the 'Let Xbox Game Bar run in the background' option is turned on.


