

Ever wish you could relive your epic gaming moments on Windows 10? Xbox Game Bar Windows 10 Screen Recording makes it possible. But how does it work, and what features does it offer? In this article, we will tell you the main secrets of having an epic captured for your game record using the Windows game bar. What's more, there is one powerful tool that can also record your scene and edit to your terms and conditions. If you can't wait to know and try these, let's dive in!
In this article
Part 1: What is the Xbox Game Bar Recorder on Windows 10?
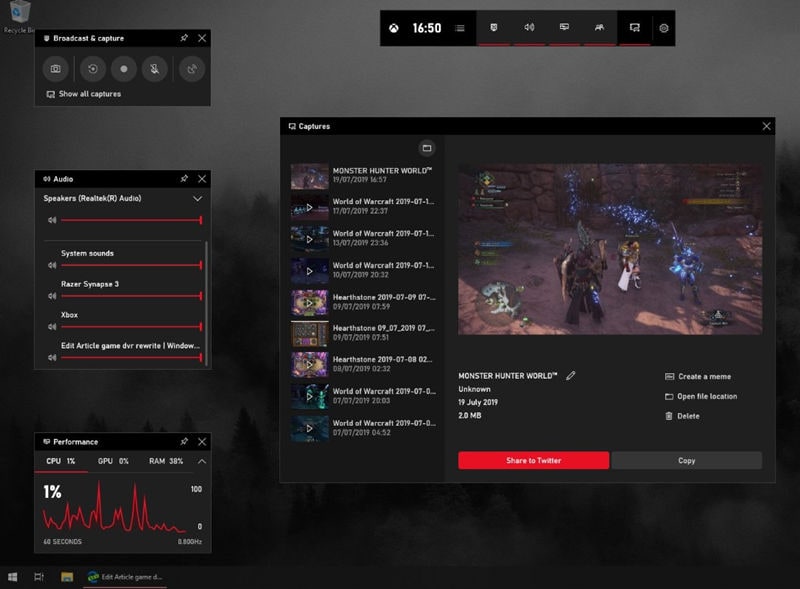
You've probably heard about the Xbox Game Bar for Windows 10, but what exactly is it? Think of it as your gaming companion on Windows 10, enhancing your gaming experience in ways you never thought possible. Xbox Game Bar is a built-in overlay that provides quick access to various tools and features while playing your favorite games. So, what does the Xbox Game Bar bring to the table? It offers cool integration with your games that can record screens and perform monitoring.
After knowing what Xbox Game Bar Windows 10 can do, it is time for you to know how to record using Xbox Game Bar. Don’t worry. It will only take a few seconds to master it.
Part 2: How to Record With Xbox Game Bar on Windows 10?
Recording gameplay with Xbox Game Bar Windows 10 is easy, making it a piece of cake to capture your favorite gaming highlights. But you might be wondering, is it really that simple? Can I record without any tech skills? Yes, you can! Let's find out how easy it is to use the Xbox Game Bar for recording and discover some cool tips to improve your recordings.
How to Use the Xbox Game Bar:
Step 1. Press the Windows key + G to open the Xbox Game Bar.
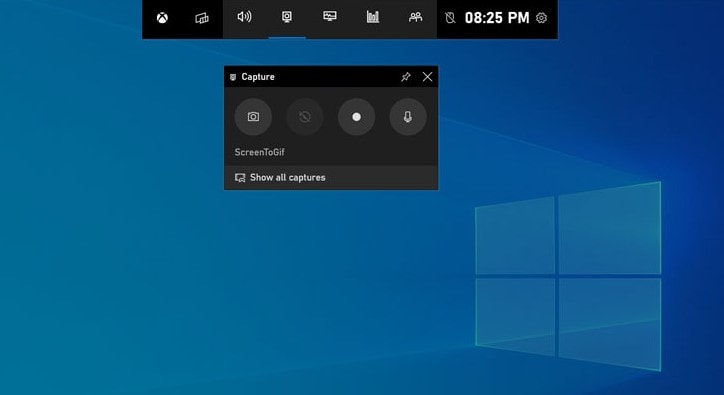
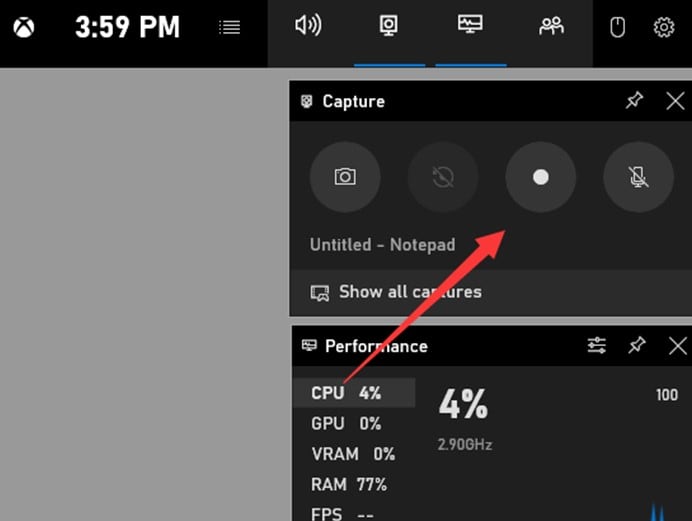
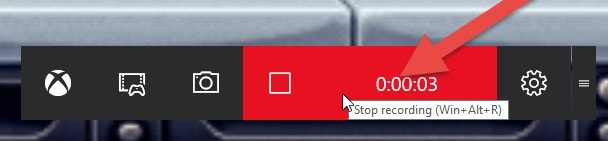
Step 2: Click the Capture button (the circle with a dot in the middle) to start recording your gameplay.
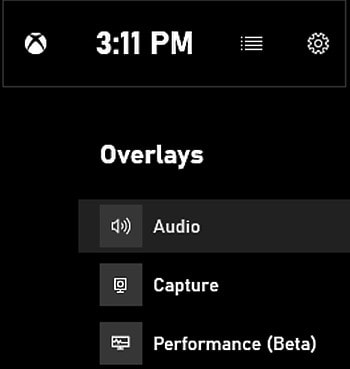
Step 3: Customize your recording settings, such as audio sources, by clicking on the respective icons in the Xbox Game Bar overlay.
Step 4: Once you're done recording, click on the red recording indicator or use the Win + Alt + R shortcut to stop recording.
Advanced Tips for Using Xbox Game Bar:
Here are some tips that you can use for Xbox Game Bar Windows 10:
- Keyboard Shortcuts for Quick Access. Speed up your recording process using shortcuts like Win + G to open the Xbox Game Bar instantly or Win + Alt + R to start/stop recording on the fly.
Here are some keyboard shortcuts that can help you record easily:
| Shortcut Key Combination | Functionality |
| Win + G | Open Xbox Game Bar |
| Win + Alt + R | Start/Stop Recording |
| Win + Alt + PrintScreen | Take a Screenshot |
| Win + Alt + T | Turn Microphone On/Off during Recording |
| Win + Alt + M | Turn Microphone On/Off during Gameplay |
| Win + Alt + B | Start/Stop Broadcasting |
| Win + Alt + W | Open Broadcast Widget |
- Tips for Recording High-Quality Gameplay Videos. Experiment with recording settings for the best quality. Adjust resolutions, frame rates, and audio settings to suit your preferences and hardware capabilities.
- Optimize System Performance. Ensure smooth gameplay and recording experiences by closing unnecessary background applications to free up system resources.
- Leverage Editing Tools. Enhance your gameplay footage by using video editing software to trim clips, add effects, and incorporate commentary, making your content more engaging for your audience.
With these simple steps and advanced tips, you can make the most of Xbox Game Bar's recording capabilities and share your gaming adventures with the world effortlessly.
Part 3: Xbox Game Bar Not Working? How to Fix
If you're experiencing the Xbox Game Bar not working on Windows 10 or Windows 11, there are several troubleshooting steps you can take to resolve the problem. For a more detailed guide, check out our previous guide on how to fix the "Xbox Game Bar Not Working" issue.
Fix 1: Ensure the Xbox Game Bar is Enabled
- Go to Settings > Gaming > Xbox Game Bar.
- Toggle the switch to On.
Fix 2: Update Windows
- Go to Settings > Update & Security > Windows Update.
- Click Check for updates and install any available updates.
Fix 3: Repair or Reset the Xbox Game Bar
- Go to Settings > Apps.
- Search for Xbox Game Bar. Click on Advanced options. Select Repair. If the issue persists, select Reset.
Fix 4: Update Xbox Game Bar
- Open the Microsoft Store.
- Click on the three dots in the upper-right corner and select Downloads and updates. Click Get updates and install any updates for the Xbox Game Bar.
Fix 5: Reinstall the Xbox Game Bar
- Open PowerShell as an administrator.
- Enter the following command to uninstall:Get-AppxPackage Microsoft.XboxGamingOverlay | Remove-AppxPackage
- After it’s uninstalled, reinstall it from the Microsoft Store.
- For a detailed guide, you can check how to disable the Xbox game bar or uninstall the game bar
Part 4: Wondershare Democreator: A Great Xbox Game Bar Screen Recorder
While Xbox Game Bar Windows 10 provides excellent recording, it's important to note that it's not the sole option for capturing gameplay on PC. If you want more advance and excellence, Wondershare Democreator is your alternative solution. This tool offers comprehensive features tailored specifically for capturing, editing, and sharing gaming content. What you will like about DemoCreator is it offers 4K and 8K resolutions with 120 FPS and a long recording time.
Main Features for Game Screen Recording:
- High-Quality Recording. Capture gameplay in stunning HD resolution, preserving every detail with exceptional clarity. Ensure that your audience can appreciate the full extent of your gaming prowess with crisp visuals.
- Flexible Recording Options. Enjoy the freedom to choose how you capture your gameplay. Capture everything on your screen to show everything, choose specific windows, or pick custom areas to focus on certain parts.
- Audio Recording. Capture comprehensive audio coverage with simultaneous system audio recording, microphone input, or both. Preserve in-game sound effects, music, and dialogue alongside your commentary.
- Annotation Tools. Annotation tools enhance the clarity and engagement of your recordings. Add text, arrows, highlights, and other visual elements to draw attention to specific areas, clarify concepts, and more.
- Editing Capabilities. Trim, cut, and merge video clips to remove unwanted segments or seamlessly transition between scenes. Add effects, filters, and overlays to enhance visual appeal and create a distinctive aesthetic for your content.
- Add Captions. You can use captions to explain what's happening in your videos. This helps people who have language difficulties and hearing disabilities. Also, lets you use an auto-caption feature that automatically generates subtitles and captions based on the audio and video files.
How to Use Wondershare Democreator
Step 1. Download and install Wondershare Democreator on your PC.
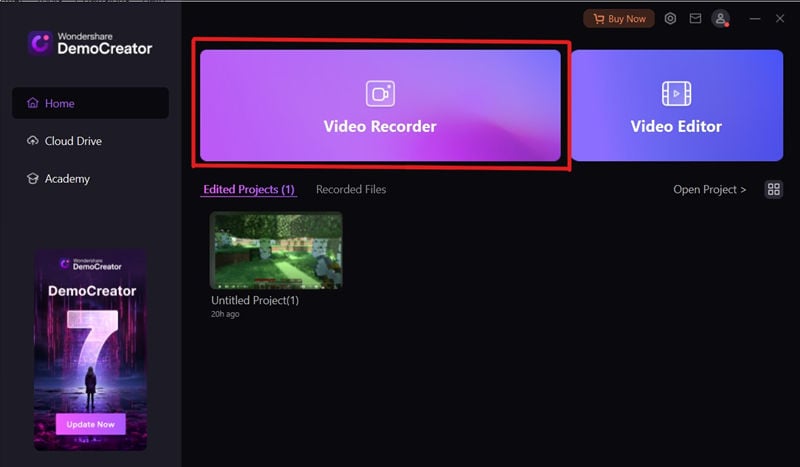
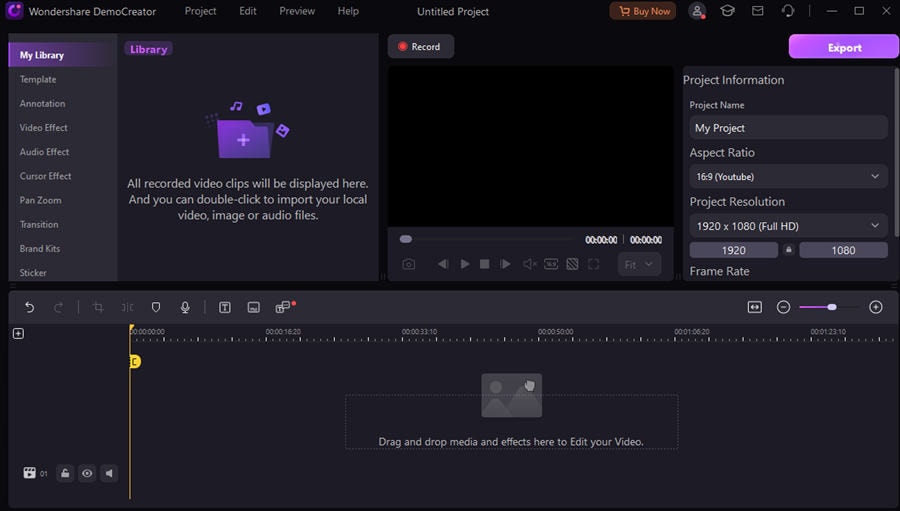
Step 2. Launch the software and select Video Recorder to start a new game recording session.
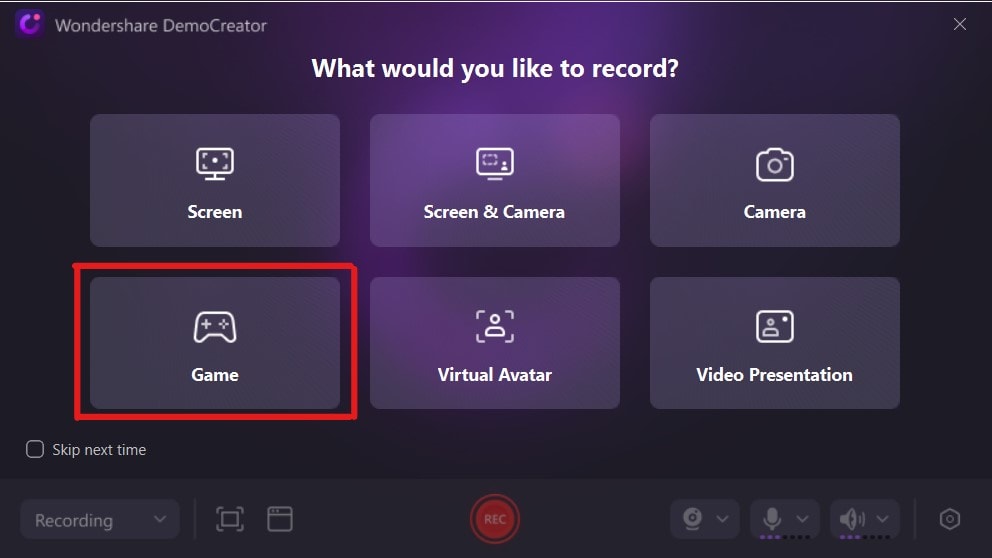
Step 3. After that, choose Game. Once you click it, DemoCreator will ask you what windows you want to record.
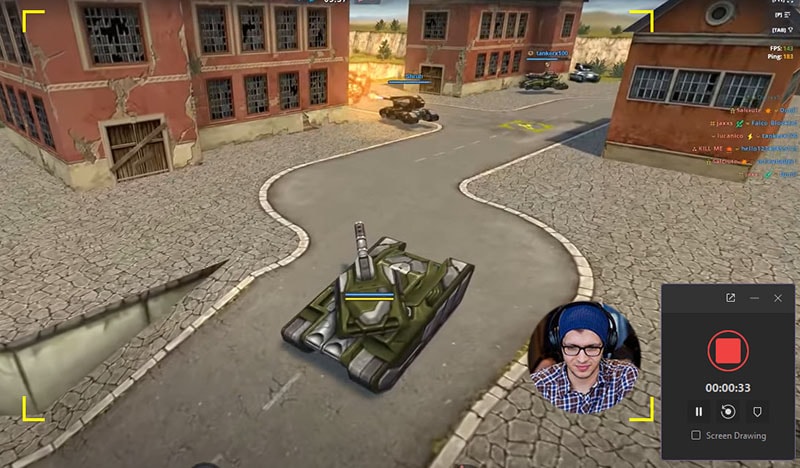
Step 4. Click the Record button to capture your gameplay or screen activities.

Here, you can turn on the webcam to show your face and customize your audio and volume. DemoCreator can also perform portrait recognition, which can add coolness to your recordings. If you want to make some adjustments, especially with the FPS, just go to the settings.
Step 5. After recording, DemoCreator will lead you to the video editor tool, where you can add various effects, transitions, and subtitles to your recorded video.
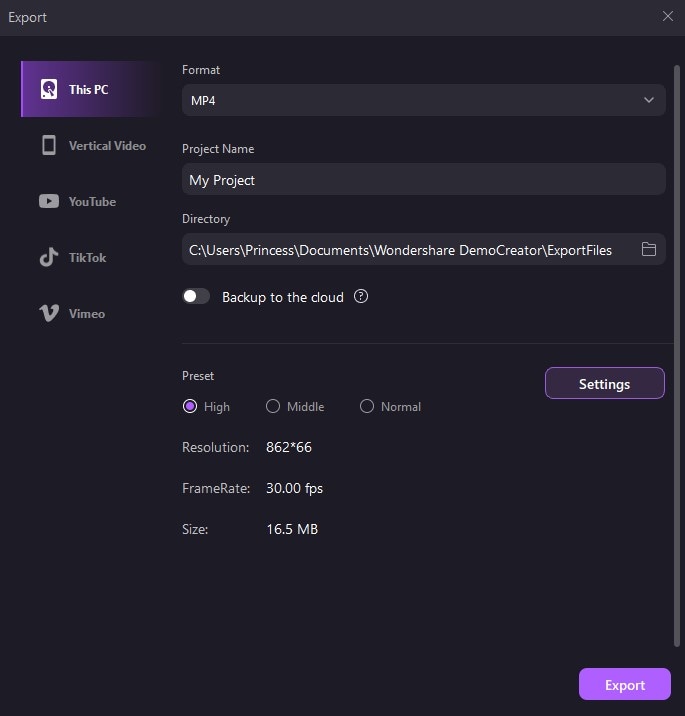
Step 6. Save your recording in your desired format or directly upload it to platforms like YouTube or Vimeo for sharing.
Part 5: Conclusion
This article discussed different ways to record gameplay using the game bar Windows 10. Starting with Xbox Game Bar and introducing Wondershare Democreator. Xbox Game Bar is easy and effective for capturing gaming moments. But it is worth noting that Wondershare Democreator offers more features. Democreator is suitable for capturing and sharing screen activities.
FAQ
-
1. How do you get the game bar on Windows 10?
To get the Game Bar on Windows 10, press the Windows key + G on your keyboard while playing a game. This will open the Game Bar overlay. If it's your first time, you might need to confirm that the opened window is a game. -
2. Can you turn off Windows game Bar?
Yes, you can turn off the Windows Game Bar. Go to Settings > Gaming > Game Bar and toggle off 'Record game clips, screenshots, and broadcast using Game bar.' -
3. How do I open the Windows game bar without the Windows key?
To open the Windows Game Bar without the Windows key, you can use the Xbox controller by pressing the Xbox button. Alternatively, customize the Game Bar hotkeys in Settings > Gaming > Game Bar to set a new shortcut.


