DemoCreator User Guide
How to use Wondershare DemoCreator? Learn the step by step guide below
DemoCreator User Guide
-
Get Started - Mac
-
Video Recording - Mac
-
Video Editing - Mac
-
Keyboard Shortcuts - Mac
-
Audio Recording - Mac
-
DemoCreator Effects - Mac
-
Export & Share - Mac
-
Audio Editing - Mac
-
New Demo Mode - Mac
DemoAir User Guide
-
DemoCreator Cloud Service - Get Started
-
Video Creation Mode
-
Export&Share
FAQs
Annotation
Annotations are used to convey key messages to your viewers by adding text, dialog box, line, arrow, sketch, or shapes. In this section, you’ll learn to:
- Add/Remove Annotations
- Copy and Paste Annotations
- Mark the Annotation as a favorite
- Customize Annotations
By adding text, dialog boxes, lines, arrows, sketches, or forms, annotations allow you to communicate important information to the people viewing your work.
1. Add/Remove Annotations
Step 1: To add an annotation to your movie, pick the tab labeled "Annotation" and then choose a category from the list consisting of Text, Line&Arrow, or Shapes.
Step 2: You can now double-click the annotation to see a preview, and after that, you can drag it to the timeline or the Preview Window to see it there.
Step 3: Choose the annotation you want to erase on your Timeline or in the Preview Panel, then hit the Delete key on your keyboard.
Step 4: You also have the option to right-click on the annotation and choose the Delete option from the context menu.

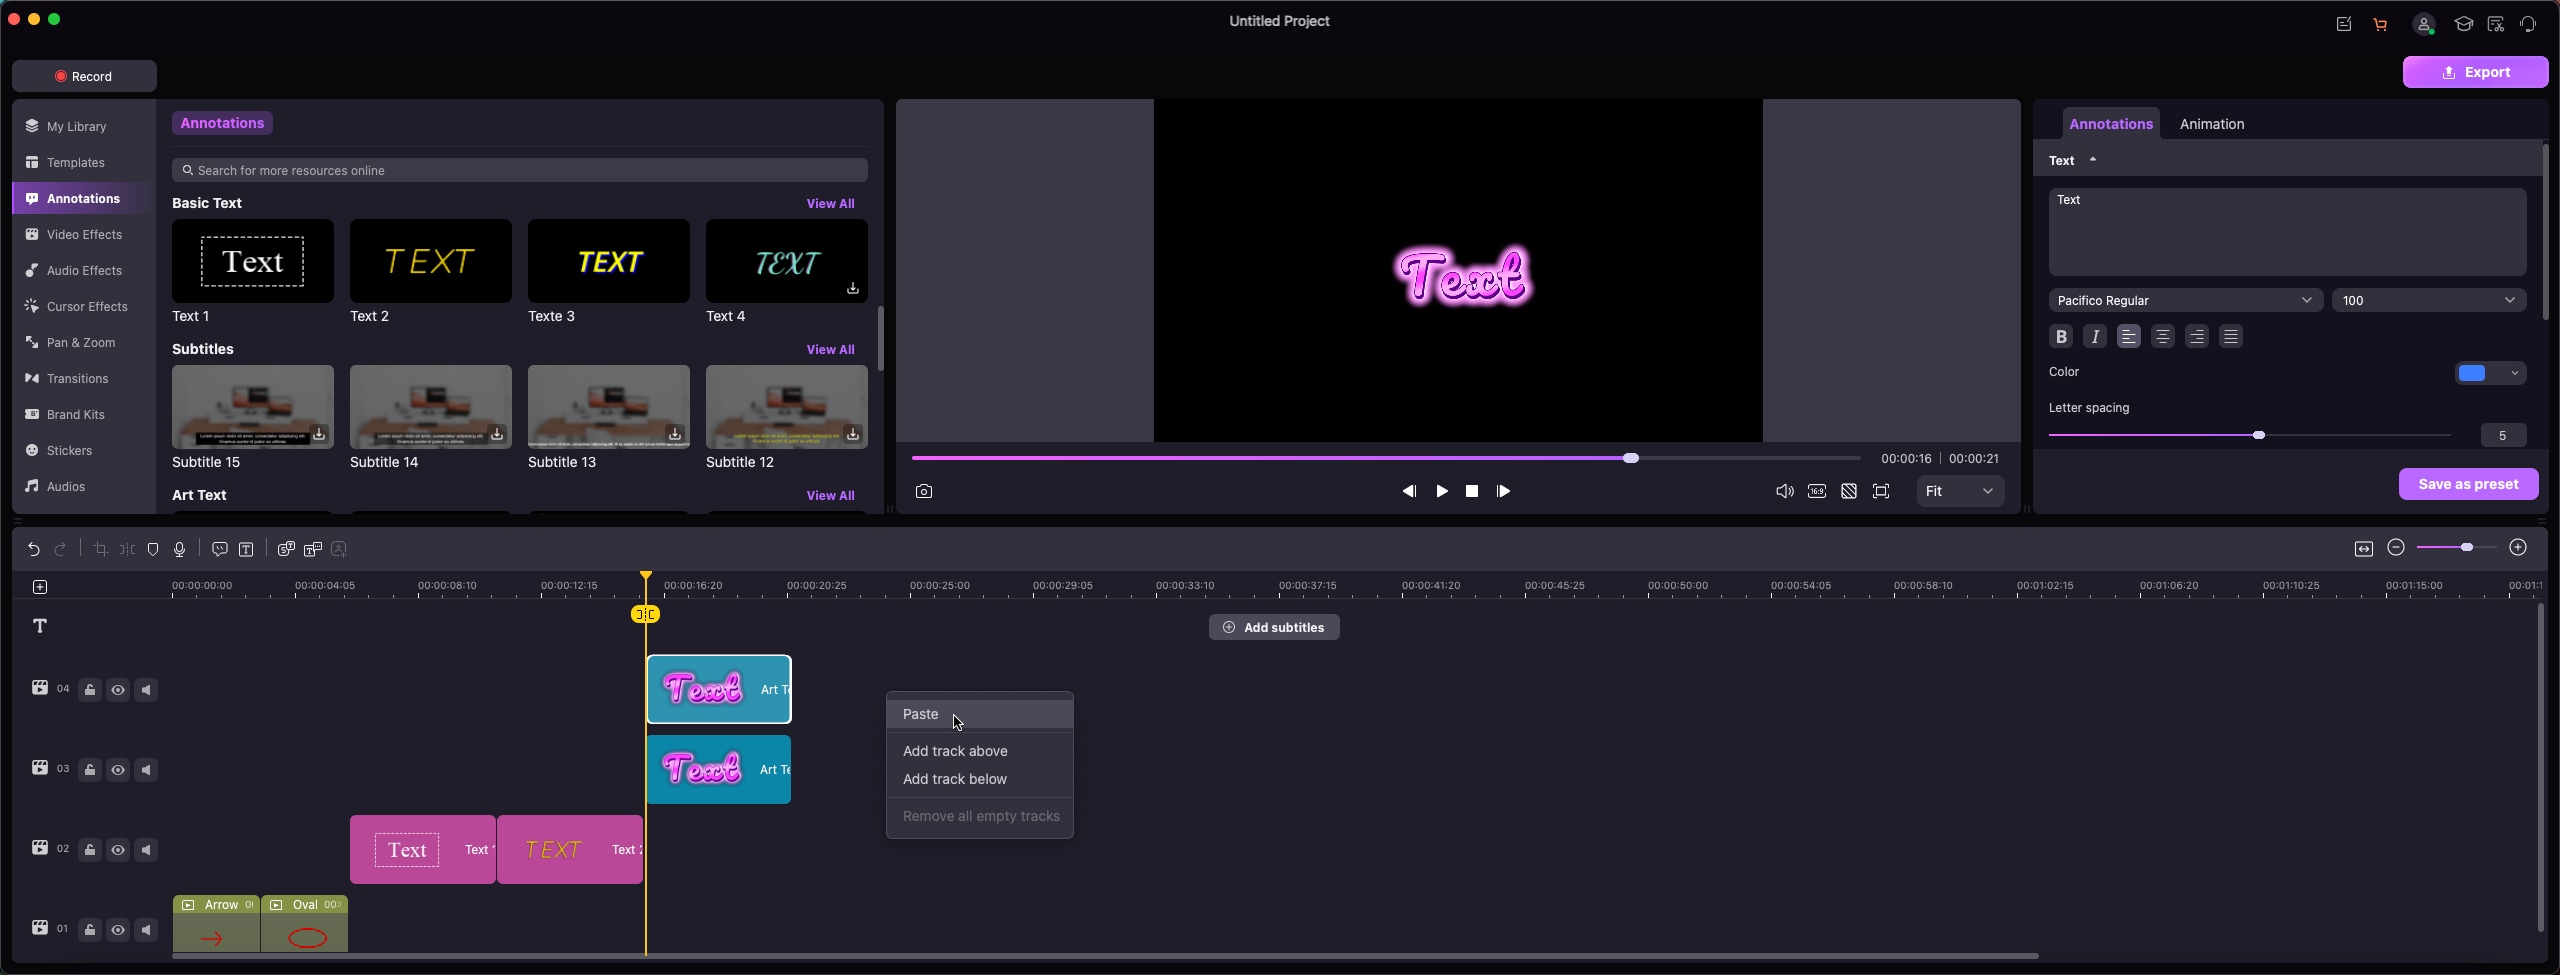
2. Copy and Paste Annotations
Step 1: Right-click the annotation you want to copy on the timeline, and then pick Copy from the context-sensitive menu that appears.
Step 2: The next step is to relocate the Playhead to a new spot on the timeline, right-click it, and then pick Paste from the context menu that appears.
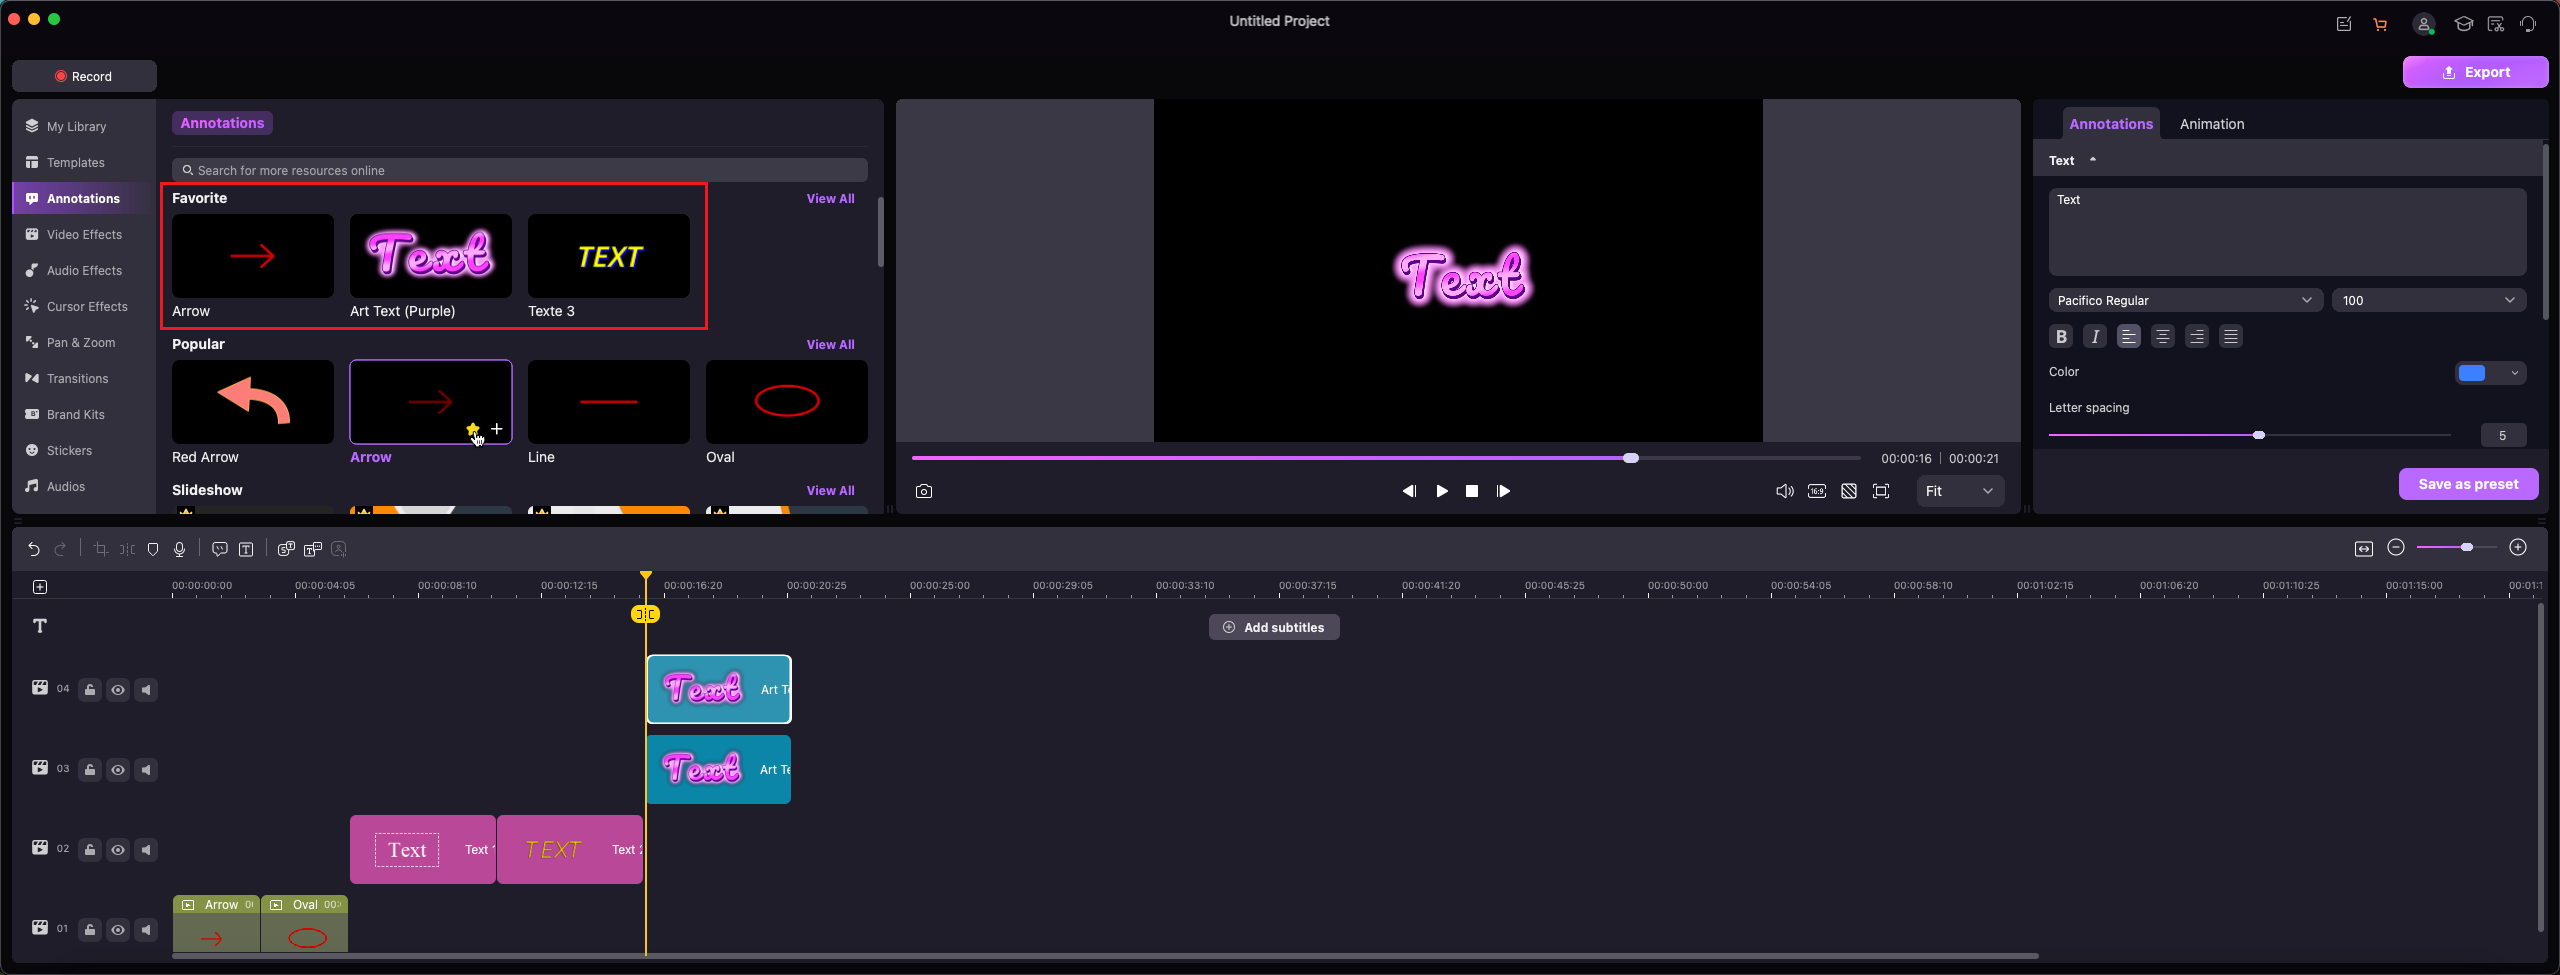
3. Mark the Annotation as a Favorite
Step 1: You can designate frequently-used annotations as favorites by selecting the symbol that looks like a heart.
Step 2: After that, all of the ones that have been marked will be compiled into the first category, which is called Favorite, and can be reached with ease.
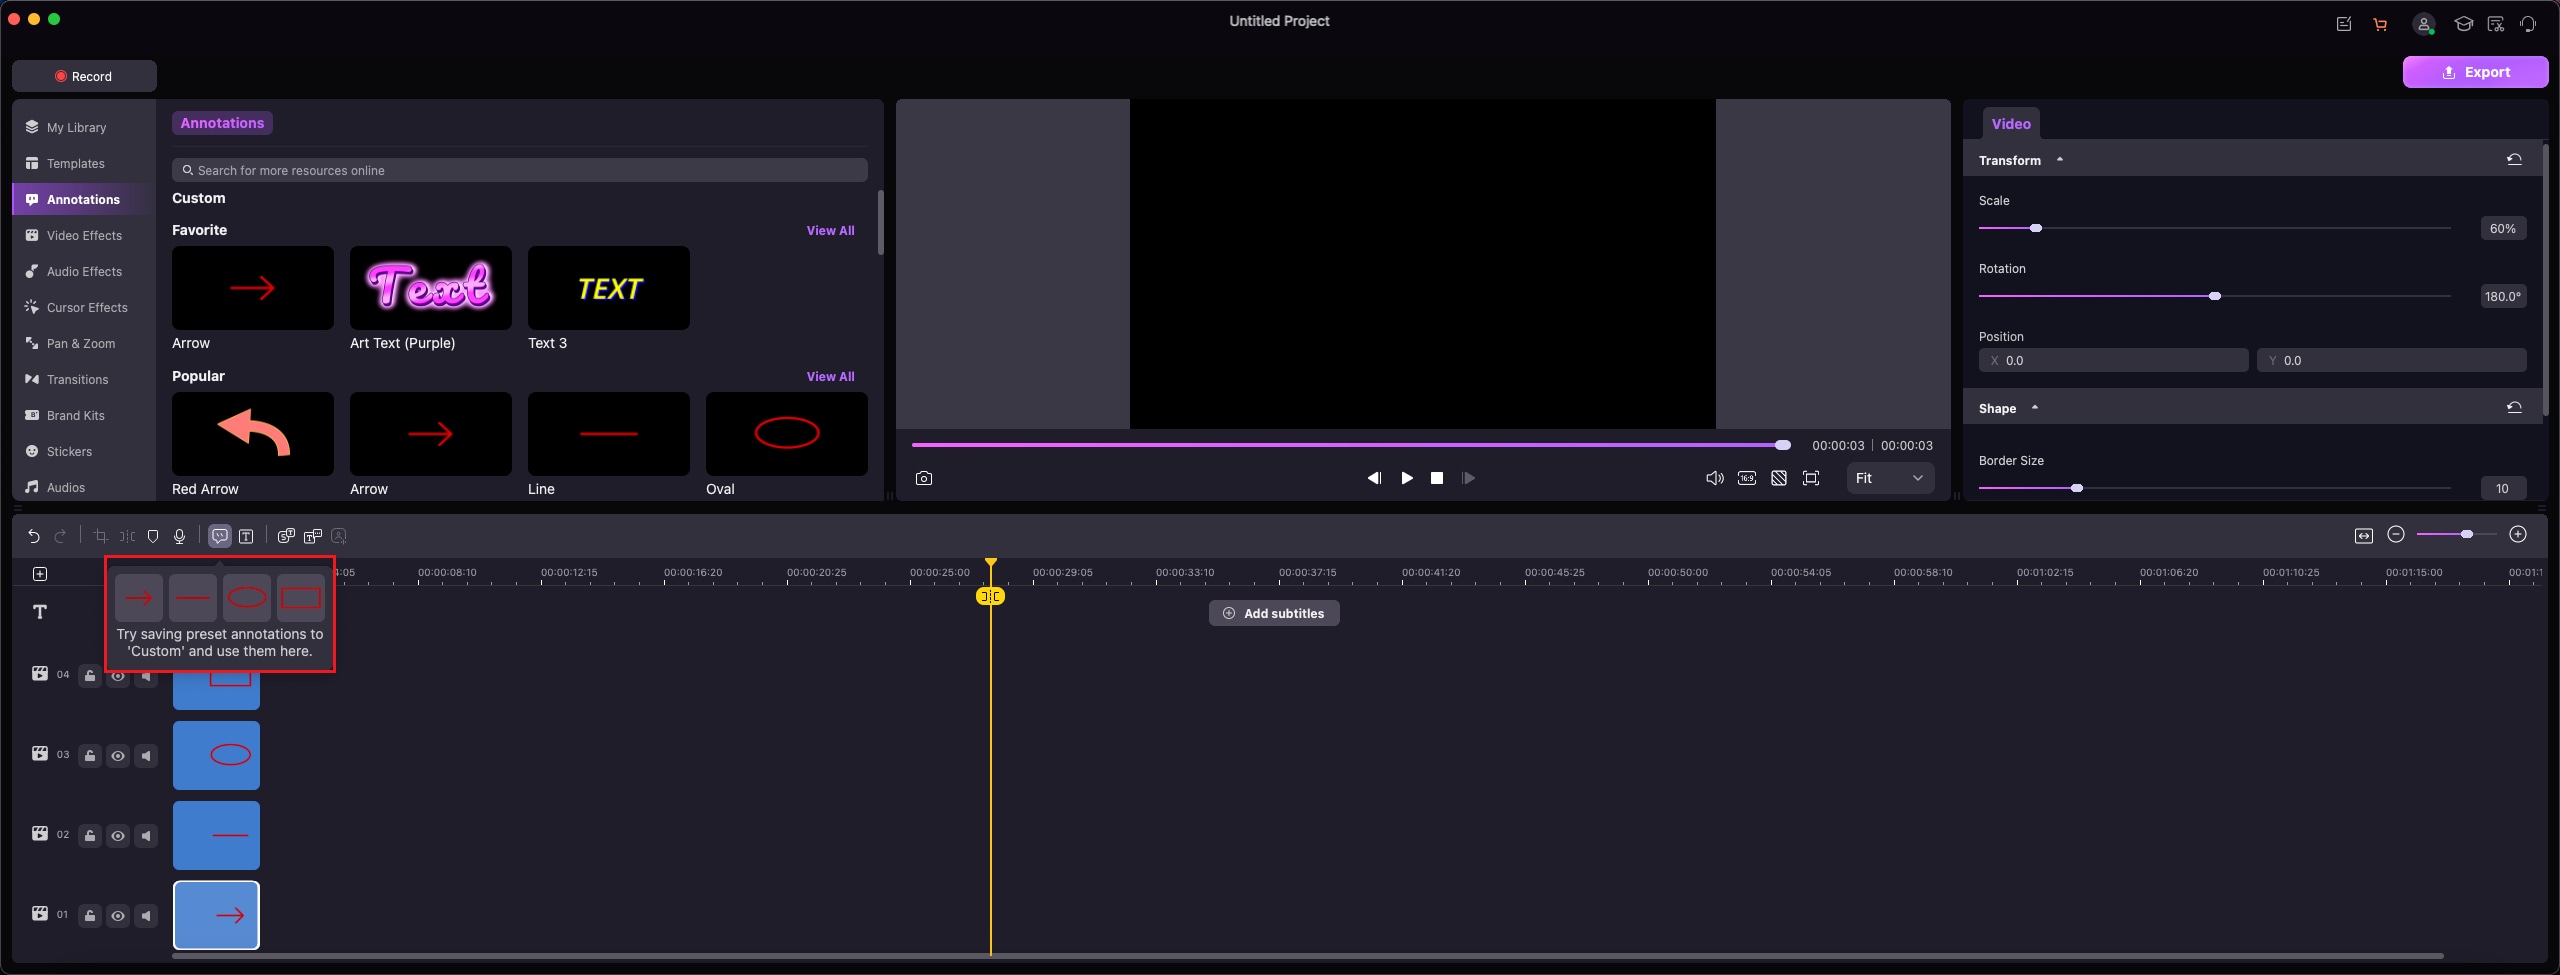
4. Customize Annotations
You can edit the settings or change the individual parameters to customize annotations using the Properties Panel, which is located on the right side of the screen.
Note: These include the text content, border, shadow, transform, shape, and behavior (for text animation).
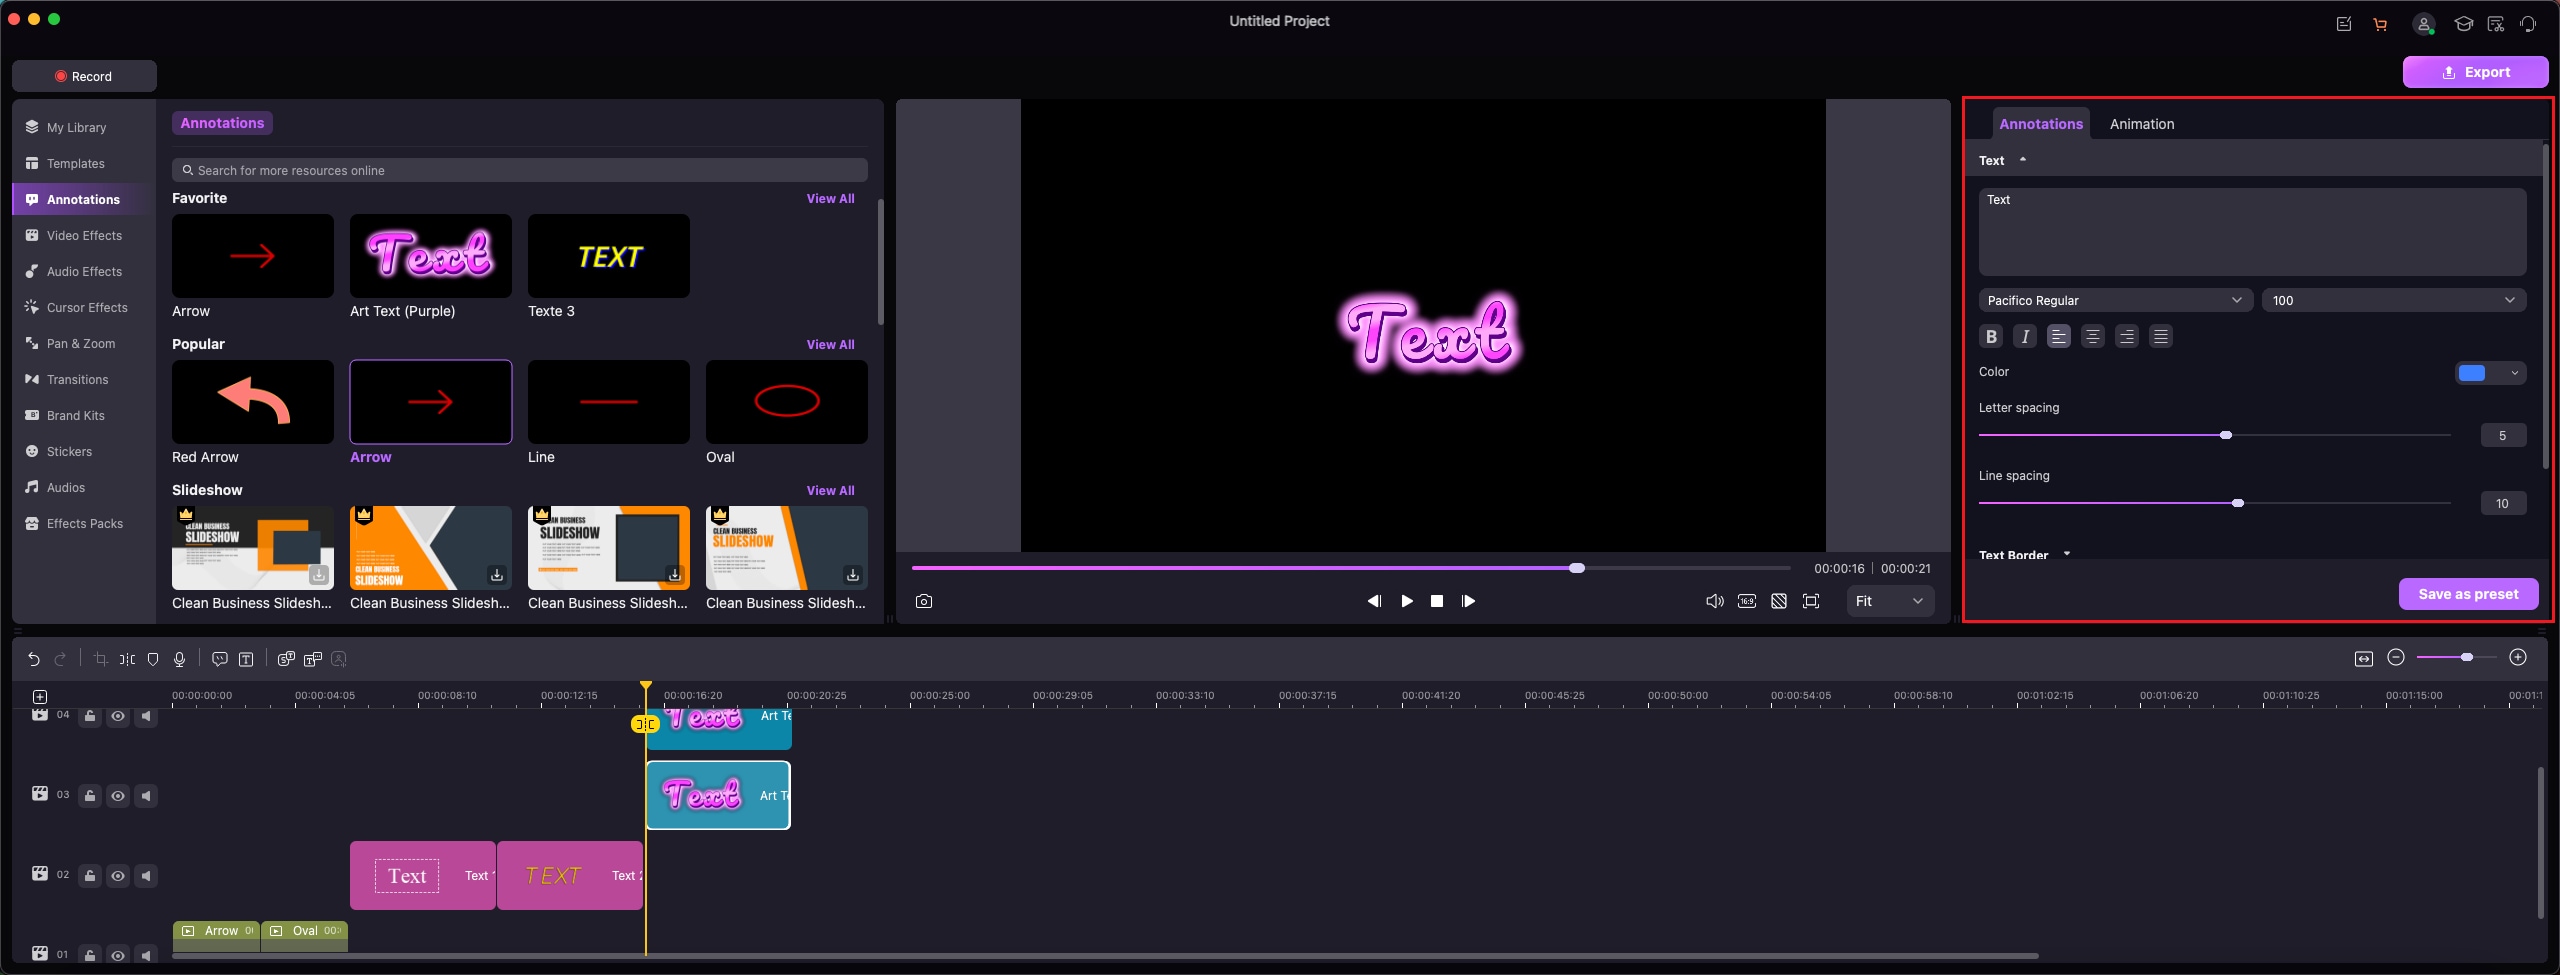
· Text Content – Font/Color/Style
Step 1: You can choose the font, size, and color of the text, as well as the format style, after entering the text in the box.
Step 2: Click the button in the upper right corner of the screen if you want to reset all of the settings to their original state.
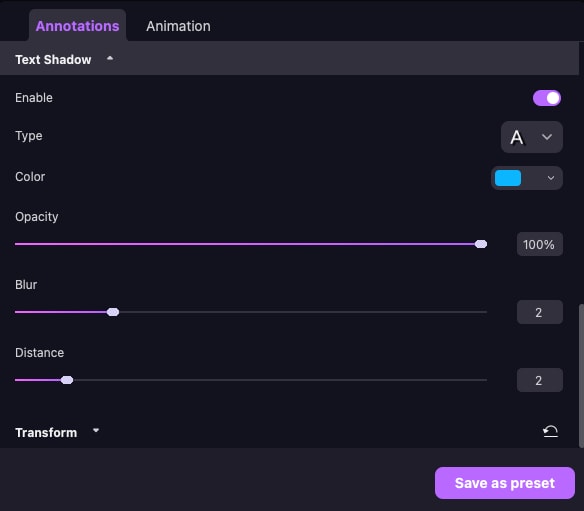
· Text Border and Text Shadow
Step 1: Activate the Border section and the Shadow section to adjust the look of the words.
Note: You can modify the color of the Text Border, as well as choose the opacity level, blur range, and size.
Step 2: You can choose the sort of shadow you want for the Text Shadow, and then you can tweak the settings.

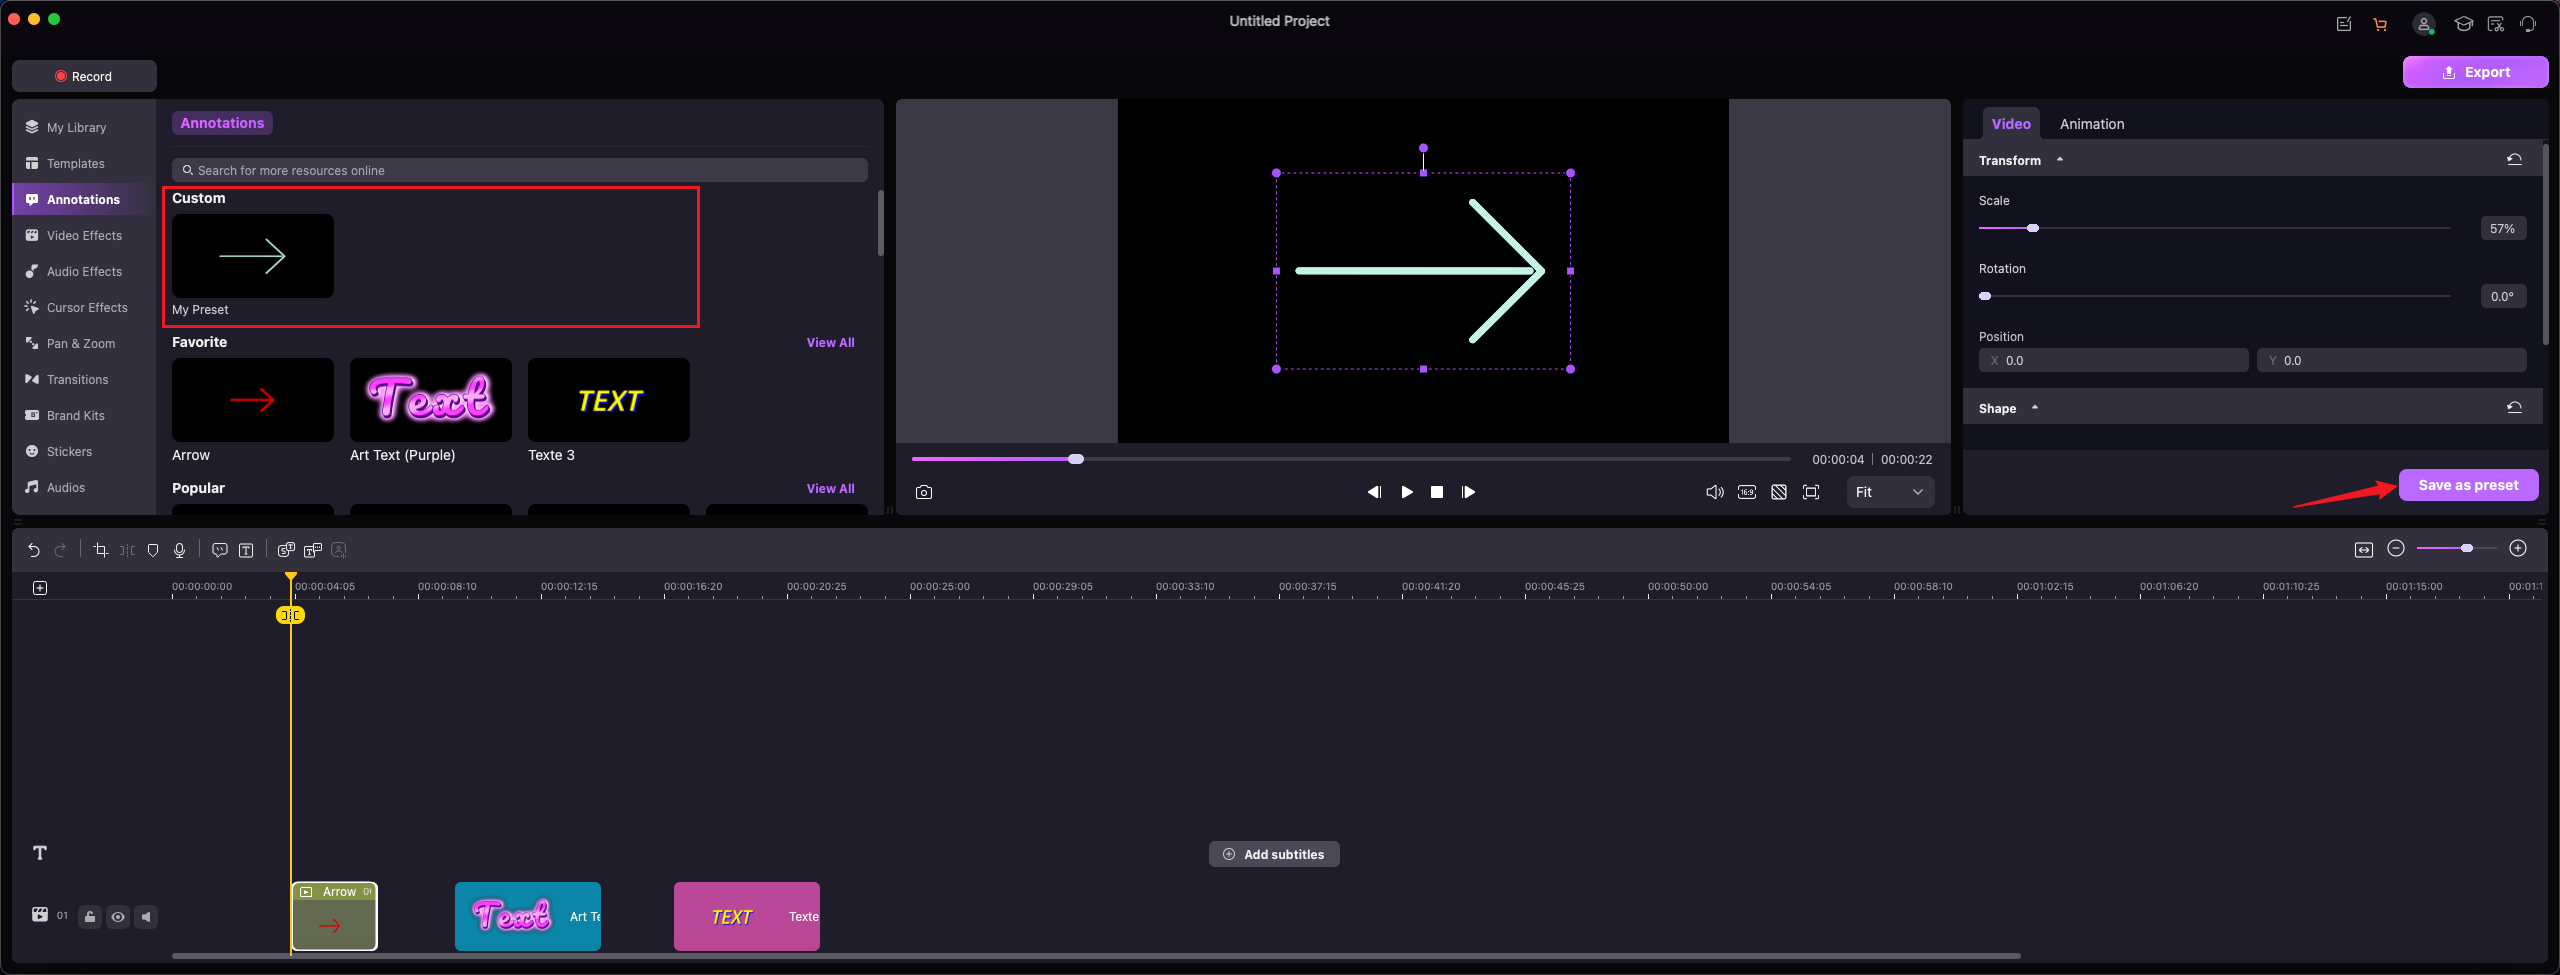
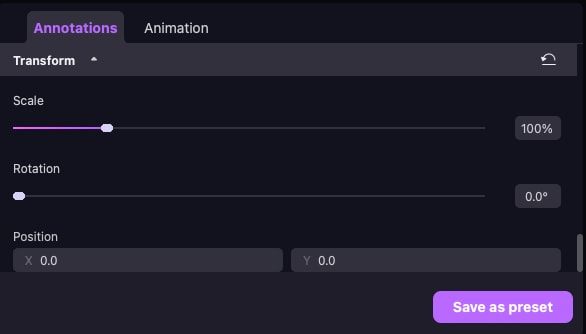
· Transform – Resize/Rotate/Re-Position
Step 1: When you apply the "Shape" effect to the video, you can place it in any way you like and customize its boundary.
Step 2: In the area labeled "Transform", you can modify the annotation by adjusting its size, rotating it, or positioning it using parameters.
Step 3: Similarly, alterations can be done in the Preview Panel immediately.
Step 4: Choose the annotation and make the necessary adjustments to the blue bounding box.
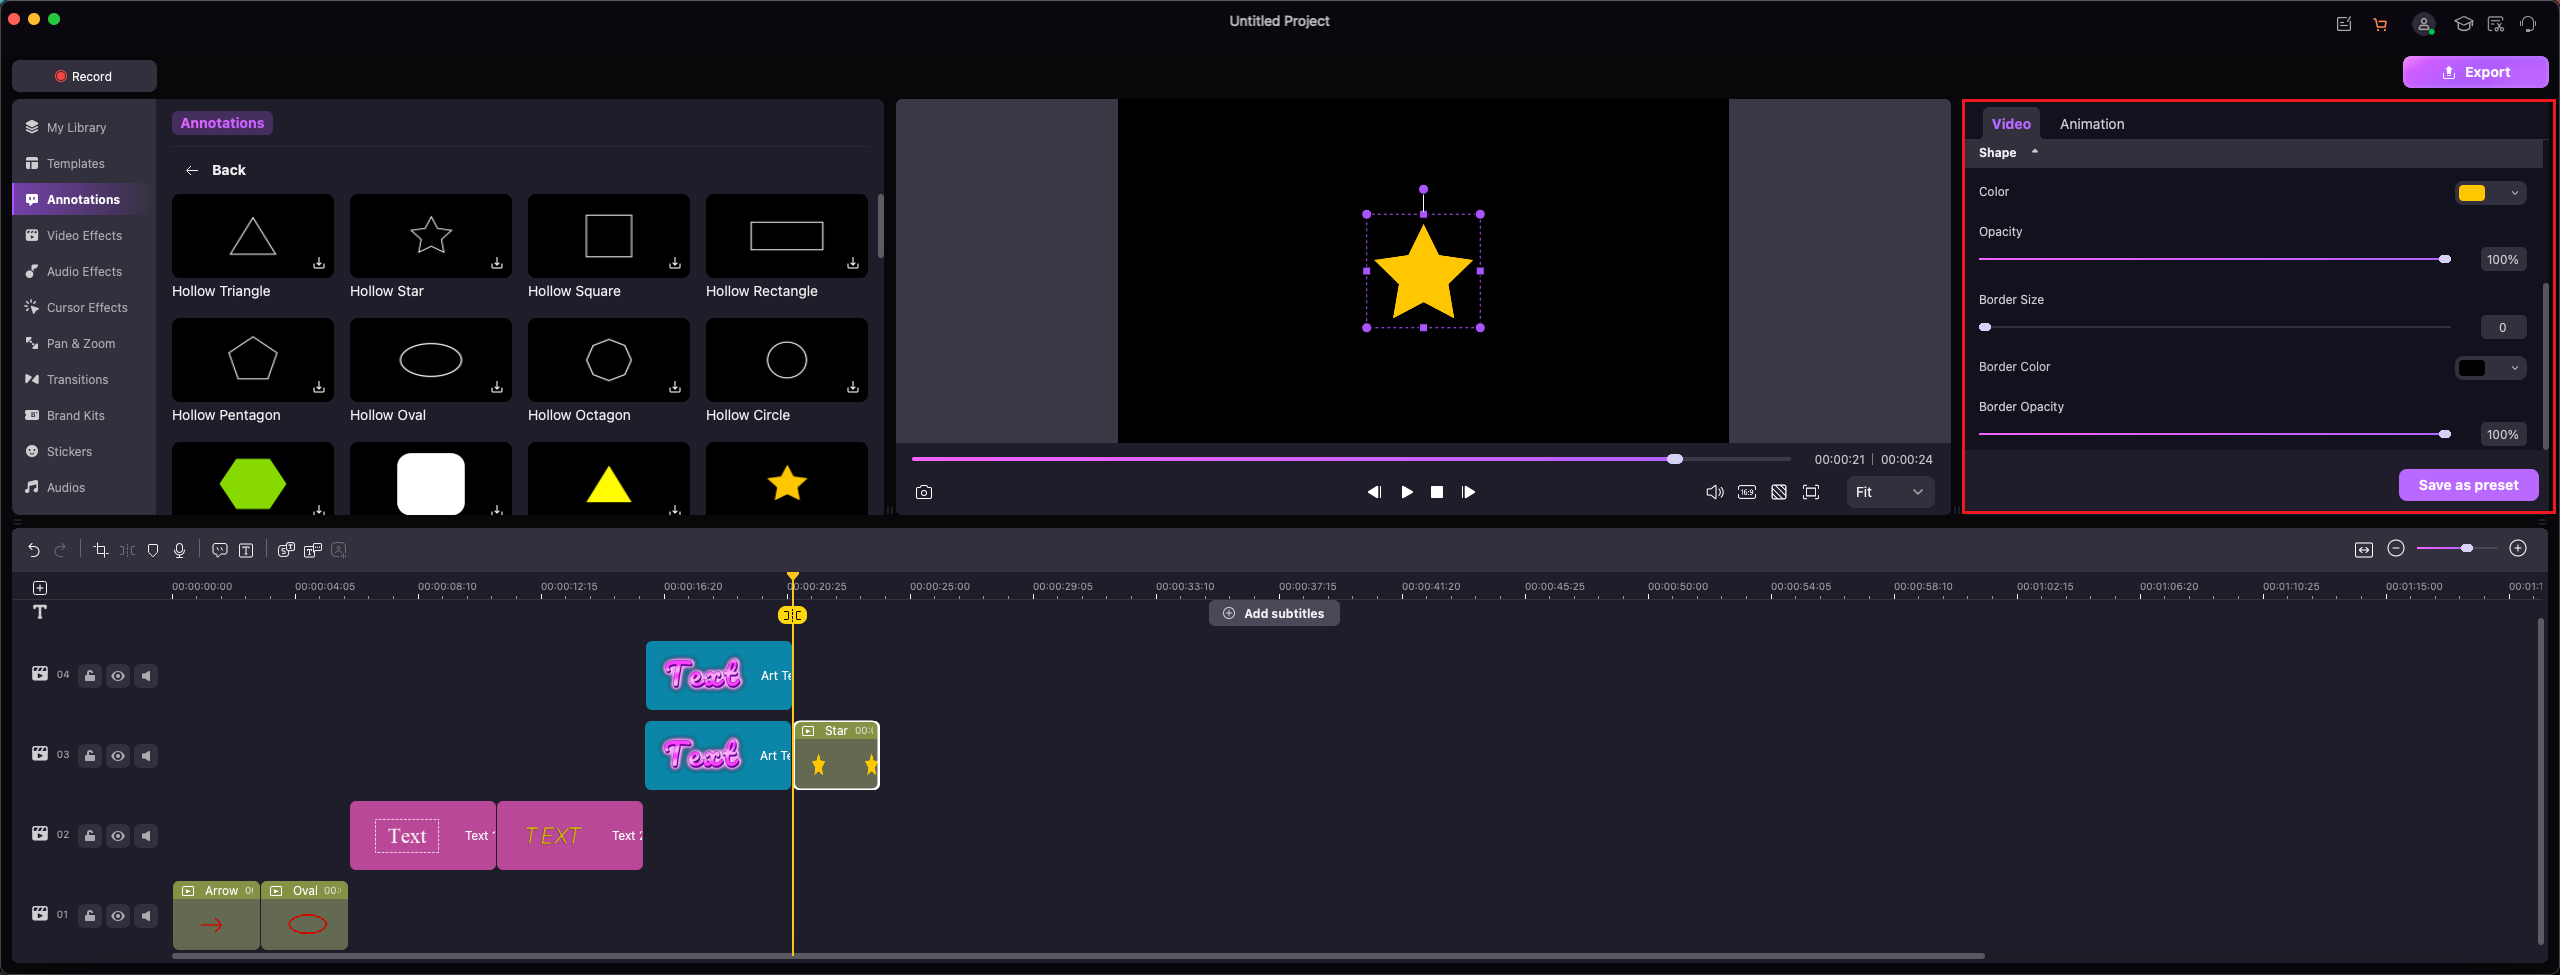
· Shape – Fill/Border
Step: You can modify the color, opacity, and border size of the annotations' shape by going to the Properties Panel and selecting the shape option from the drop-down menu.
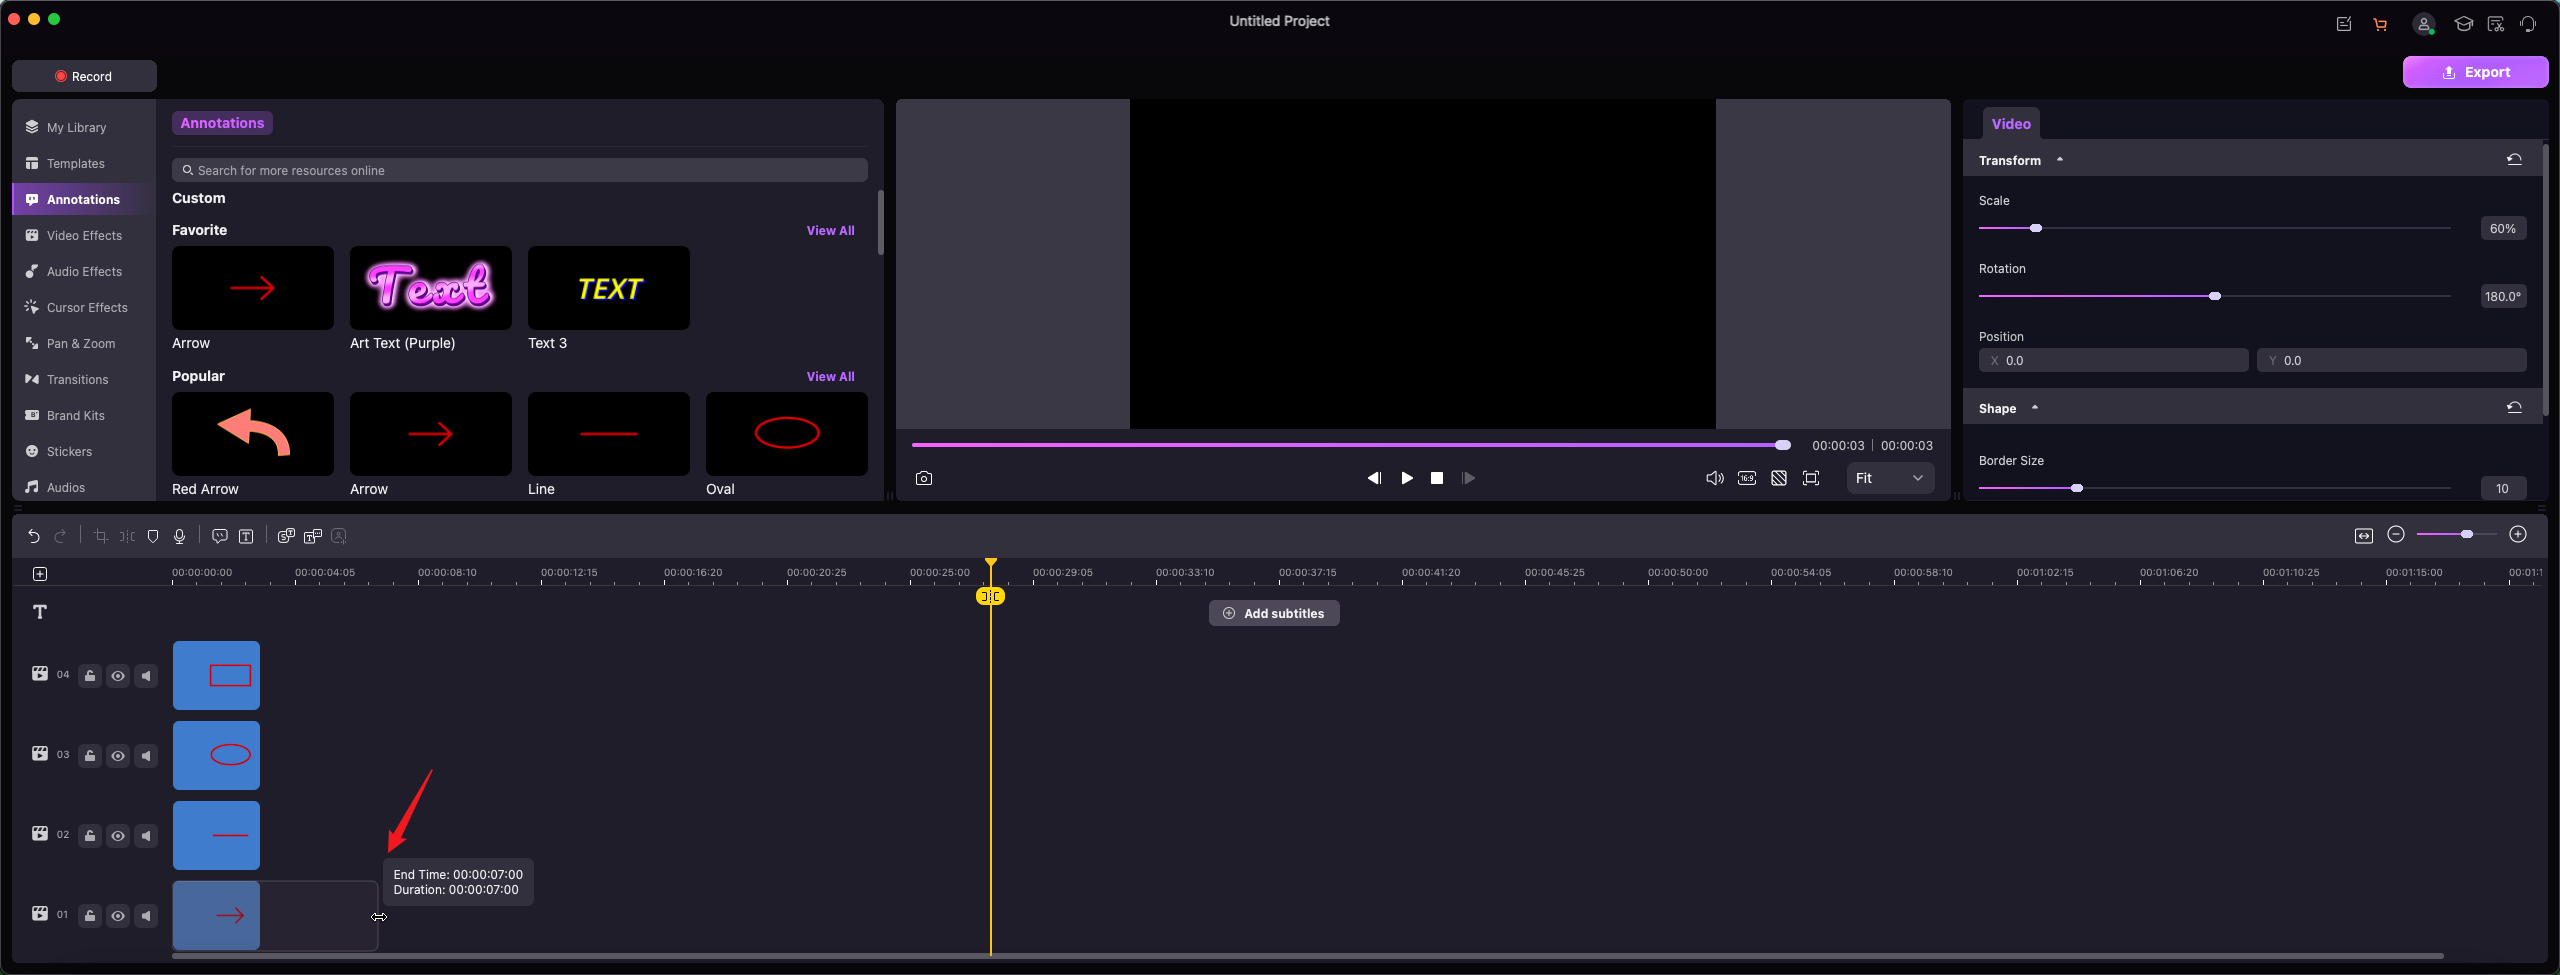
· Change an Annotation's Duration
Step: You can change the length of an annotation by dragging the edge of the annotation on your timeline to either the left or the right.