DemoCreator User Guide
How to use Wondershare DemoCreator? Learn the step by step guide below
DemoCreator User Guide
-
Get Started - Mac
-
Video Recording - Mac
-
Video Editing - Mac
-
Keyboard Shortcuts - Mac
-
Audio Recording - Mac
-
DemoCreator Effects - Mac
-
Export & Share - Mac
-
Audio Editing - Mac
-
New Demo Mode - Mac
DemoAir User Guide
-
DemoCreator Cloud Service - Get Started
-
Video Creation Mode
-
Export&Share
FAQs
Stickers
Stickers are an essential component in the production of response videos and tutorials because of their ability to convey thoughts and stories. Stickers come in various flavors in DemoCreator 6, including Educational Stickers, Emoji Stickers, Game Stickers, and Gif Stickers. Here are the details on each.
Education Stickers – Regular things like pencils, characters like punctuations, etc.
Game Stickers – Words, things, and concepts associated with gaming.
GIF Stickers – pyrotechnics, animated motions, smoke effects, and other effects.
Emoji Stickers – Emojis of every imaginable kind.
 |
 |
 |
 |
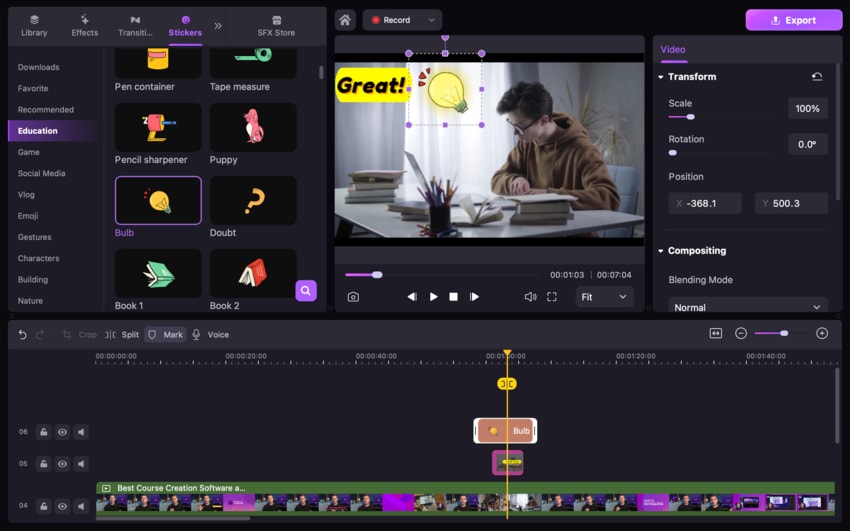
1. Add/Remove the Sticker
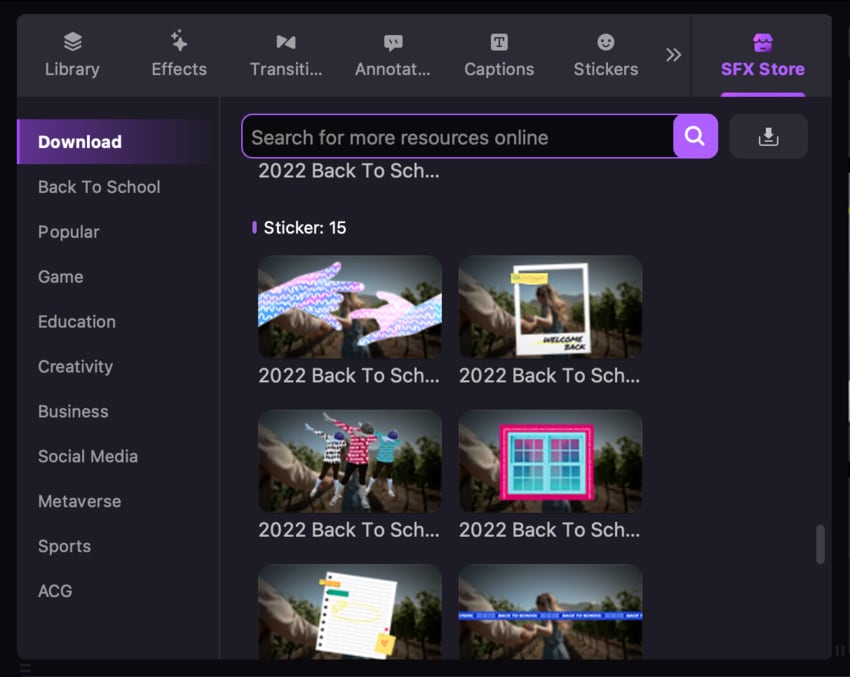
Step 1: Pick the Sticker tab on the SFX Store Tool Bar, and select the Education category from the drop-down menu.
Step 2: Locate the sticker depicting the laughing man, then click on it to download it. To see a preview, double-click the link.
Note: If you find certain stickers helpful and want to access them quickly, click the Heart symbol to mark it as a favorite and make it easily accessible in the future. It will be shown in the first section under the heading "Favorite".
Step 3: Drag it to the location on the timeline where you want it to go.
Remove the Sticker: Delete it by selecting your Timeline or the Preview Panel and pressing the Delete key on your keyboard. You also have the option to right-click on the Sticker and choose the Delete option from the context menu.
2. Modify the Sticker
· Transform - Resize/Rotate/Re-position:
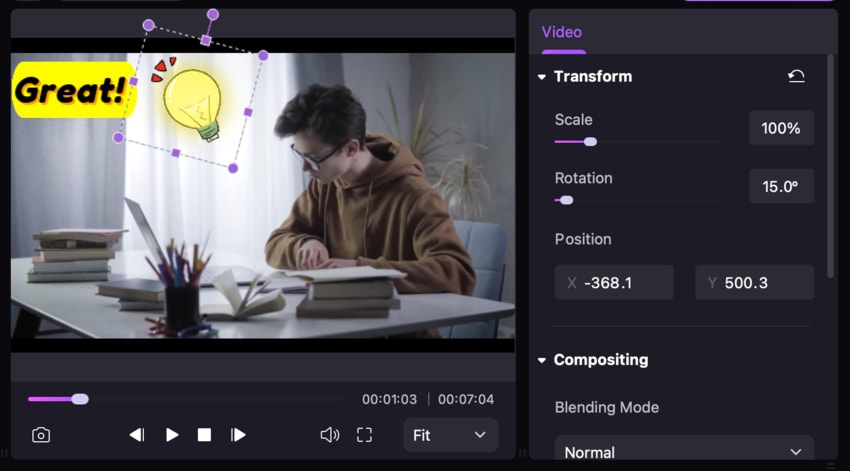
Step 1: You can adjust the size of the sticker, rotate it, or arrange it with specifications by navigating to the Properties Panel and selecting the Transform option.
Note: Adjustments of a similar kind can be done immediately inside the Preview Panel. Choose the sticker, and edit the blue bounding box that appears after it's highlighted.
· Compositing – Blending Mode/Opacity:
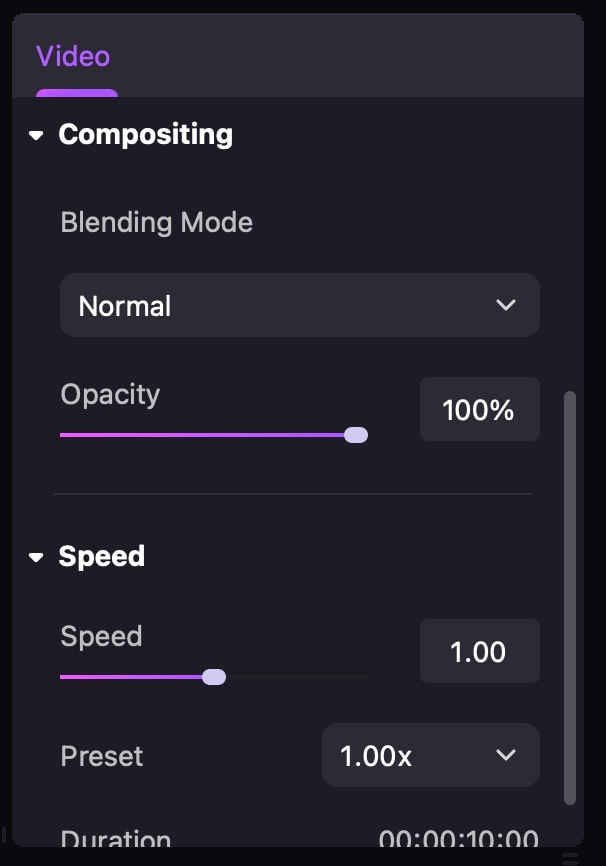
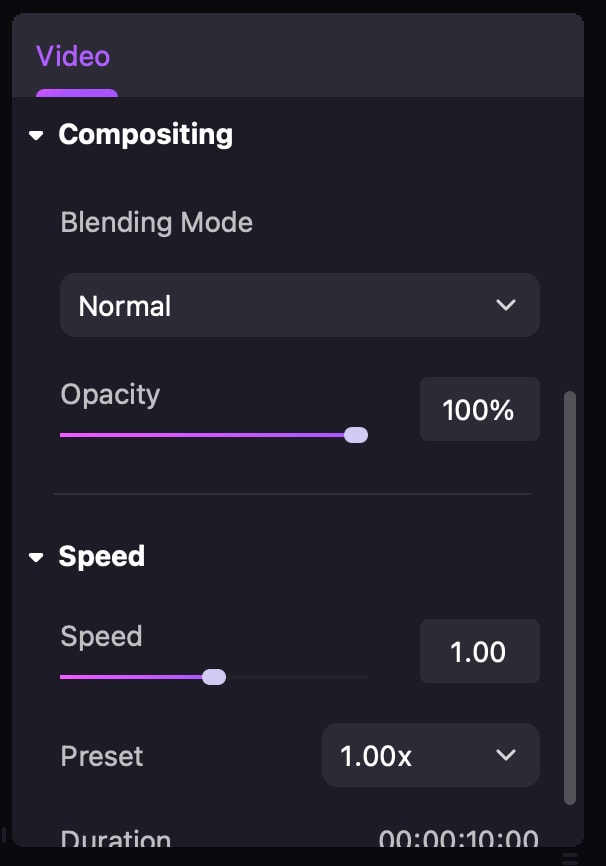
Step: You can choose various blending modes and alter the opacity level anywhere from 0% to 100% by navigating the Properties Panel > Transform > Compositing menu option.
· Change an Annotation's Duration:
Step 1: You can change the time static stickers appear on the timeline by moving the sticker's border to the left or right.
Step 2: To adjust the speed of an animated sticker, go to the Properties Panel > Transform > Speed menu option. From there, you can either speed up or slow down the animation.
3. Get More Stickers
If the default stickers cannot fulfill your needs for certain scenarios, you can search for the theme in the Tools Bar and download additional content from the SFX Store.
Note: After the template has been saved to your computer, any stickers packaged with it will appear in the Stickers List inside the Downloaded Library.
