DemoCreator User Guide
How to use Wondershare DemoCreator? Learn the step by step guide below
DemoCreator User Guide
-
Get Started - Mac
-
Video Recording - Mac
-
Video Editing - Mac
-
Keyboard Shortcuts - Mac
-
Audio Recording - Mac
-
DemoCreator Effects - Mac
-
Export & Share - Mac
-
Audio Editing - Mac
-
New Demo Mode - Mac
DemoAir User Guide
-
DemoCreator Cloud Service - Get Started
-
Video Creation Mode
-
Export&Share
FAQs
Connect DemoCreator with Meeting Platforms
In this guide, you'll learn:
The new DemoCreator demo mode supports you to connect to other meeting platforms like Zoom and Google Meet. DemoCreator demo mode helps to make your online meeting remarkable and amplifies and enhances the effectiveness of the meeting.
1. Supported Meeting Platforms
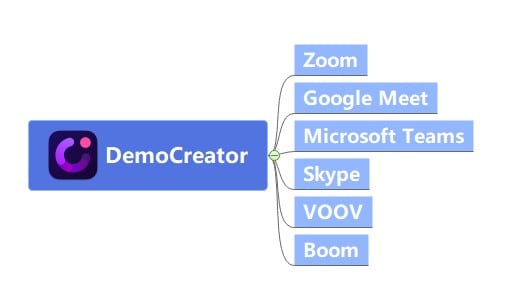
Below is the list of Meeting Platforms that DemoCreator currently works with:
2. What Can DemoCreator do with Meeting Platforms?
What DemoCreator can do is provide useful features for keeping your viewers engaged while you talk. You get to be a real-time producer on your presentations without getting up from your kitchen table.
Core features you need to know before connecting to meeting platforms:
- Change Camera Frame: You're allowed to change the camera frame to circle, square or rectangle.
- Virtual Backgrounds: Change your backdrop to a variety of fun-but-professional backgrounds that can hide whatever you have behind you—with or without a green screen.
- Cool Annotations: Using our annotations, transitions, and presentation tools, you can draw your viewers’ attention where you want it to go—eyes on you, eyes on the pictures, or both.
3. Preparations for Meeting in the DemoCreator
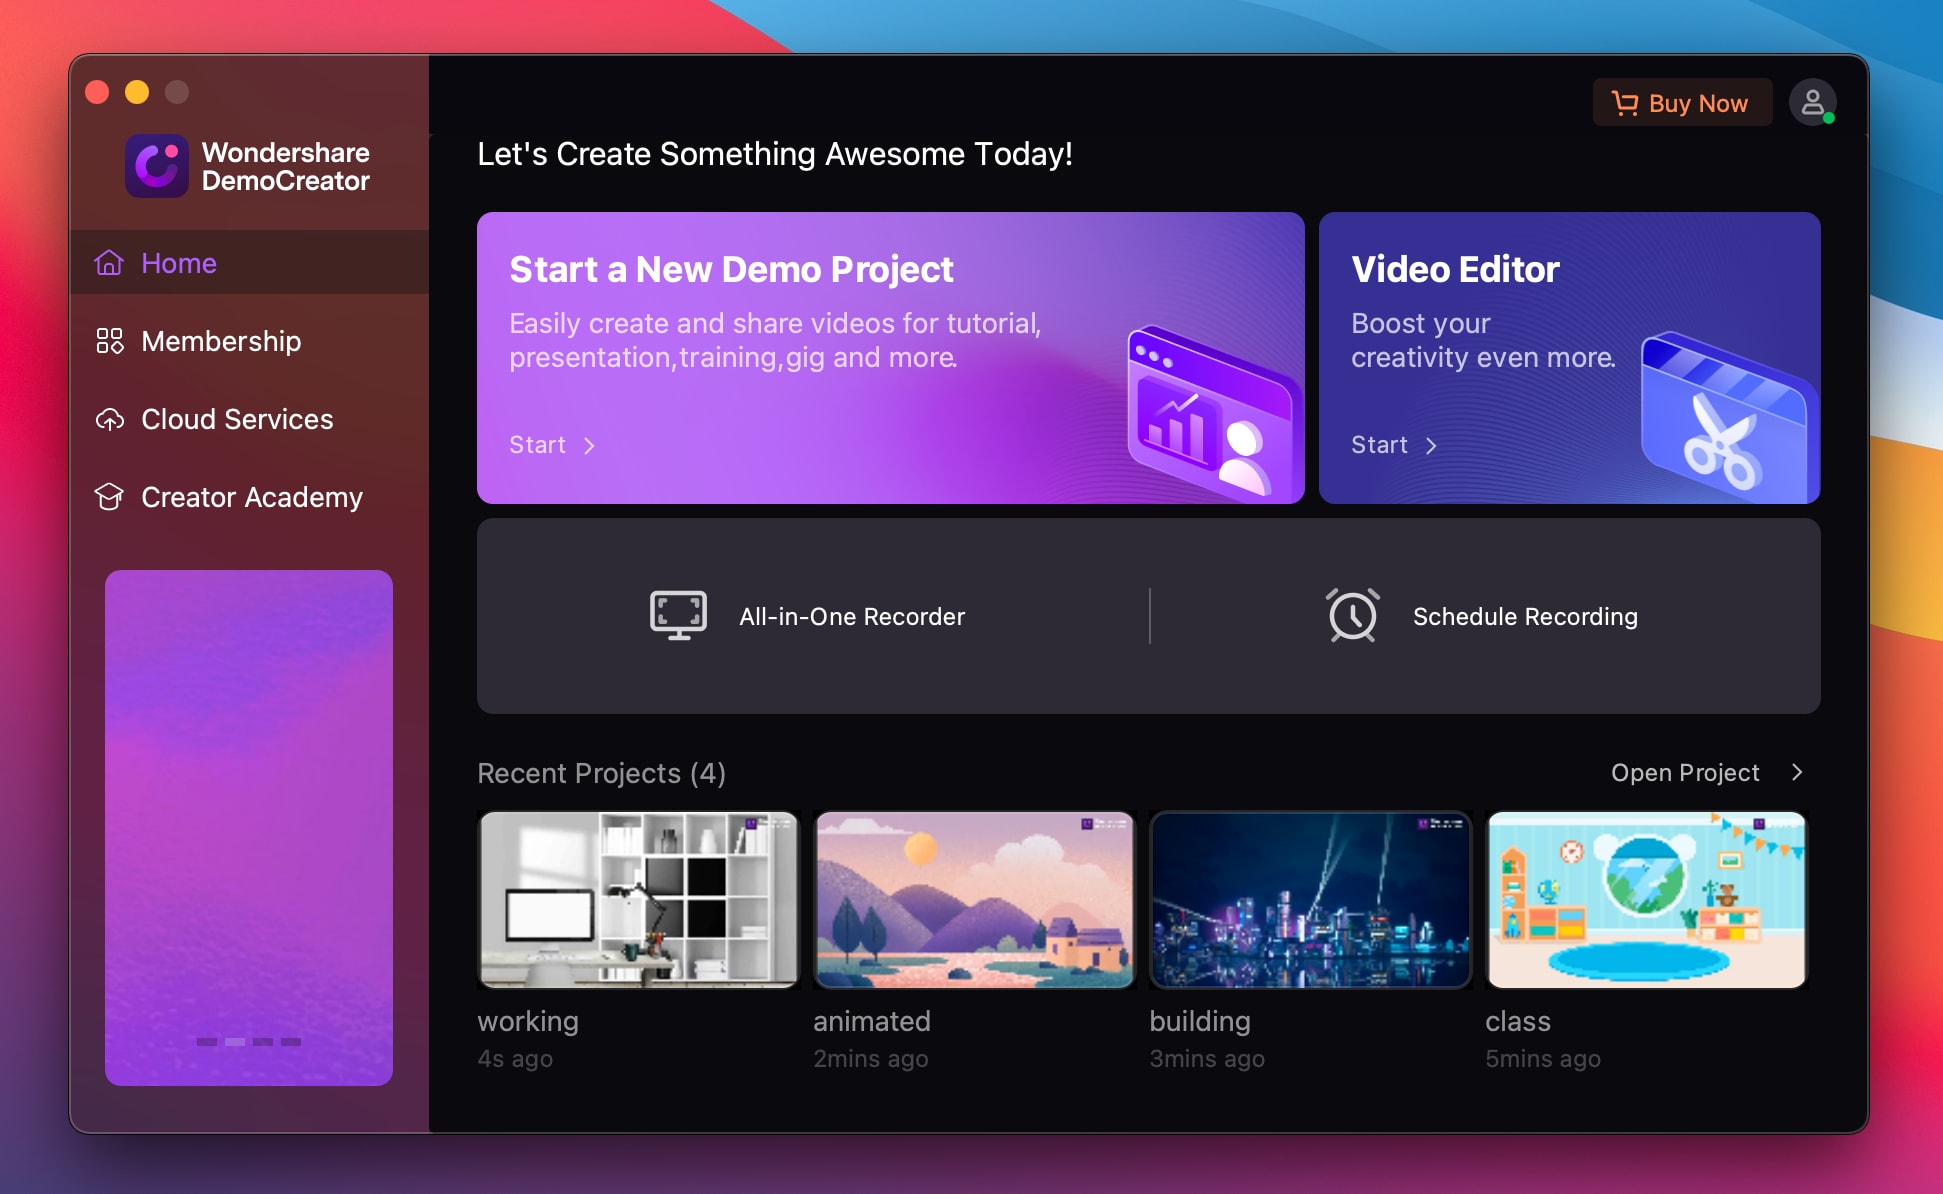
① Launch DemoCreator, and select “Start a New Demo Project.”
② In the DemoCreator demo mode, you can prepare your content through different tools.
- Import media files (video, audio, and pictures are supported) or PowerPoint for your presentation.
- Set up the webcam. Add virtual background, and change your backdrop to a variety of fun-but-professional backgrounds, making your video conference be more attractive.
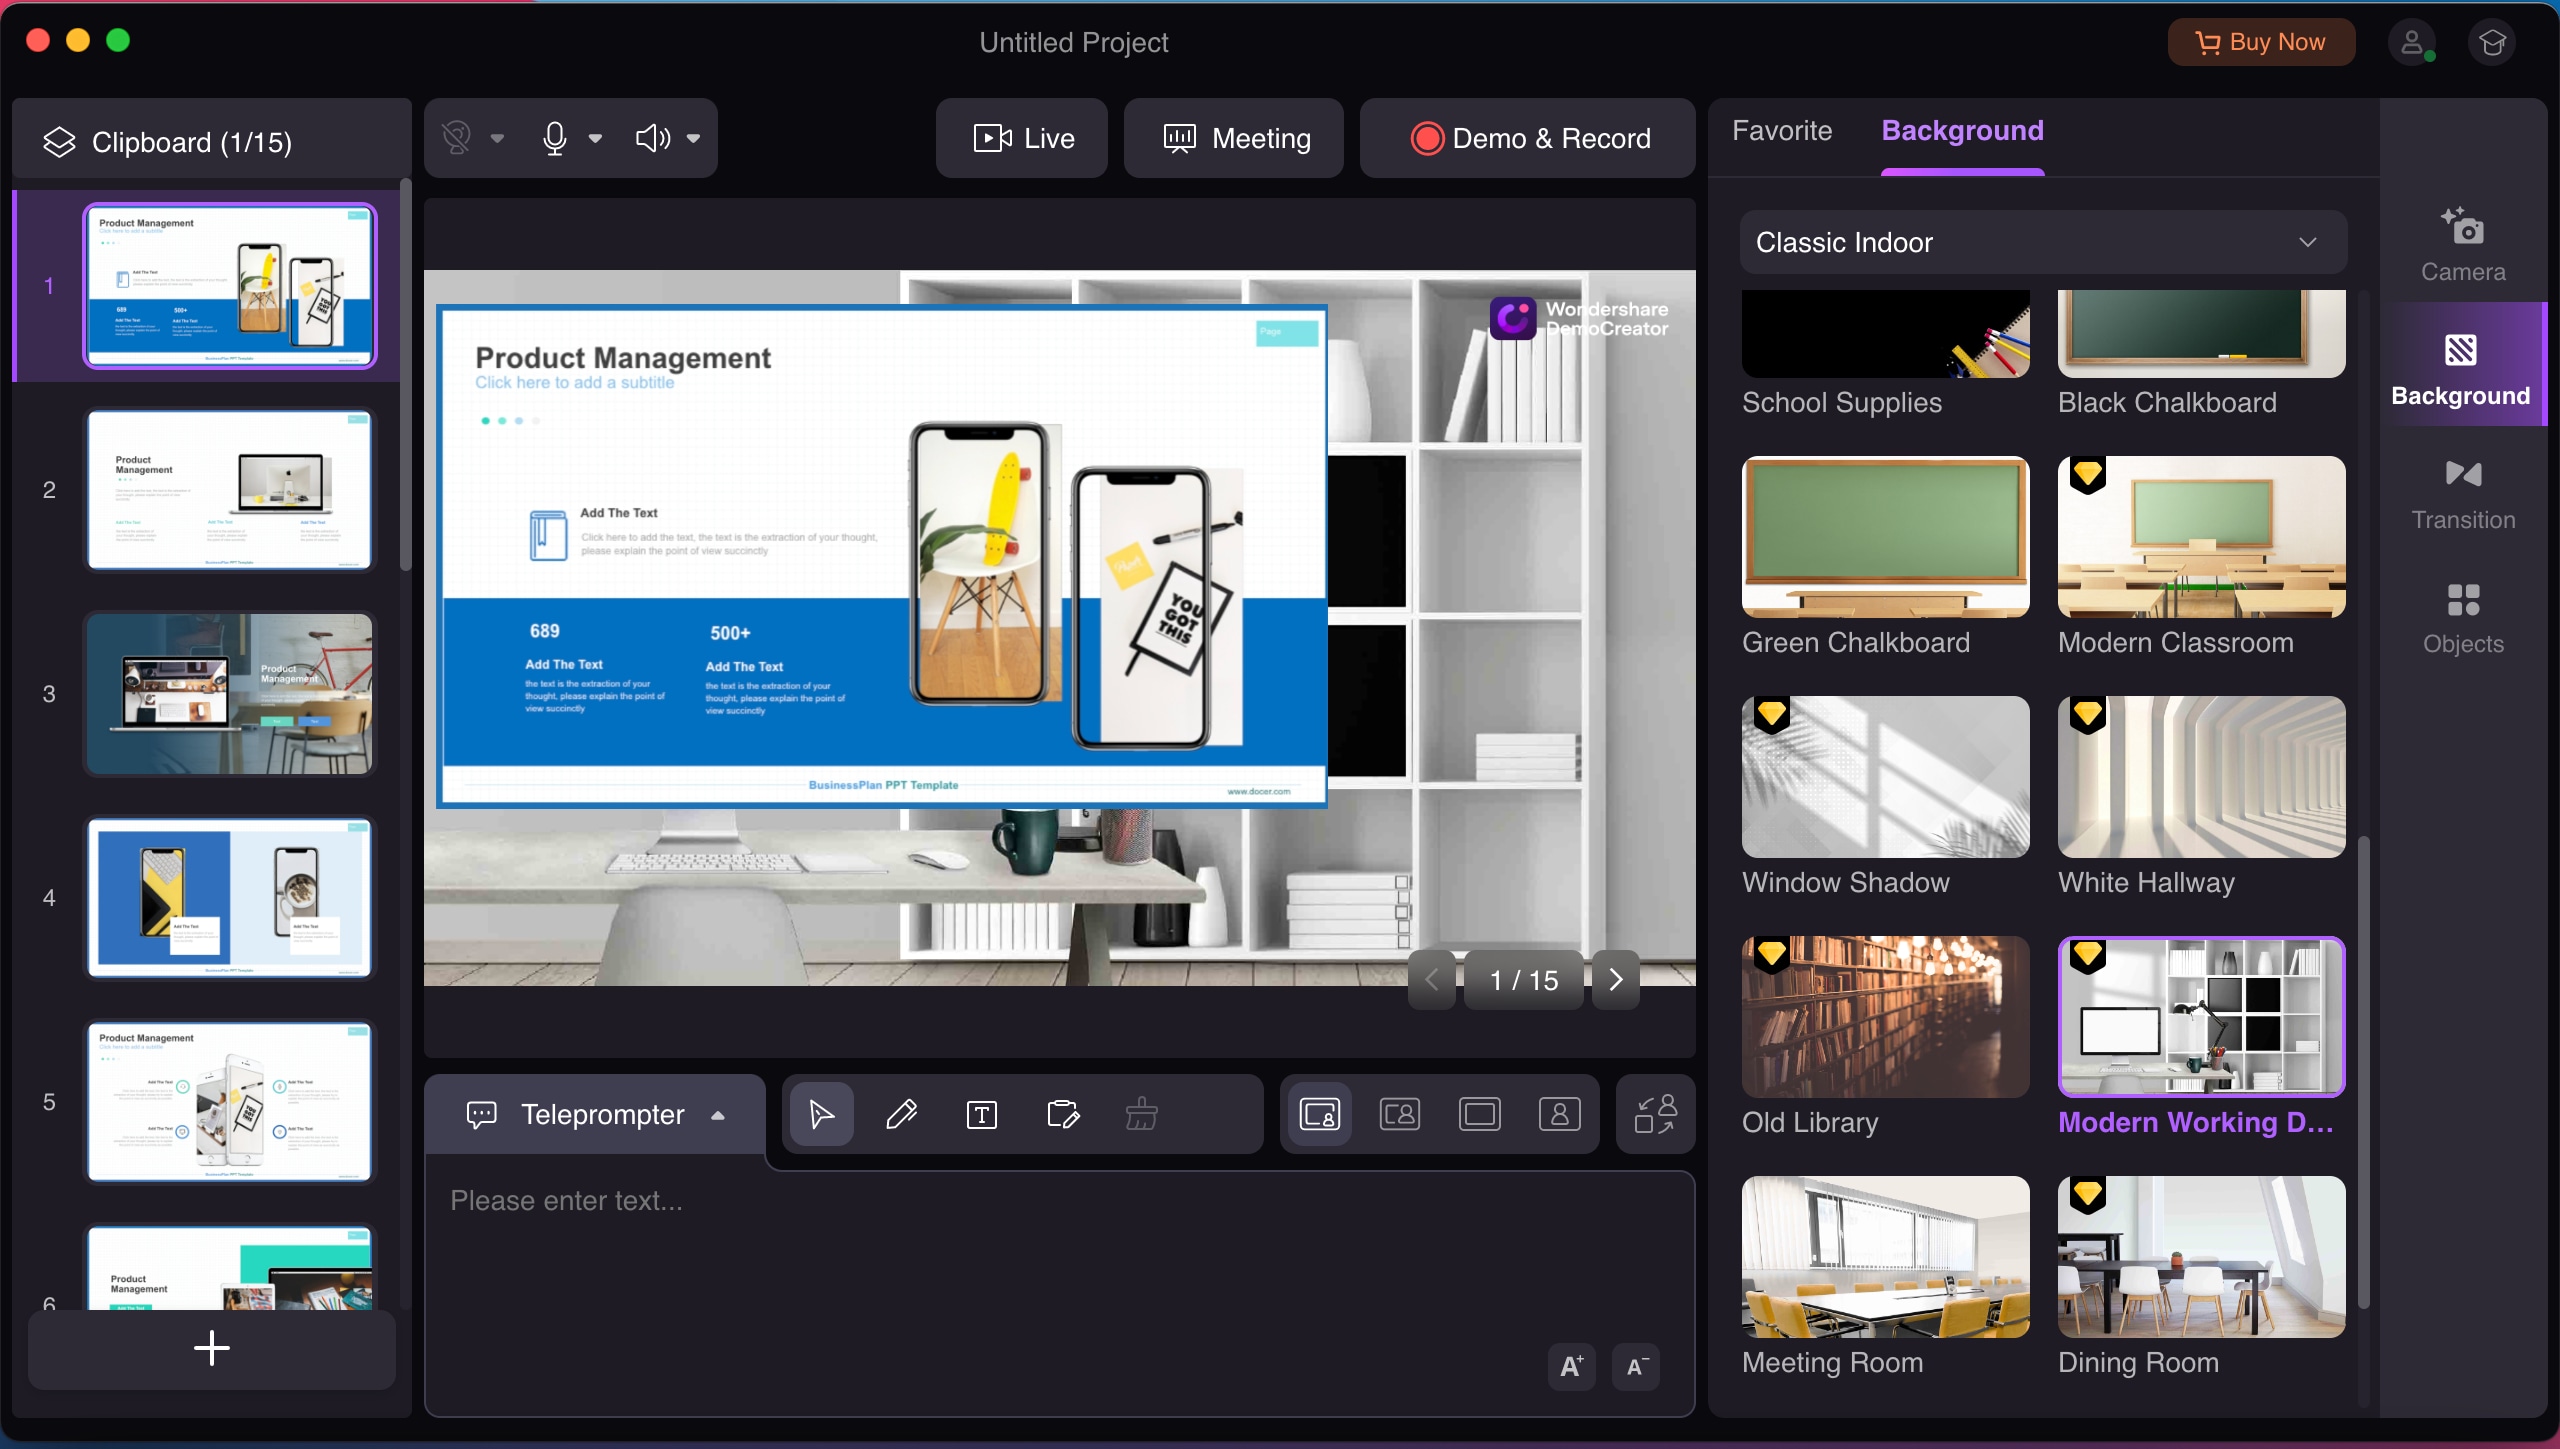
③ Click the "Meeting" button to start the meeting stream.

4. Connect DemoCreator with Zoom Meeting
The section below walks through how to connect DemoCreator with Zoom meeting.
Before-Start Note: Both DemoCreator and Zoom need to be opened on Mac device in order to establish the connection. And please ensure you've finished the preparations for the meeting in the DemoCreator.
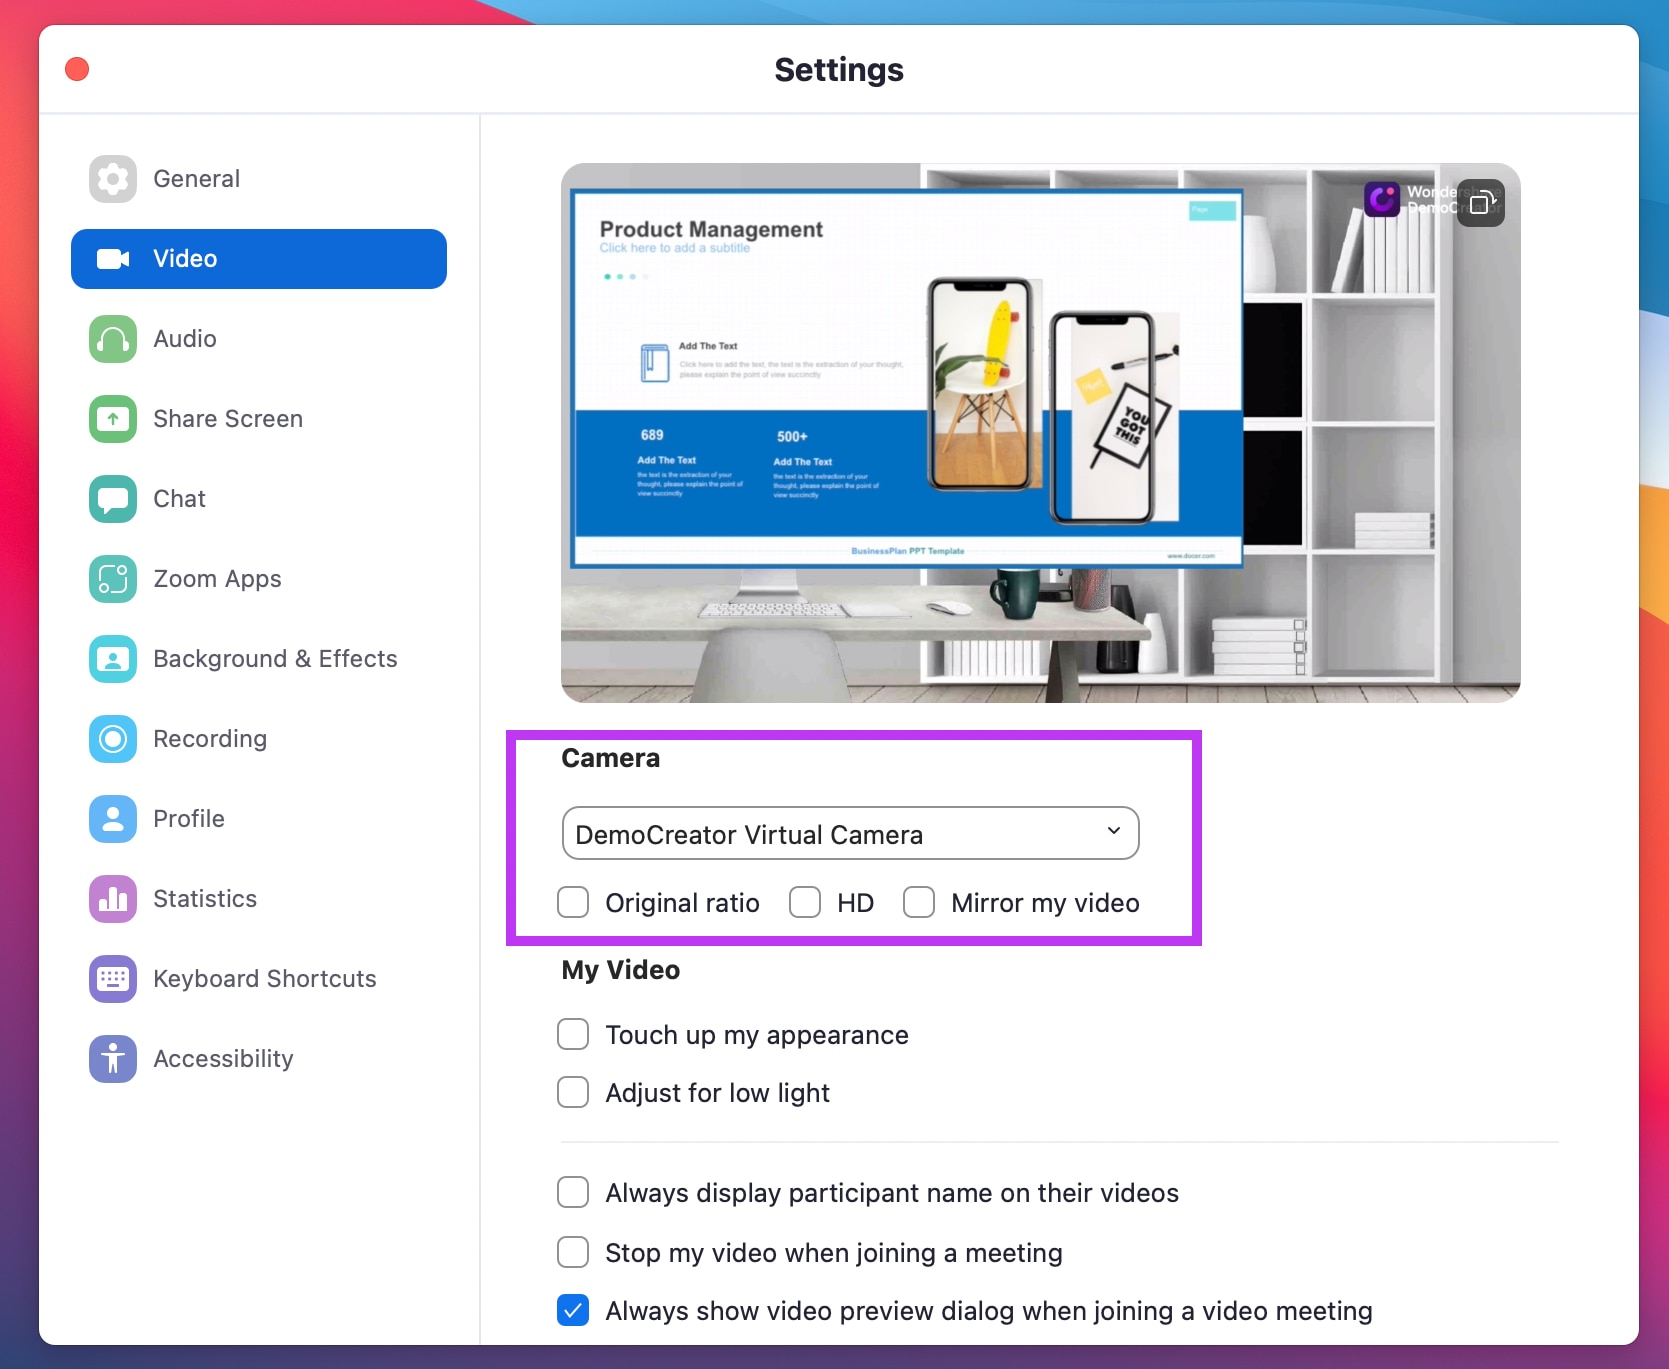
Step1. Launch Zoom, in Zoom Setting, set “DemoCreator Virtual Camera” as your camera input.
 Note:
Note:1. To ensure the quality of the video, you can check "Original Ratio" and "HD".
2. If you find the video is reversed, please select "Mirror my video."
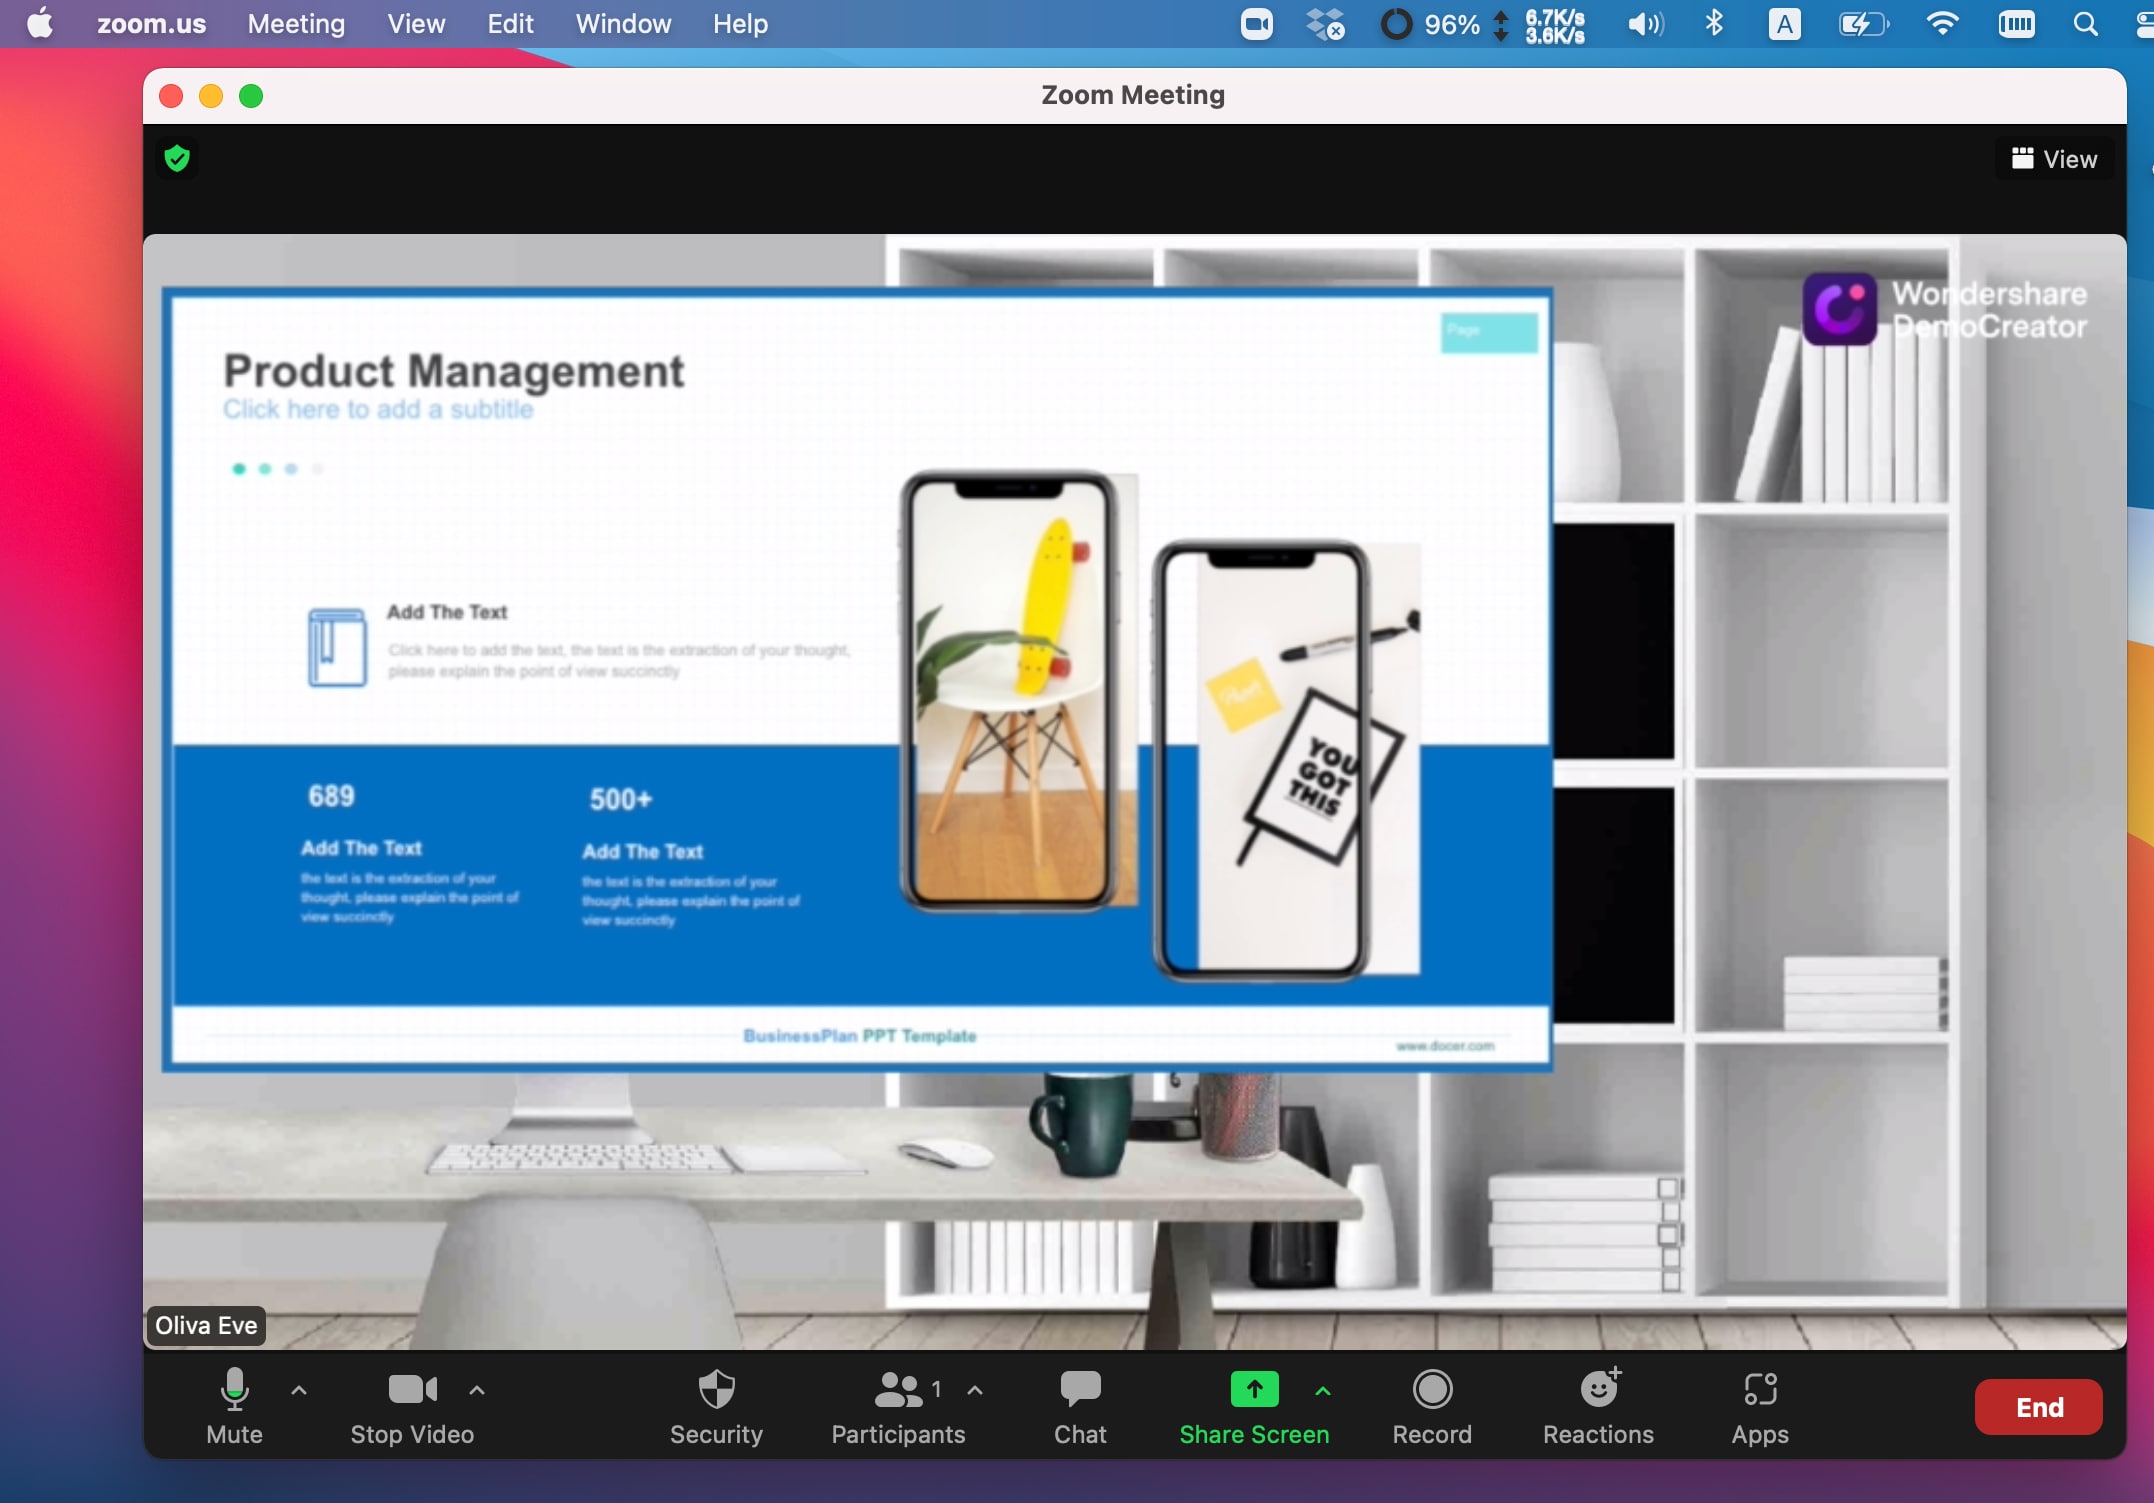
Step2. After you've finished the camera settings, you’ll see the camera in Zoom update to show the same view as in DemoCreator.
