DemoCreator User Guide
How to use Wondershare DemoCreator? Learn the step by step guide below
Available for:
DemoCreator User Guide
-
Get Started - Mac
-
Video Recording - Mac
-
Video Editing - Mac
-
Keyboard Shortcuts - Mac
-
Audio Recording - Mac
-
DemoCreator Effects - Mac
-
Export & Share - Mac
-
Audio Editing - Mac
-
New Demo Mode - Mac
DemoAir User Guide
-
DemoCreator Cloud Service - Get Started
-
Video Creation Mode
-
Export&Share
FAQs
Follow Us on Social Media
-- keep up to date with all the DemoCreator news
Import Media
DemoCreator supports you to import media files (video, audio, and images are supported) and PowerPoints, which allows you to create stunning video presentations.
In this guide, you'll learn 3 methods to import media files.
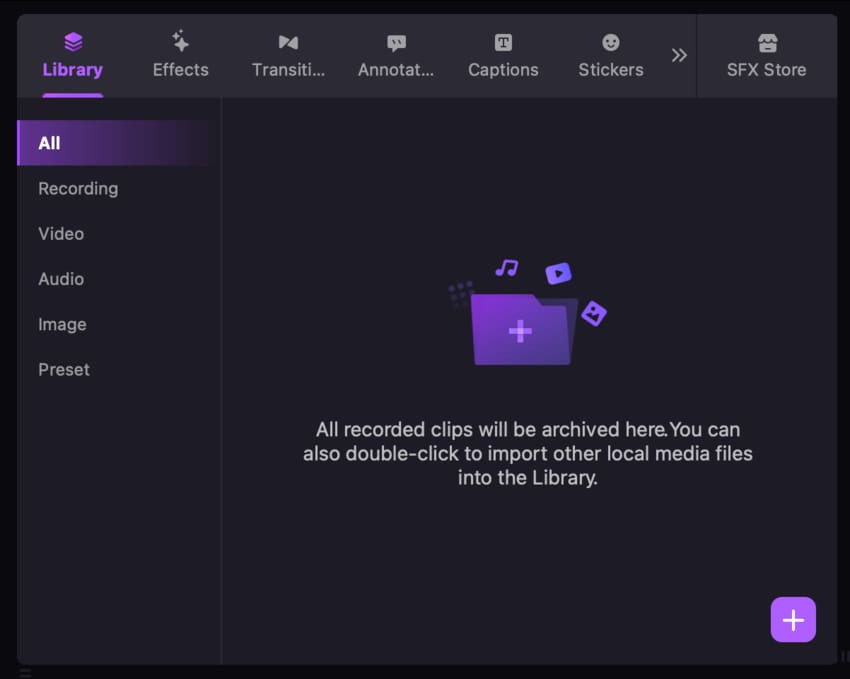
Method 1: Import Media Files
If you want to import local films, photos, music, or PowerPoint files, you can do so by double-clicking the Media Library board.
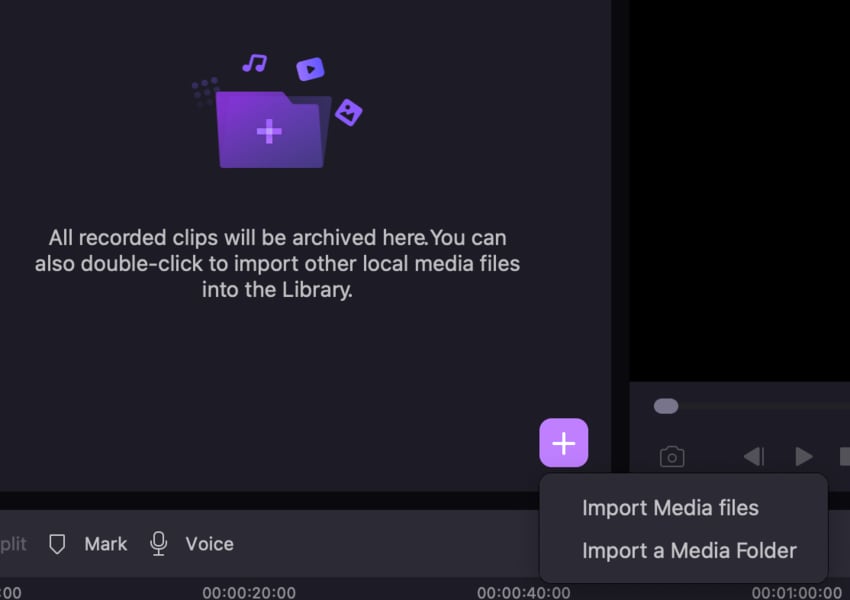
Method 2: Import Media Files
To access the media files already stored on your system, select "Import Media files" or "Import a Media folder" after clicking the "+" symbol located in the upper right-hand corner of the Media Library panel.
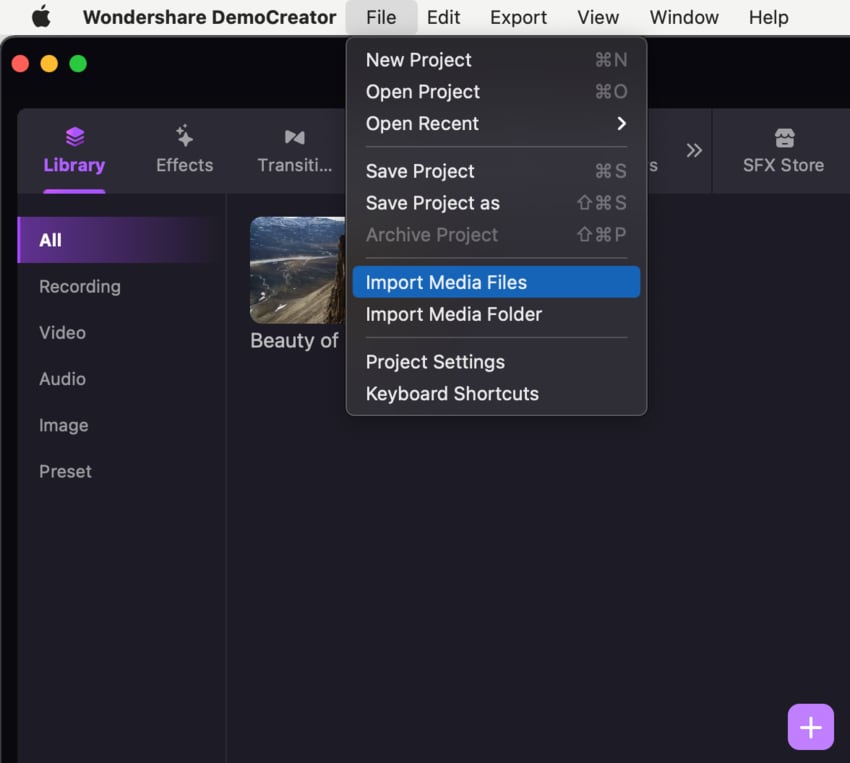
Method 3: Import Media Files
To import media files, go to the File tab, then use the drop-down menu to choose Import Media Files.