DemoCreator User Guide
How to use Wondershare DemoCreator? Learn the step by step guide below
DemoCreator User Guide
-
Get Started - Mac
-
Video Recording - Mac
-
Video Editing - Mac
-
Keyboard Shortcuts - Mac
-
Audio Recording - Mac
-
DemoCreator Effects - Mac
-
Export & Share - Mac
-
Audio Editing - Mac
-
New Demo Mode - Mac
DemoAir User Guide
-
DemoCreator Cloud Service - Get Started
-
Video Creation Mode
-
Export&Share
FAQs
Transitions Effects
Does it bother you when two separated clips need to be connected? You’ll need the transitions to go through it naturally. In DemoCreator 6, there are 7 different transition categories for you to choose.
In this section, you’ll learn how to:
- Add Transition Effect
- Adjust Transition Effect
- Delete Transition Effect
- Get More Transition Effects
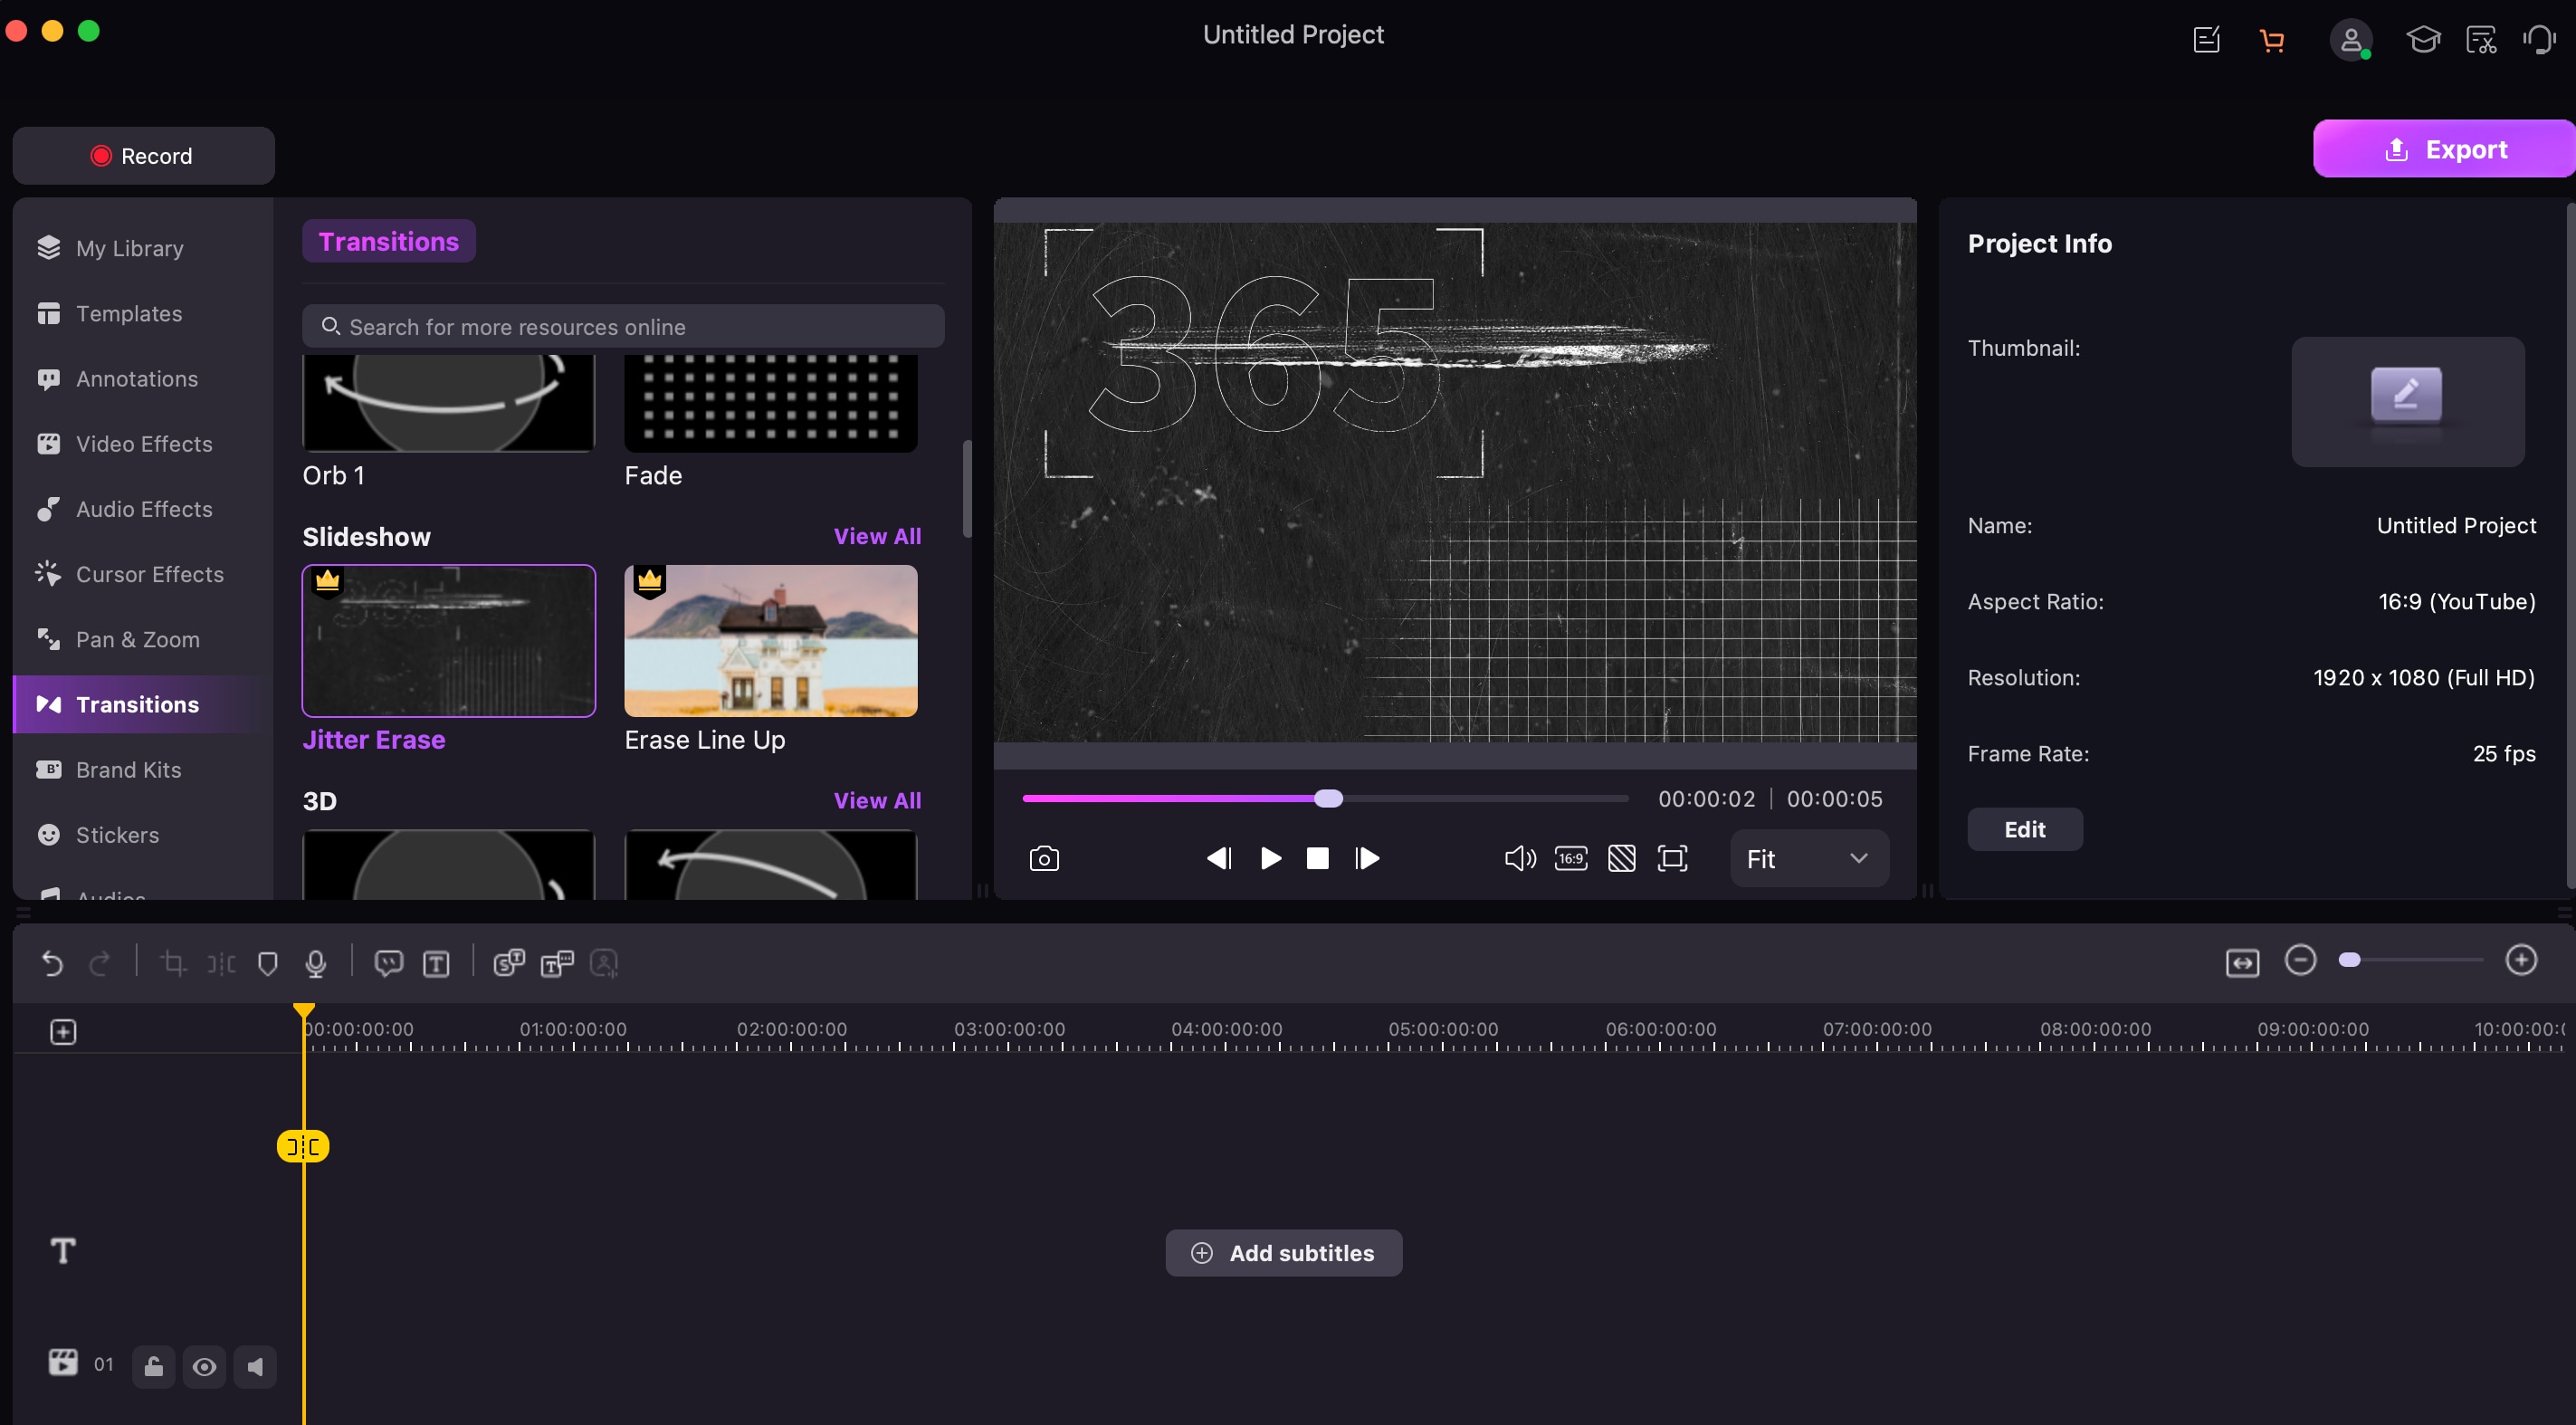
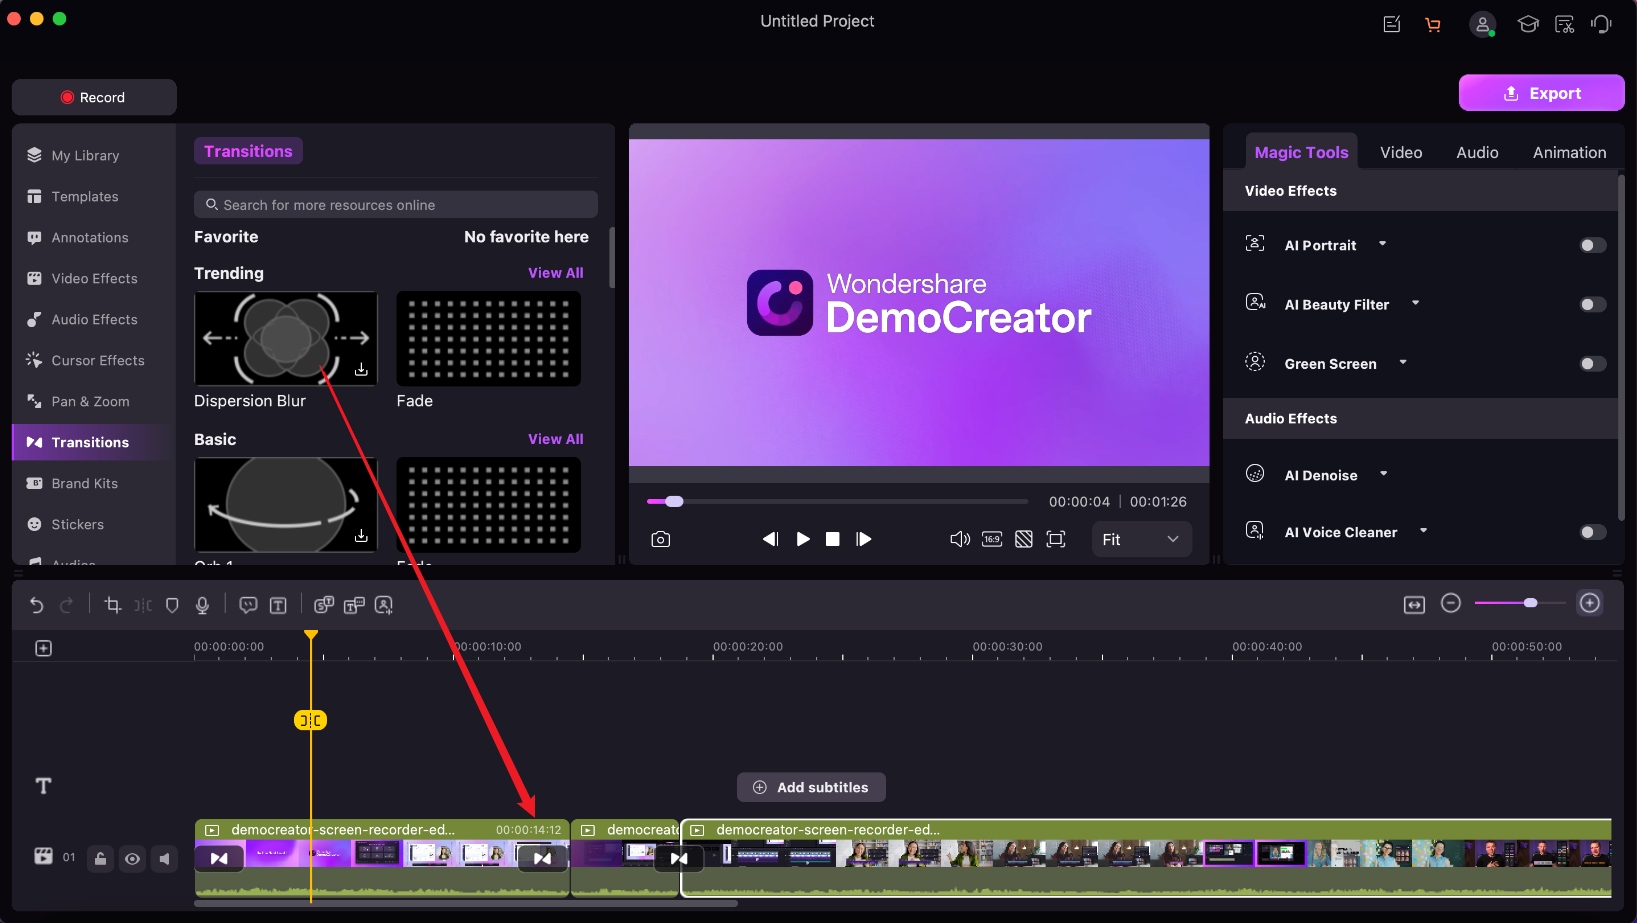
1. Add Transition Effects
Click the Transition tab on the left-side toolbar, then drag a transition onto the timeline to apply it to your media file.
Note: You can insert the transition at the beginning, end, or between clips.
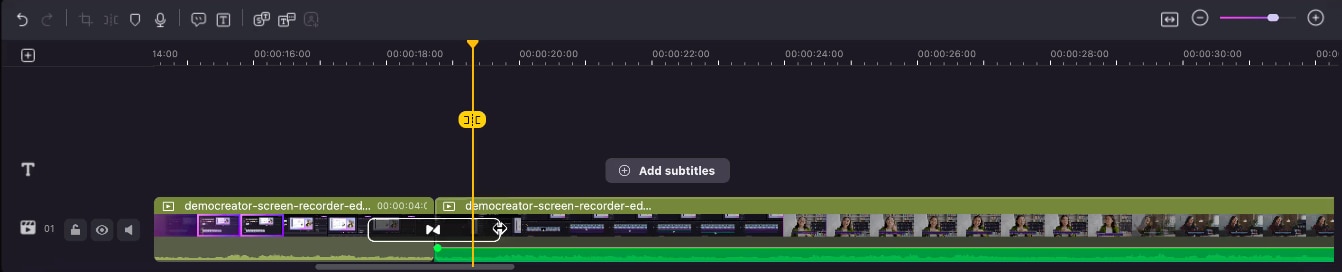
2. Change Transition Effects
Step: Choose the transition effect in the timeline, hover the mouse pointer over the edge of the transition effect, and drag it to adjust the timing and location of the effect.
3. Delete Transition Effects
Select the transition effect you want to remove, and then press the "Delete" key on your keyboard after selecting.
Tip: Alternatively, right-click the transition and select Delete.

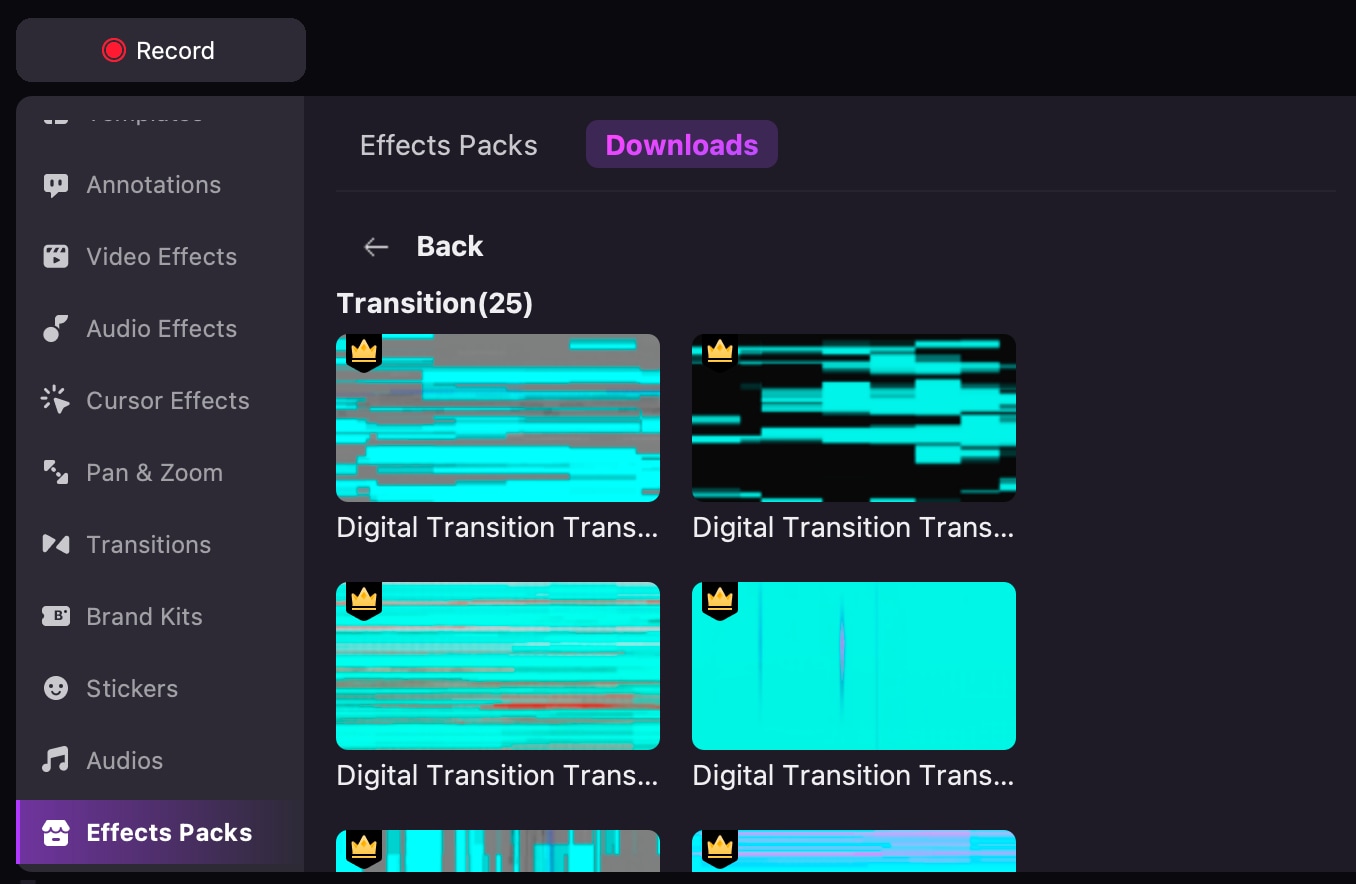
4. Get More Transitions
If the pre-installed transitions cannot fulfill your project's needs in a particular setting, you can use the search bar in the Tools Bar to look up the theme and download additional assets from the Effects Packs.
Tip: The bundled transitions will become visible in the Download Library of the Effects Packs after the item has been successfully downloaded.