DemoCreator User Guide
How to use Wondershare DemoCreator? Learn the step by step guide below
DemoCreator User Guide
-
Get Started - Mac
-
Video Recording - Mac
-
Video Editing - Mac
-
Keyboard Shortcuts - Mac
-
Audio Recording - Mac
-
DemoCreator Effects - Mac
-
Export & Share - Mac
-
Audio Editing - Mac
-
New Demo Mode - Mac
DemoAir User Guide
-
DemoCreator Cloud Service - Get Started
-
Video Creation Mode
-
Export&Share
FAQs
All-in-One Recorder
Following the instructional guide below, you can perform the following operations with the Wondershare Democreator.
- Customize Recording Settings
- Start Recording
- Stop Recording
- Screen Drawing Tool
- Connect Virtual Cameras
- How to Capture Zoom Meeting Screen
To begin with, we suggest installing the macOS version of the software and then applying the instructions that follow suit.
1. Customize Recording Settings
On the Democreator main dashboard, locate the Video Recorder icon and click on it.

On the subsequent screen, you will get the different recording options supported by DemoCreator. Perhaps you want to capture your screen and camera at the same time, hit the Screen and Camera icon.
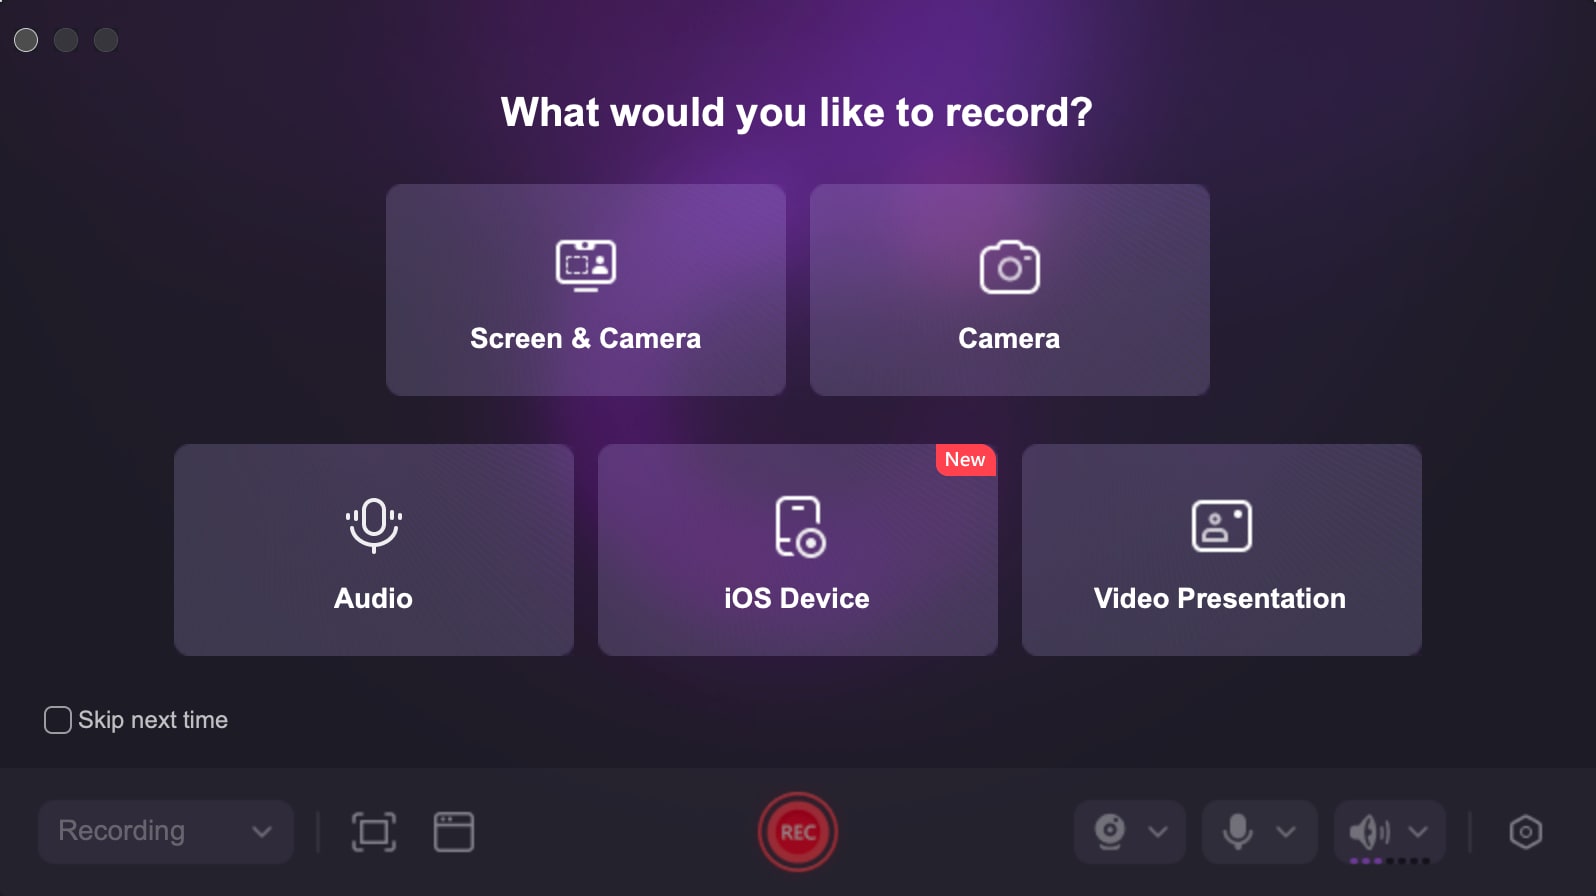
The following page will appear in response to your click, so you can grant the necessary permission for the software to capture your screen and webcam simultaneously.

Click on Next to grant DemoCreator access to your camera. Another prompt will pop up for you to grant permission for a microphone, click Next to continue.

Afterward, click on Start Recording.

The screen shared below will come up after completing the step given above.

At the bottom of the screen, you will find several customization features such as the option to configure the recording dimension and choose an audio source (which could be system audio or microphone). Below we have the corresponding image for each customization feature, so you can select it correctly. We will add a brief description underneath each one.
-
Select Recording Dimension
This feature is designed to help you choose your recording interface, in case you don’t want to capture your entire screen but a specific portion. For instance,
- Custom Selection option lets you customize how you want your recording interface to appear.
- Full Screen option allows you to capture your entire screen.
- Capture Window is often used to take recordings of specific windows or pages on your screen.
You also have the YouTube and Instagram options in case you want to record videos that meets the standard of each platform. To choose your preferred recording dimension, click on the icon that corresponds with what you have in the image down here, and make your selection.

-
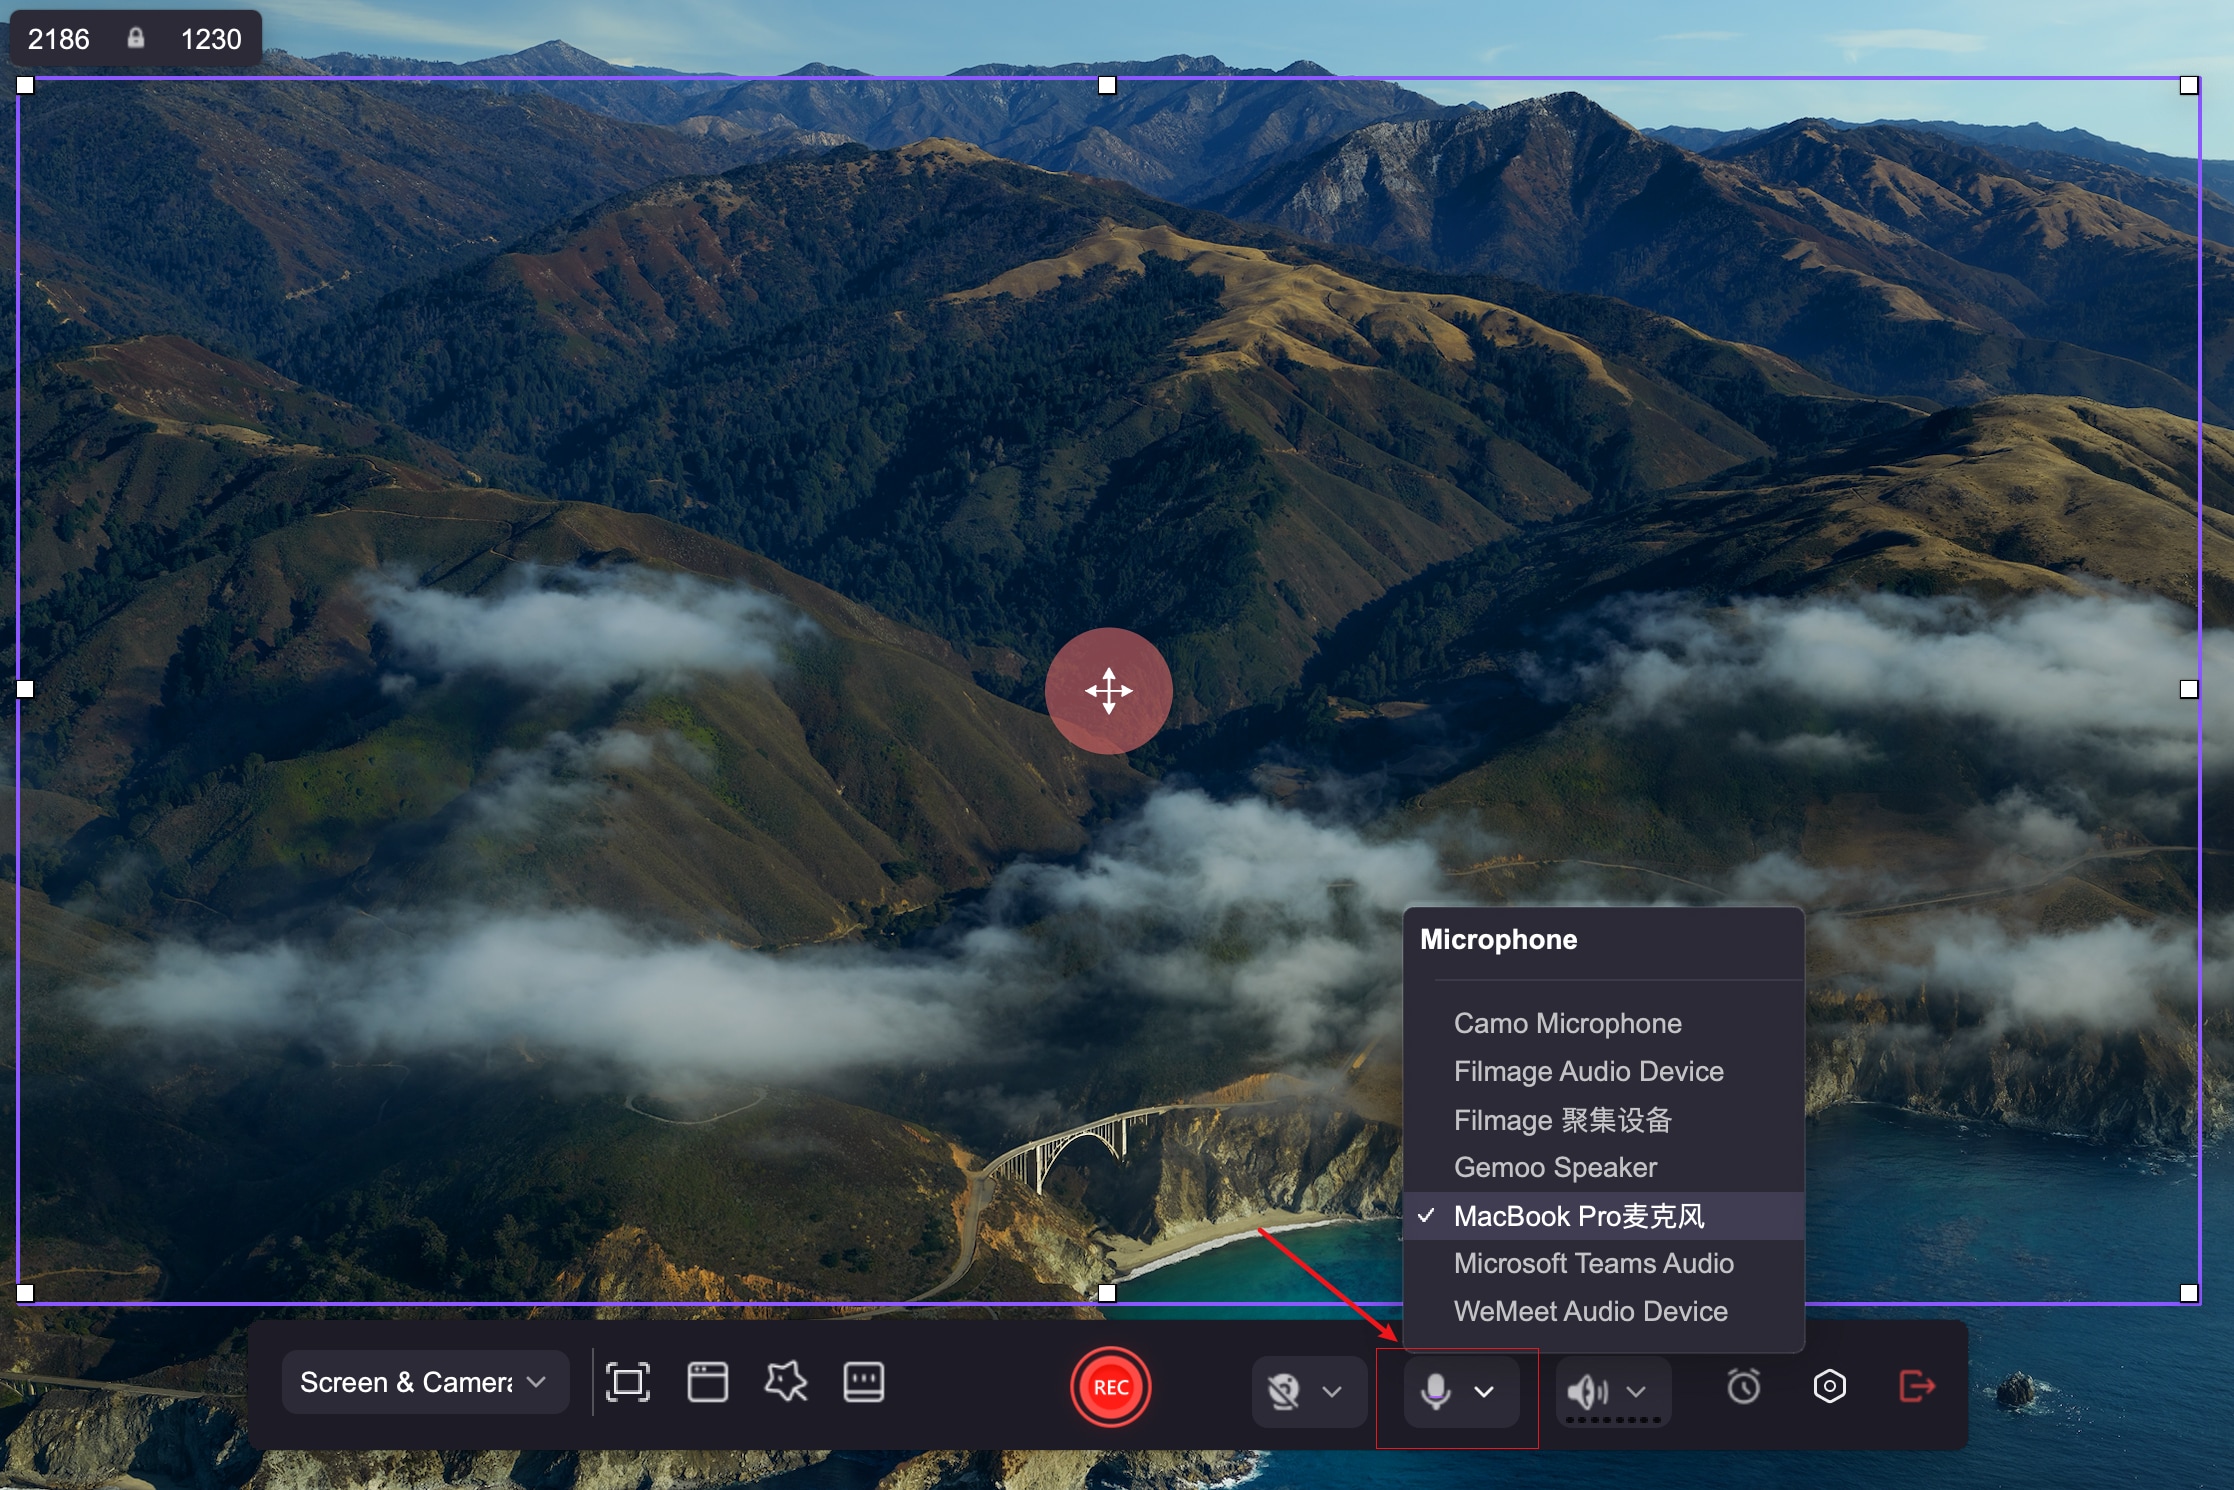
Select Audio Source
Do you want to record your voice and that of your recipient at the same time? DemoCreator is an amazing video recording utility that offers such a service. The tool does support capturing system audio and external sound from microphones. You can customize your audio source by simply clicking on the drop-down menu next to the microphone icon to make your selection.
-
Select Magic Tools
Before recording, you can use magic tools to set Smart Zoom, Cursor Highlight, Show Hotkeys, and AI Voice Cleaner. After recording, the effects will be intelligently applied in the editor.
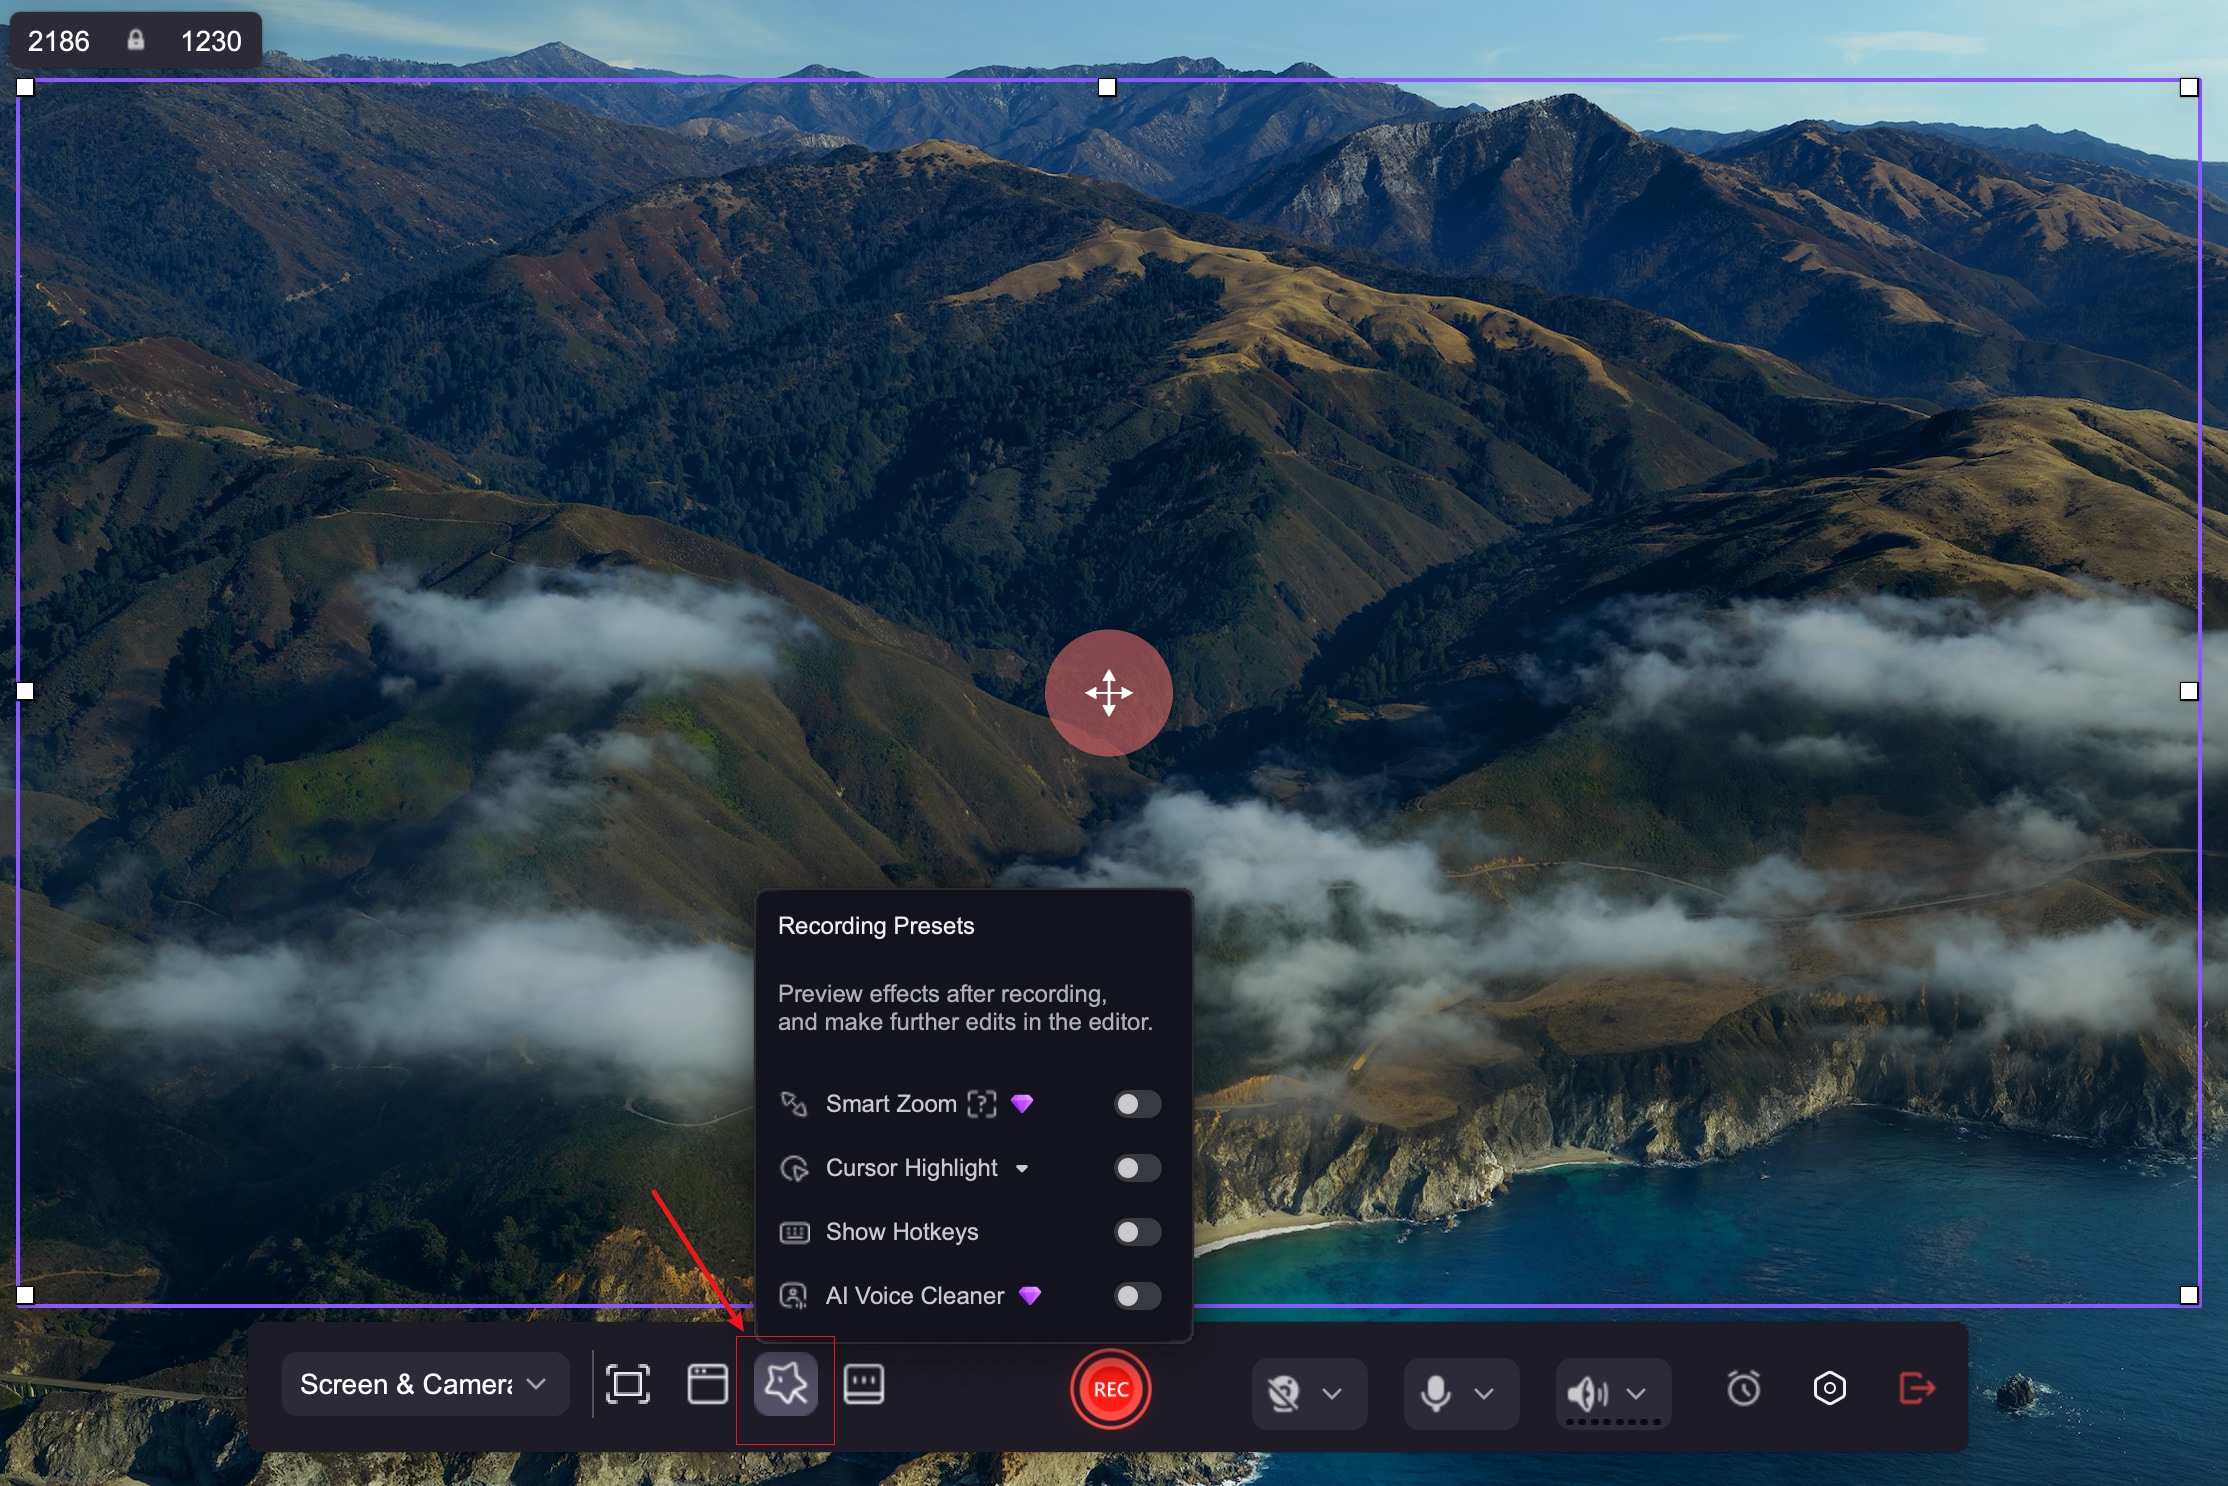
Smart Zoom:Click or Mover the mouse to apply zoom animations. Avoid random movements.

Cursor Highlight:Turn screen recordings into eye-catching videos.

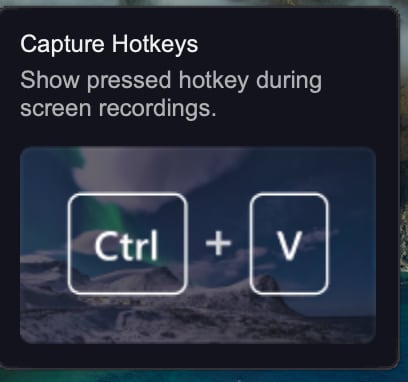
Show Hotkeys:Show Pressed hotkey during screen recordings.
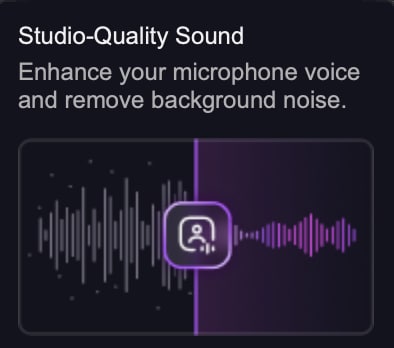
AI Voice Cleaner:Enhance your microphone voice and remove background noise.
2. Start Recording
After configuring all of the necessary parameters you want to work with on the software, recording can start. Locate the red circular icon at the center of the screen and click on it.

Wondershare DemoCreator will immediately direct you to the screen shown down here, where you have to select whether you want to do a multitrack recording and editing or a single-track recording and exporting. Each one of these options has its unique feature. Here’s a brief on how each one works.
- Multitrack Recording and Editing option helps you separate the content of your camera, microphone, and screen into distinct tracks so you can edit each one individually.
- Single-track Recording Exporting option treats all of the content of your recording as one, making them inseparable for individual editing.

Once you have chosen the option that suits your project requirements, click OK to confirm your selection. In no time, screen recording will commence. Remember that a three-second timer will appear on your screen, wait till it's completed, and the software will start capturing your screen and camera simultaneously. Here is what your screen will look like when the recording starts.

3. Stop Recording
Are you done with recording your screen and camera? It is time to click Stop Recording to terminate the whole process. The corresponding button for this is the red rectangular icon at the top of the recording interface. Also, there is an hotkey you can use instead of clicking on your screen, which is the F10 button.

If you don’t want to end the recording but pause it for a while to attend to some things, DemoCreator has got you covered. The tool supports the Pause option to put a hold on your recording for as long as you want and then resume at your convenience. Below is an image showing the pause button.

4. Screen Drawing Tool
While the screen recording is on, you can annotate or make sketches on your screen using screen drawing tools. This is particularly useful when making how-to guides, educational videos, product demos, etc. To access these tools, click on the Pencil icon beside the recording timer. Alternatively, you can hold down the hotkeys Command + Shift + D to get the same result.

Here is what you will get as the subsequent interface on finishing the step above.

Each screen drawing tool has its unique function. Some notable tools you will find include the pencil, highlight, whiteboard, and spotlight.
5. Set Virtual Camera
Wondershare DemoCreator has robust integration with numerous virtual cameras, like OBS Studio, Snap Camera, ManyCam, and more. This feature is highly helpful when you want to record professional-looking video conferences and online lectures. If you can’t afford a virtual camera, your system camera can also come in handy to record yourself while capturing your screen.
6. How to Record Zoom Meeting
To capture a Zoom video conference meeting using DemoCreator, you need no tech skills to navigate your way. All you have to do is ensure that your sound source for your computer is the same as Zoom output.

Once the above configuration is confirmed, launch DemoCreator and start recording your meeting. Wait until the recording is completed, then click the stop recording button to terminate the process.
The software will transition to the subsequent screen below so you can make further adjustments to your recordings before exporting to your local storage.

Drag and drop your recording to the timeline just as shown in the image above. On the left sidebar, you will find the different customization features of the software, such as video effects, audio effects, filters, cursor effects, and several others.

If you choose the video effect function like we have in the picture above, drag and drop the effect in the timeline. Save your recording once done by clicking on the Export button at upper right corner of your screen.


