DemoCreator User Guide
How to use Wondershare DemoCreator? Learn the step by step guide below
DemoCreator User Guide
-
Get Started - Mac
-
Video Recording - Mac
-
Video Editing - Mac
-
Keyboard Shortcuts - Mac
-
Audio Recording - Mac
-
DemoCreator Effects - Mac
-
Export & Share - Mac
-
Audio Editing - Mac
-
New Demo Mode - Mac
DemoAir User Guide
-
DemoCreator Cloud Service - Get Started
-
Video Creation Mode
-
Export&Share
FAQs
Green Screen/Cinema Style/Mosaic
In this section, you'll learn how to use:
1. Green Screen
The green screen was widely used in film and other industrious. Normally, using green screen in video replaces the background of a video with a digital or virtual background. Removing the colored background is also referred to as “chroma keying.” Learn how to use the green screen with DemoCreator.
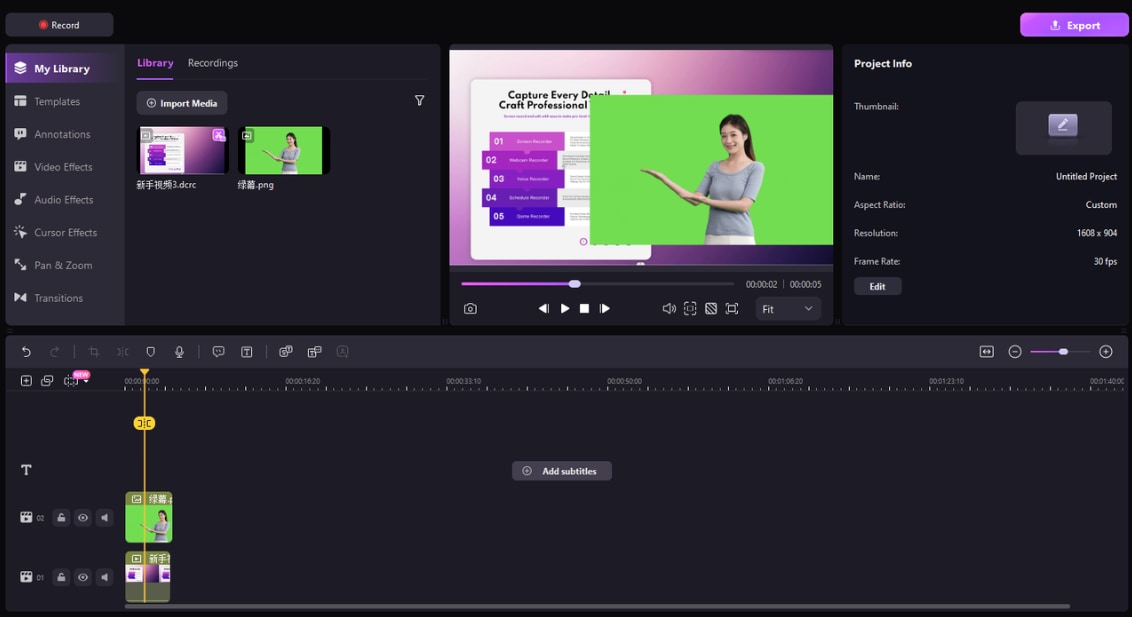
Step 1. Import your media files to the media library (the media files can be background video and green screen video), and then drag them to the timeline.
Step 2: Find the Green Screen feature under Video Effects>Green Screen.
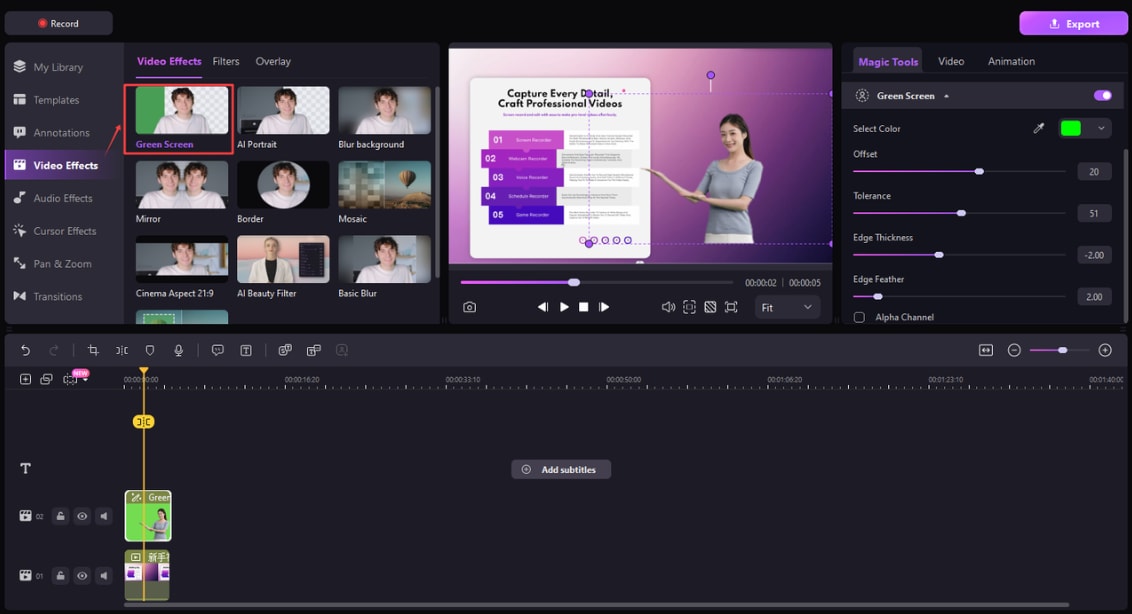
Step 3: Enable Chroma Key
Drag Green Screen to the clip, and tick Enable option in the right properties window. By default, the green screen color will be picked and be removed automatically. You also can refine the video by adjusting the offset, tolerance, edge thickness and edge feather settings to make the background video clearer.
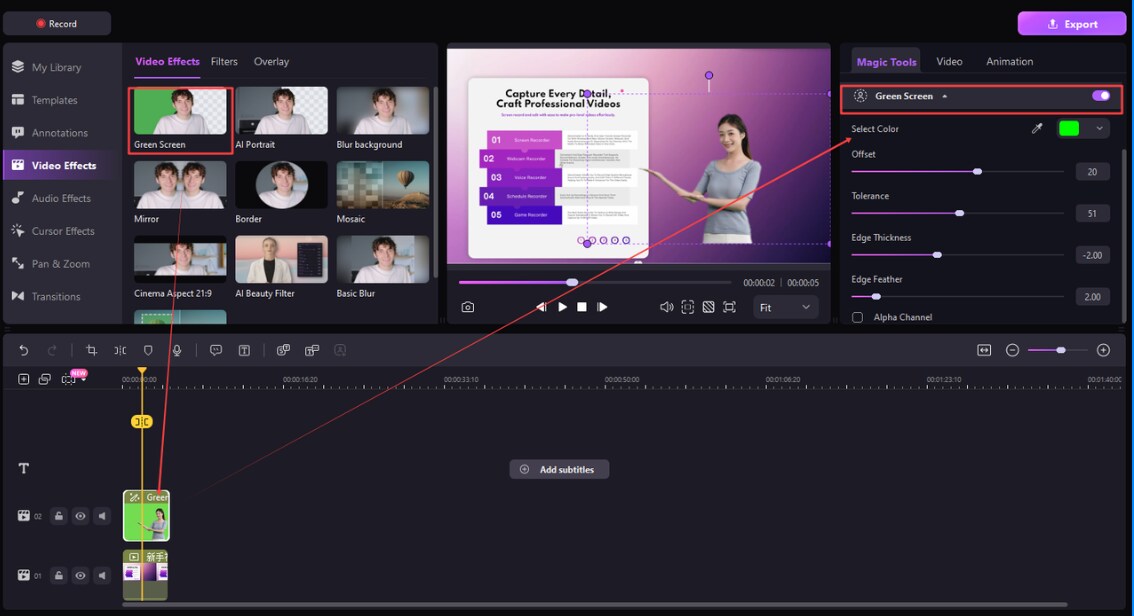
Adjust the Settings
You can adjust the following settings to alter the borders, transparency, shadows, and much more in the video.
- Offset: adjusts the visibility of the backdrop
- Tolerance: controls the width of the range of hues of the key color
- Edge Feather: softens the edges
- Edge Thickness: adjusts the edges of the subject
- Alpha Channel: turns anything keyed out appearing black and anything not keyed out appearing as white.
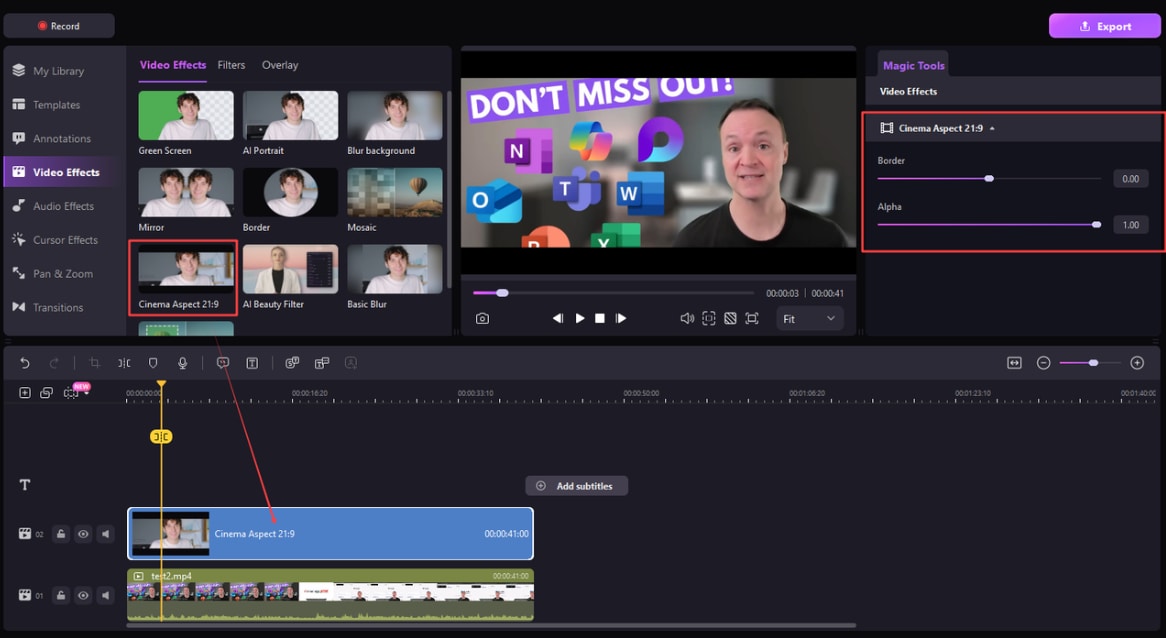
2. Cinema Aspect
Step 1: Find the Cinema Aspect 21:9 feature under Video Effects>Cinema Aspect 21:9.

Step 2: Drag the Cinema Style to the timeline above the clip, and adjust it to the position you want to add. Also, you can change the duration, border, and alpha.
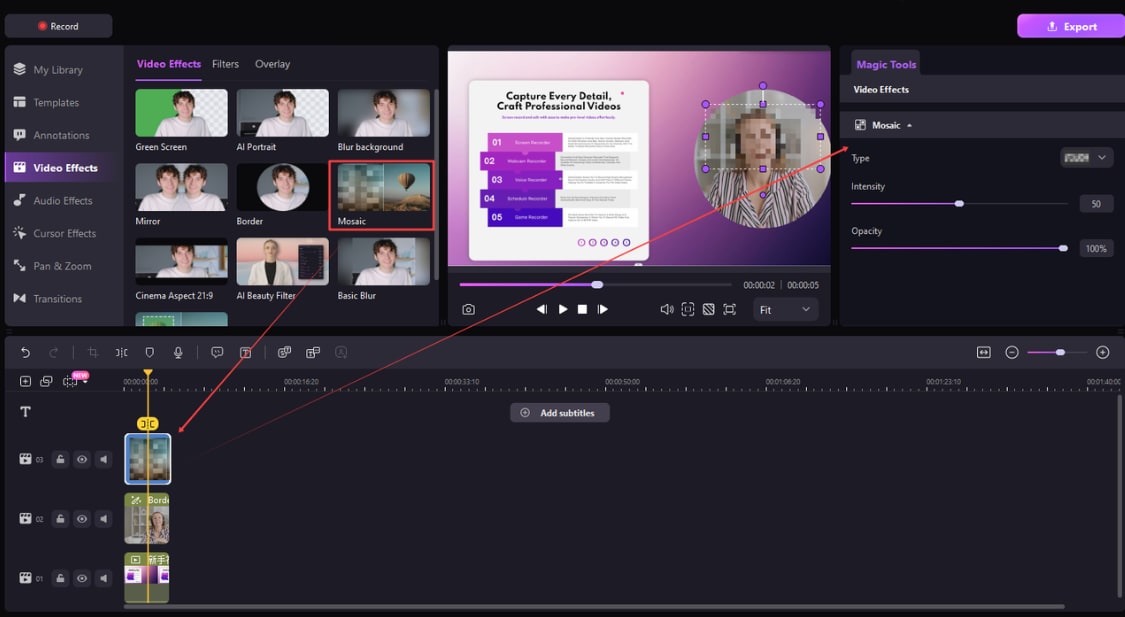
3. Mosaic
Step 1: Find the Mosaic feature under Video Effect>Mosaic.
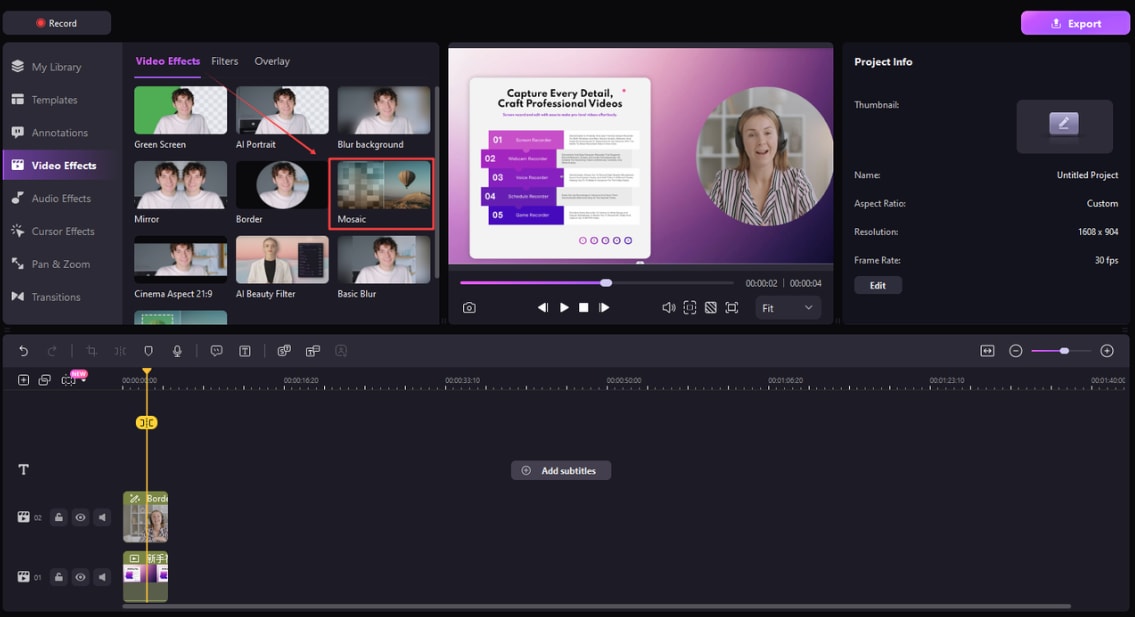
Step 2. Drag it to the timeline, place it above the clip that you want to apply the mosaic. You can change the size in the preview window.
Mosaic Settings: You can change the type, Intensity, and Opacity of the Mosaic.