DemoCreator User Guide
How to use Wondershare DemoCreator? Learn the step by step guide below
DemoCreator User Guide
-
Get Started - Mac
-
Video Recording - Mac
-
Video Editing - Mac
-
Keyboard Shortcuts - Mac
-
Audio Recording - Mac
-
DemoCreator Effects - Mac
-
Export & Share - Mac
-
Audio Editing - Mac
-
New Demo Mode - Mac
DemoAir User Guide
-
DemoCreator Cloud Service - Get Started
-
Video Creation Mode
-
Export&Share
FAQs
Audio Effects
When we make videos daily, adding the right audio effects to the most important parts of the videos will make them resonate with the audience's mood. For instance, a "Game Over" sound effect should be used whenever the antagonist eliminates your gaming character to amplify the audience's sense of loss.
1. Add/Remove the Audio Effect
Step 1: Make a selection in the Tools Bar under the Audio tab.
Double-click any of the noises to hear them, then choose the one that best fits the situation.
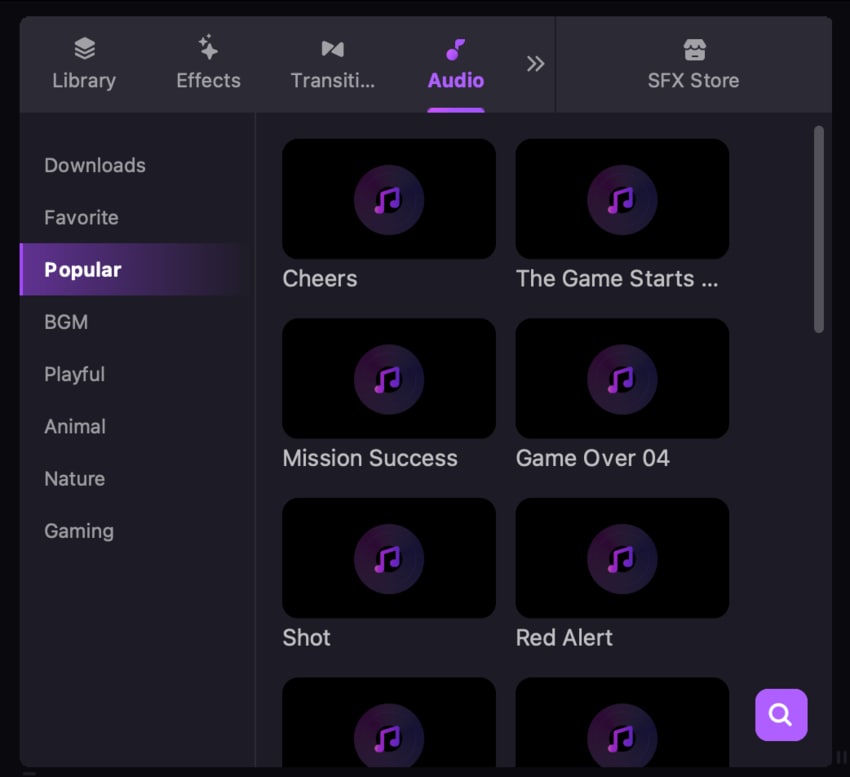
Note: If you find any stickers very helpful and want to access them as quickly as possible, click the Heart symbol to designate it as your favorite. It will display in the first category under "Favorite".
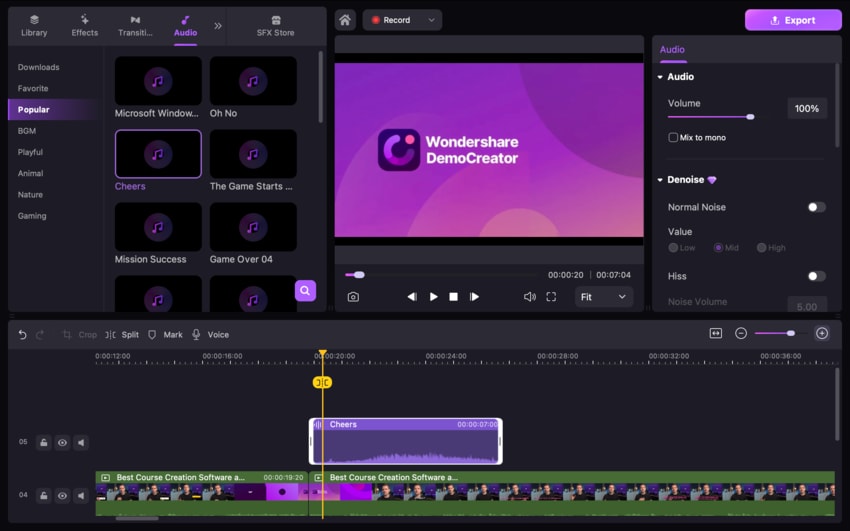
Step 2: Drag it to the location on the timeline where you want it to go.
Remove the Effect: You can either select it on your Timeline and then hit the Delete key on your keyboard or right-click on the Sound and choose the Delete option from the context menu.
2. Adjust the Sound Effect
There are three choices in the Properties Panel that can be used to change the sound effect: Audio, Denoise, and Speed. Additionally, there is a Voice Changer option.
- Audio: Change the level or blend the sound to mono.
- Denoise: When you choose to use this option. You can raise the sound's volume, taking it from a low level to a high one.
- Speed: You can adjust how long the sound lasts by slowing it down or speeding it up.
- Voice Changer: This function should showcase DemoCreator 6's new features. The Voice Changer feature provides reassurance to users who dislike using their voice while creating videos by allowing them to change their voice with only one click.

